The Experimental Cumulative Game
1/6/2016
The Economy Edition game being played right now by Xerecs has inspired me to start another (but considerably smaller and shorter) cumulative game. Things have come full circle after my CotE and Economy games inspired him to play those!
This game won’t last much more than a week and a half, if that. As the title suggests, it’s not your average cumulative game. There are going to be some things that I wasn’t able to do during my Economy game, as well as some other ideas I’ve been wanting to try out. This will also make for a unique style of battle reports. Be ready for anything!
Without further ado, here is the setting:
Shap-‘ng-Tsai has succeeded. “With over 100 junks at his disposal and bases hidden along the Chinese coast, Tsai claims that he will be the one to topple the English empire.” He has now done it. The English presence in the South China Sea is a remnant of its former self. The Jade Rebellion can now be more properly called a Jade Empire, as they are rightfully the dominant presence in their home waters.
However, the age of imperialism is not at an end. Other imperialist nations threaten to cause more damage to the Jades and their way of life, mostly as a result of the so-called “endless” gold deposits on the local islands. Just in the past few weeks, Spanish and French ships have entered the waters patrolled by Jade Rebellion ships. These two nations have teamed up once again to form the Franco-Spanish alliance, although here they’ve decided to split their forces to maximize their odds of taking down the Jade Rebellion empire. The Jade Rebellion has already sent away many of the gunships that helped to win the war against the hated English. Unfortunately for them, this means that only one capital ship remains in the area. The Jade presence is still strong, but the Spanish and French are a huge threat that Tsai and his fleet must deal with.
The Spanish and French may have underestimated their opponent, for they didn’t send large fleets to guarantee victory. However, one such ship, El Príncipe de Asturias, has considerable battle experience already, and her crew is thirsty for more. “El Principe de Asturias was reassigned to the South China Seas after leading several successful campaigns in the Mediterranean. Now her crew use their considerable experience against the Jade Rebellion.” It’s obvious that fighting is inevitable, and in fact the Spanish and French have already made a joint declaration of war on the Jade Rebellion.
To complicate matters even further, one English ship remains in the area, a veteran of the JR-English war. HMS Galapagos has suffered extreme losses in battles against the JR, making her tiny remaining crew anxious for revenge. Tsai recently let the Galapagos escape, knowing his fleet could easily take the ship at their leisure. However, with the Spanish and French now in the area, the Galapagos may slip under Tsai’s watchful eye since the FS (Franco-Spanish) are a much bigger threat.
The fleets sailed out in this order of play:
Jade Rebellion (100 points)
Grand Temple + Shap-‘ng-Tsai, Katsura-chan, helmsman, oarsman
Sea Wind + captain, explorer
East Wind
Sea Lion
Sea Crane + explorer
Admiral Yi
Dragon’s Talon + helmsman
Spanish (50 points)
La Voz de Dios + captain, helmsman
El Príncipe de Asturias + captain, helmsman
San Agustín
French (50 points)
La Gaule + captain, helmsman, oarsman
La Geographe + Nicholas-Thomas Baudin
La Fureur
L’Argus + oarsman
English
HMS Galapagos
As you can see, this game starts out as an all-SCS game. This is the beginning theme, but only that. As a result, the only three UT’s present at the start of play were also from SCS.
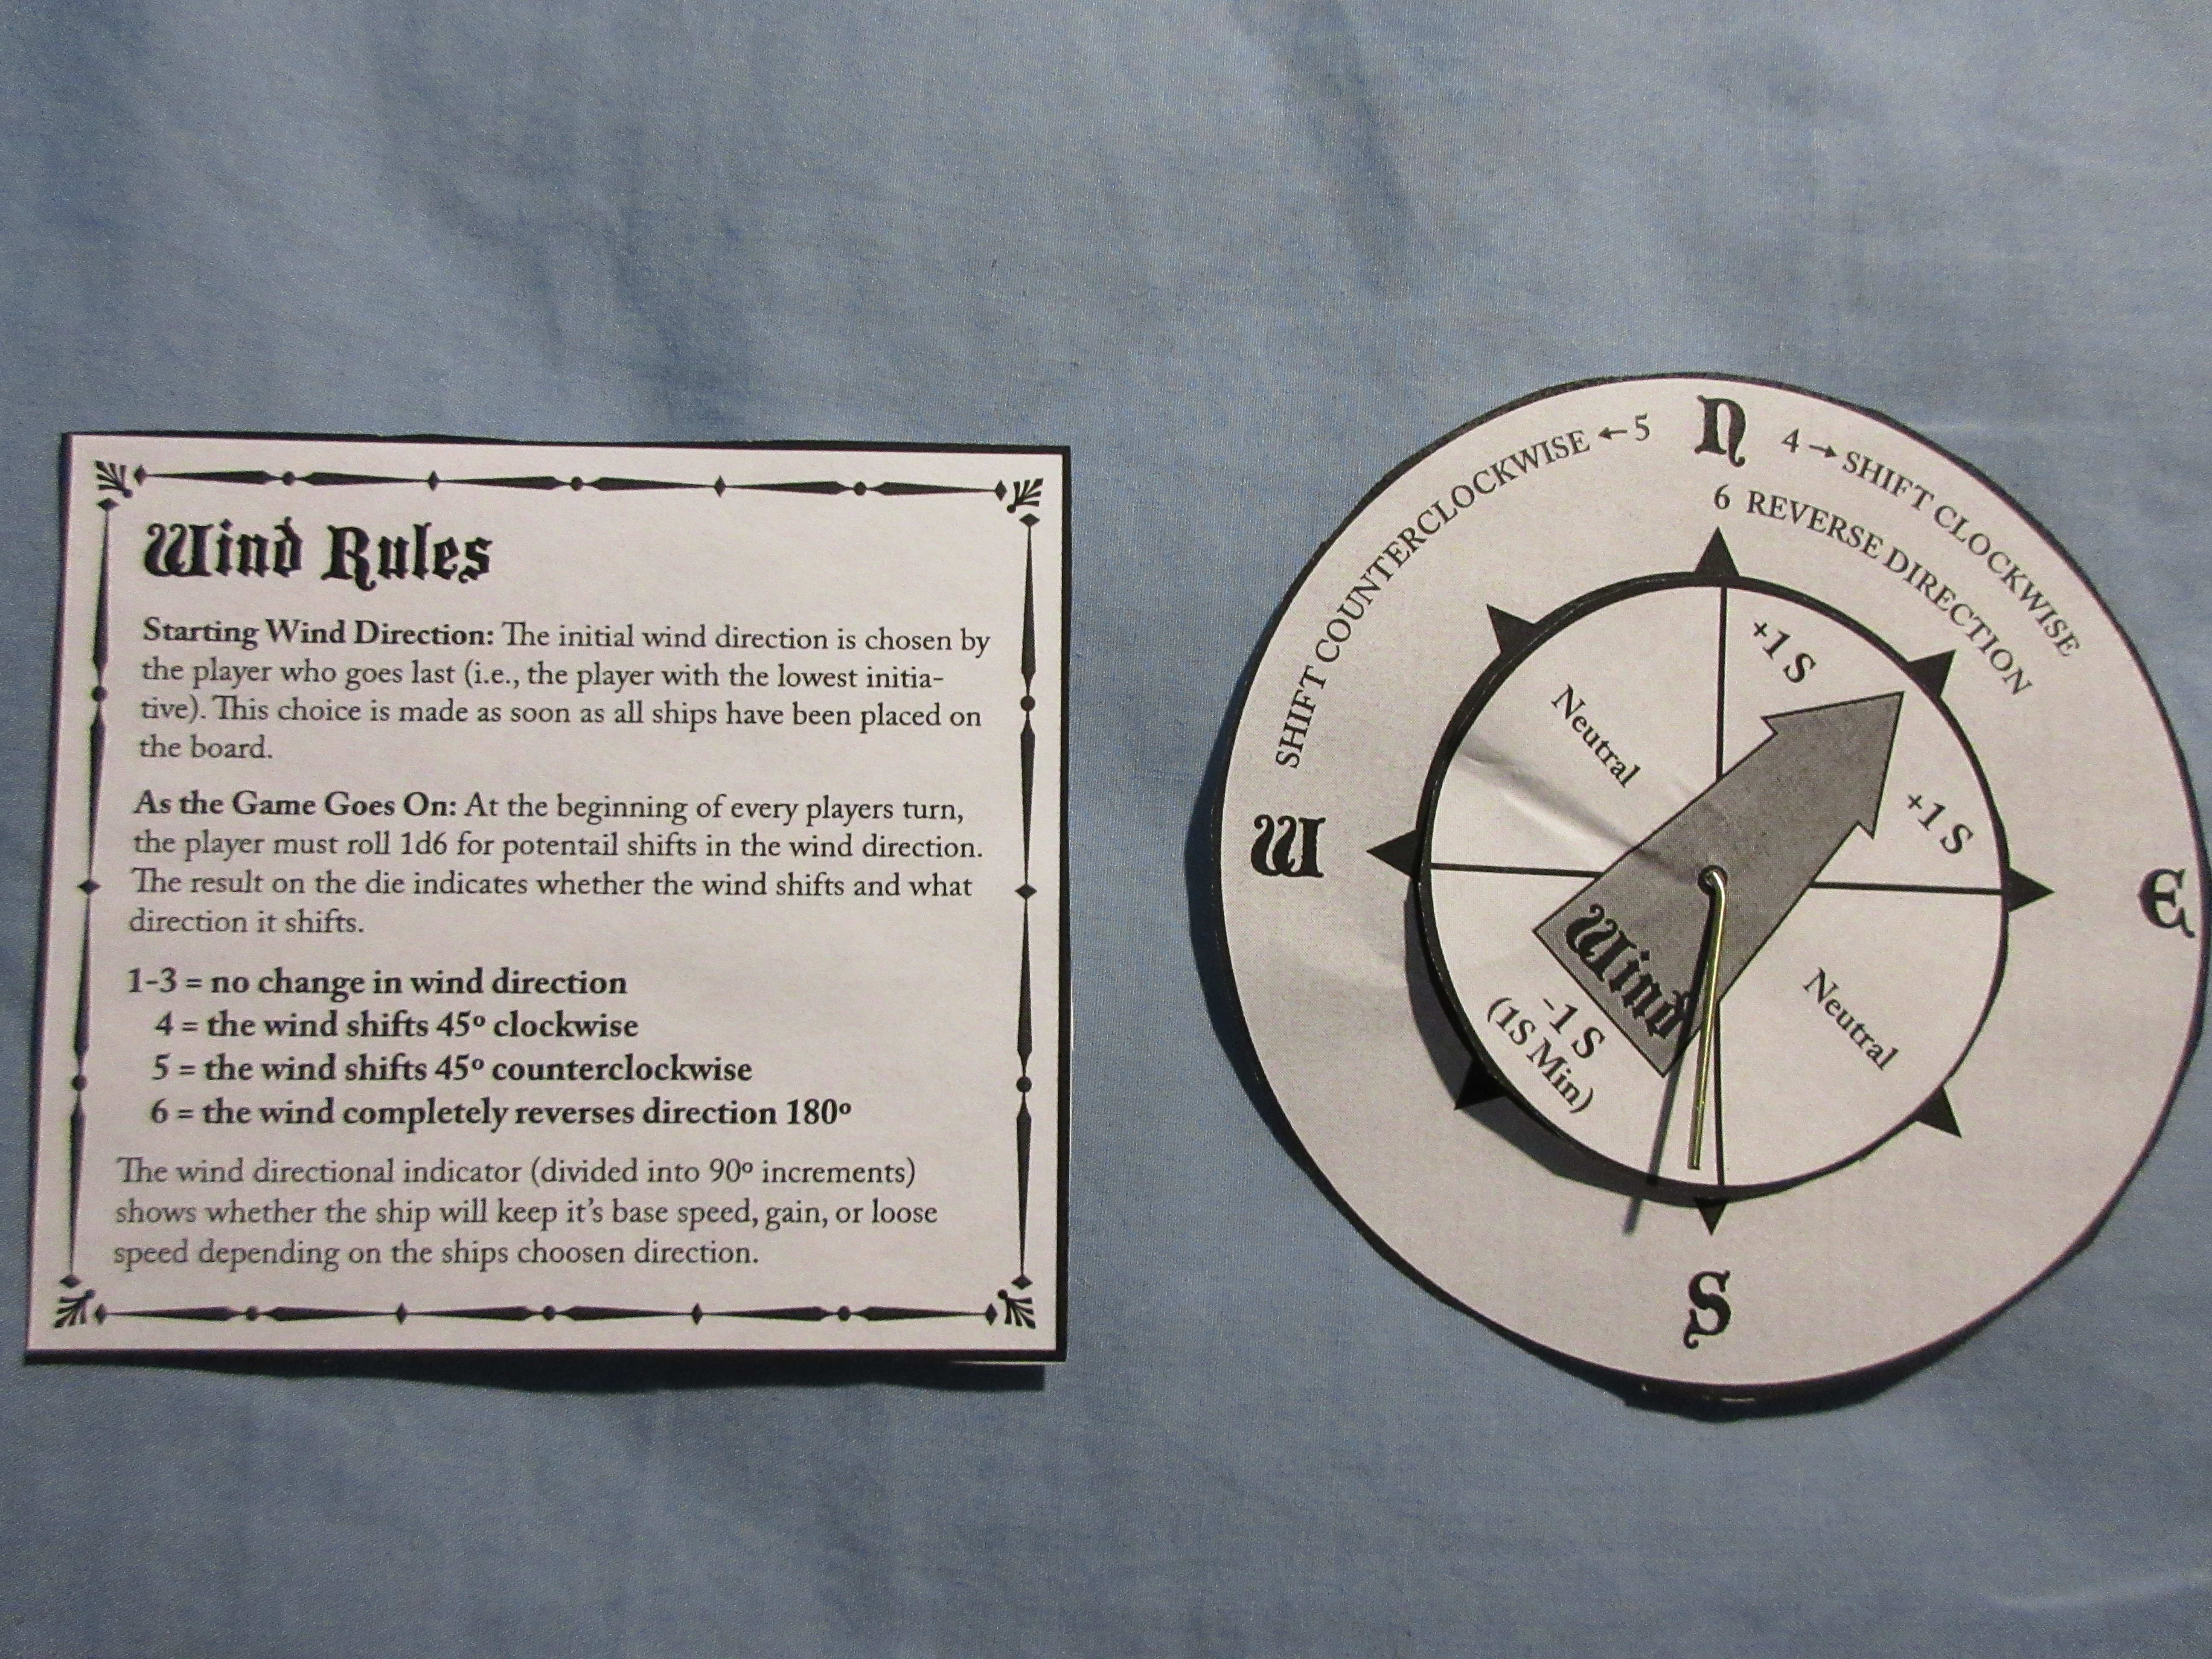
For the first time in any of my games, wind would be used! A while back I searched in the depths of the files section at BGG and found different wind rules. For this game, I’m using this from way back in 2004. Thanks to headlouse for coming up with it.
There are also some Sandbars present, which are similar to Sargasso Seas, but worse for large ships than small ships. Other ideas will be explored as well. For example, Marines can fire on EVERY player’s turn, not just on their owners’ turn. Also, to continue the experimental theme, ramming cannot do damage. In addition, some “ghost gold” has made its way into the setup.
– Transparent coins give the ship carrying them the Ghost Ship keyword, as long as they’re still on the ship.
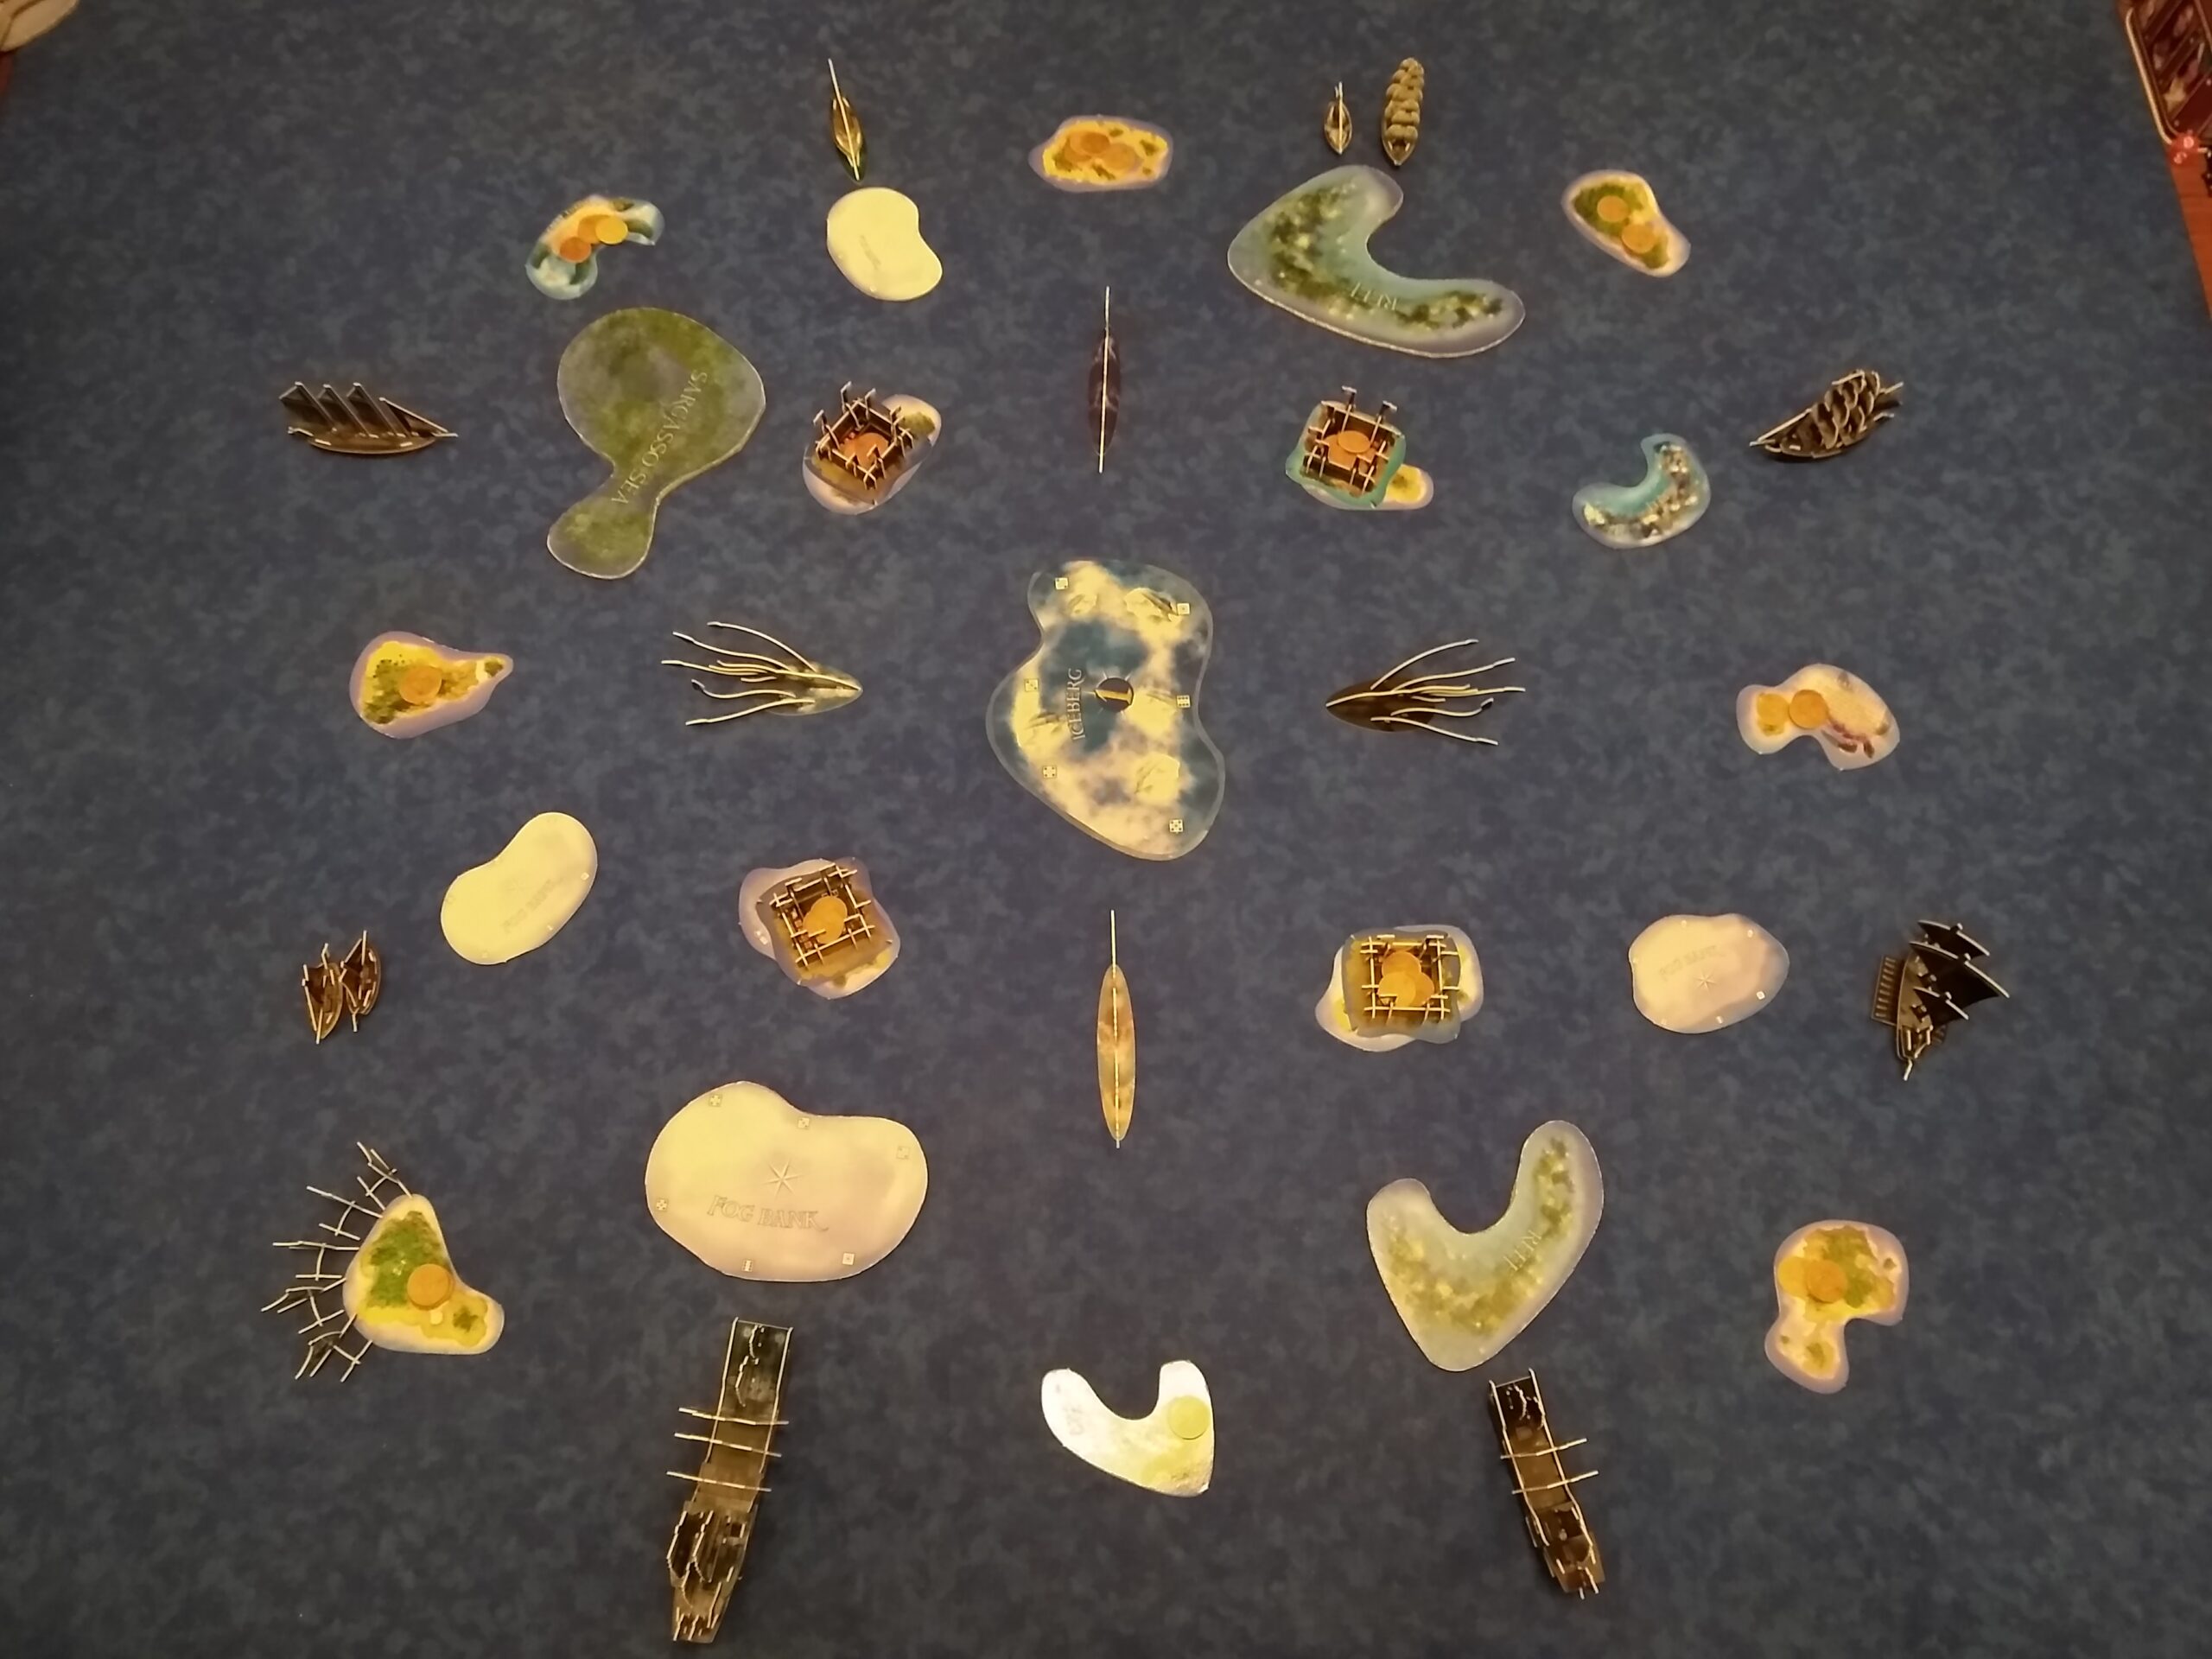
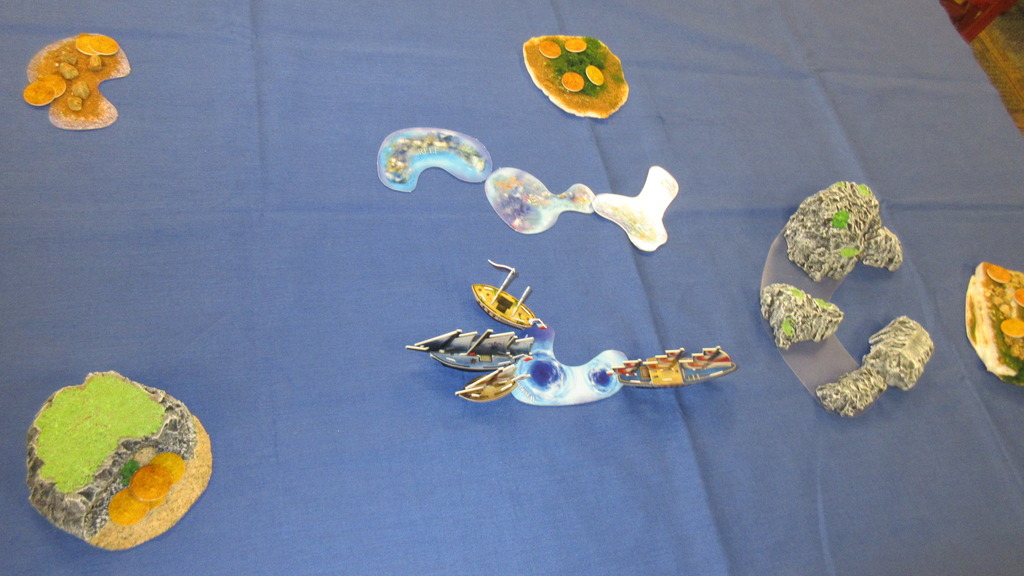
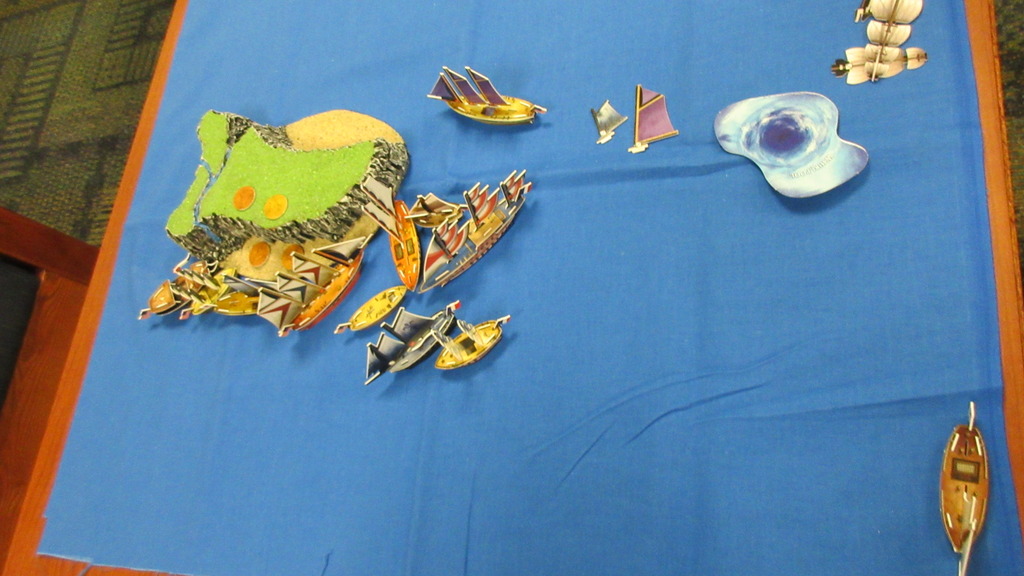
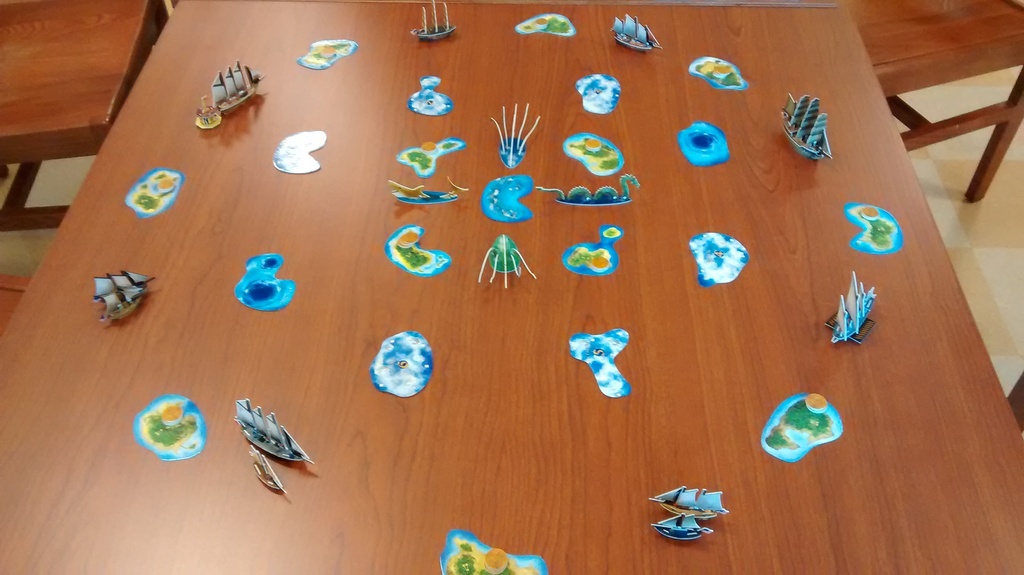
The game’s area is limited by the table it’s being played on, and only non-standard islands and terrain were present at the start. There are currently four home islands (HI’s) and six wild islands (emphasis on “currently”). The English and Spanish HI’s are in the west, while the French have set sail in the northeast. The Jade Rebellion empire starts the game as the favorite to win, with the biggest HI located in the general center of the sea.
Flat earth rules are being used, for now.
Each wild island has 5 coins on it, and the new “shipwreck cove” area has three different sets of 3 coins on different shipwrecks, which must be docked at like they’re independent wild islands (and ships have to roll for effect on the reef when “docking”). The wild islands will replenish back to a maximum of 5 coins only after all 5 previous coins are gone from the island. The replenishment happens at the end of each round of turns.
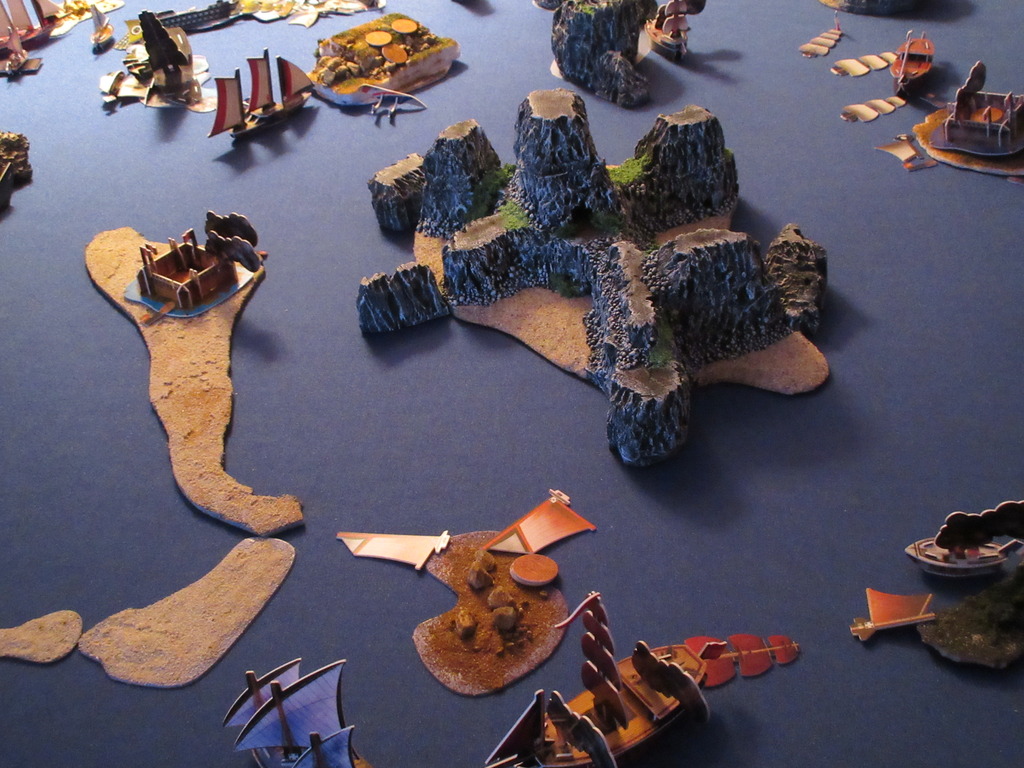
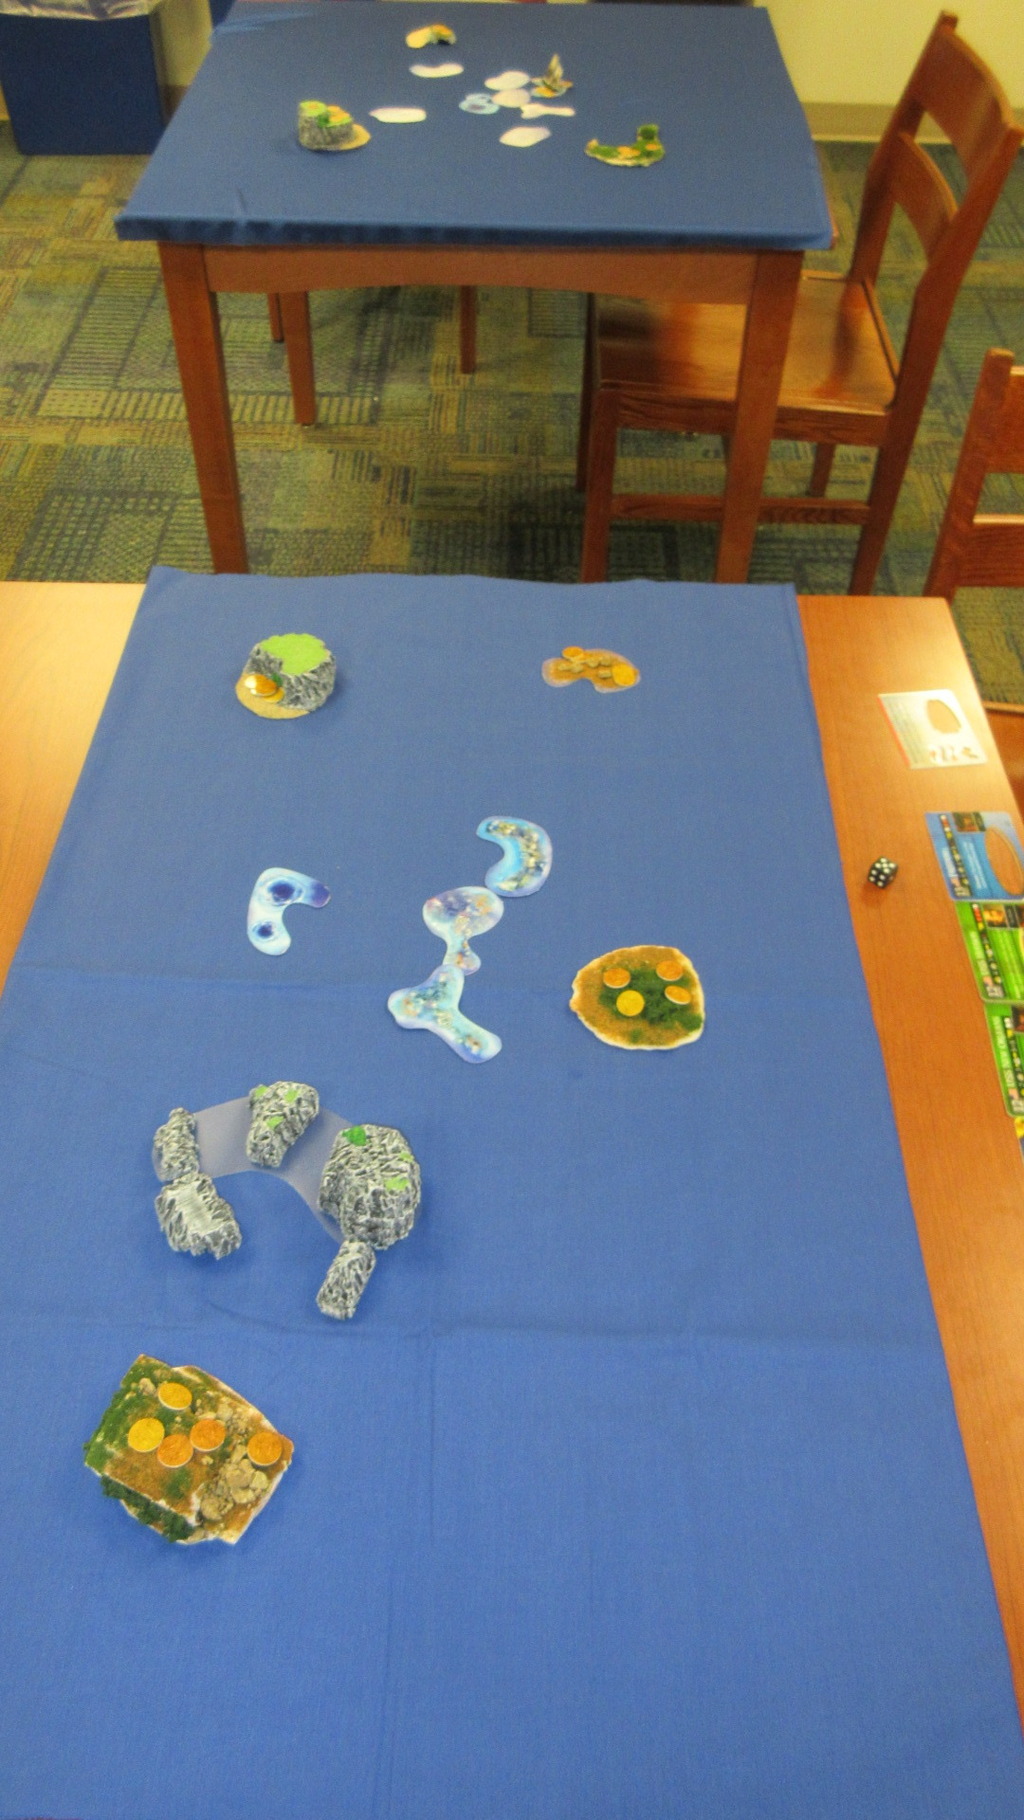
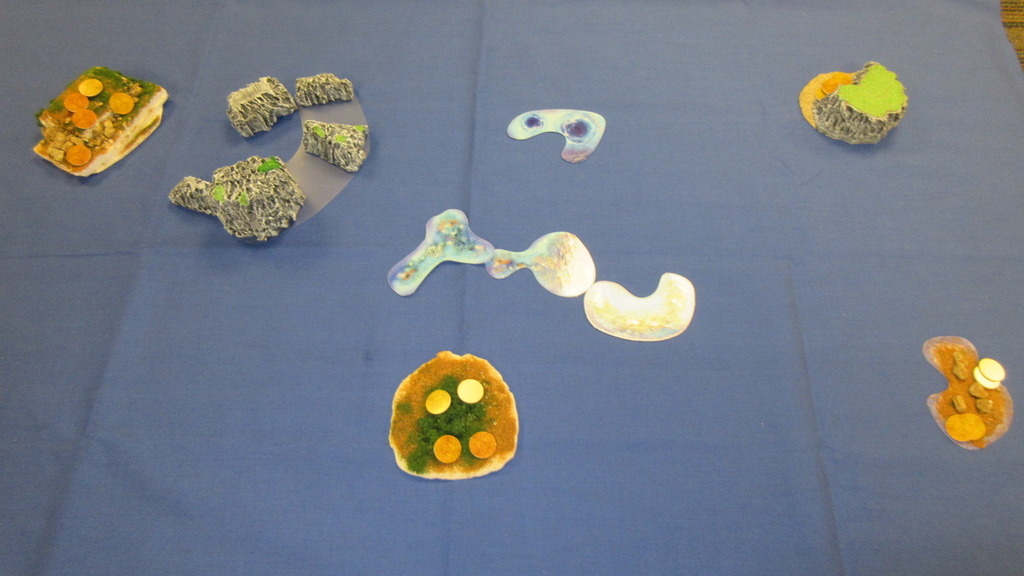
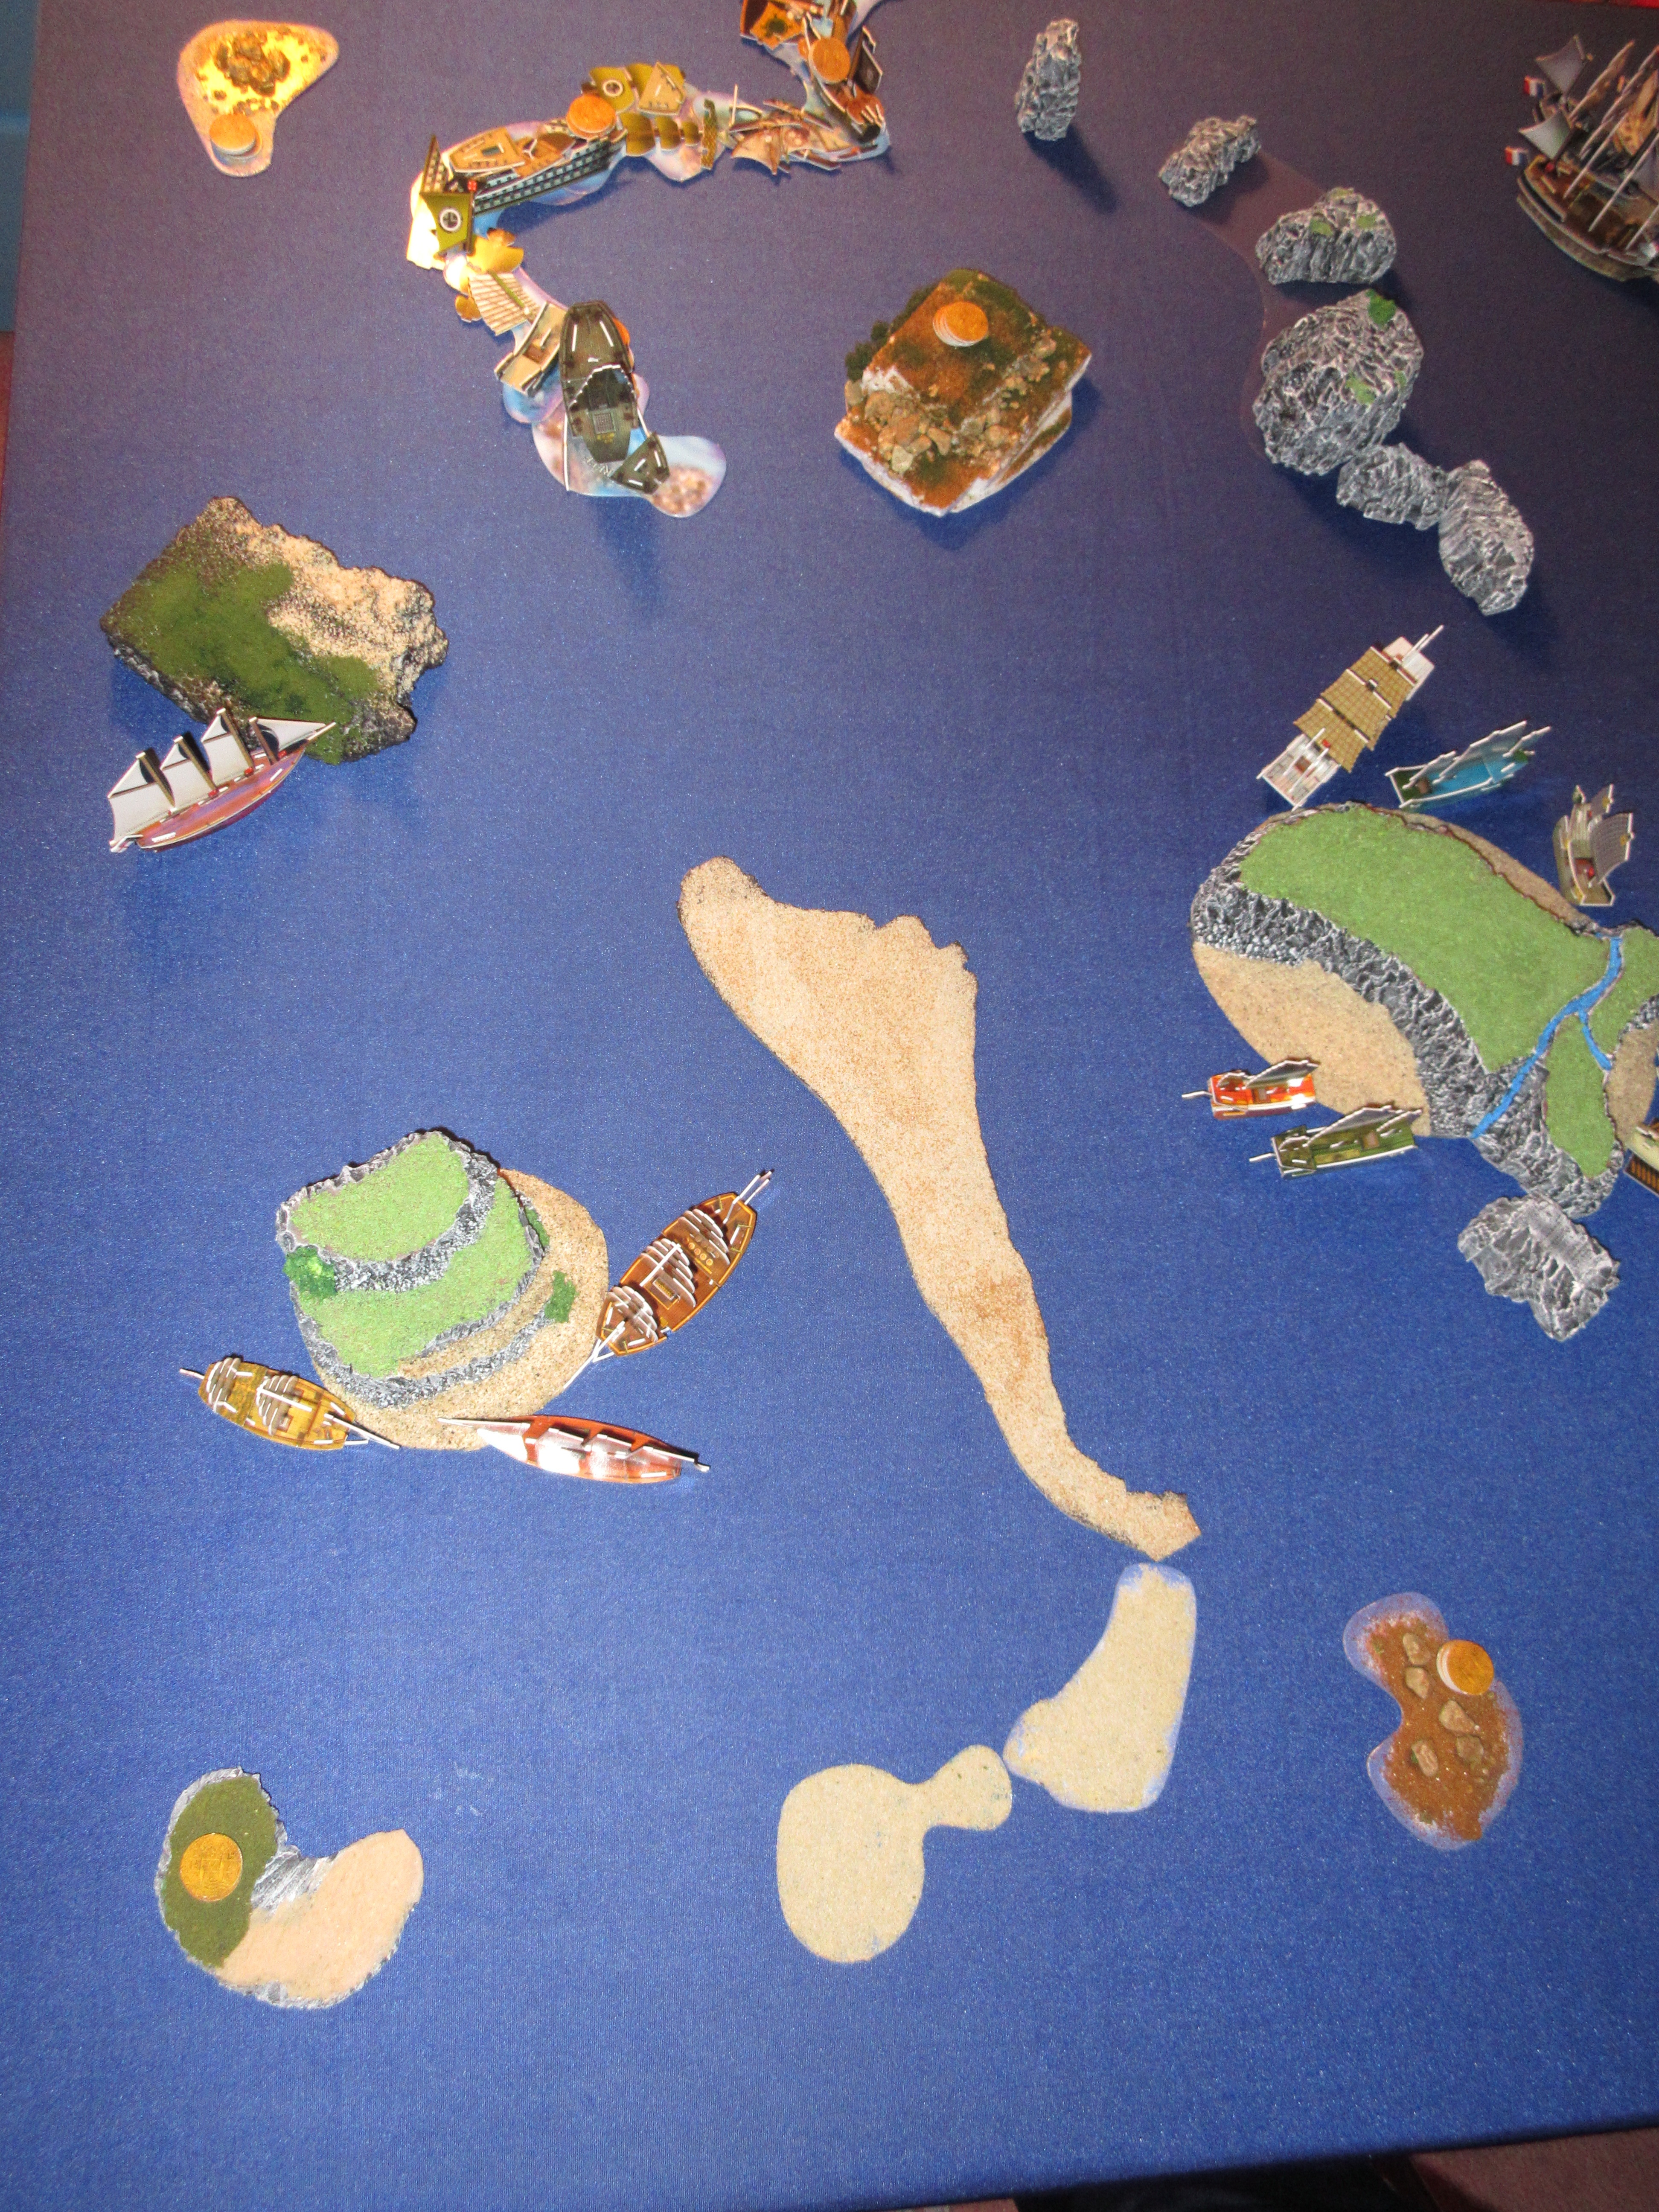
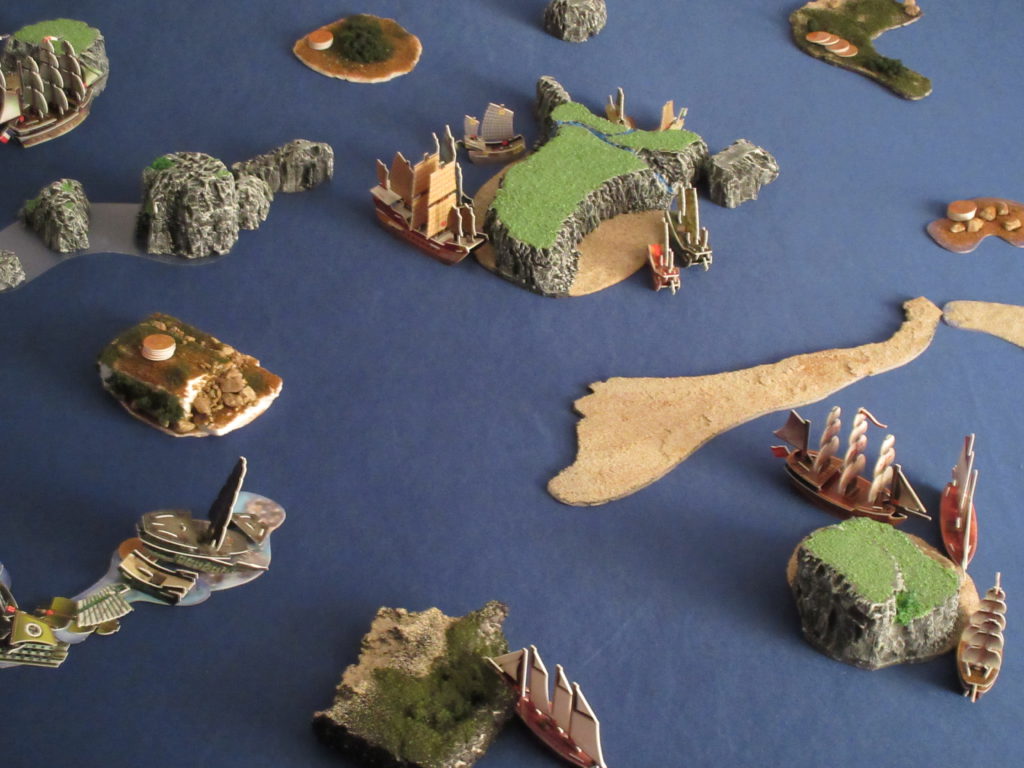
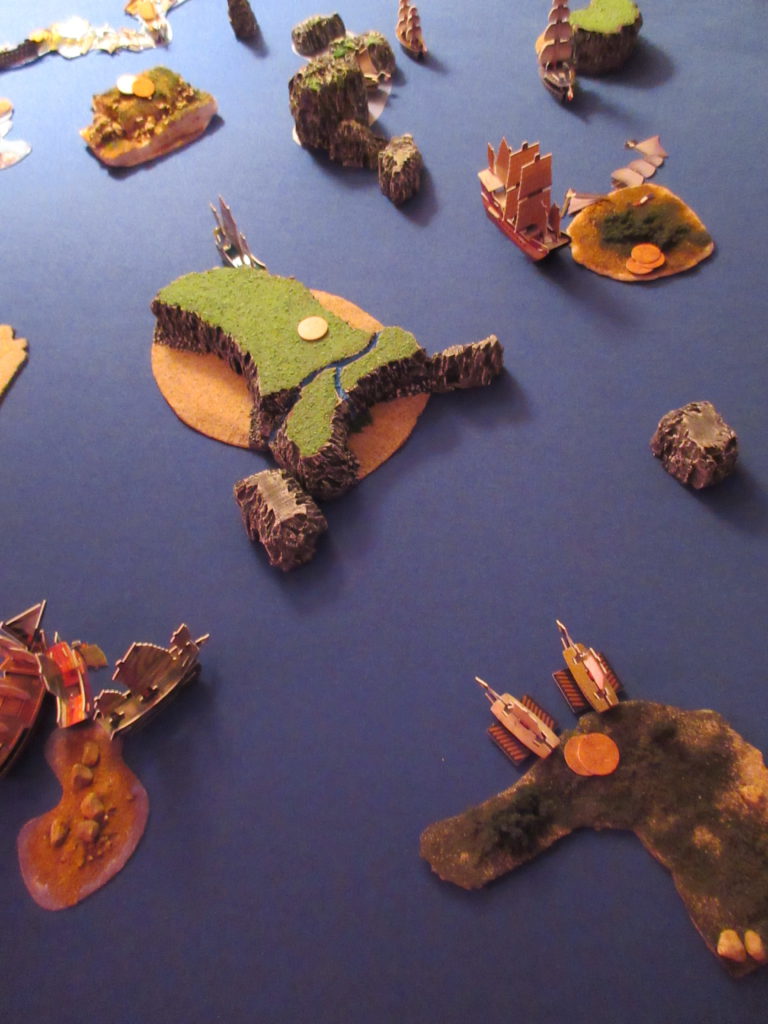
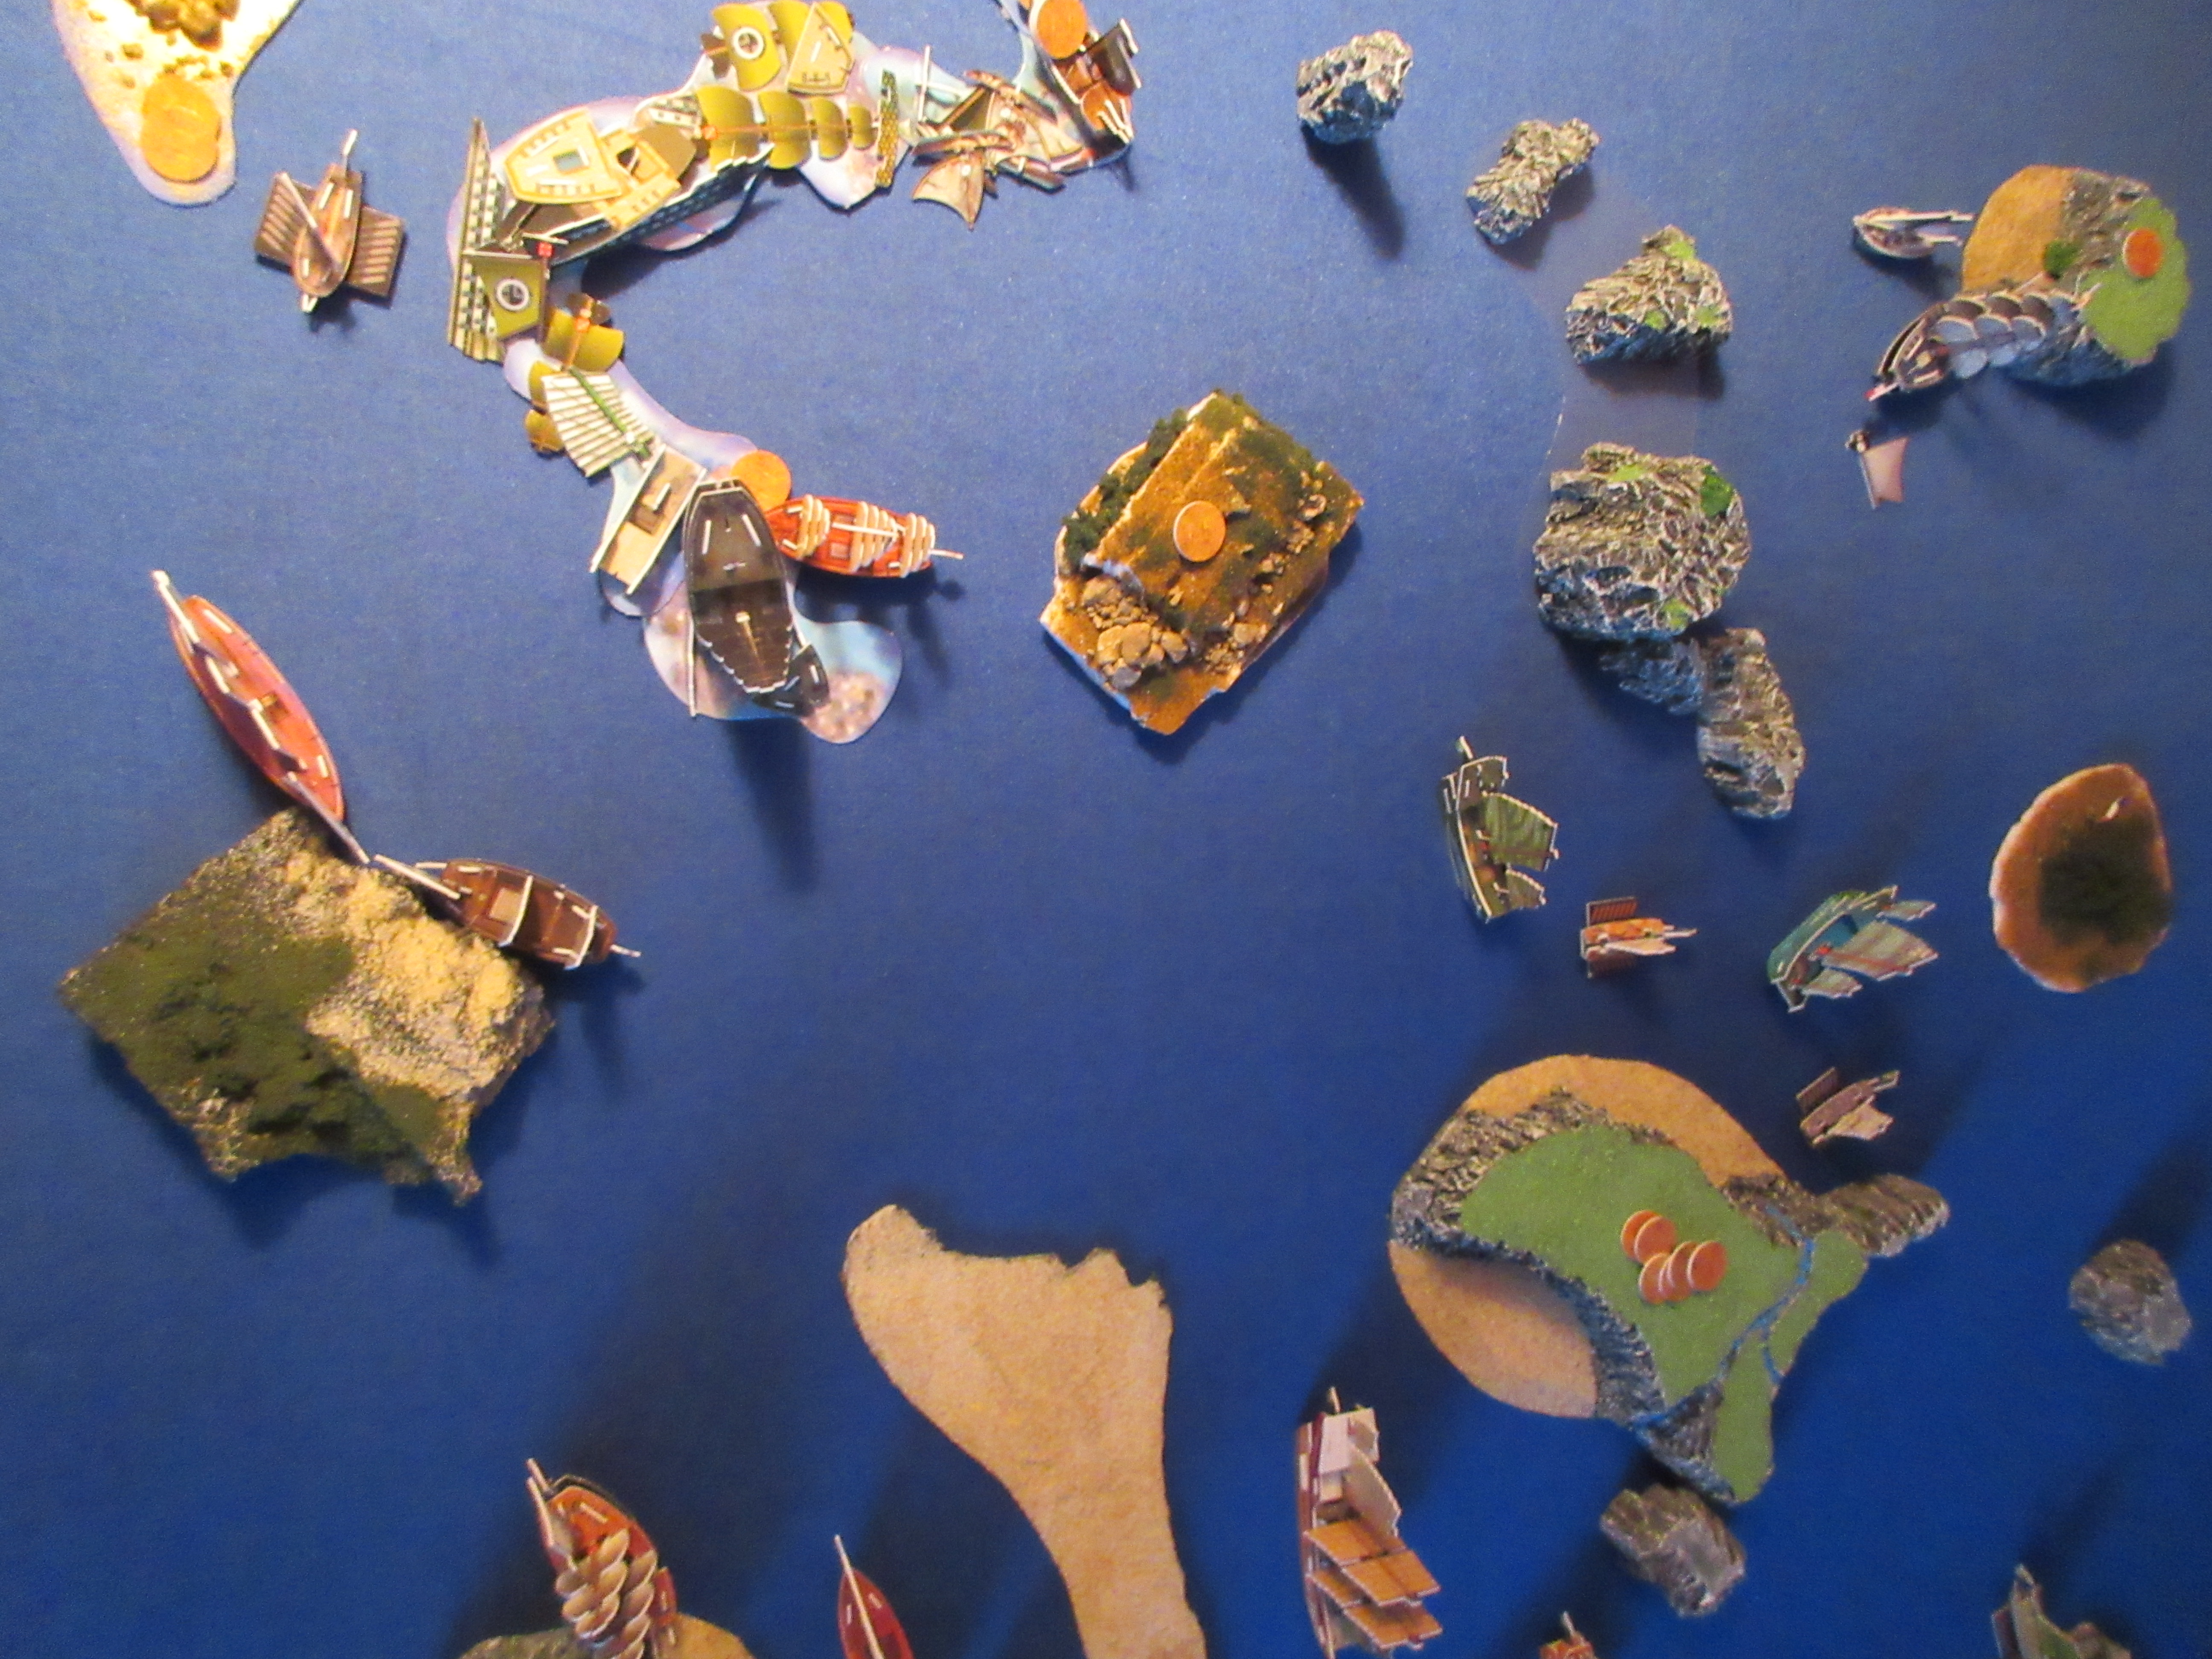
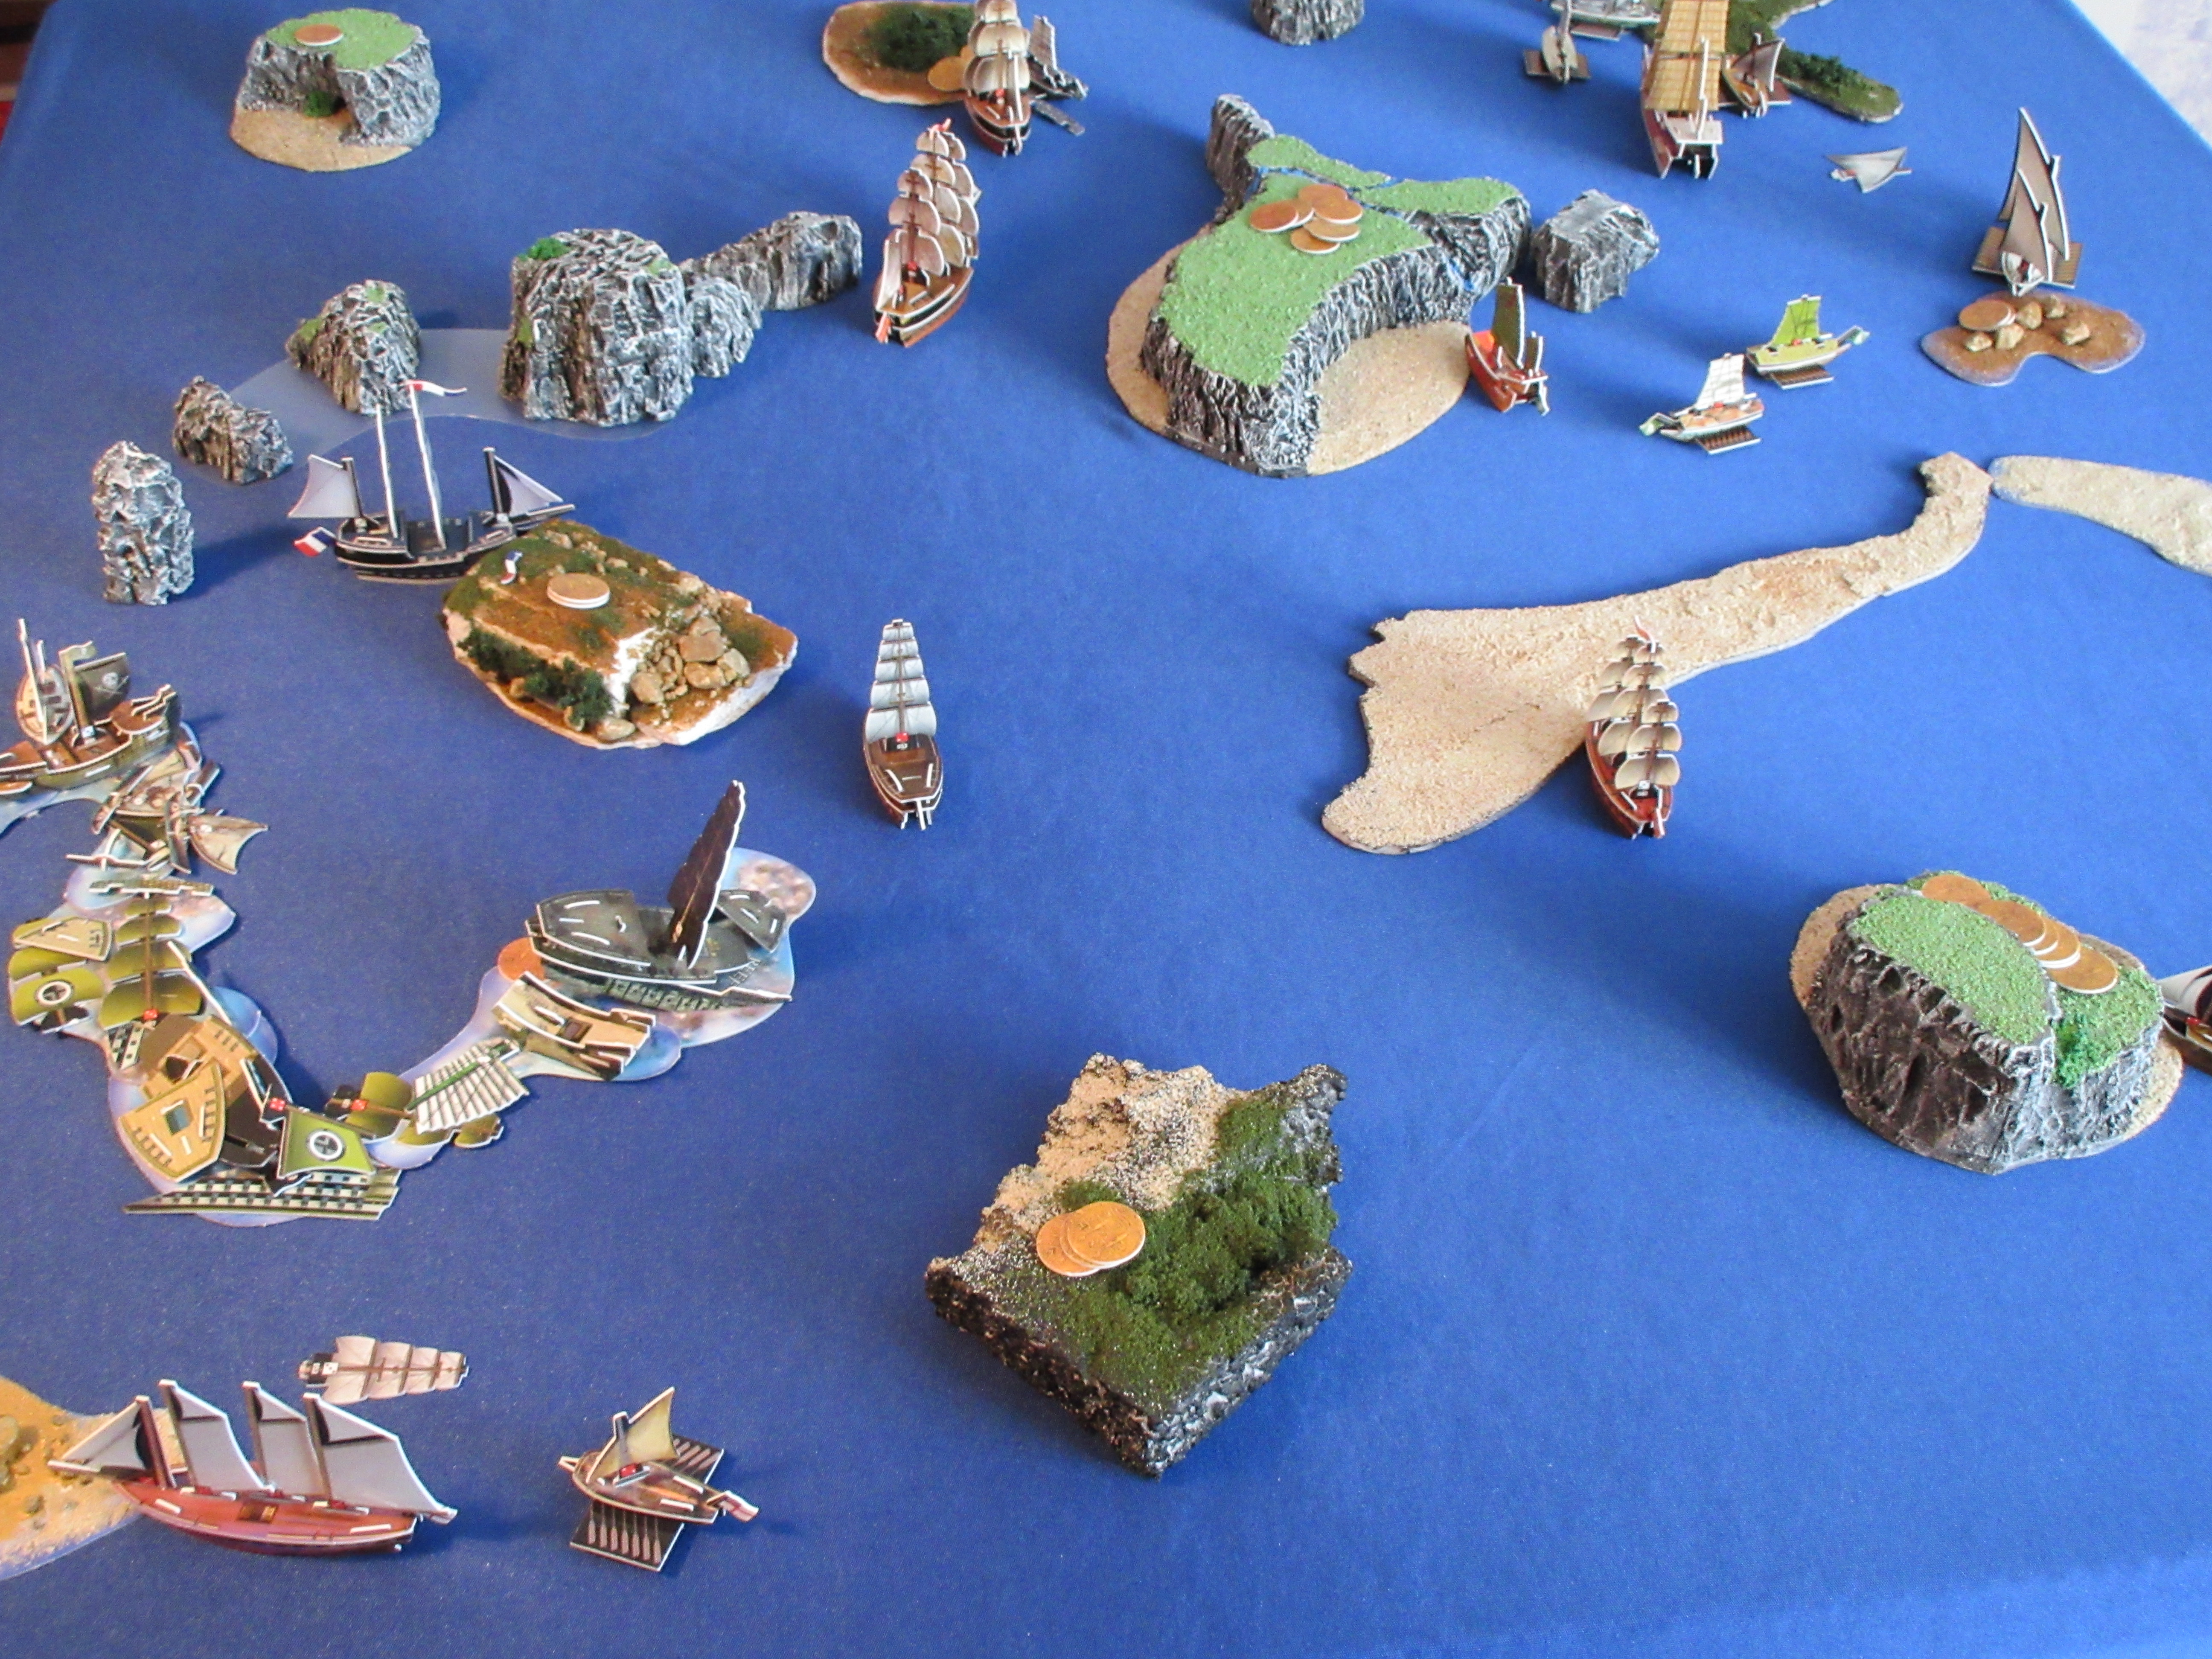
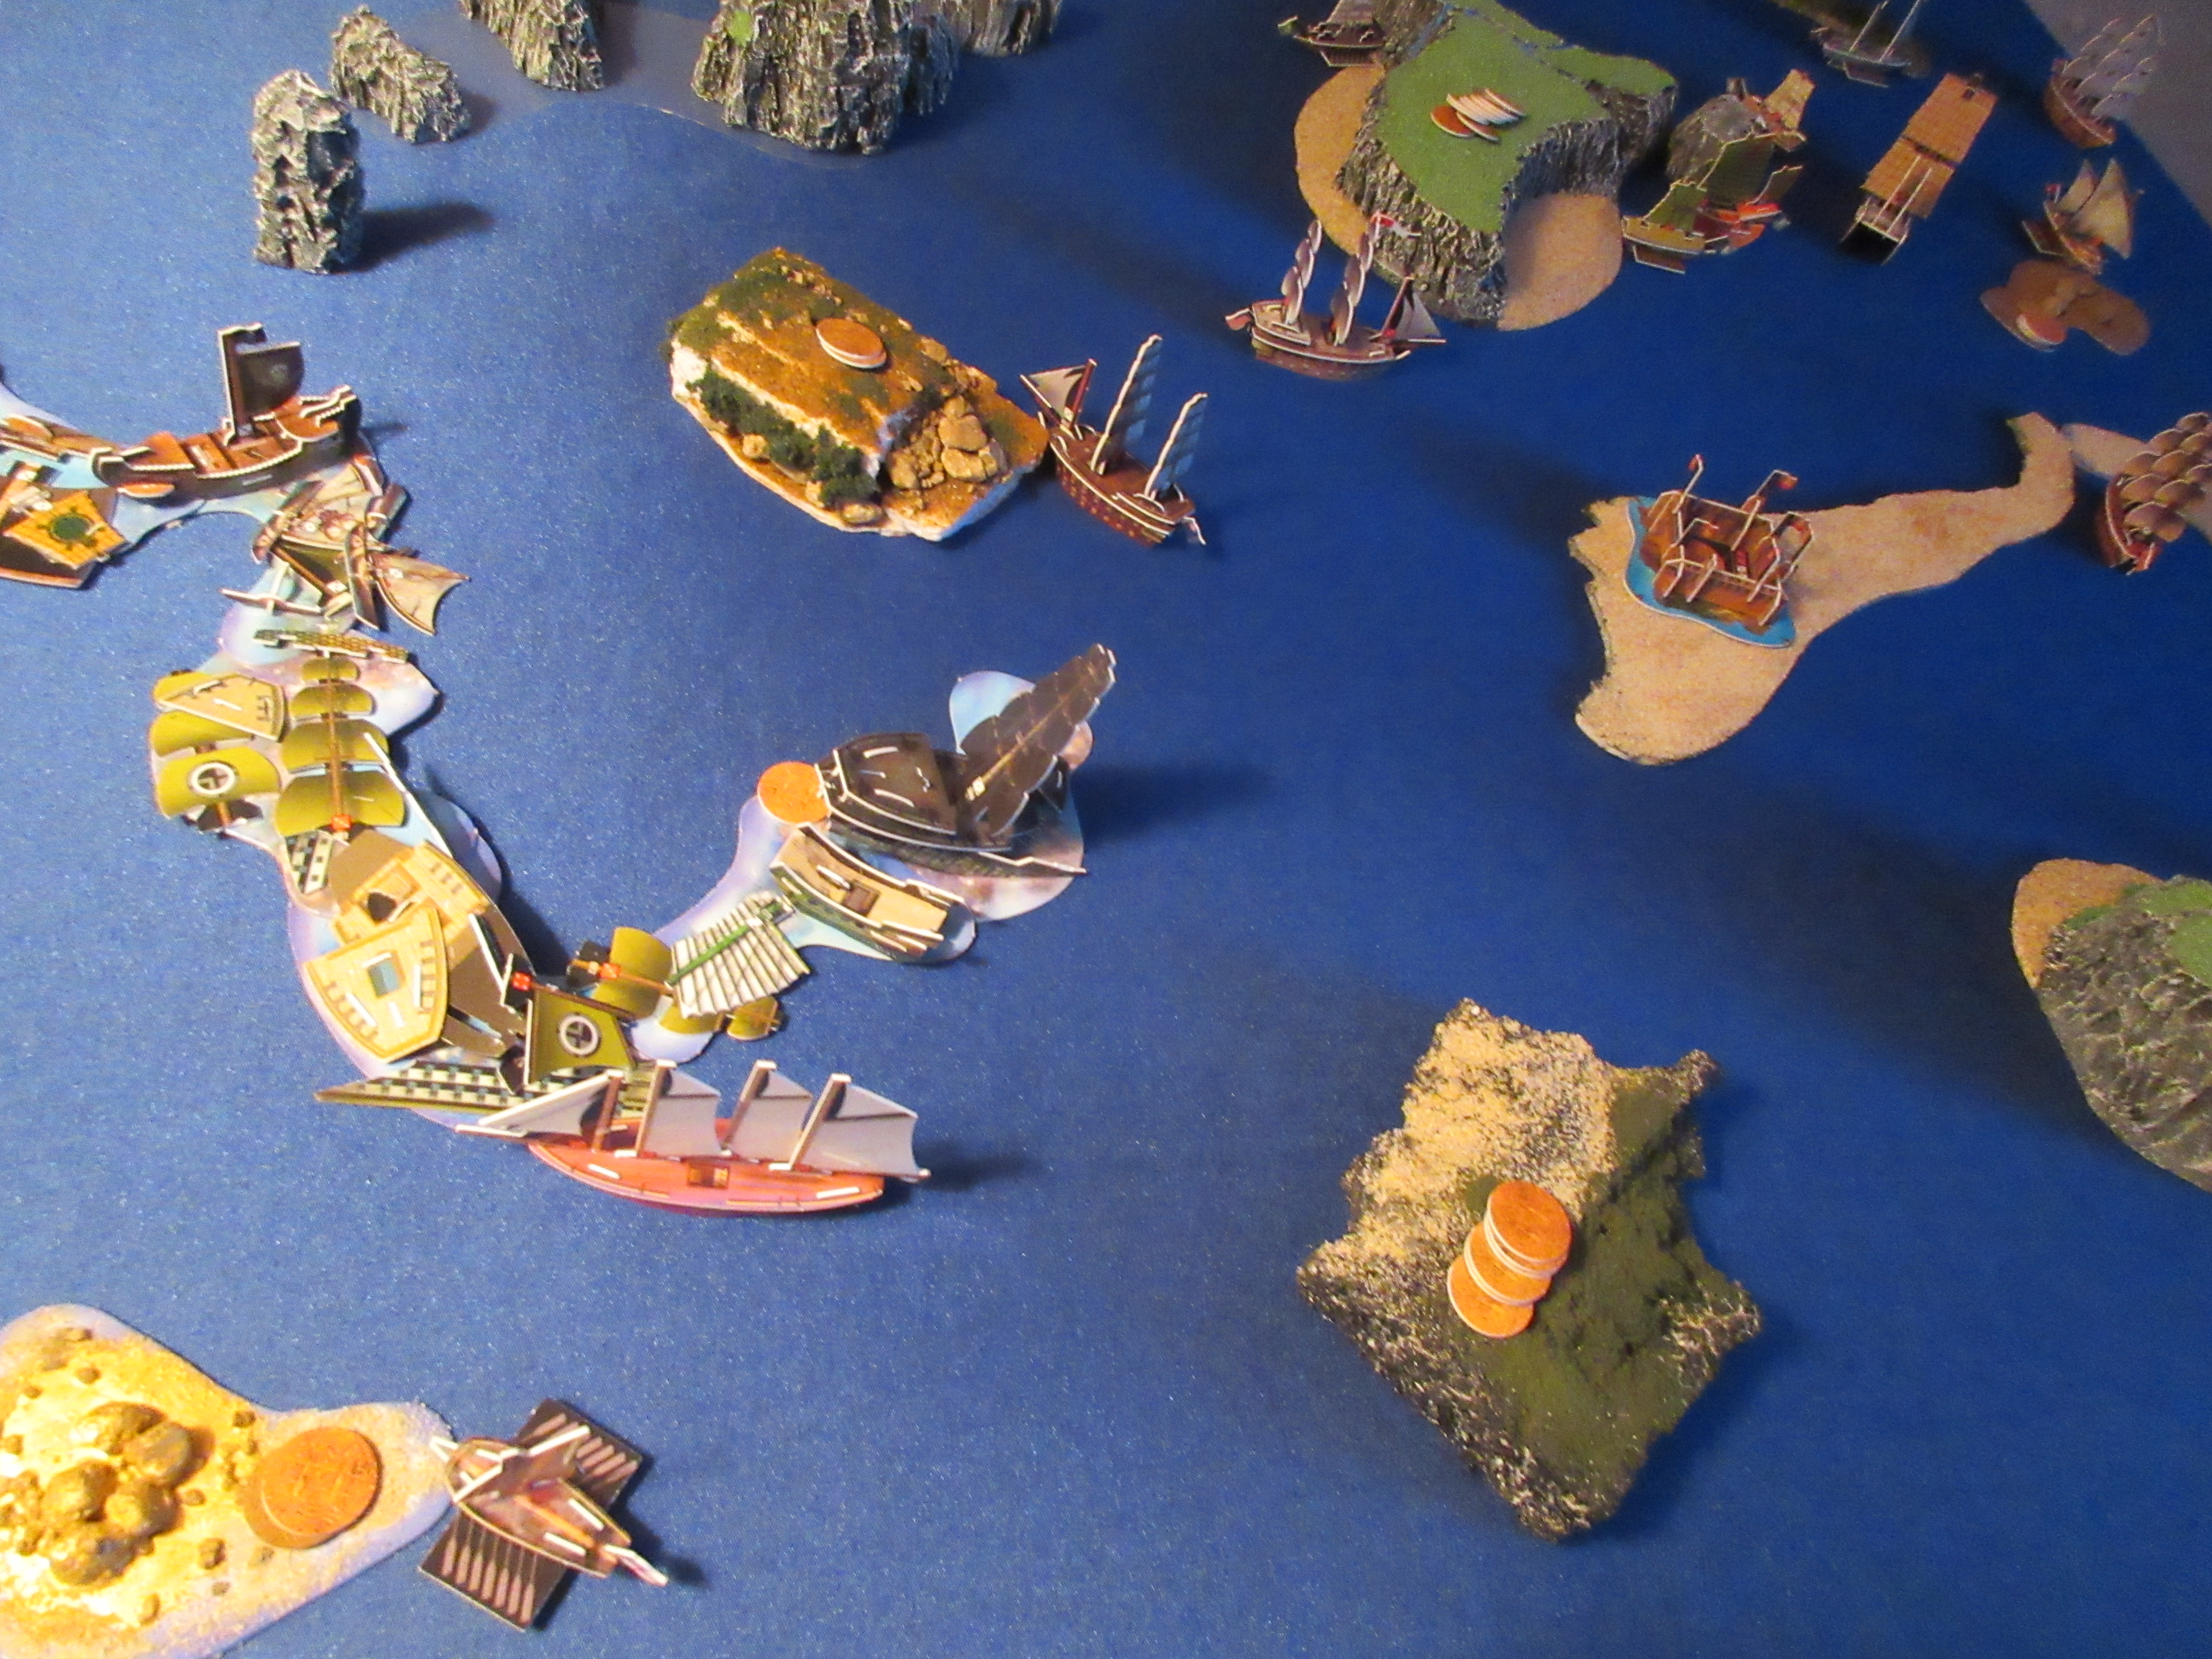
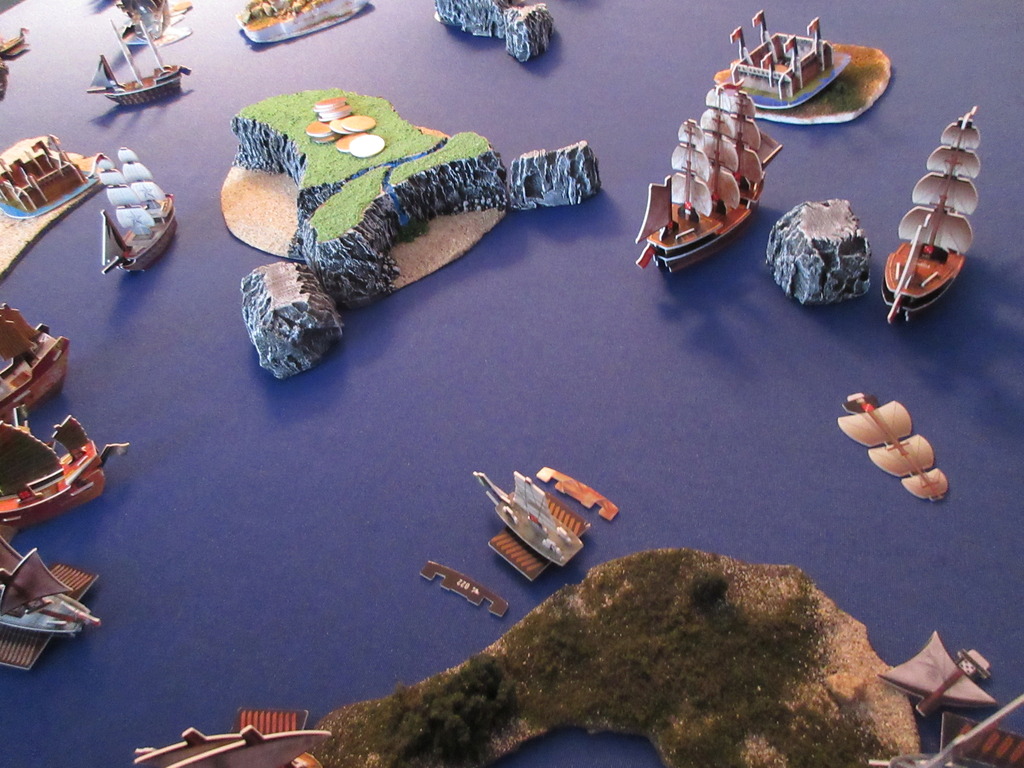
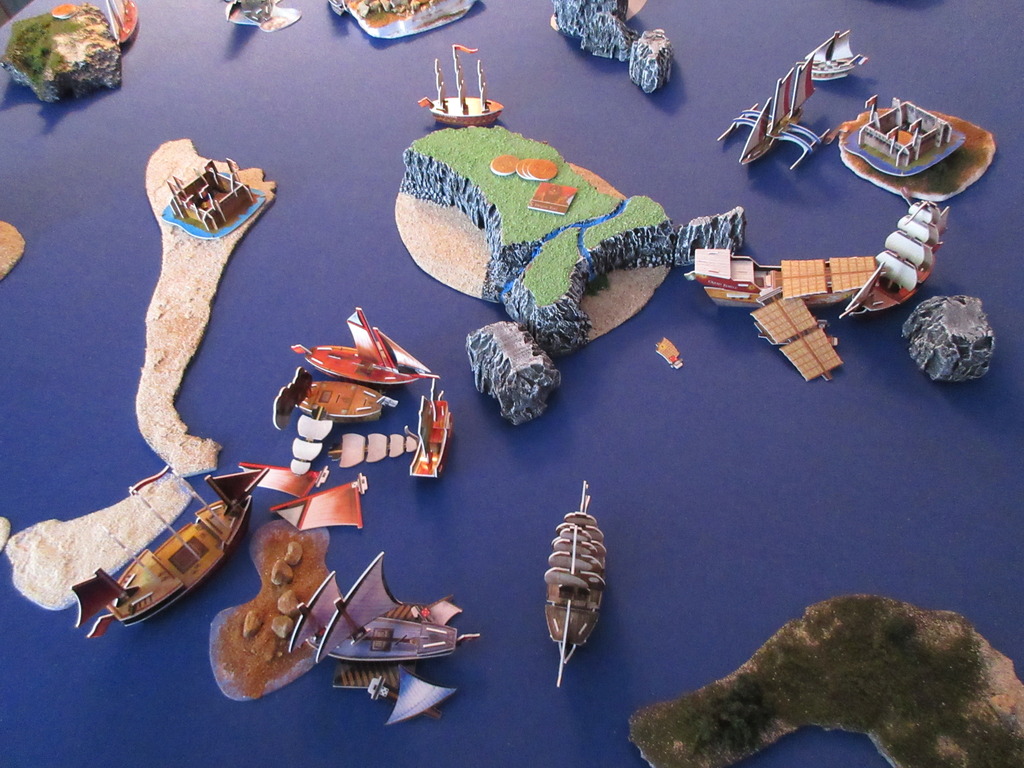
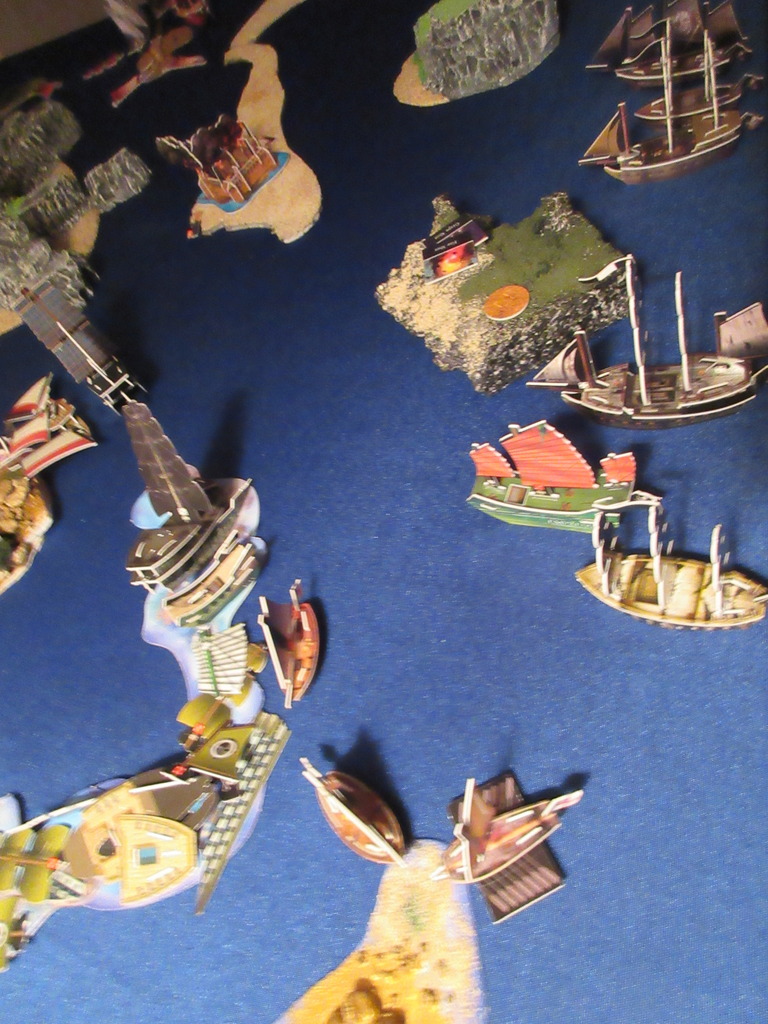
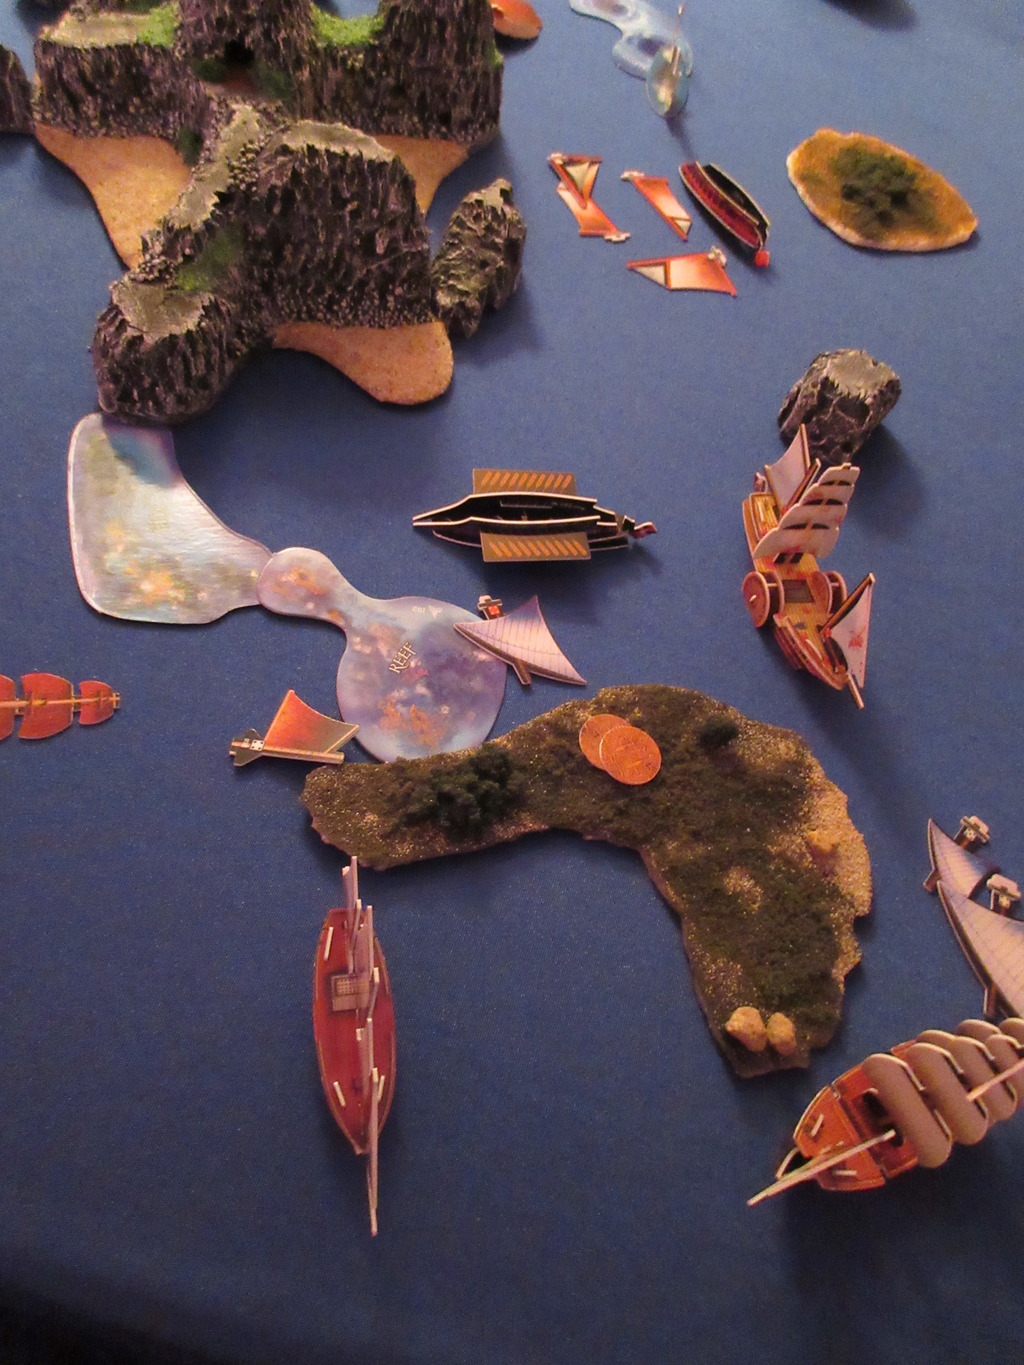
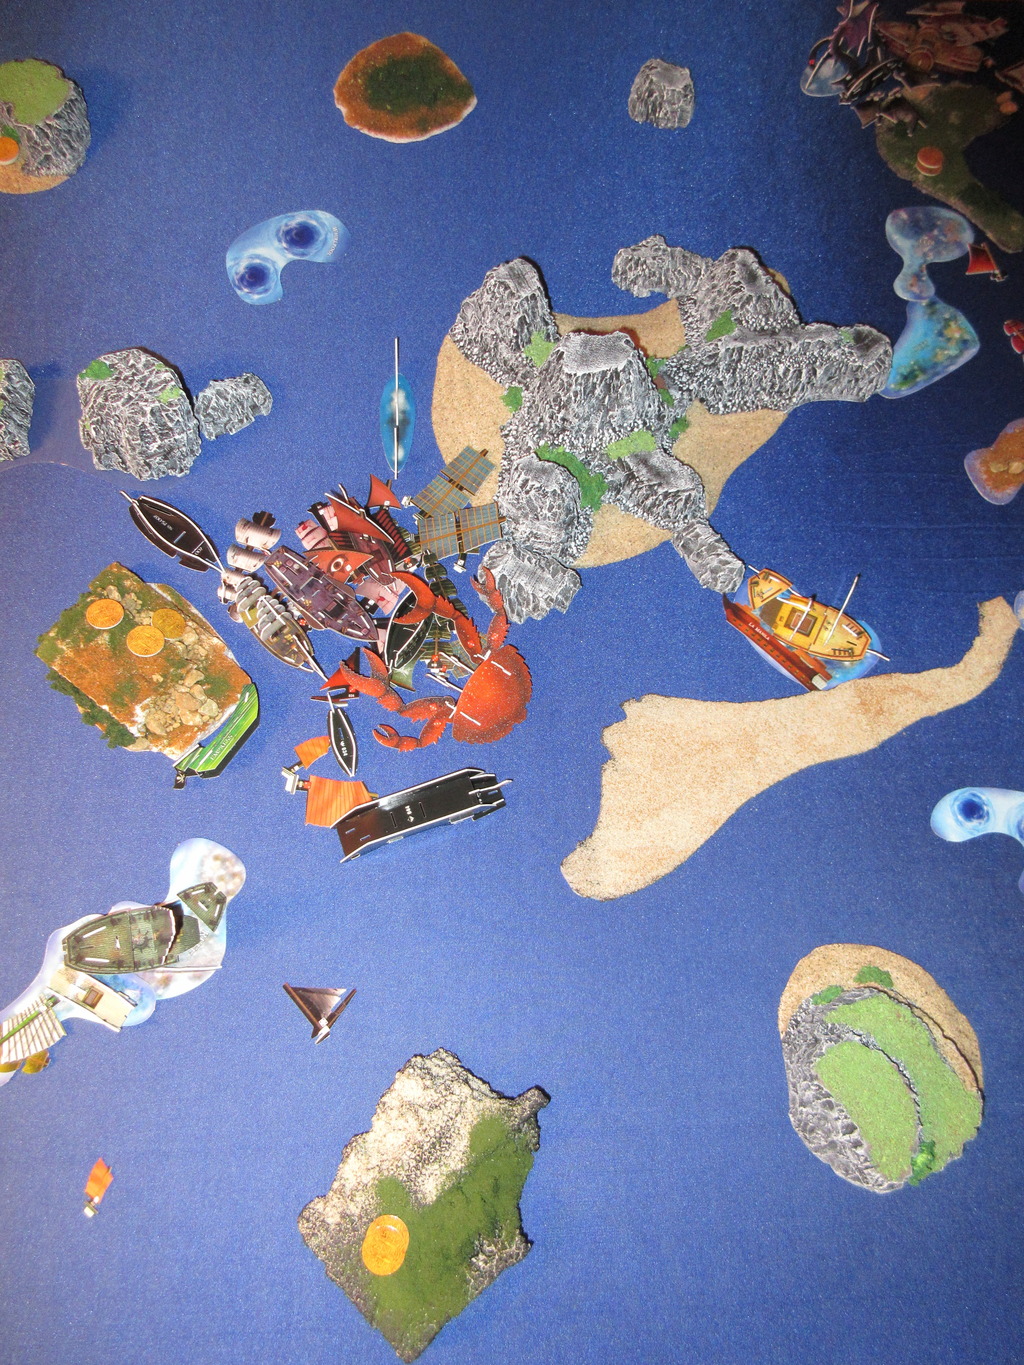
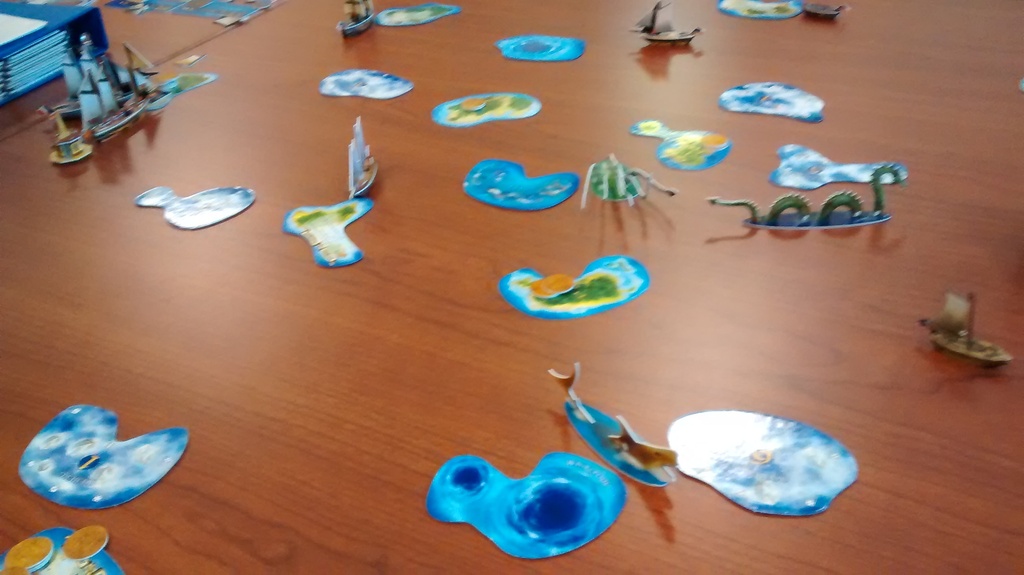
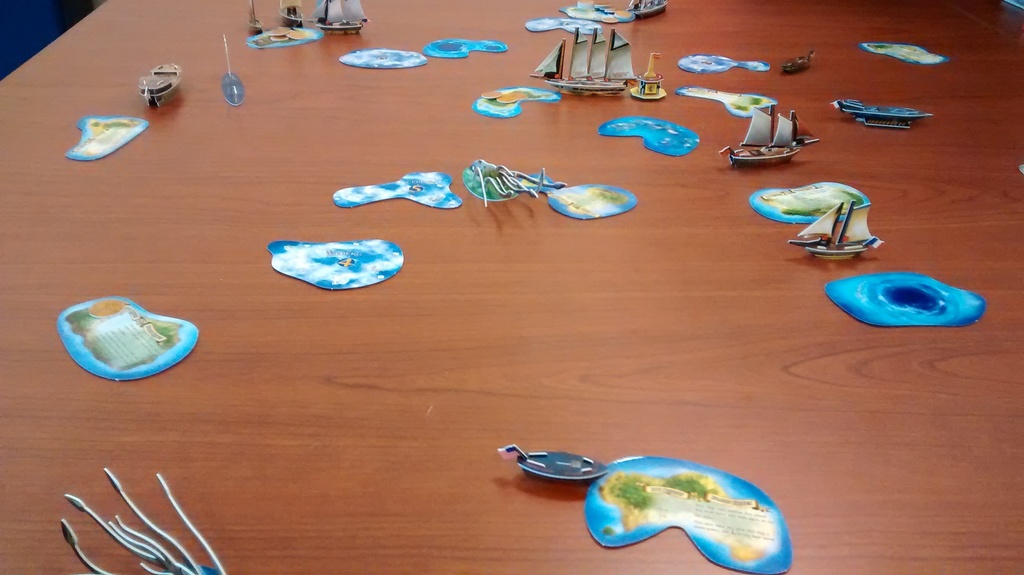
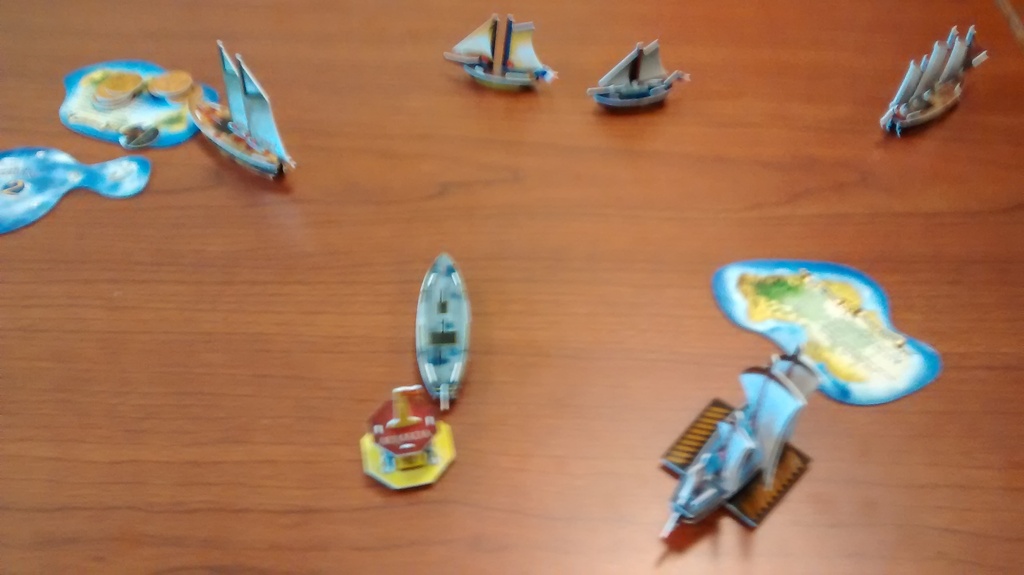
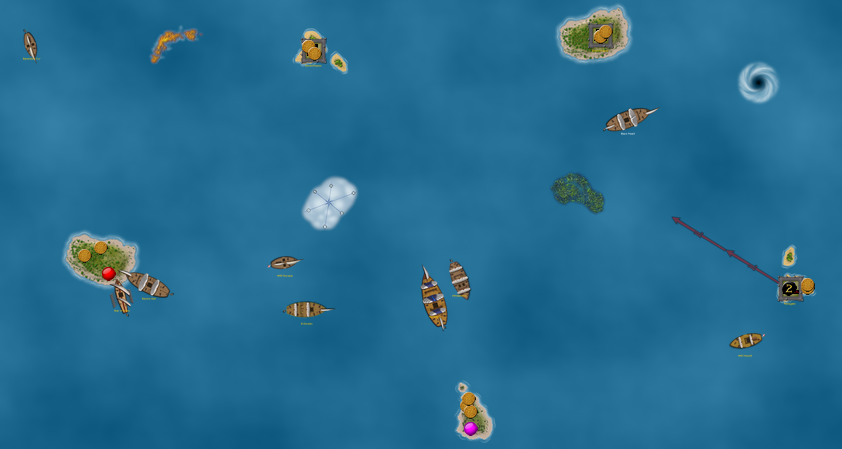
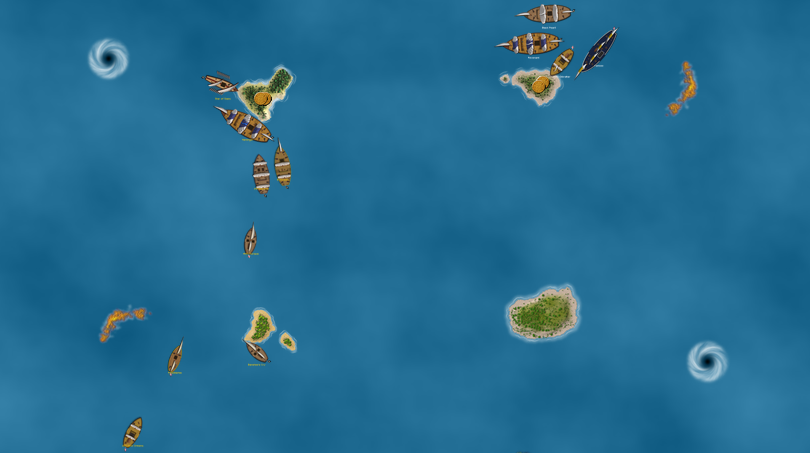
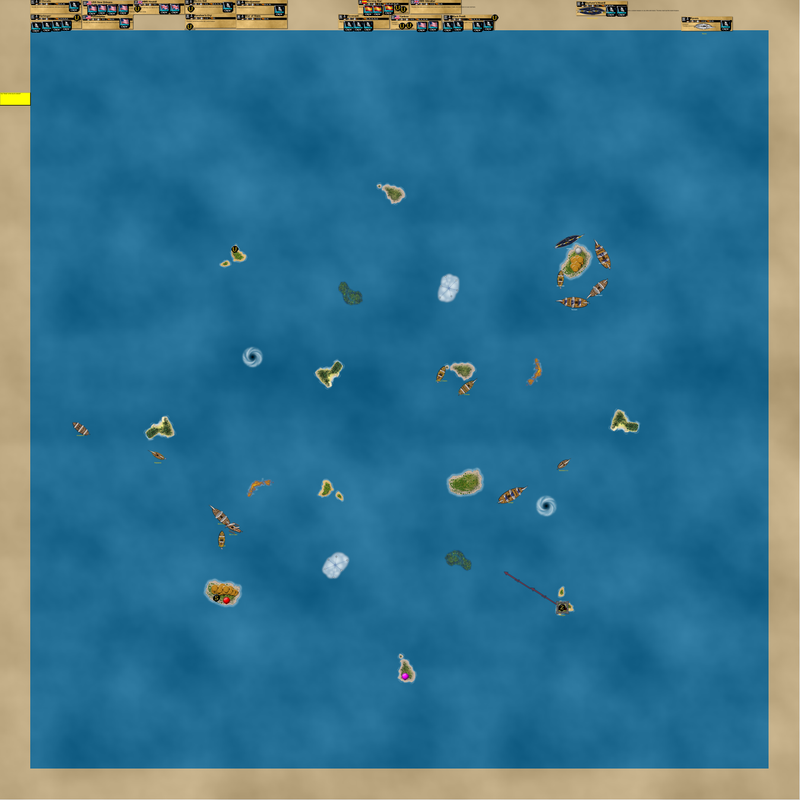
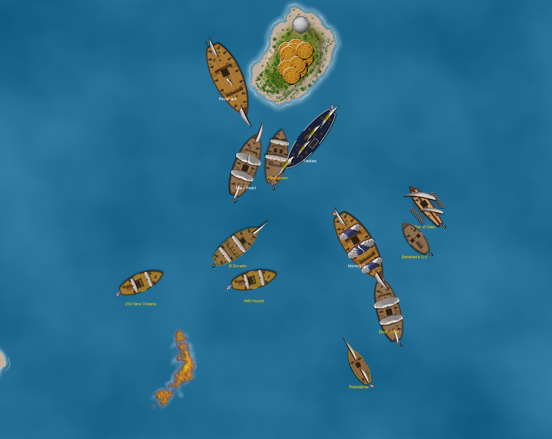
This picture shows most of the sea. The bottom of the frame is south, while the top is north. The English and Spanish HI’s are at the edge of the table, while the Jade Rebellion sits in the middle. The French can just be seen at the top right in the northeast. Notice how the huge sandbar separates the Spanish and the Jade Rebellion, while the shipwrecks are a dominating factor of the northwest.
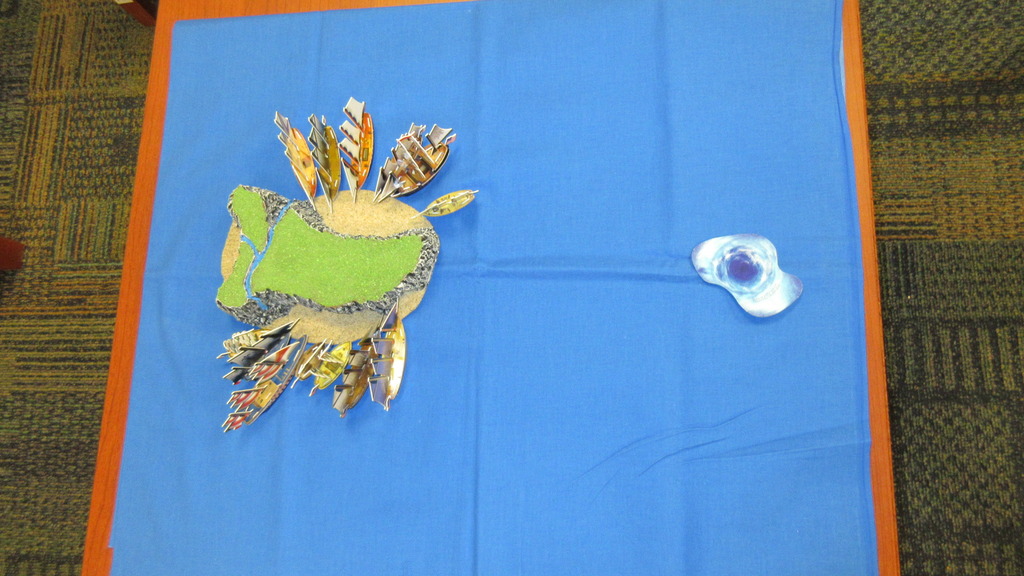
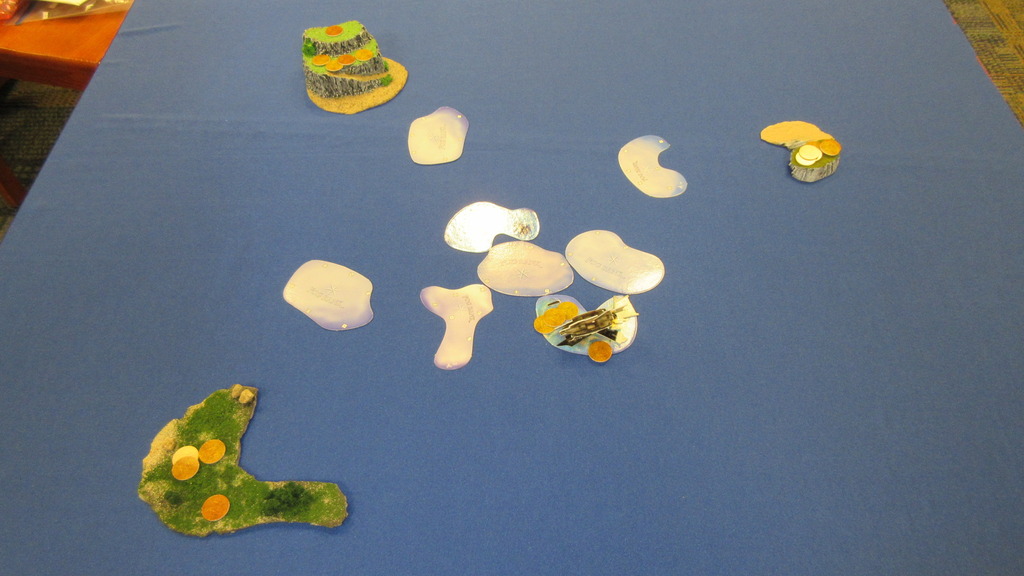
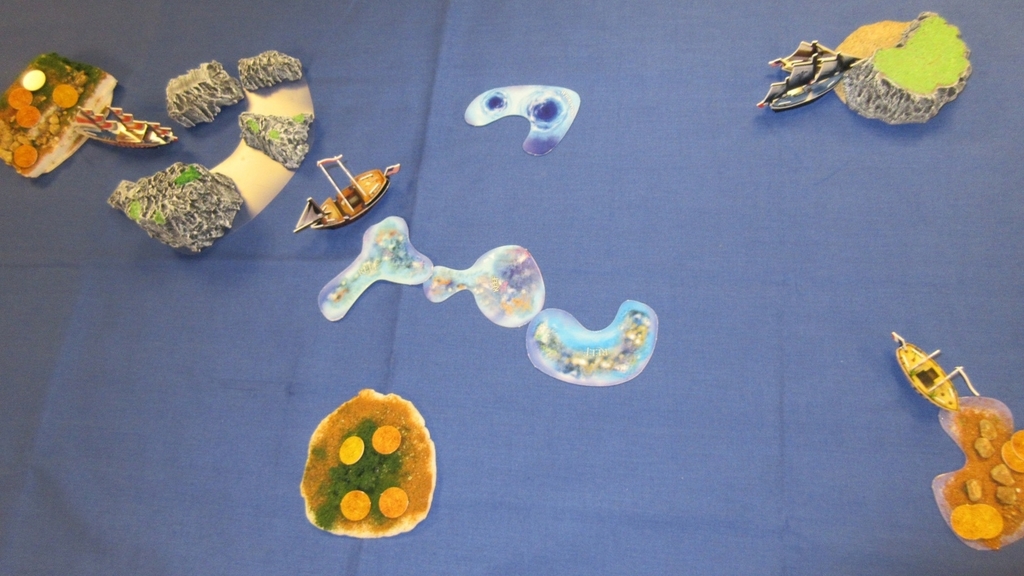
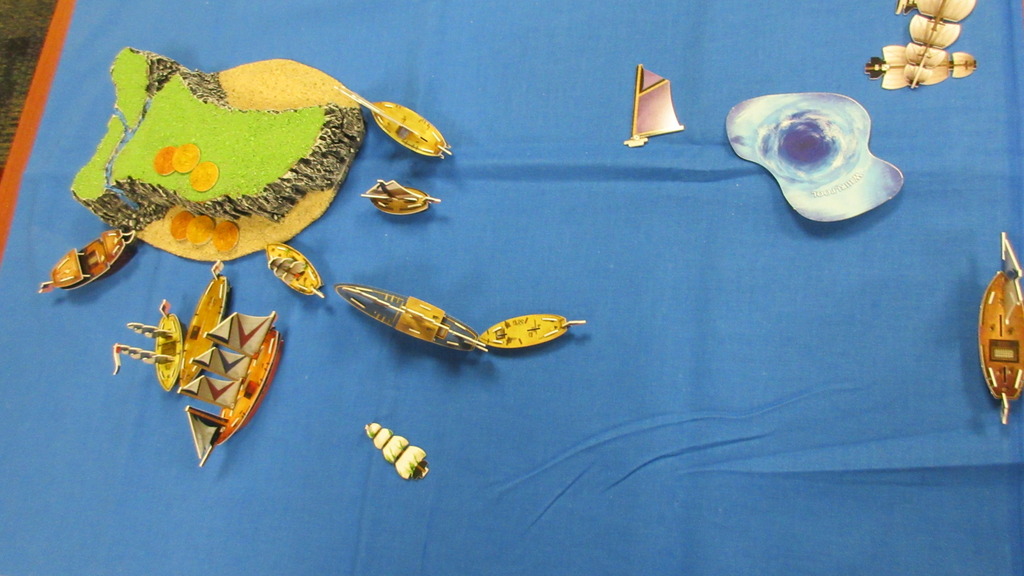
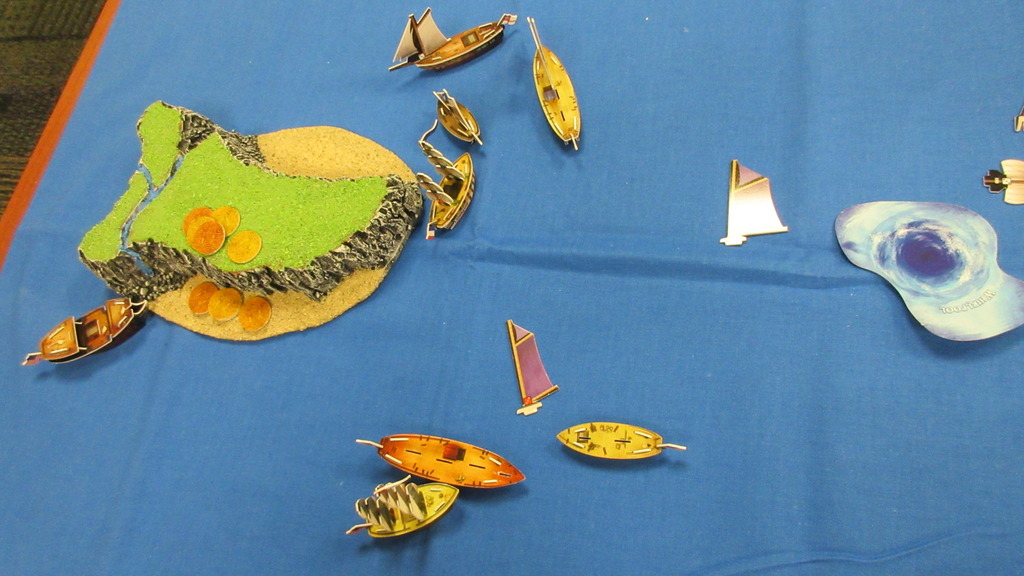
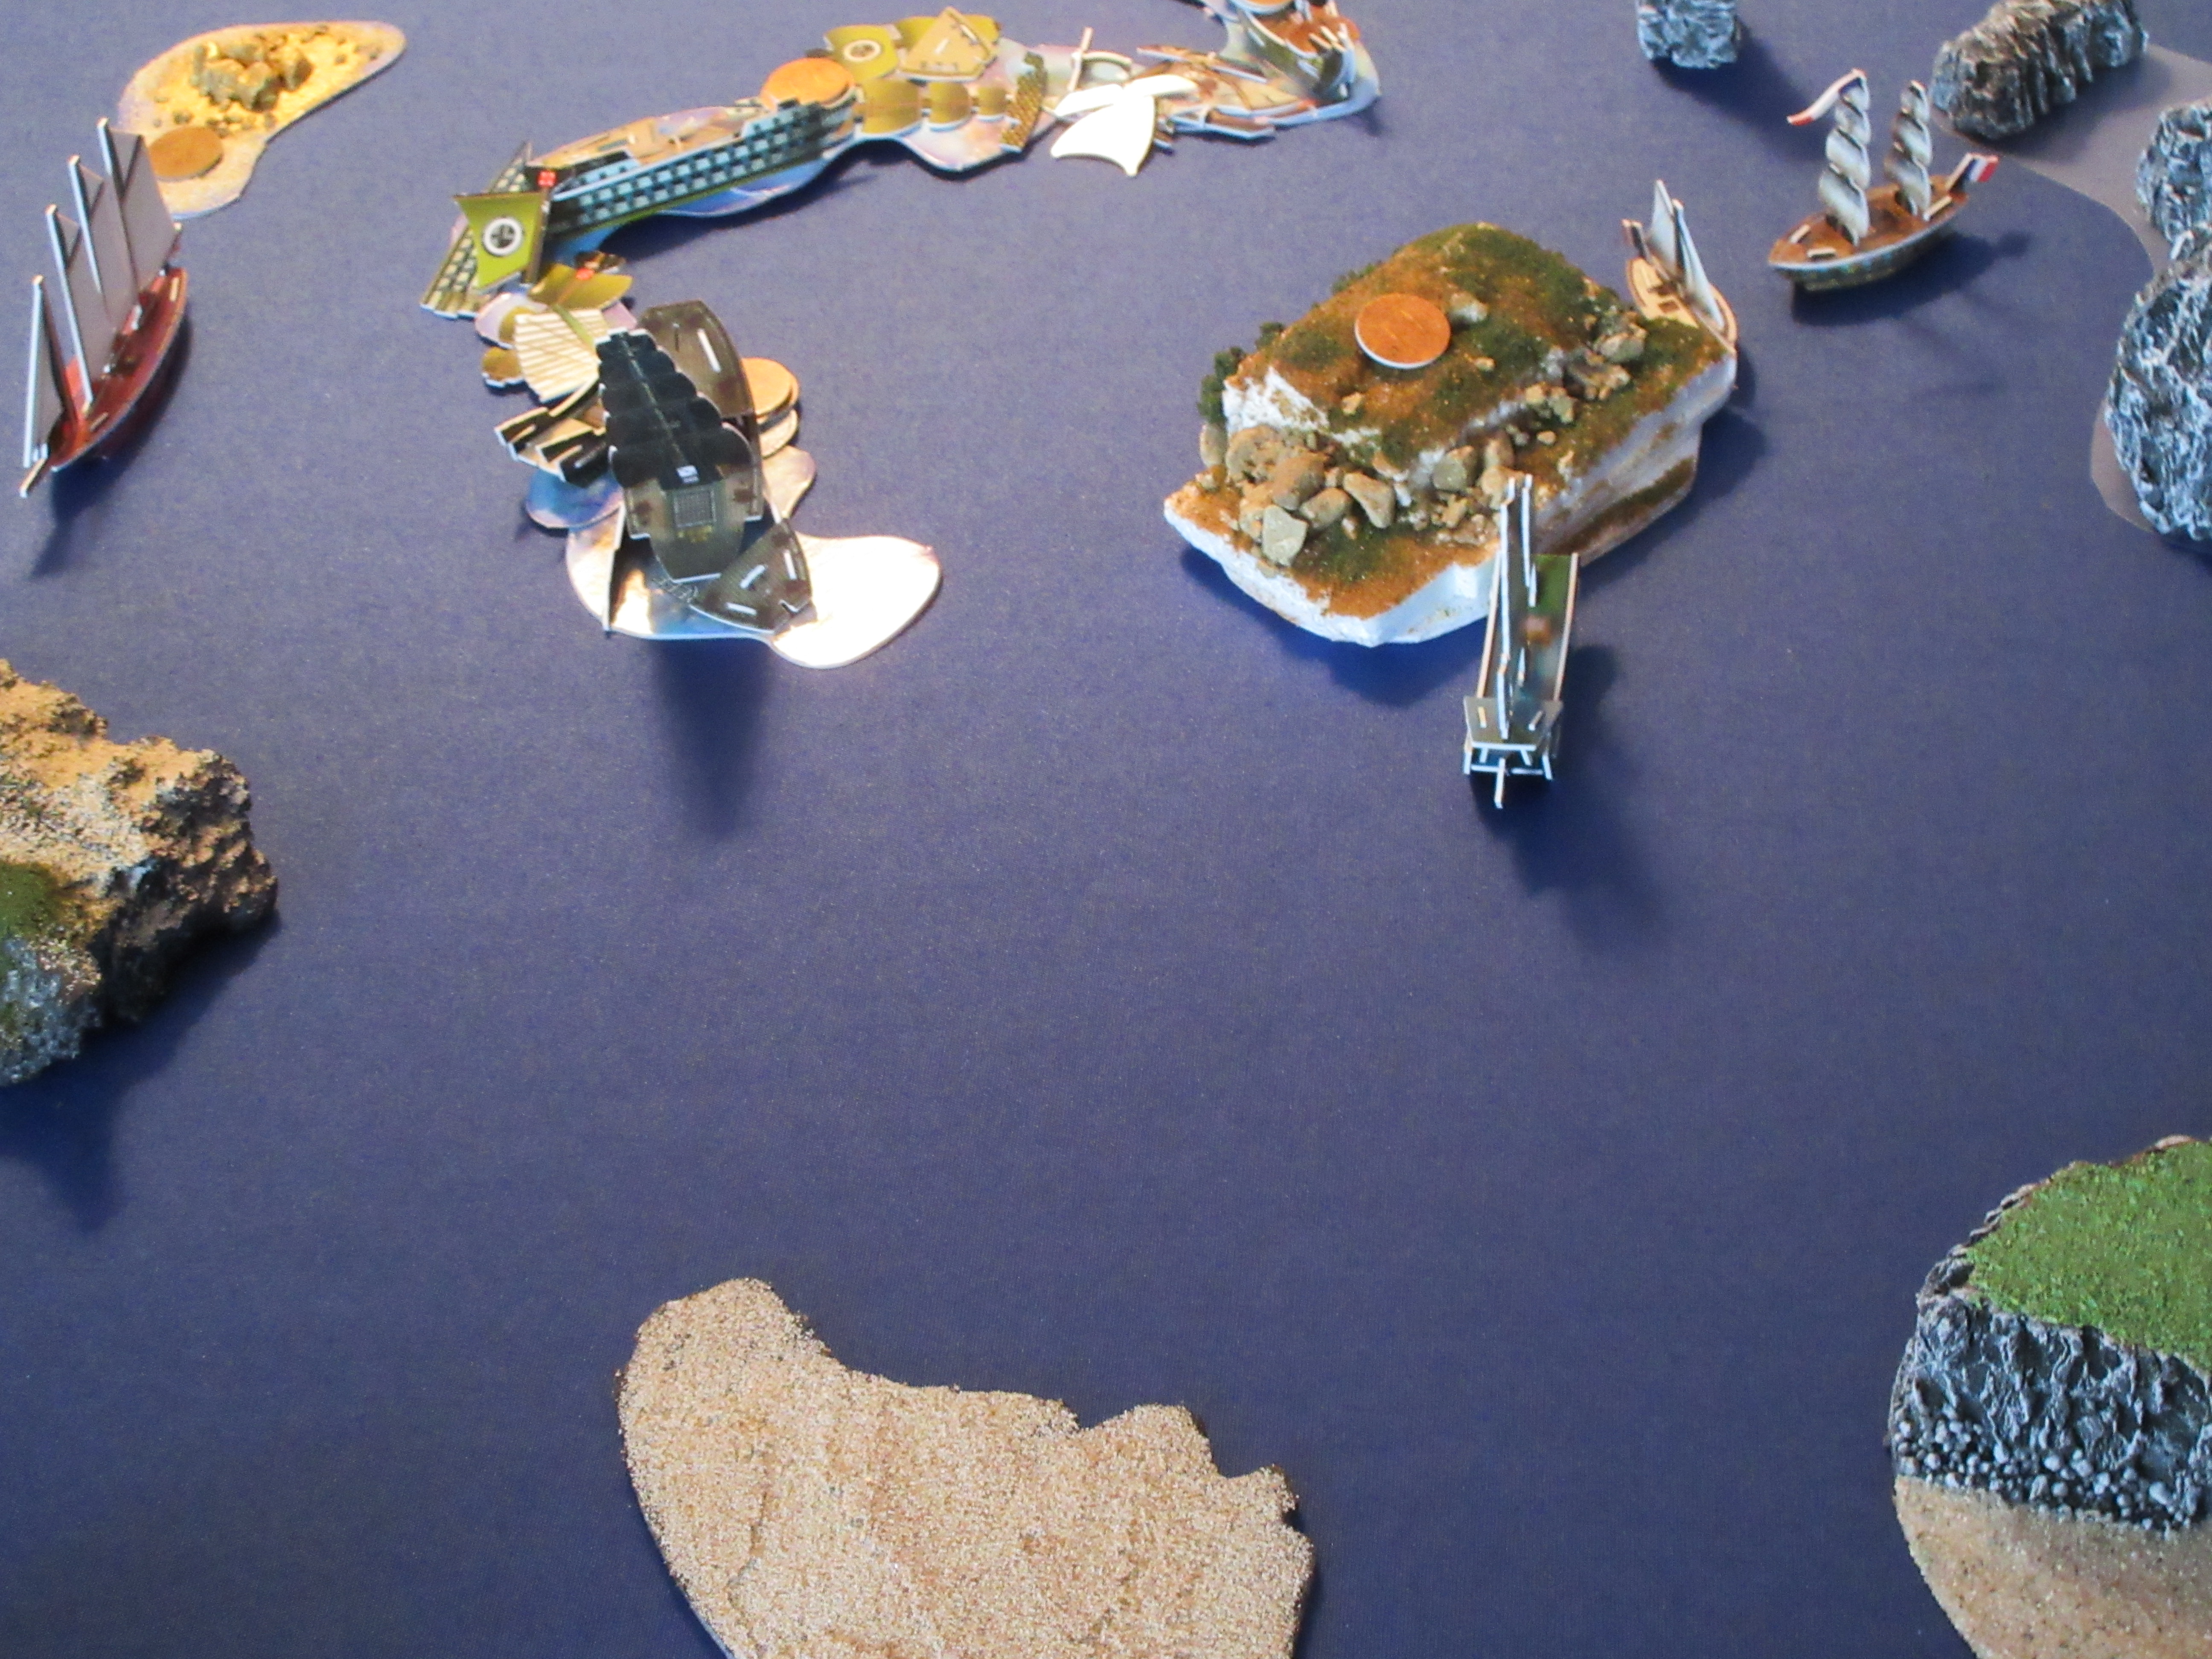
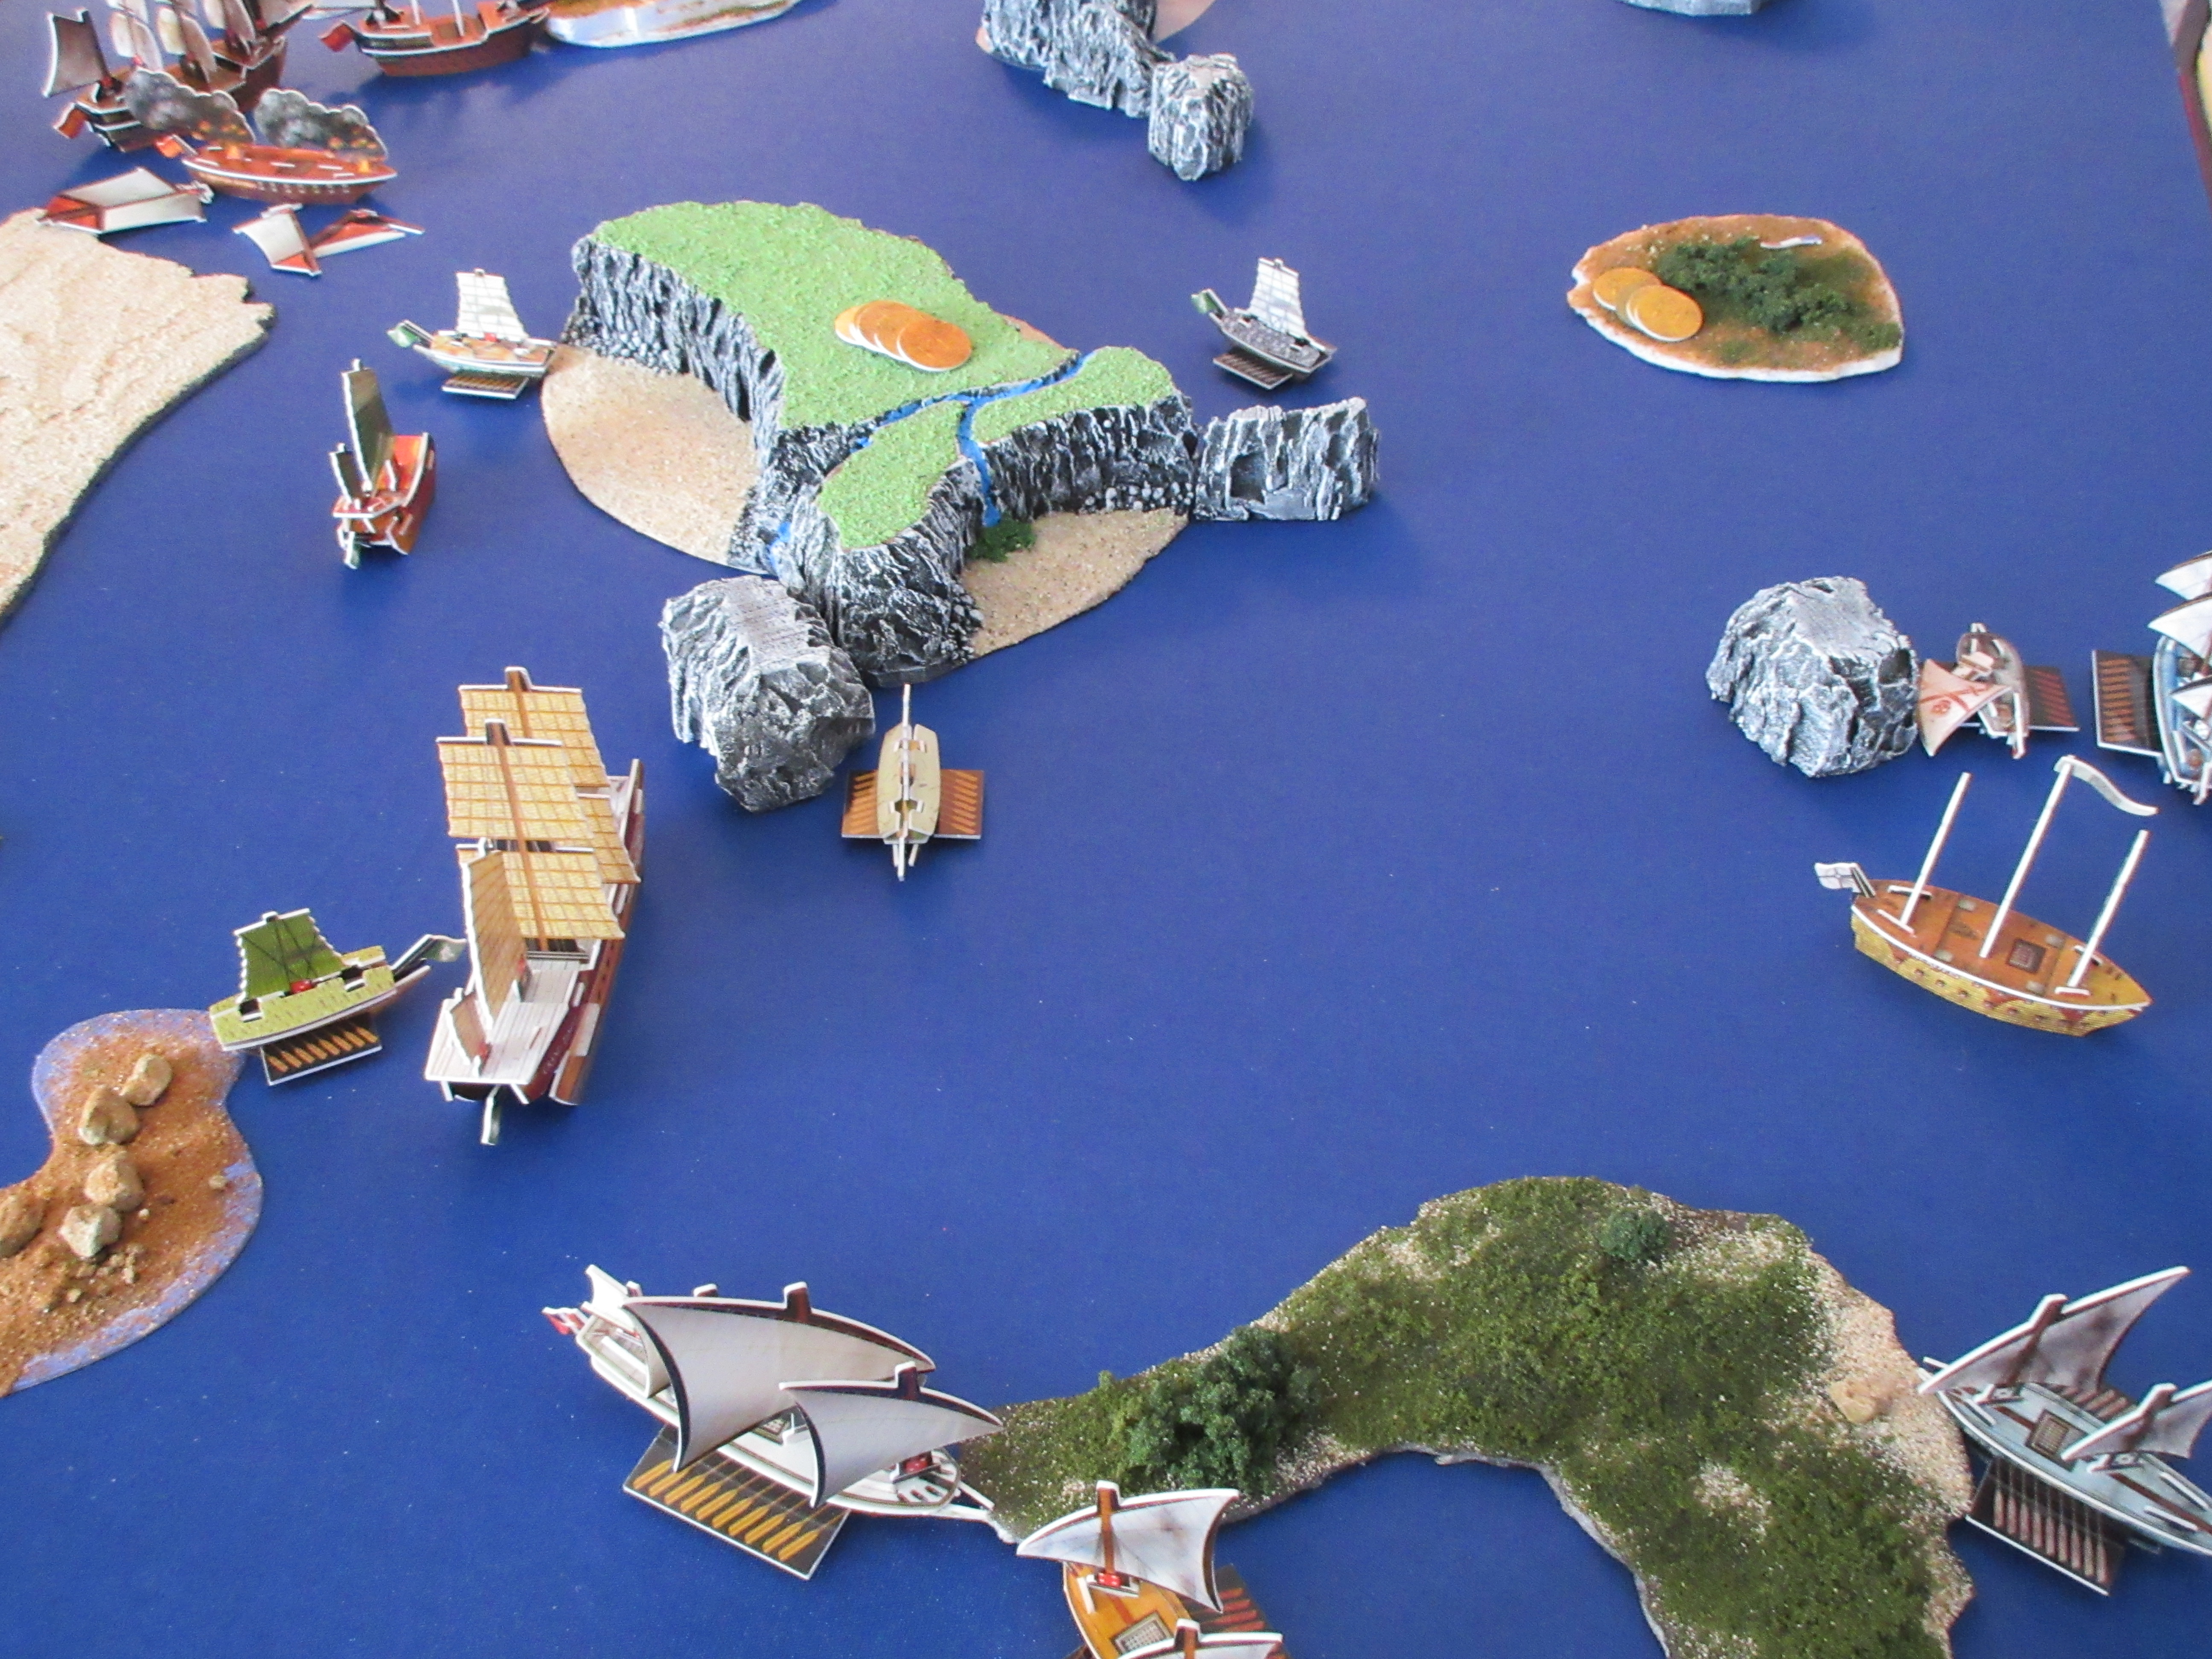
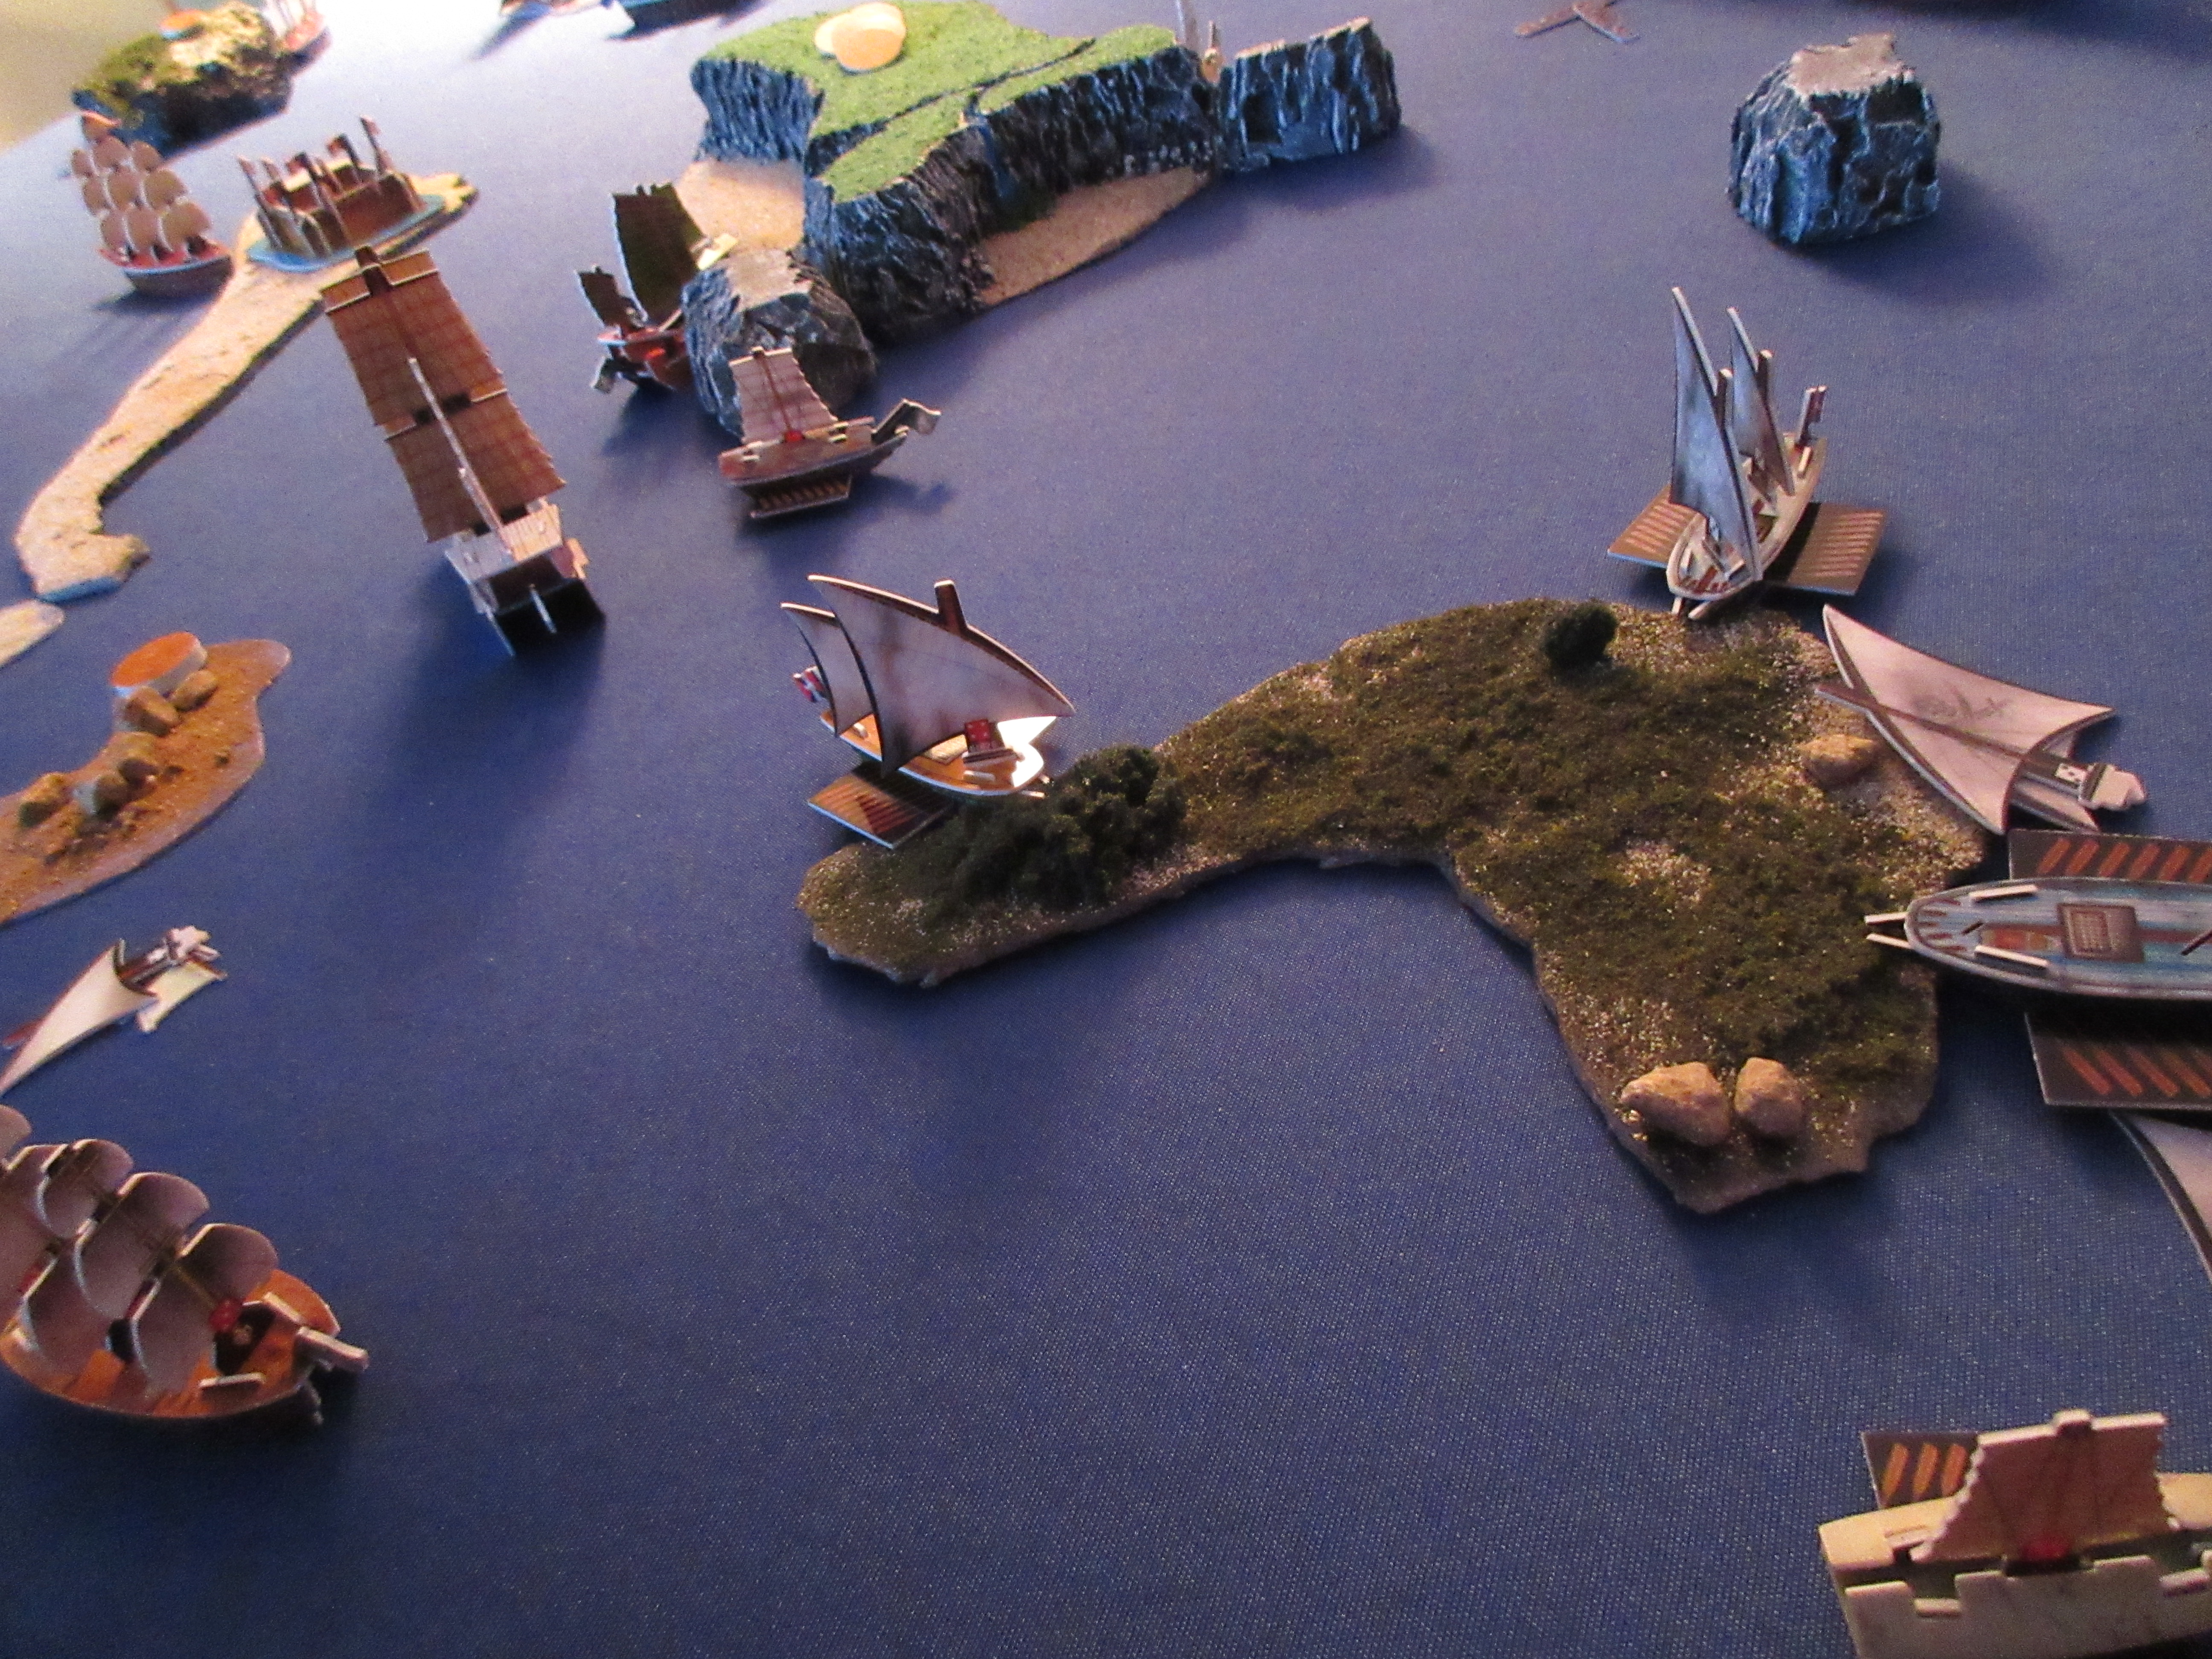
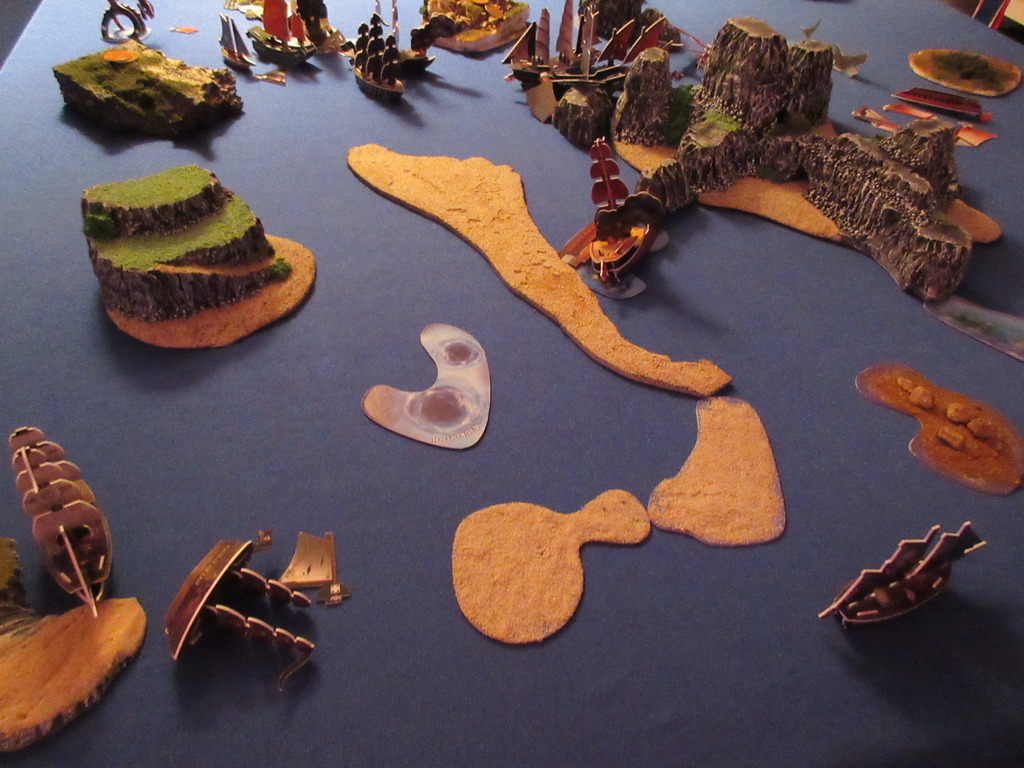
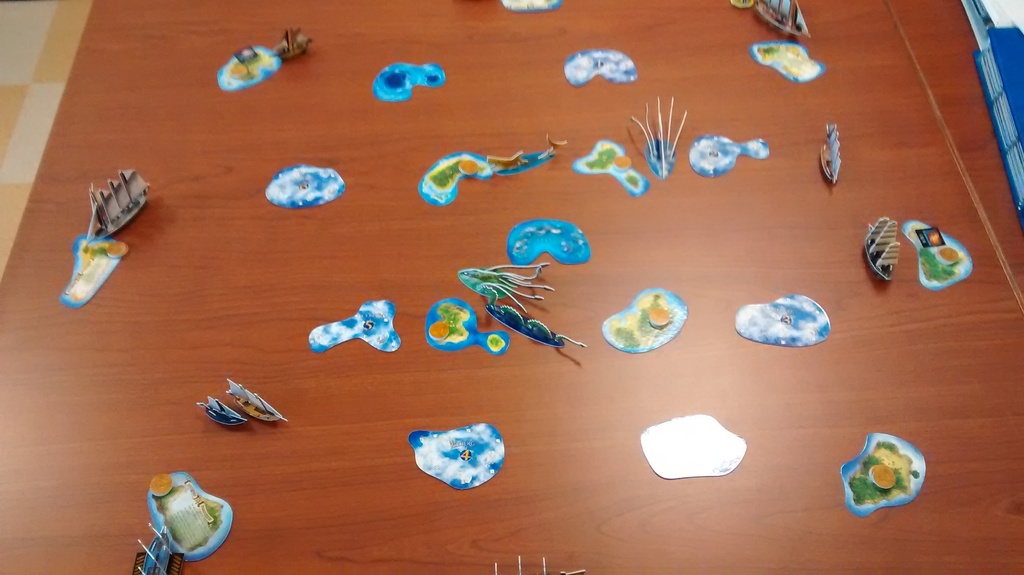
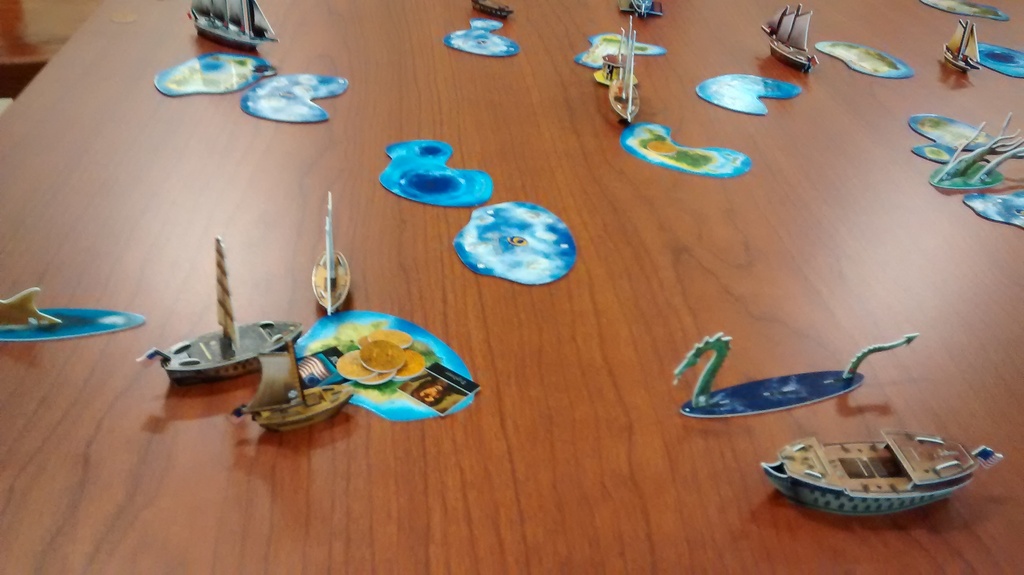
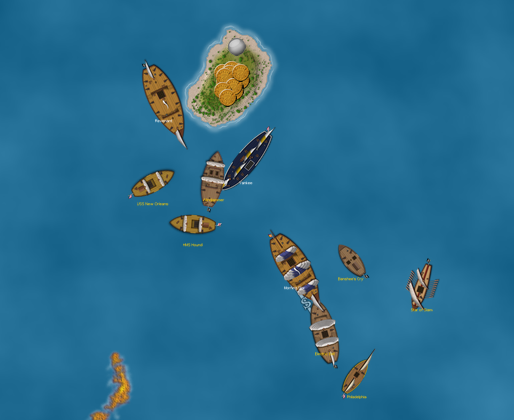
Also looking south to north, here’s the rest of the sea, showing the east where the Jade Rebels and Frenchmen reside. The Jade Rebellion has easy access to four of the six wild islands, but this is not the case for the other fleets.
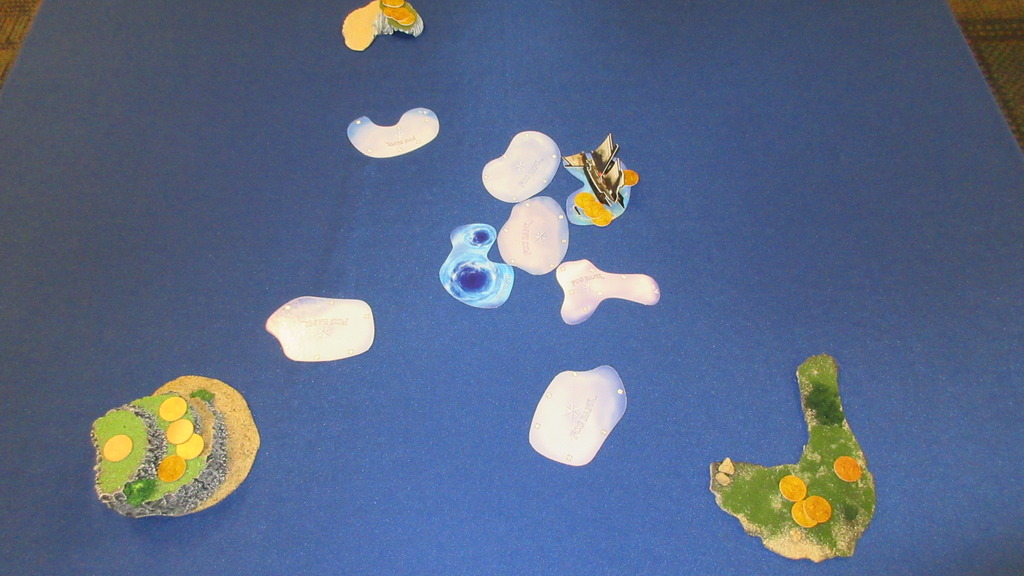
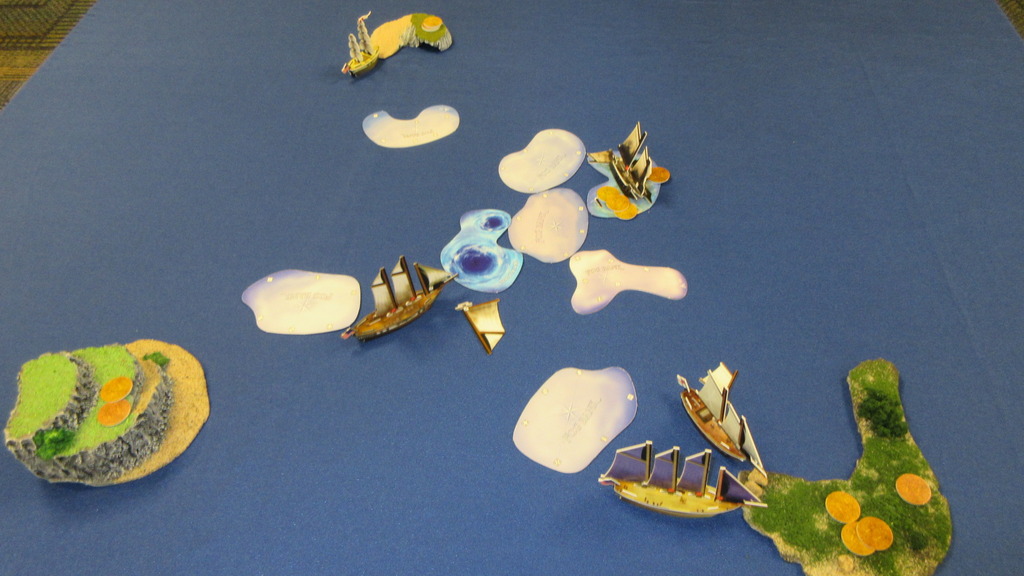
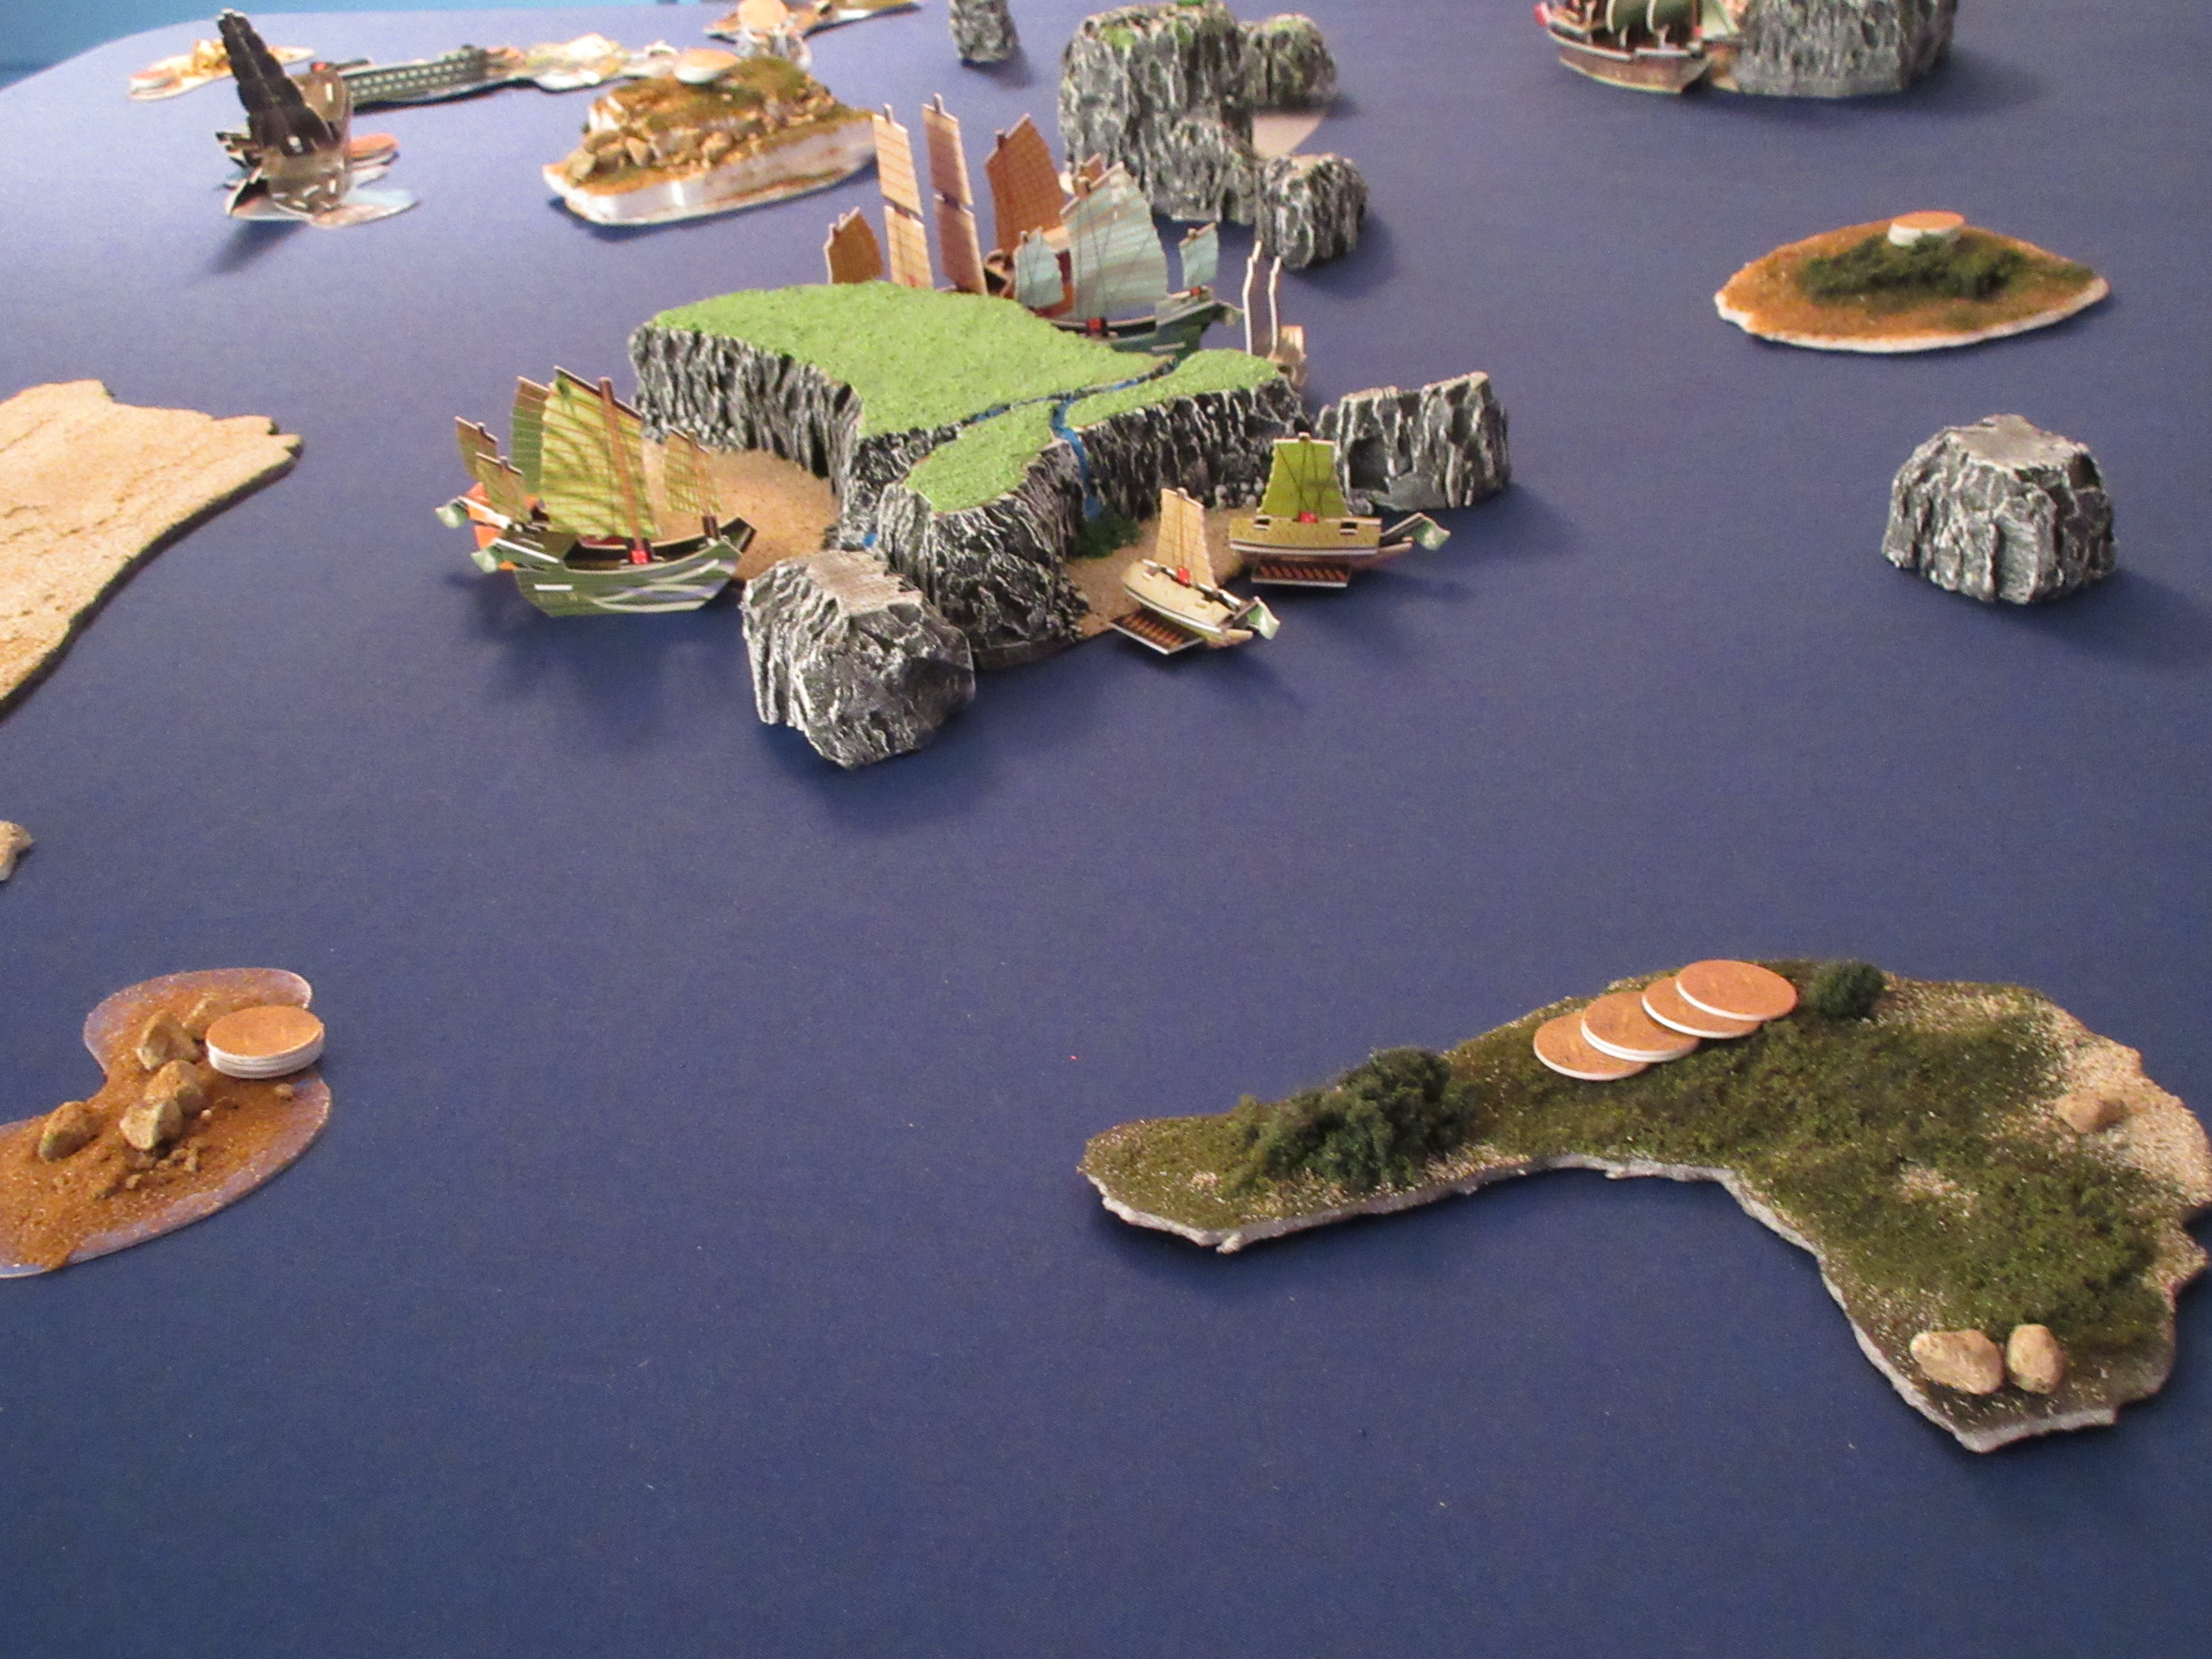
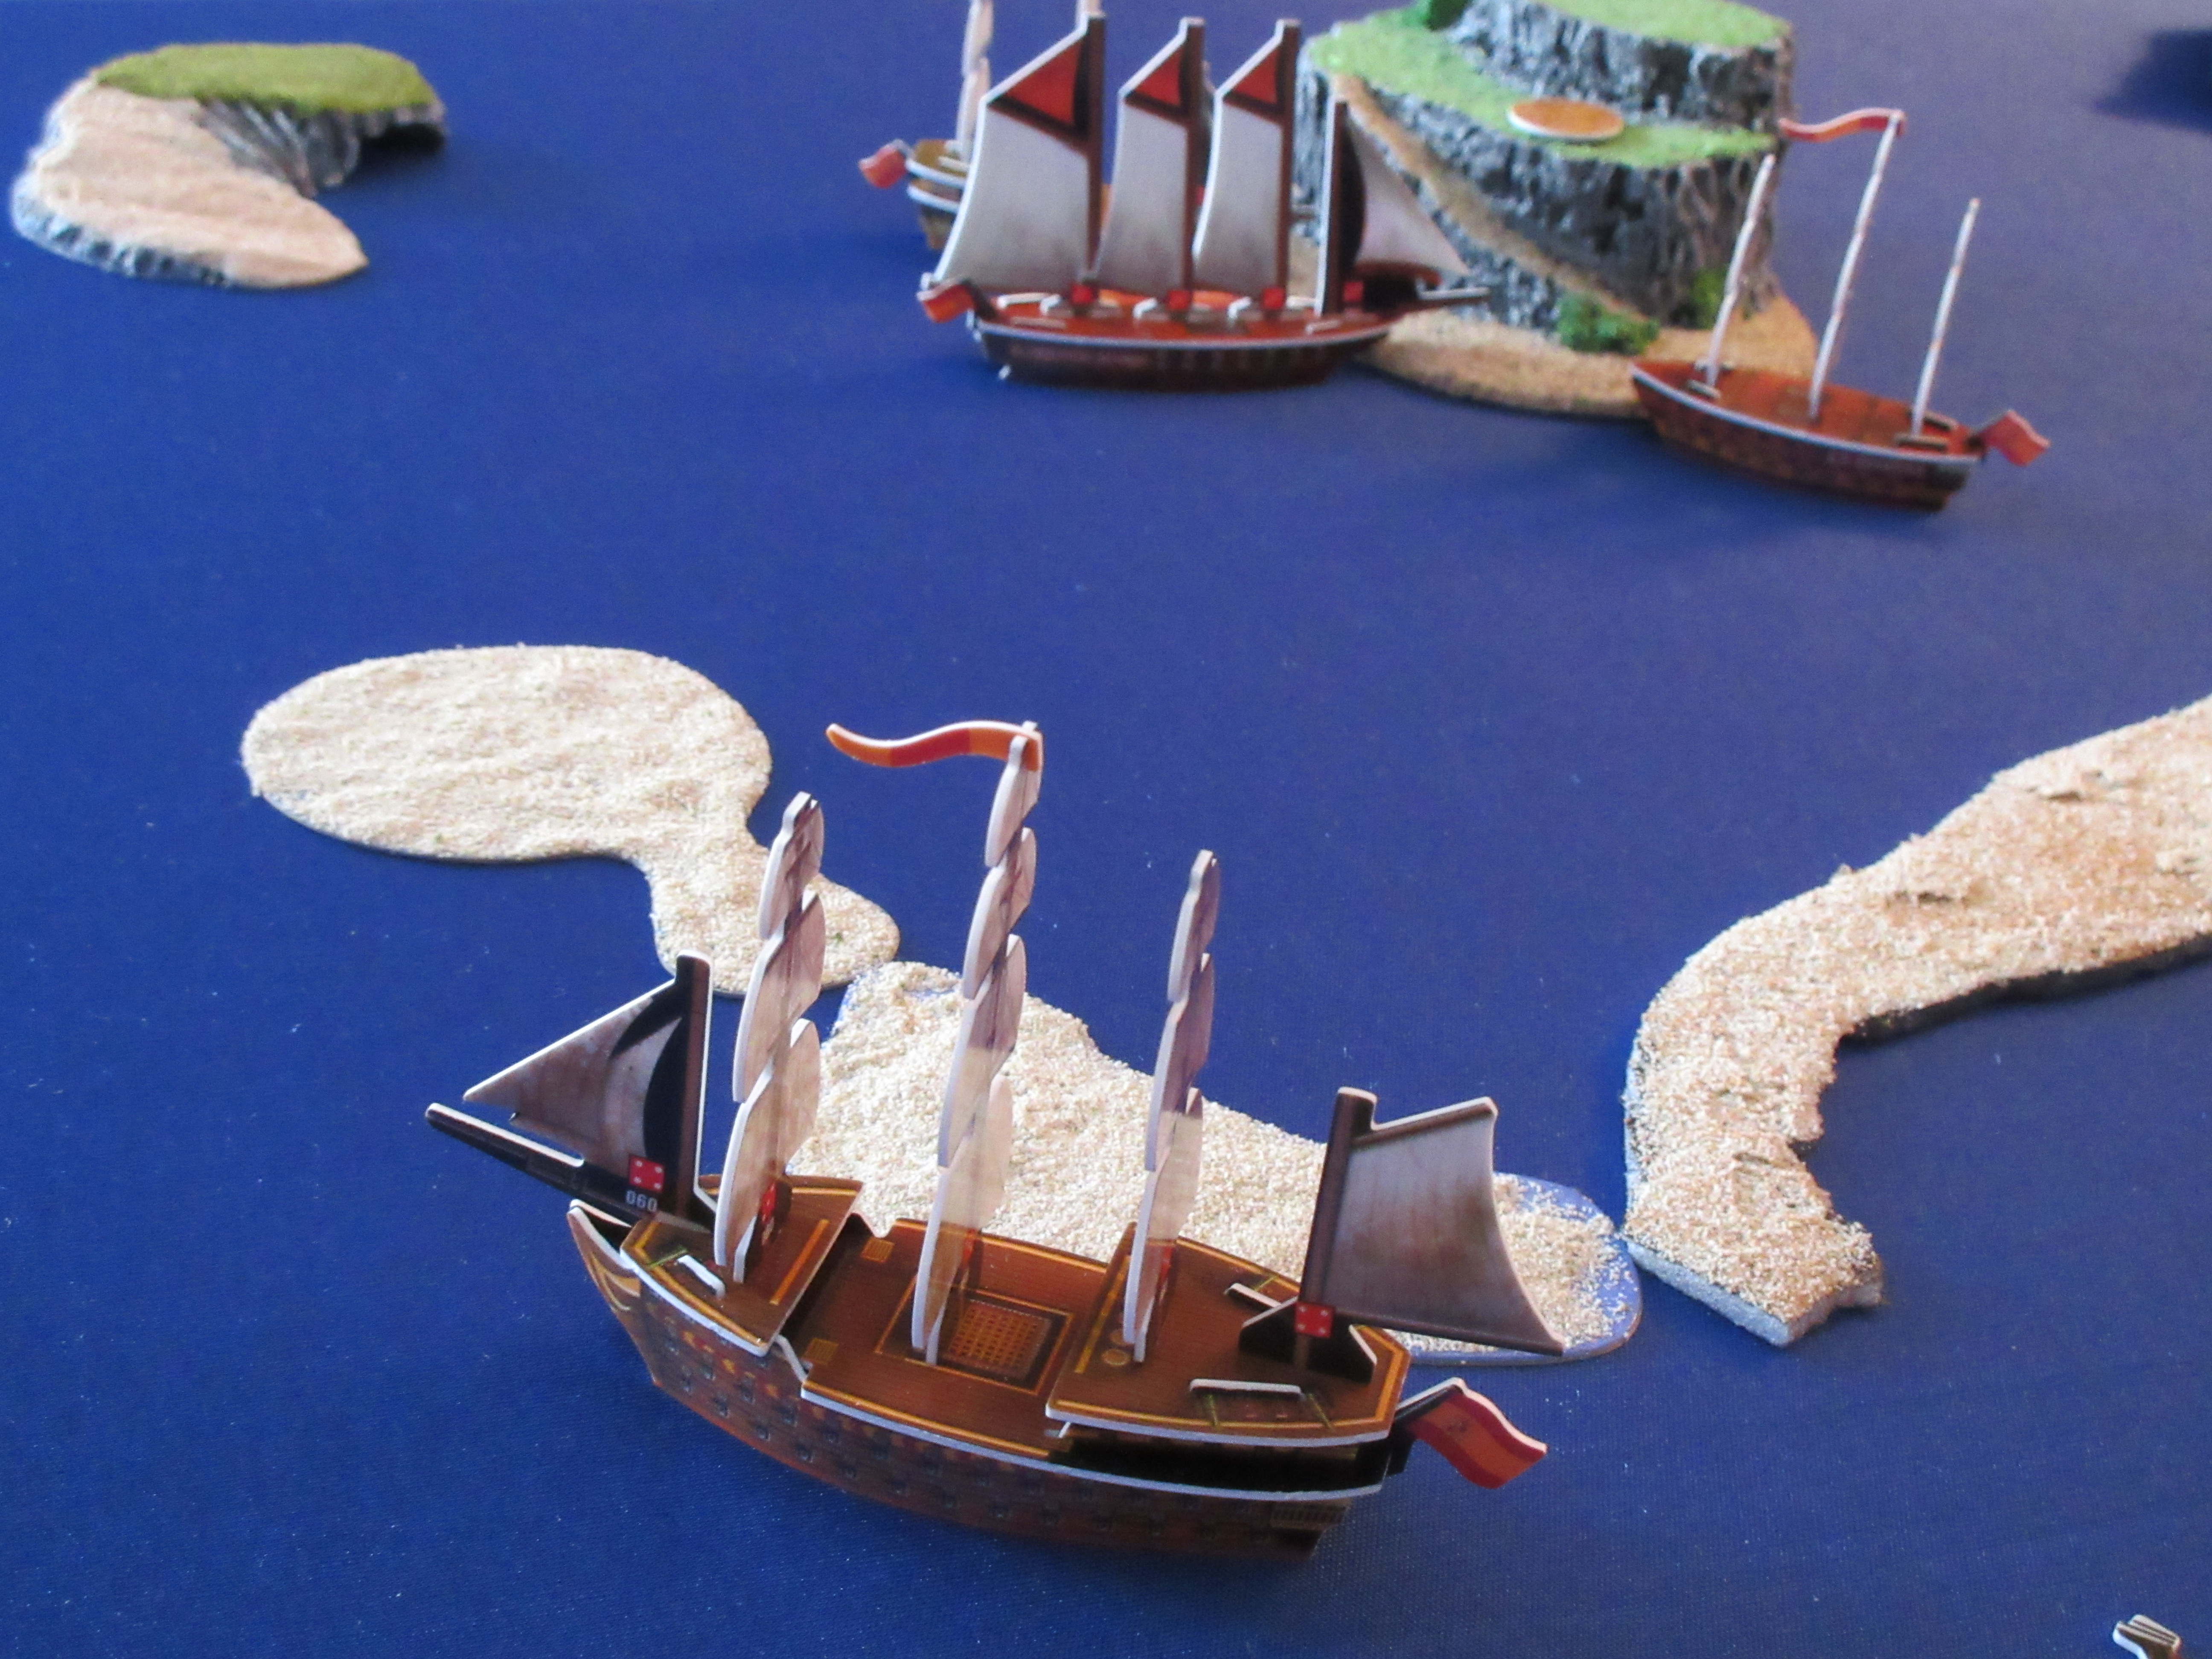
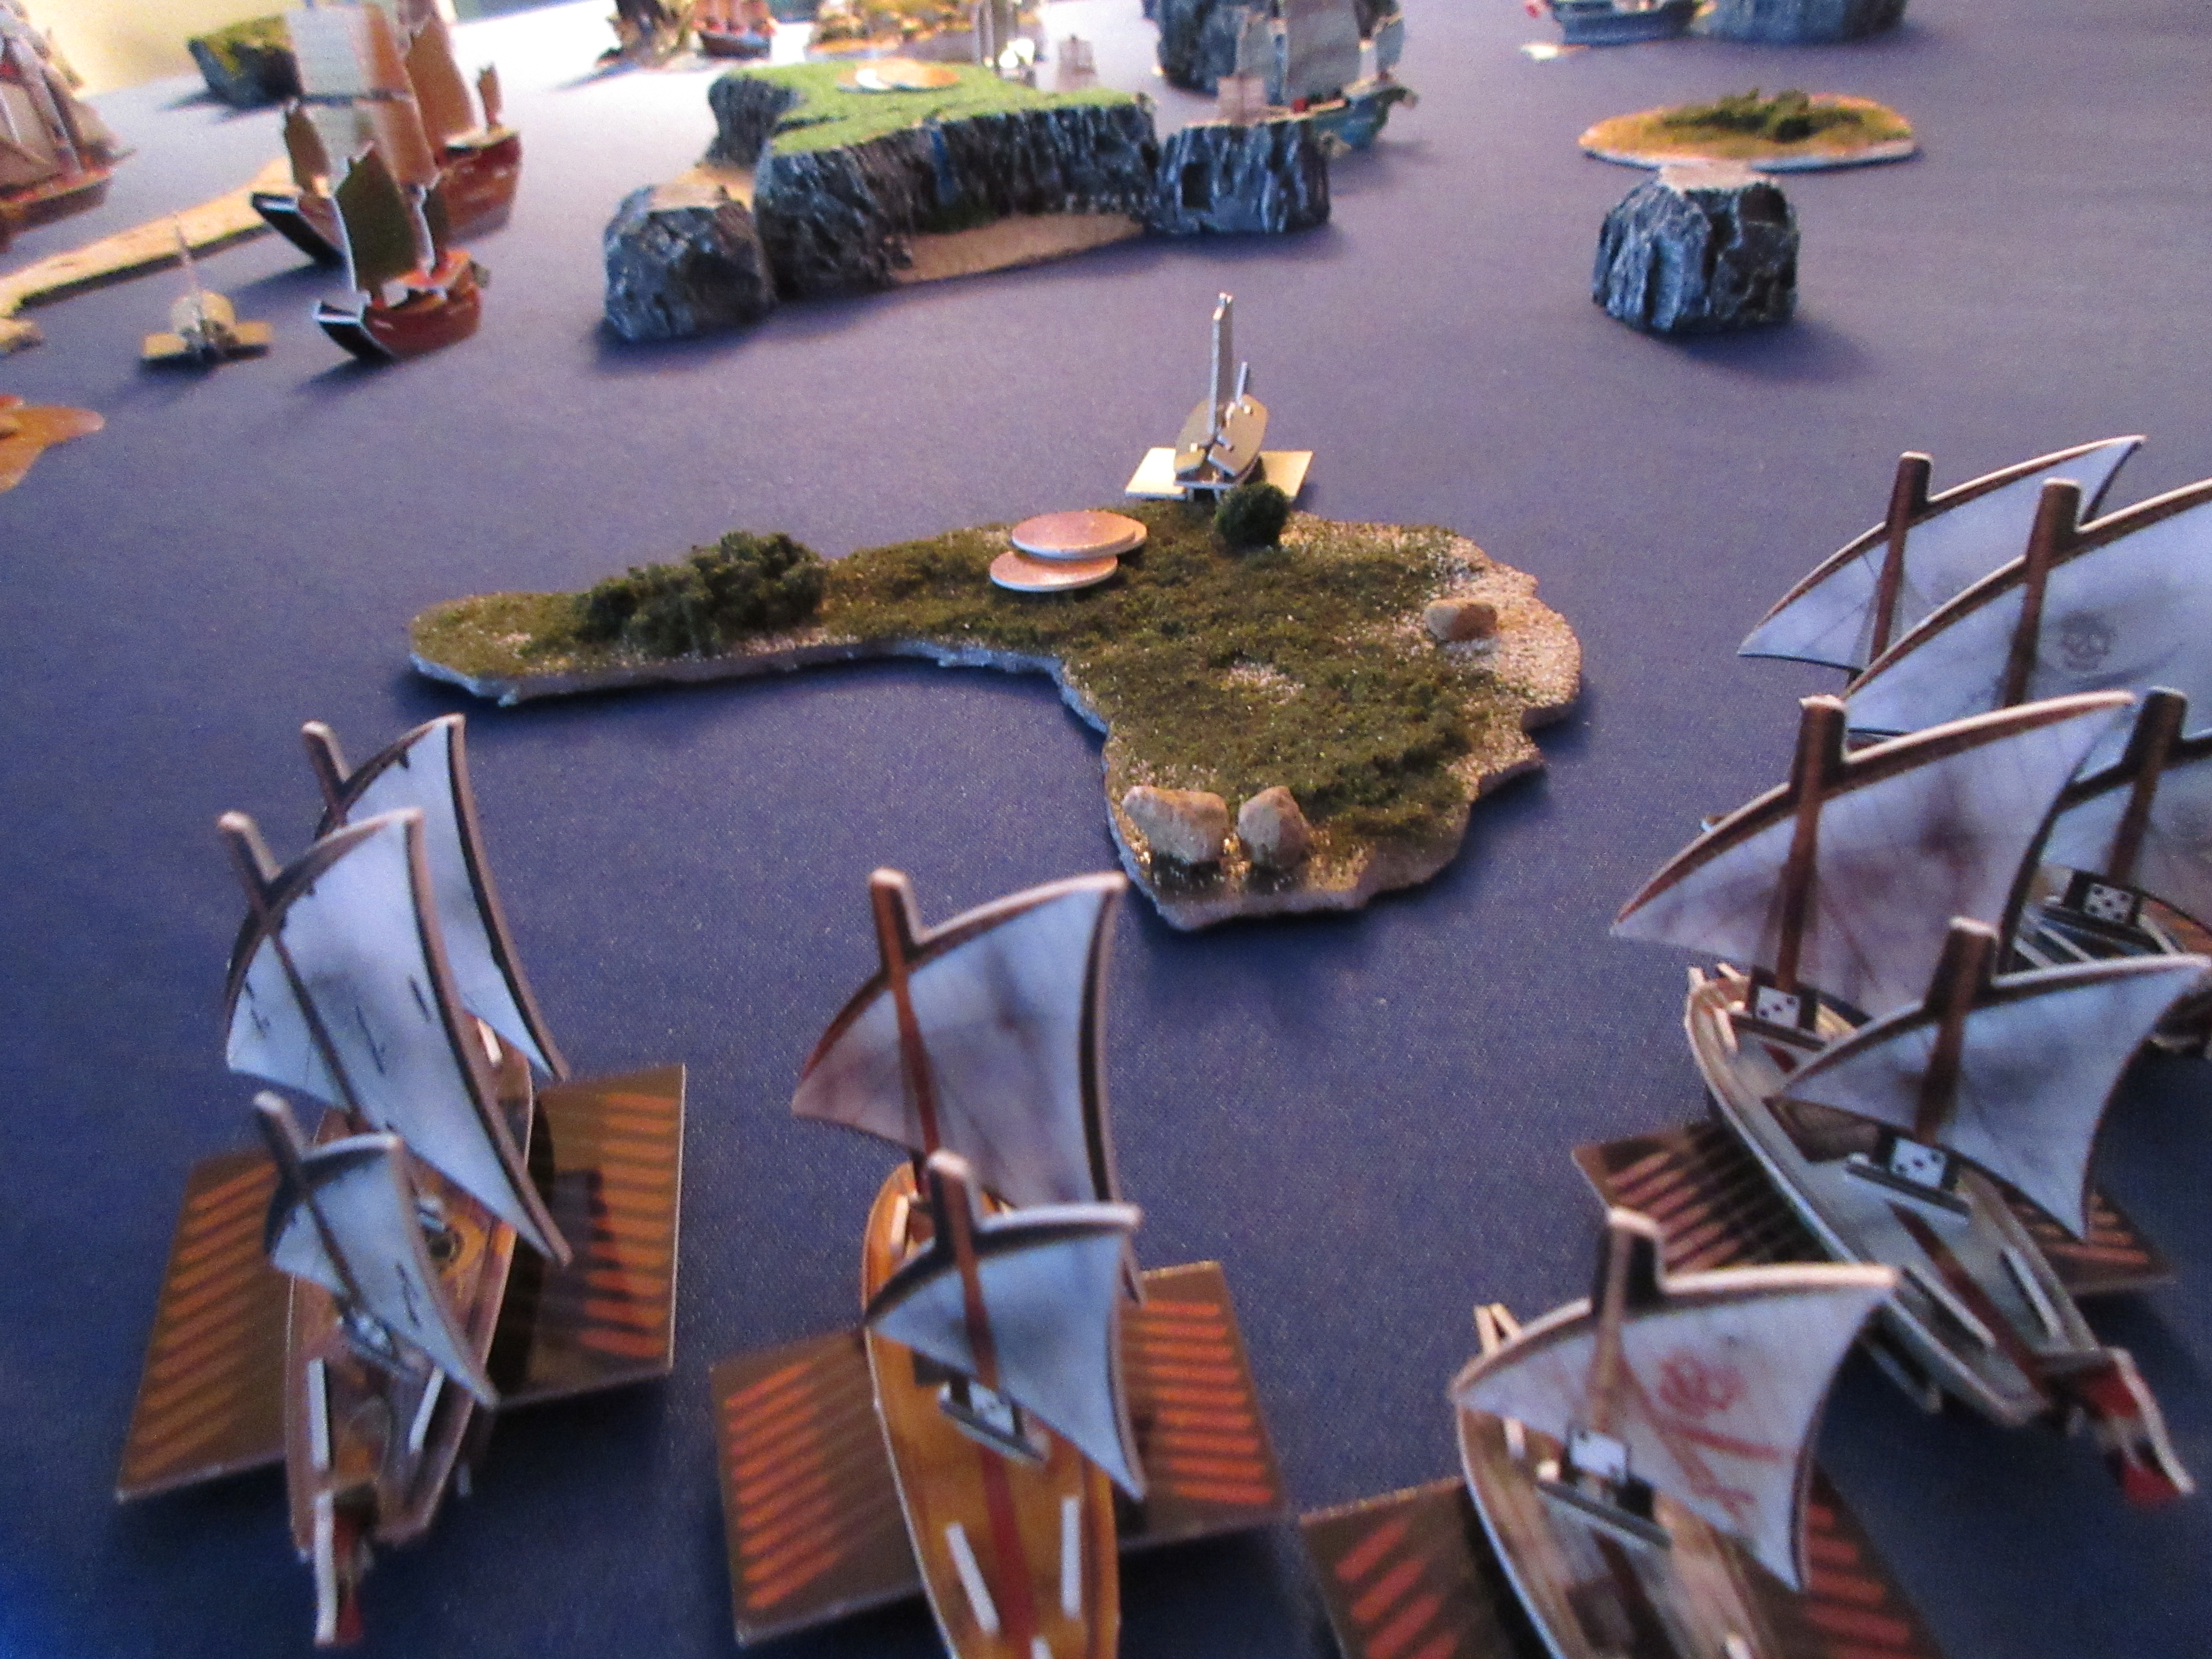
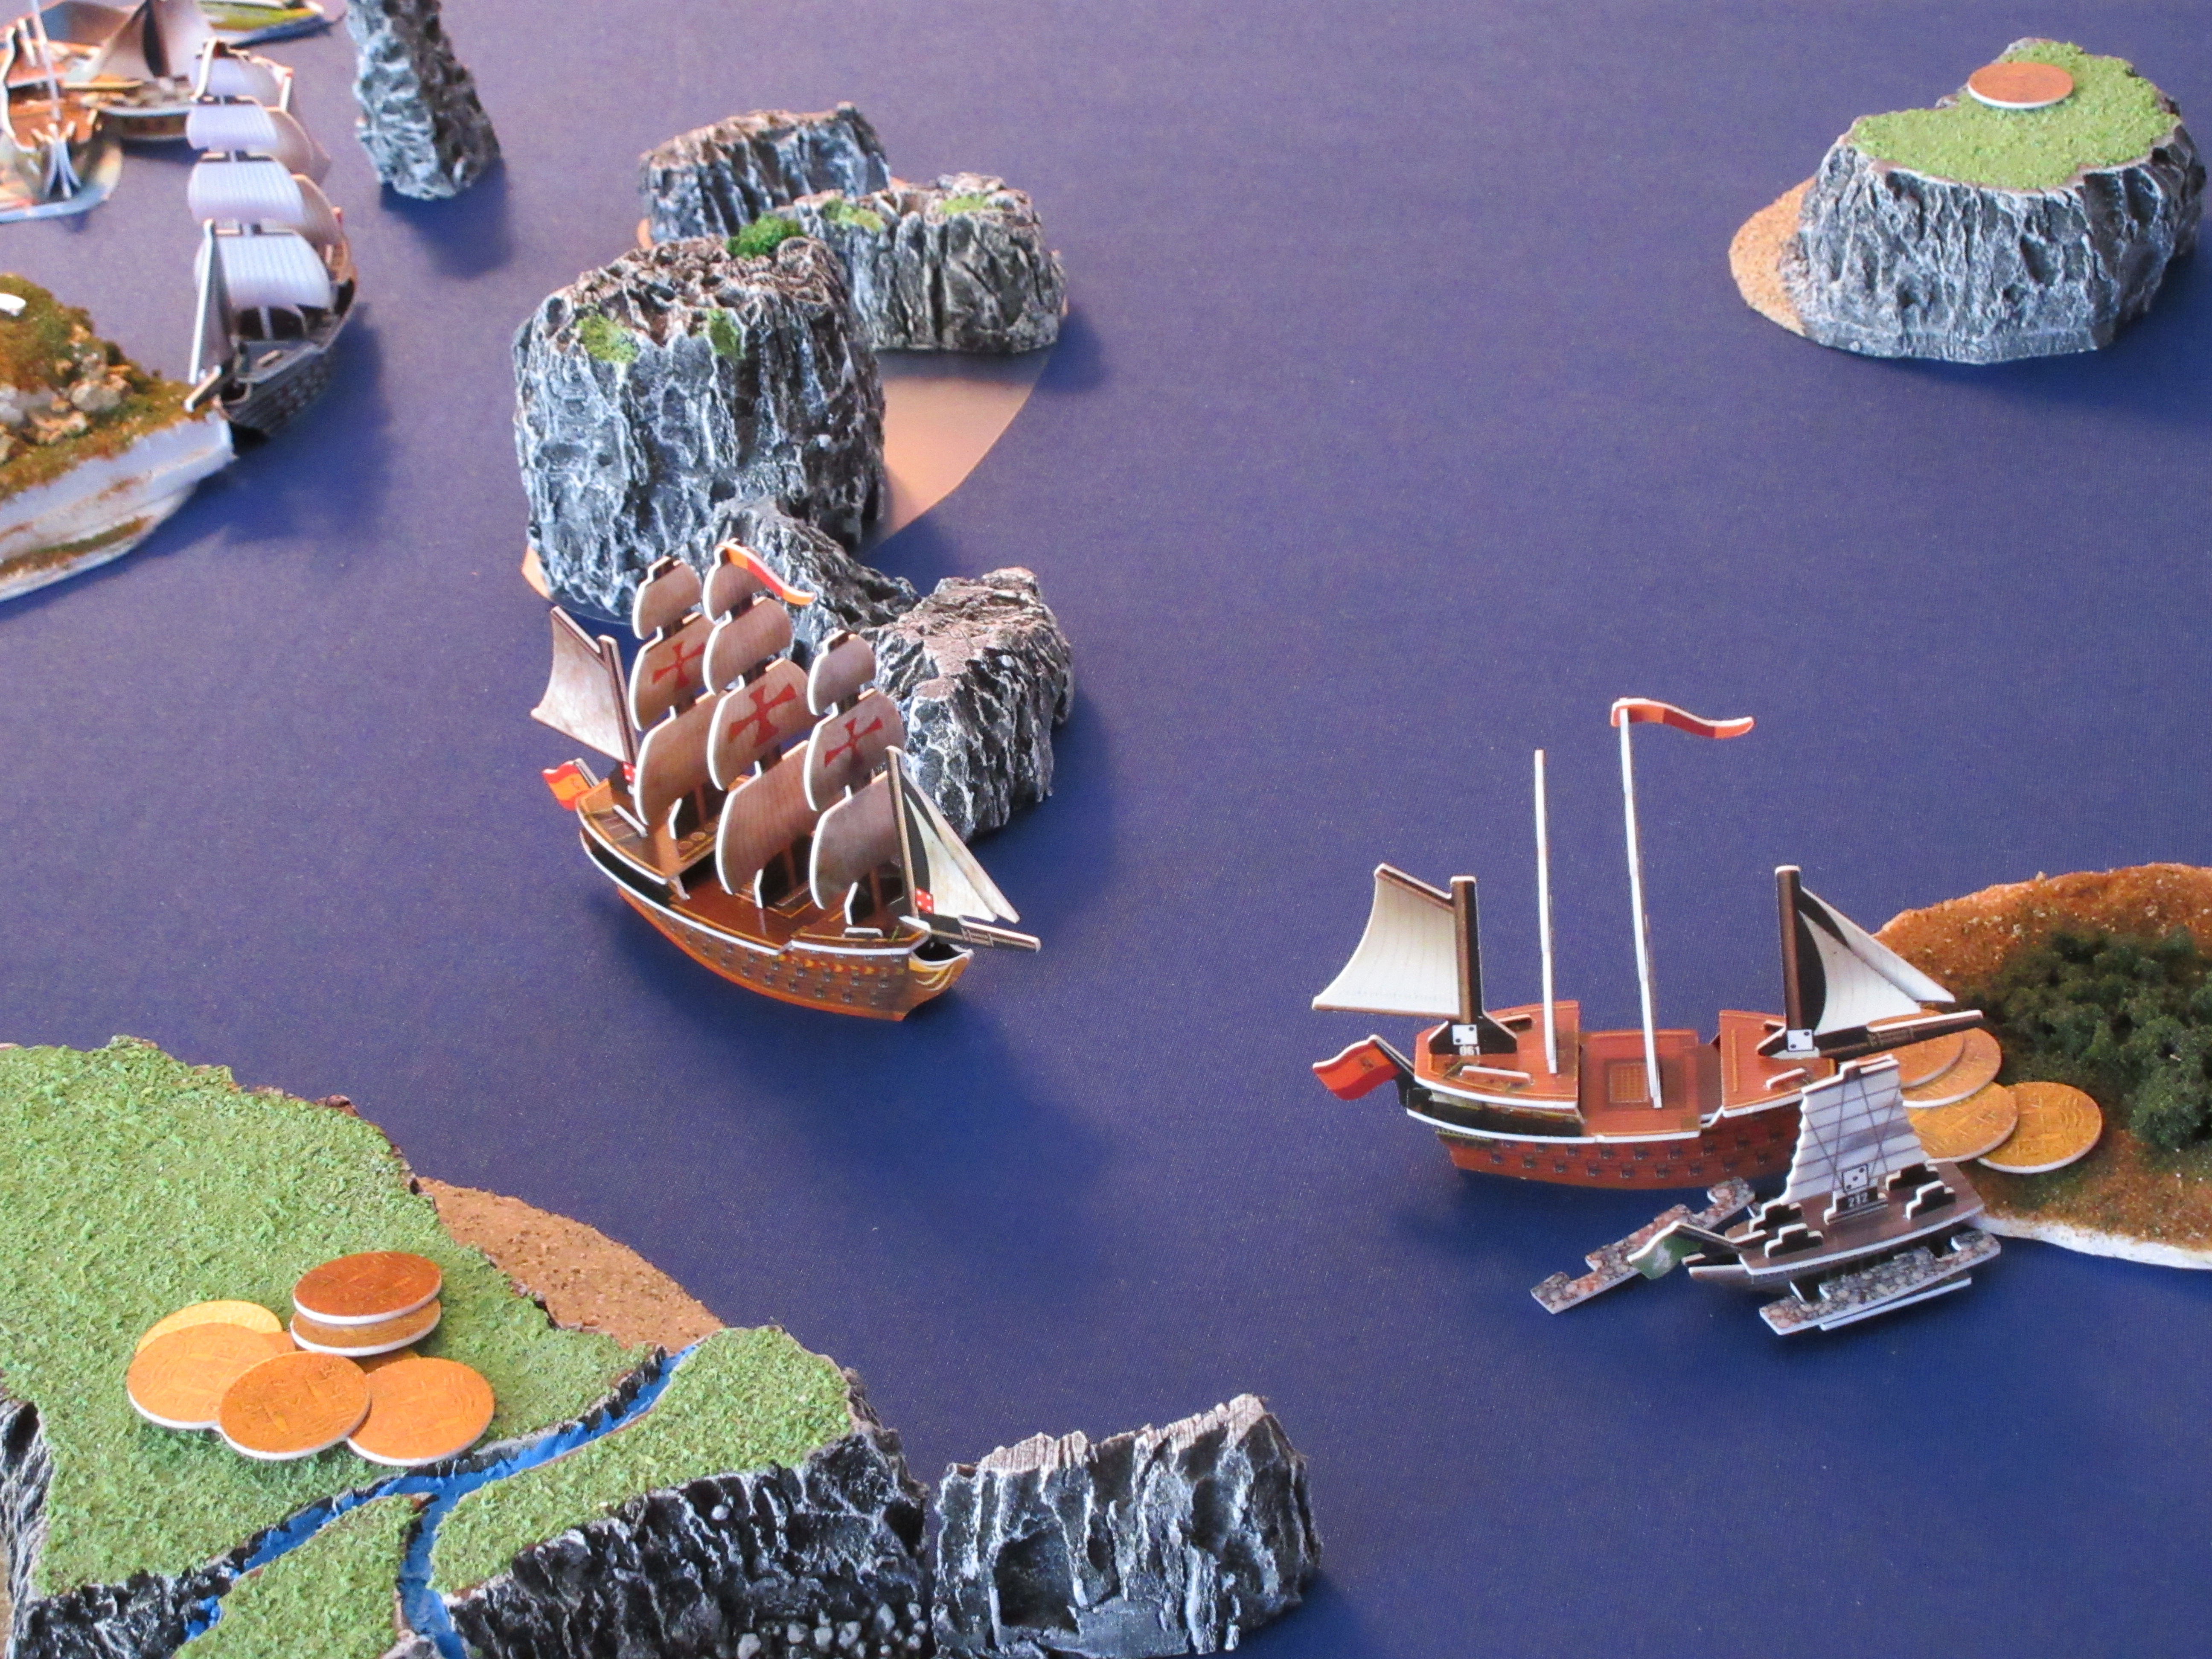
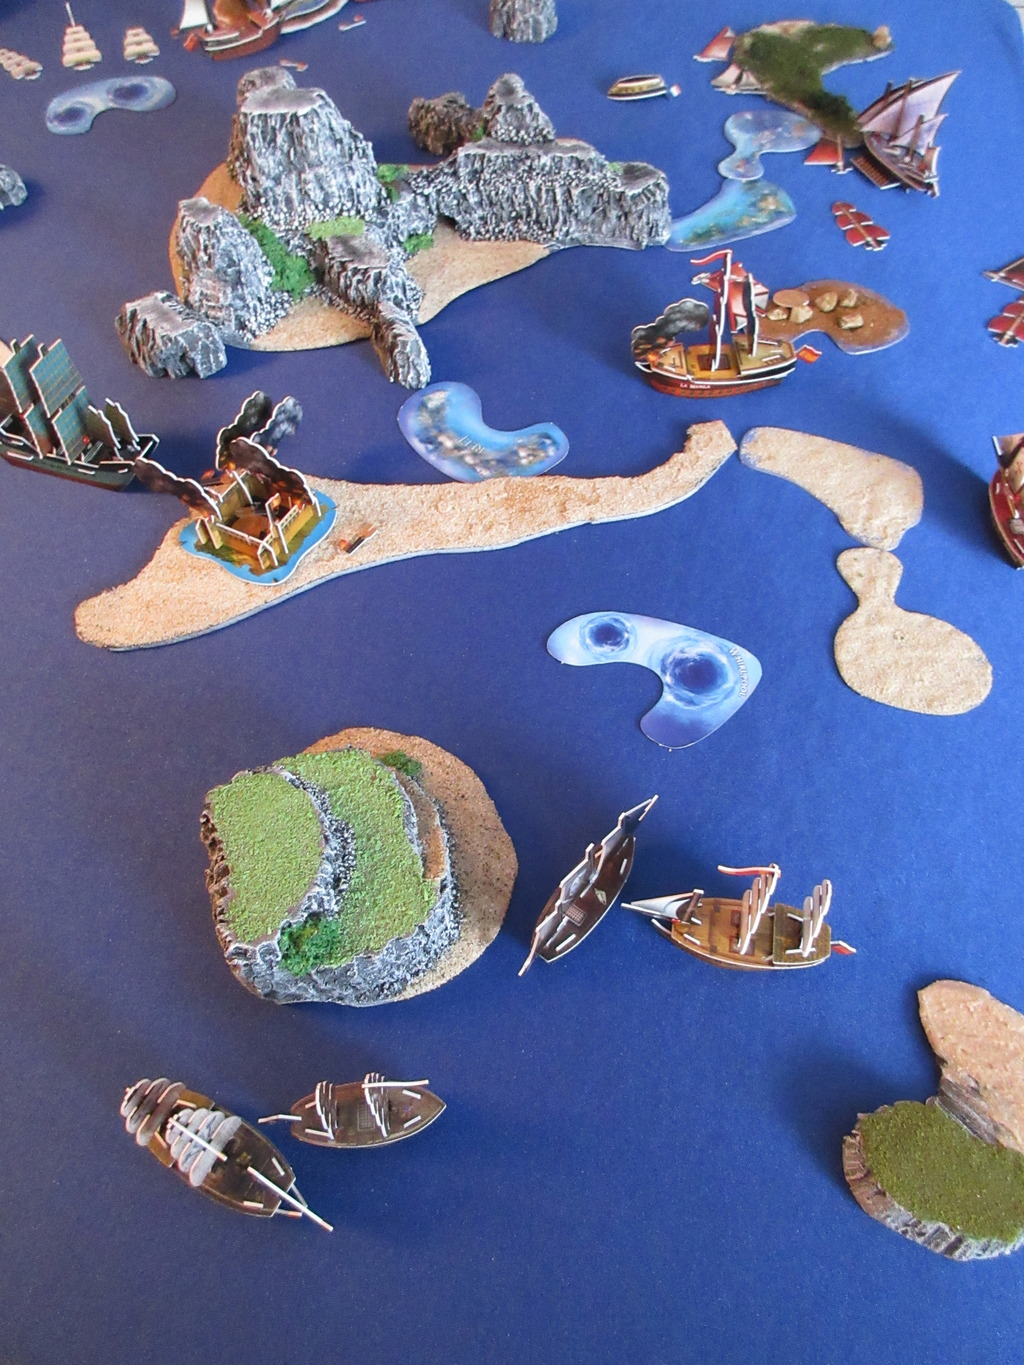
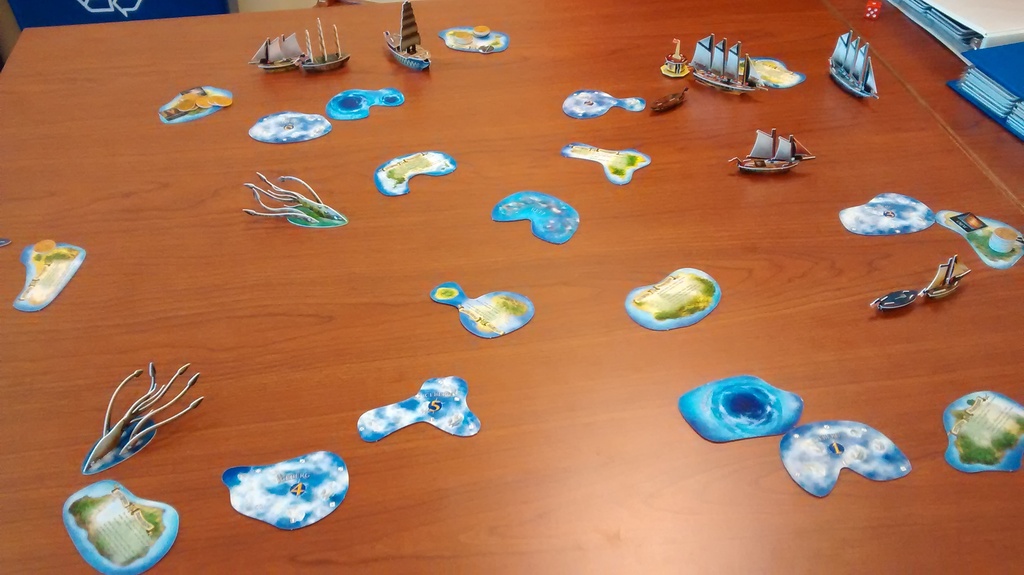
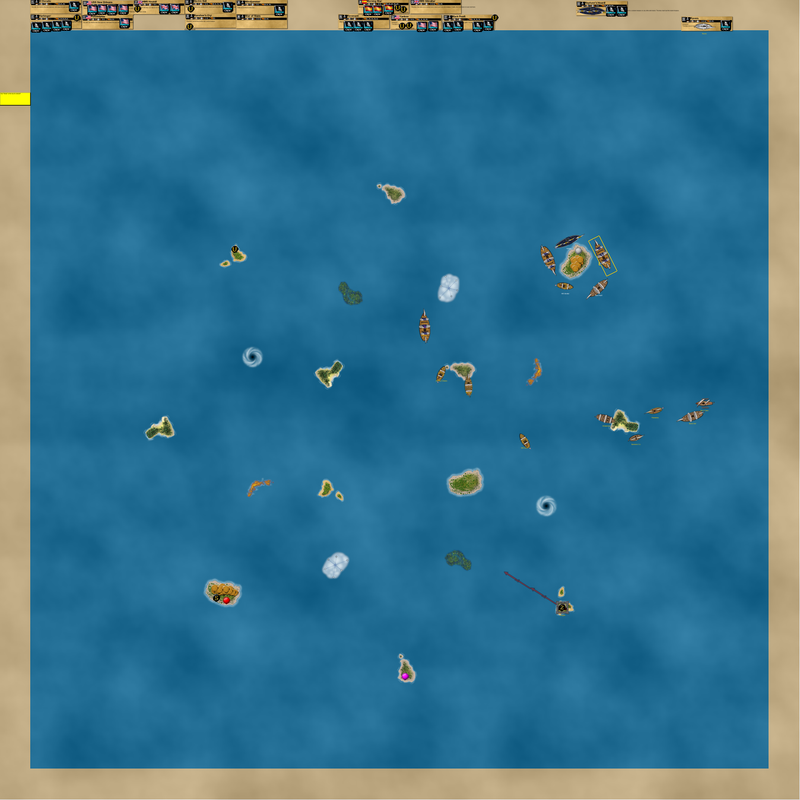
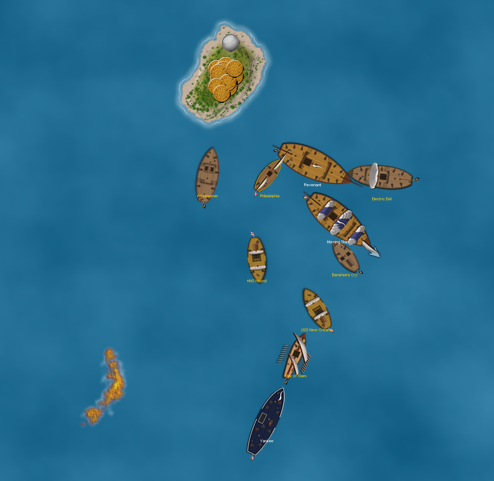
Here is the ocean again, but this time looking from west to east:
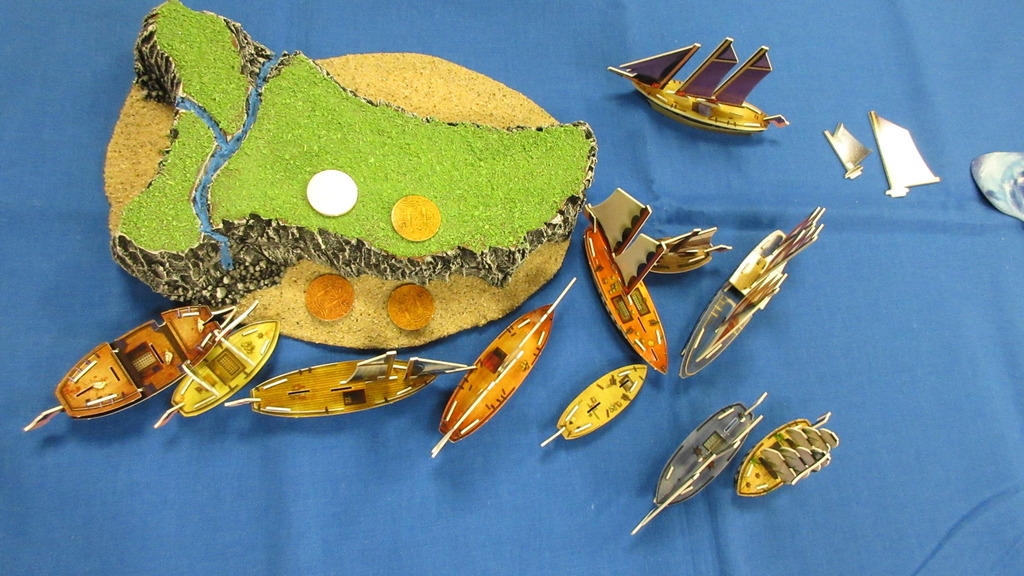
The Jade Rebellion, with a HI that has 3 beaches, are completely unaware that their HI lies on convergent tectonic plates.
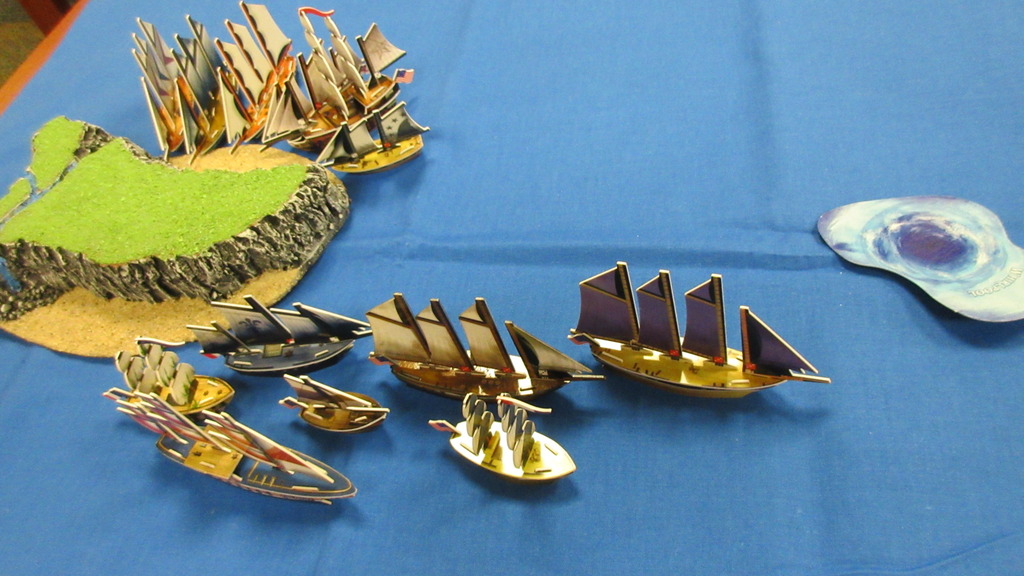
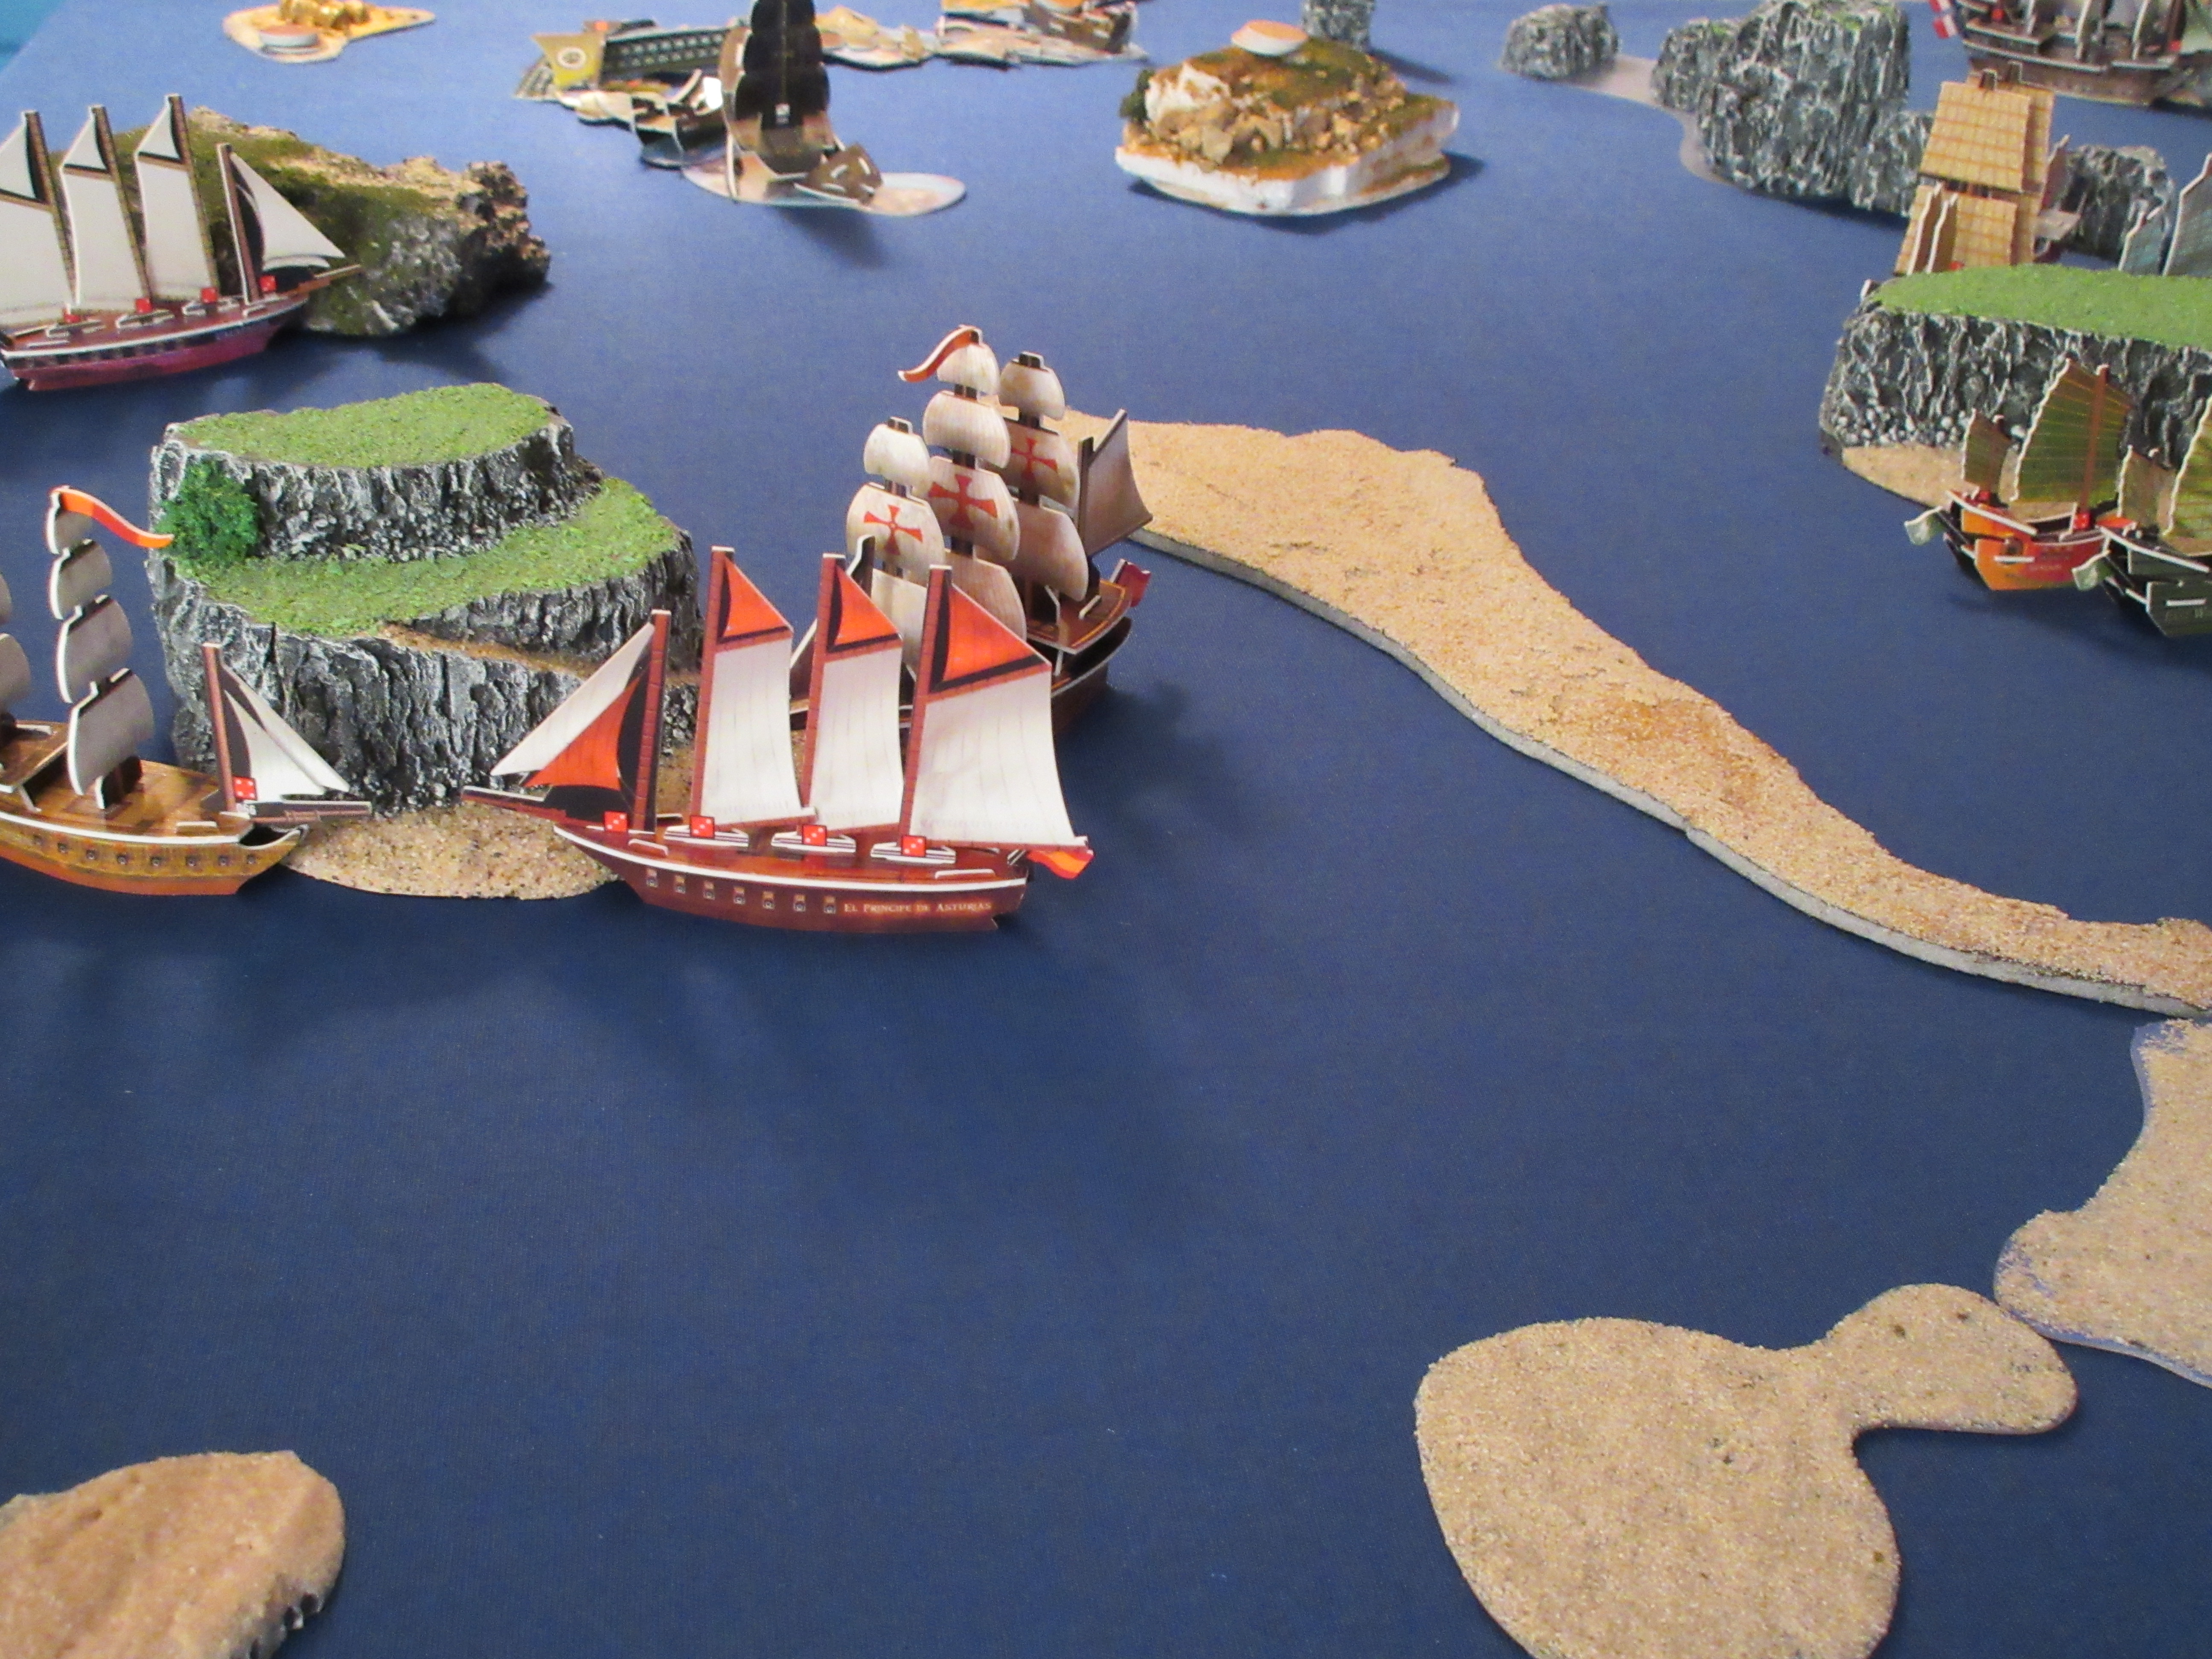
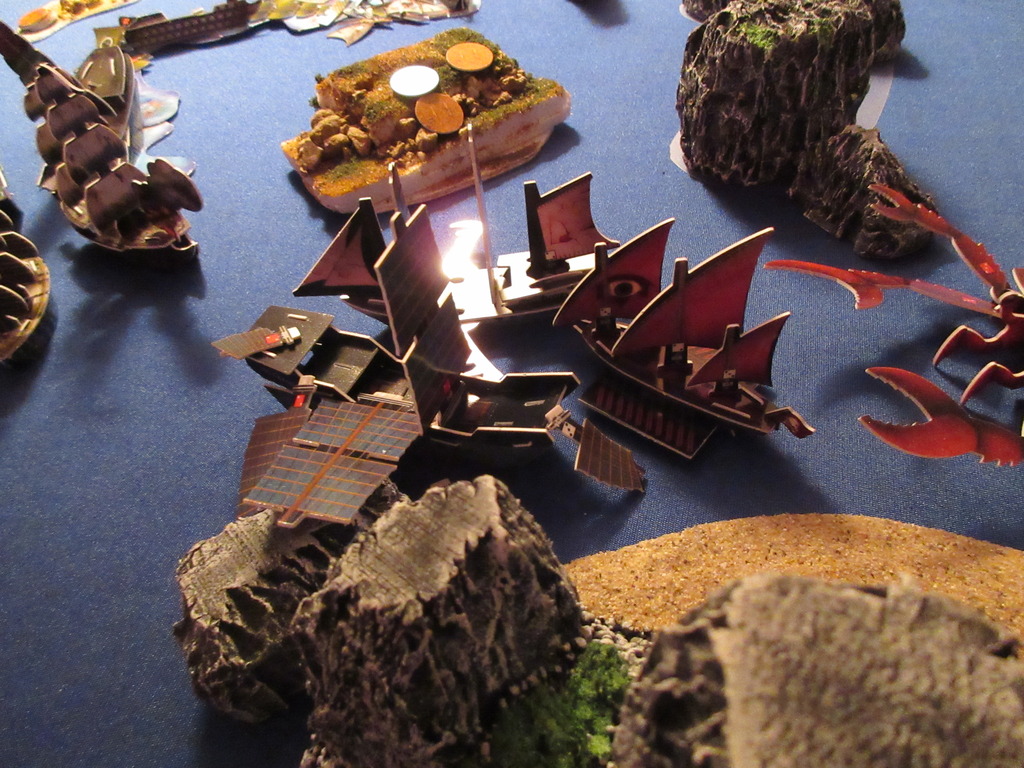
The Spanish are ready for war, with two gunships in the area already.
The French are ready to assist, especially with La Gaule.
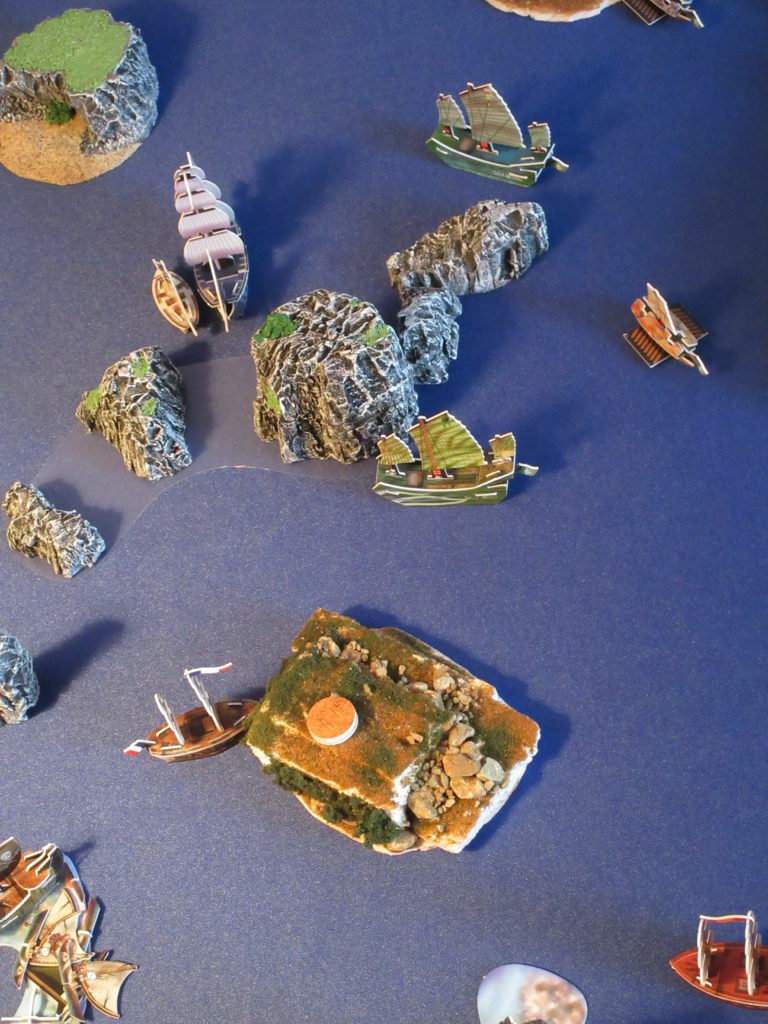
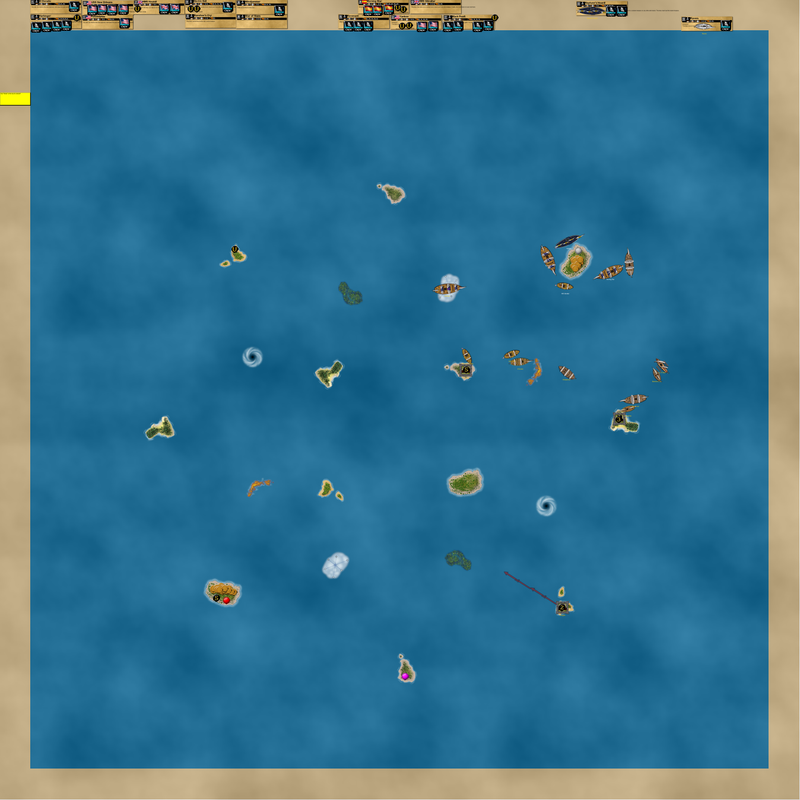
The northern half of the sea looking from west to east.
The southern half:
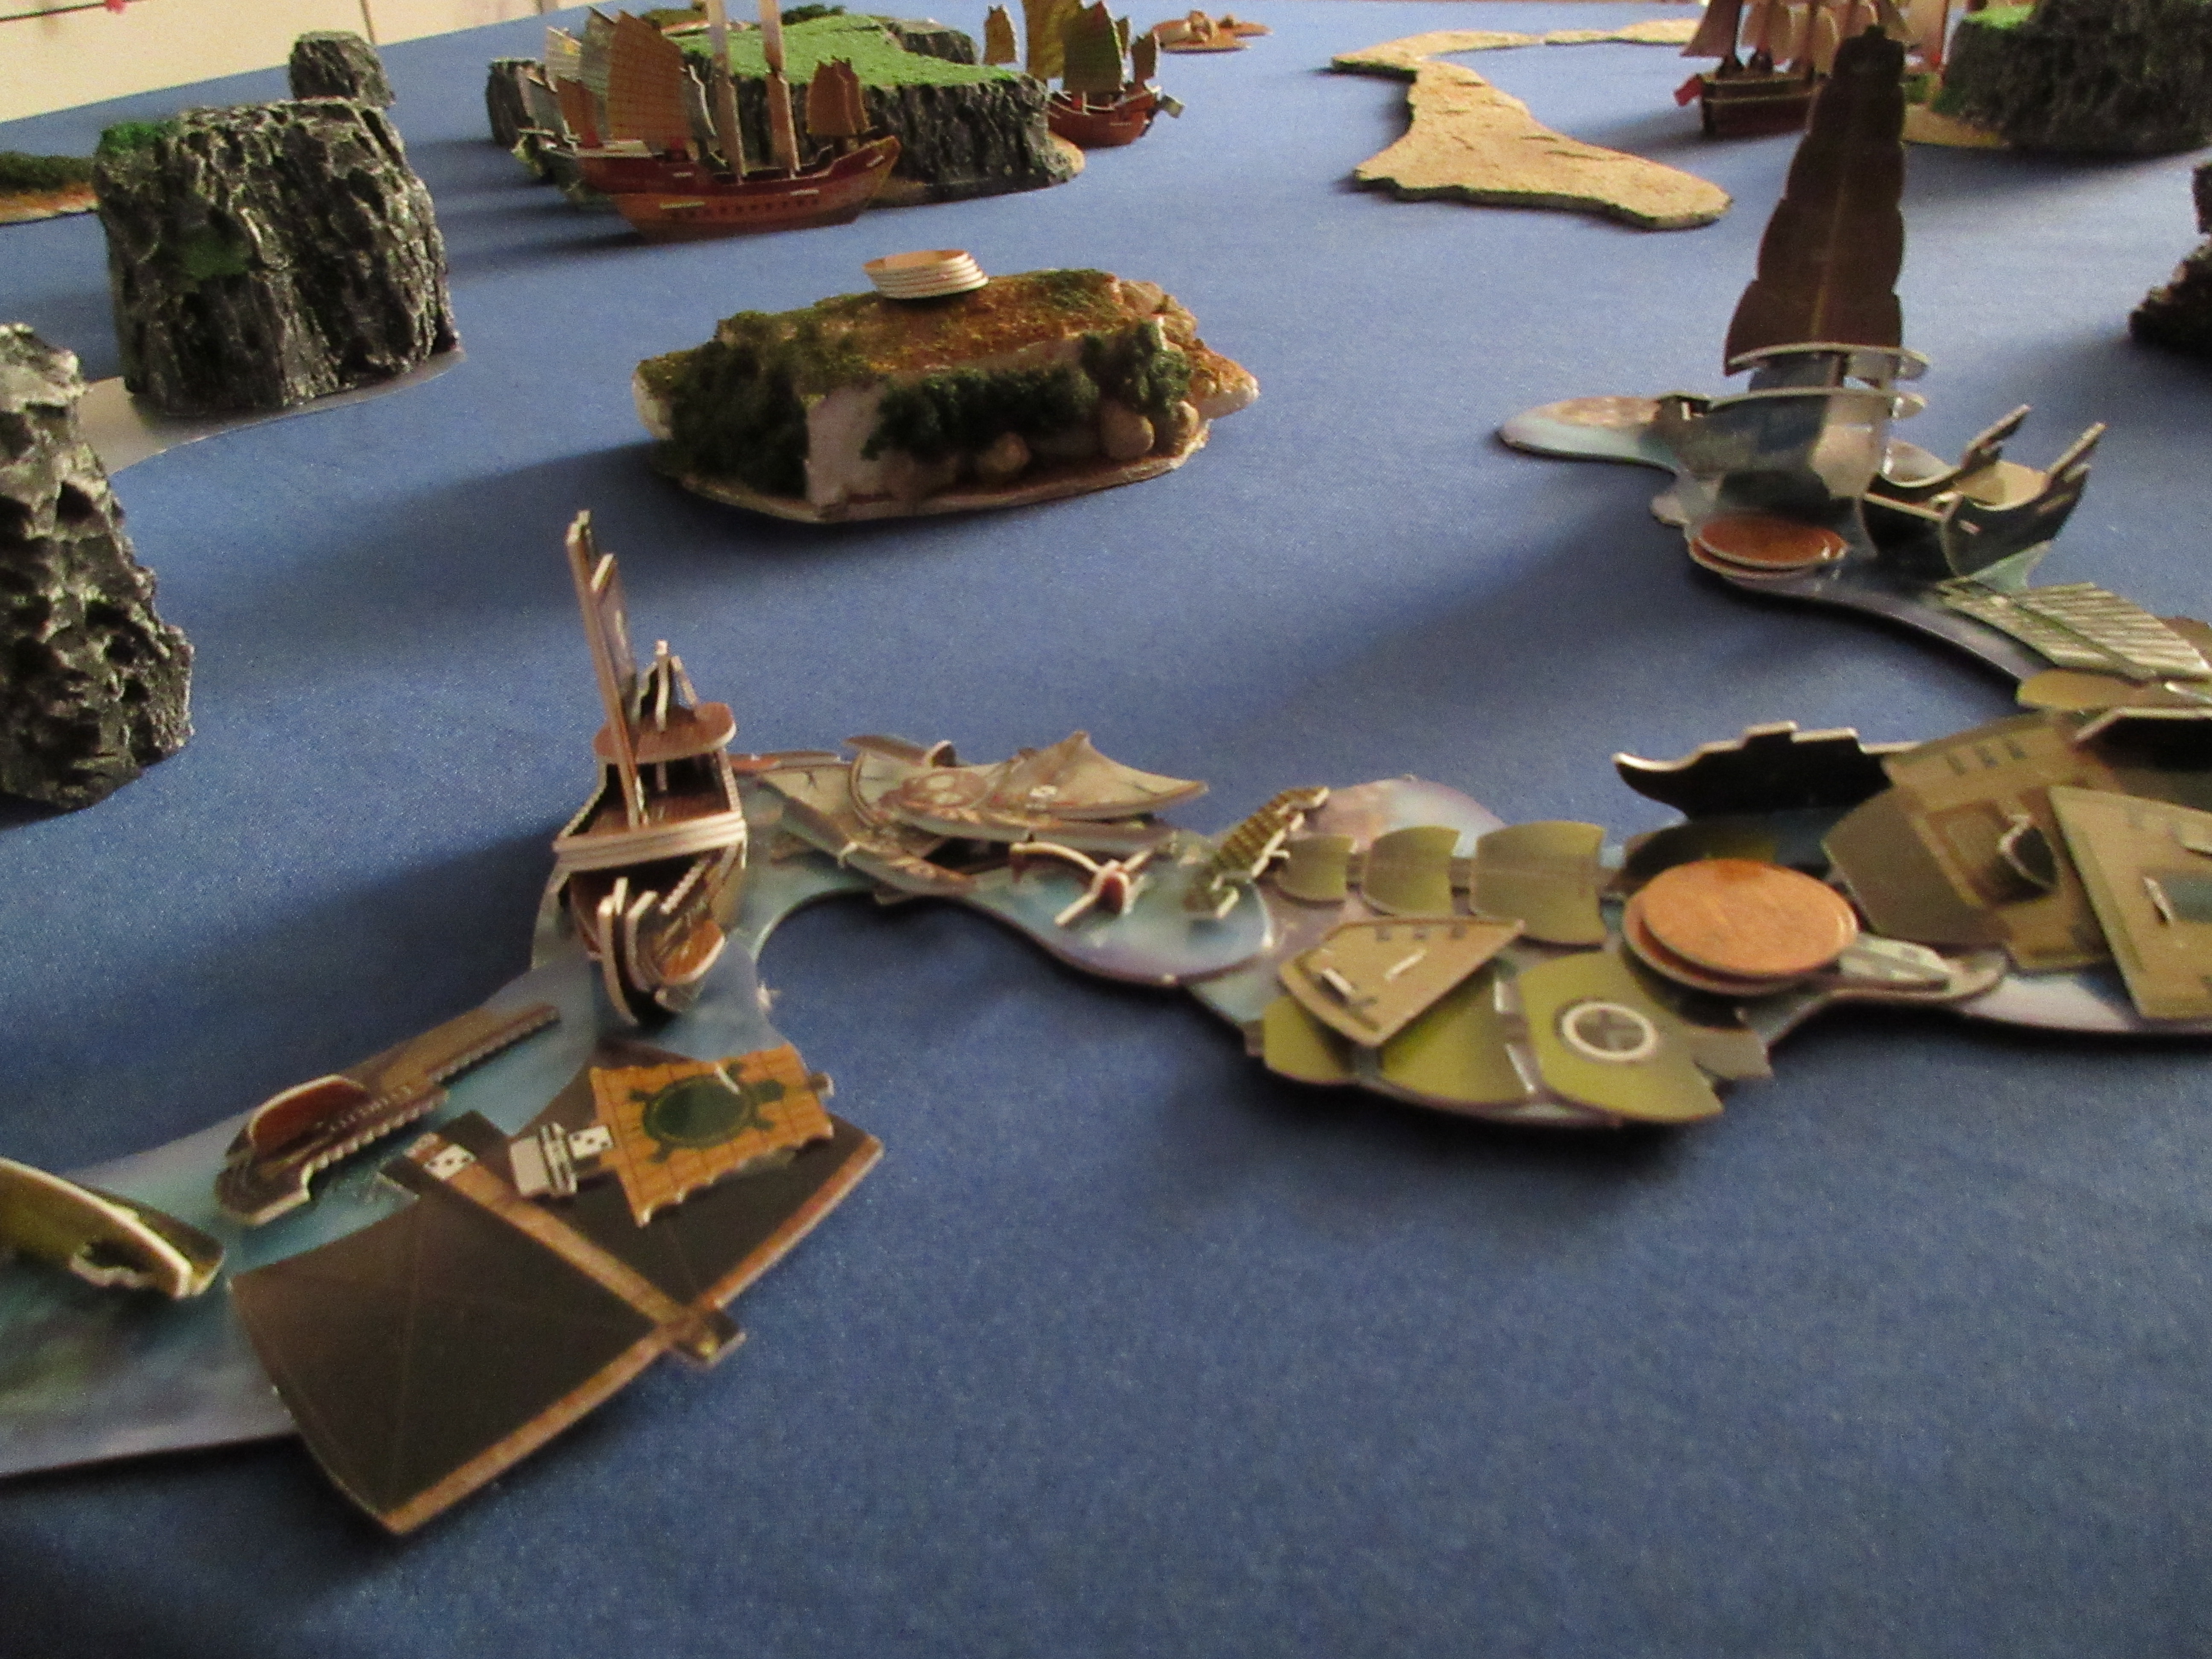
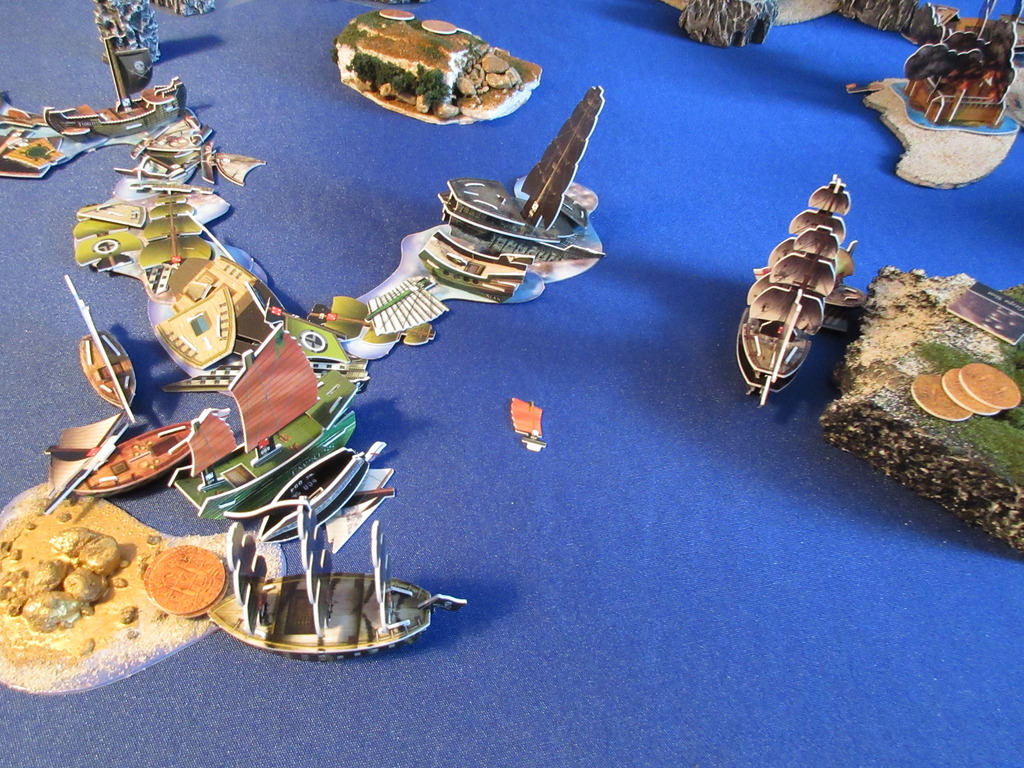
Shipwrecks of a long-forgotten war between the Jade Rebellion and Pirates reveal similarly forgotten gold aboard the wrecks of the Thrud, Deliverance, and Flying Dutchman.
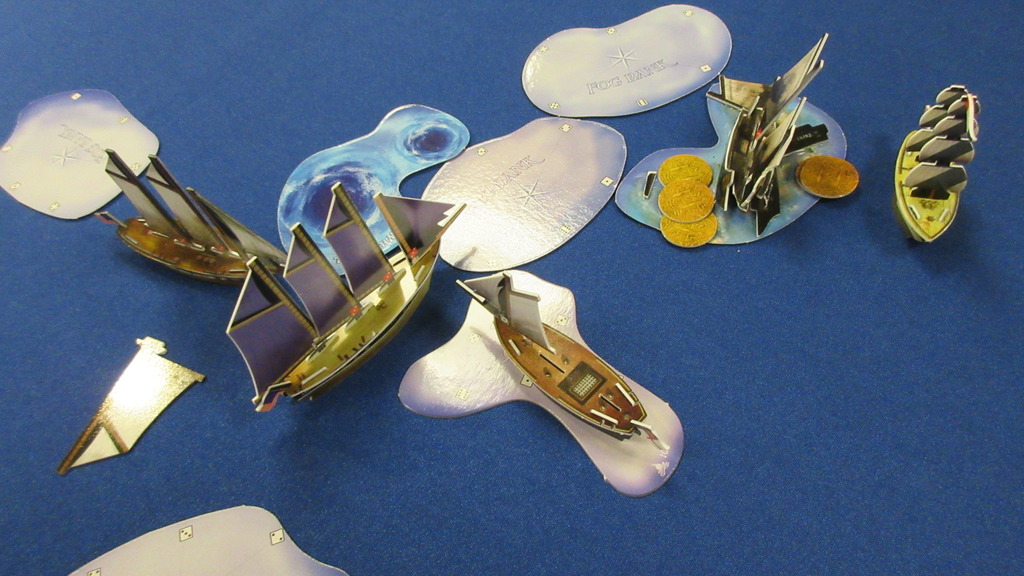
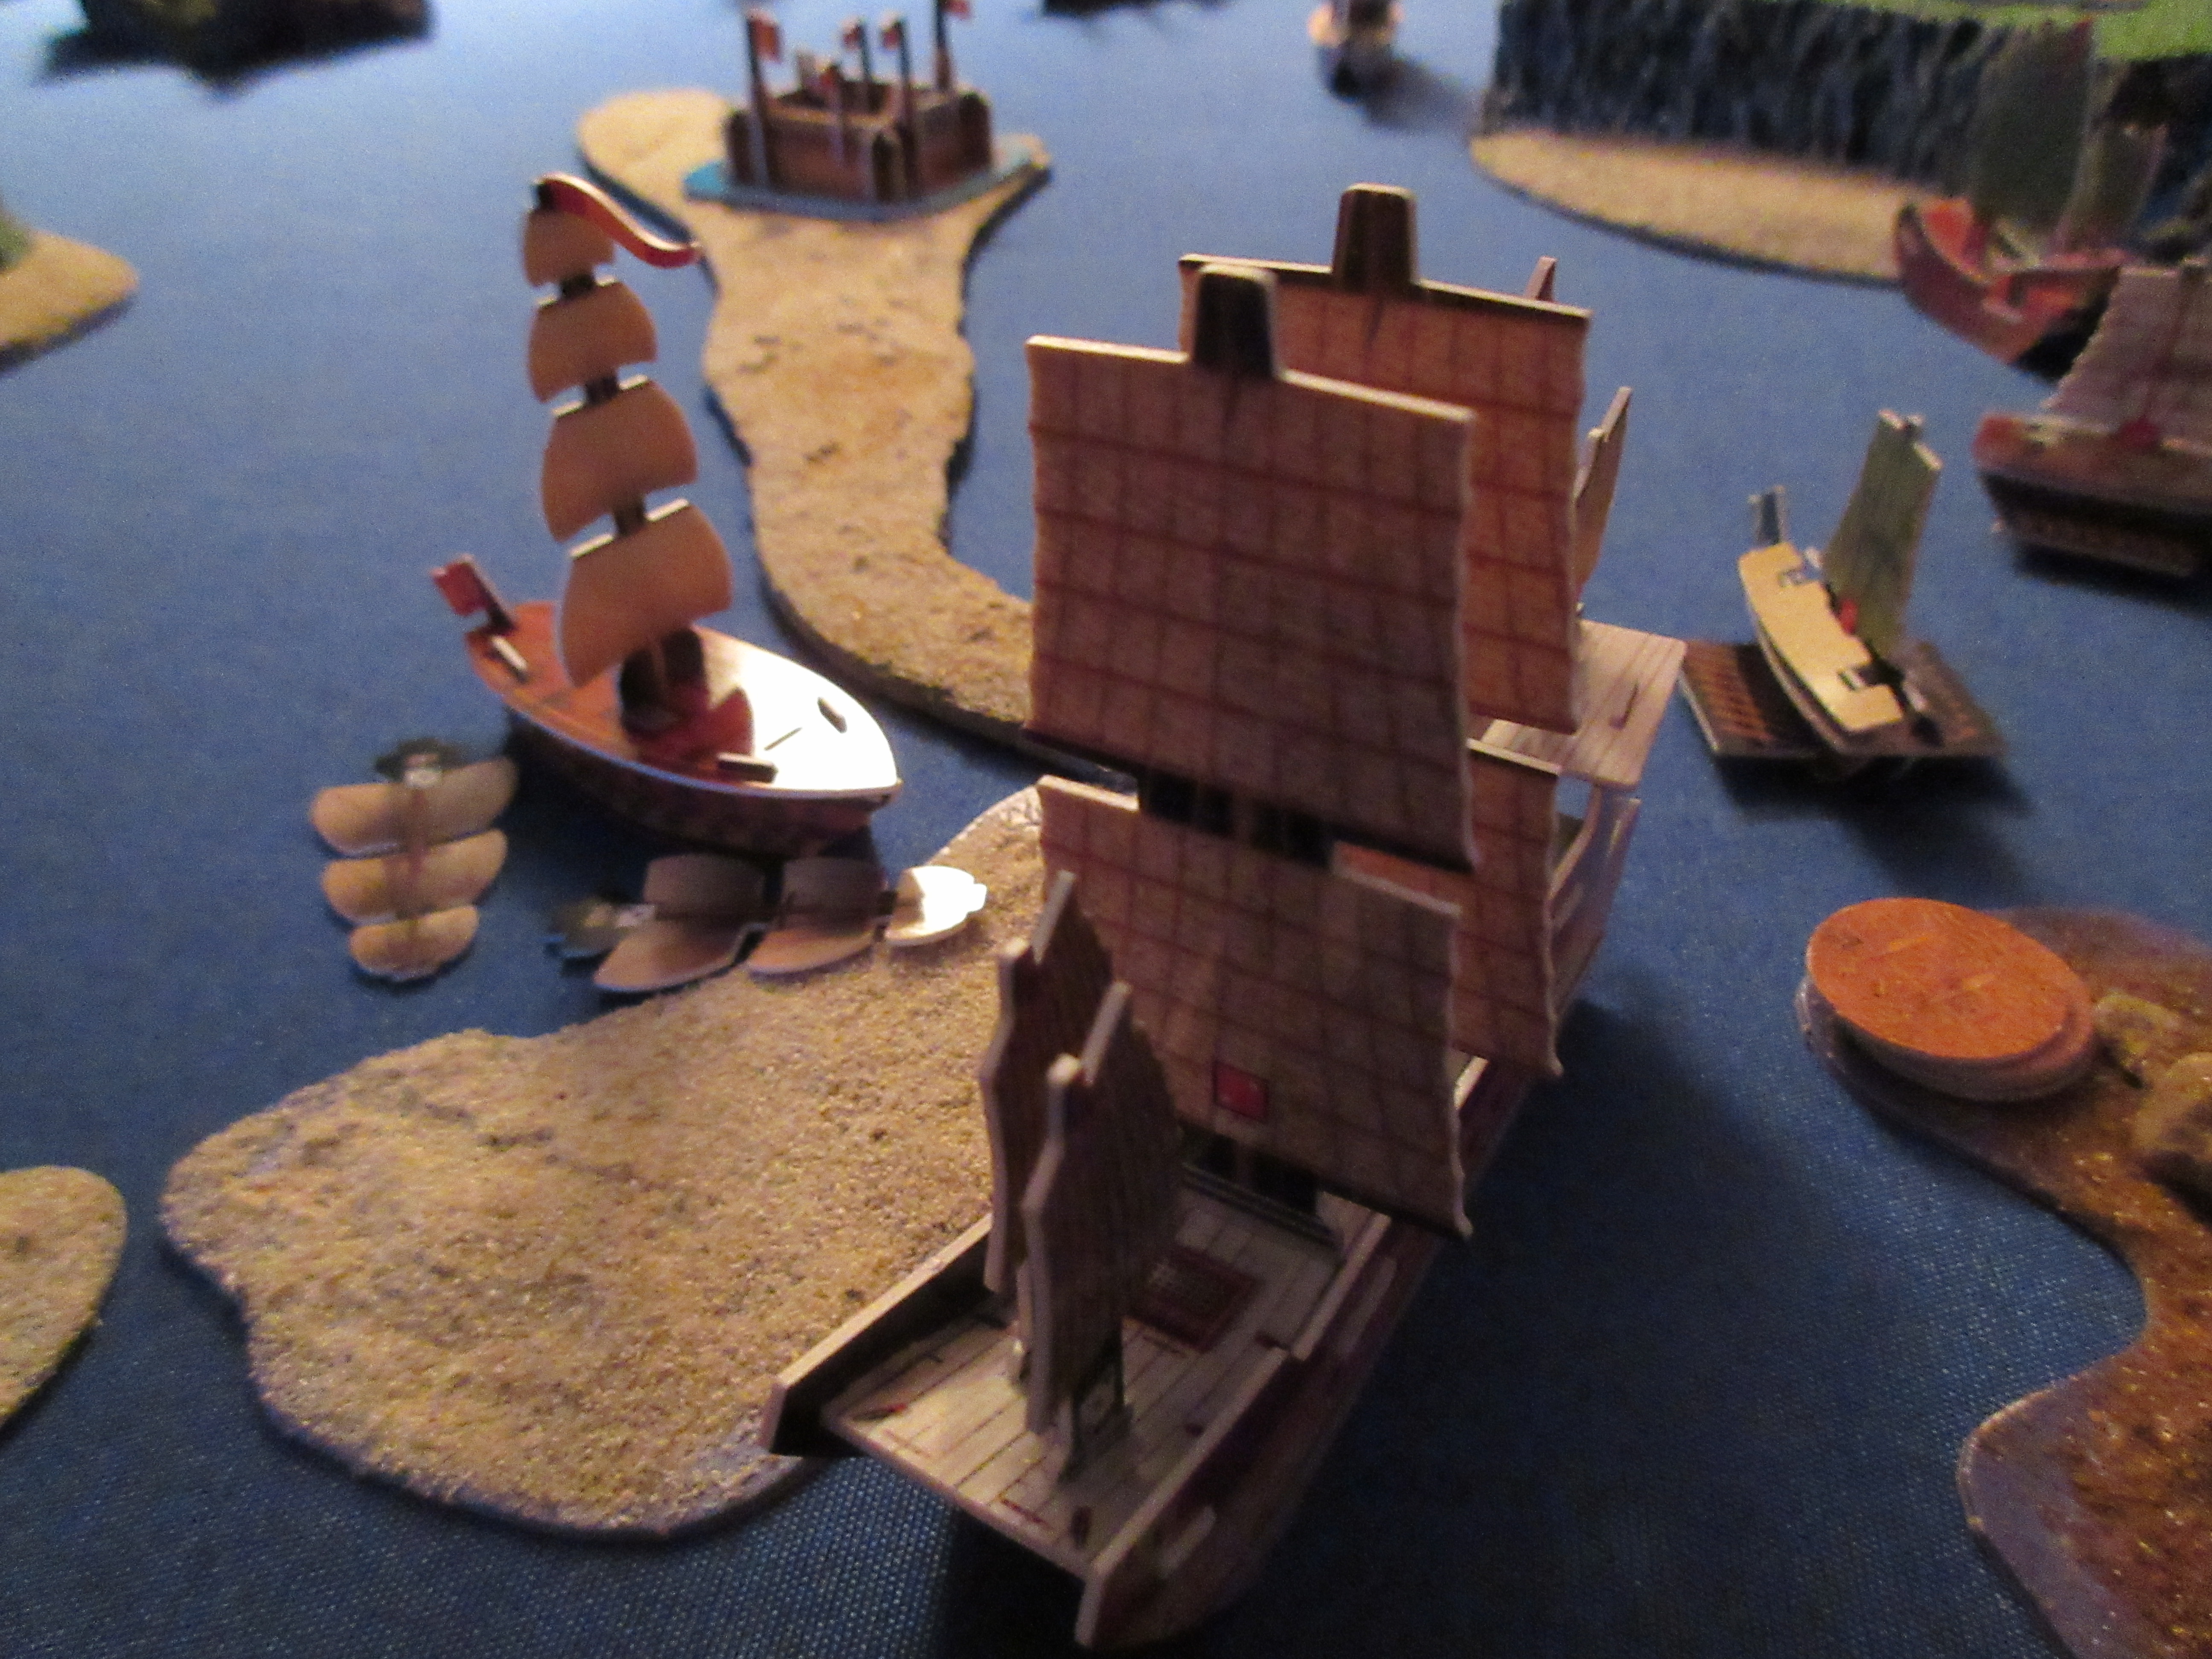
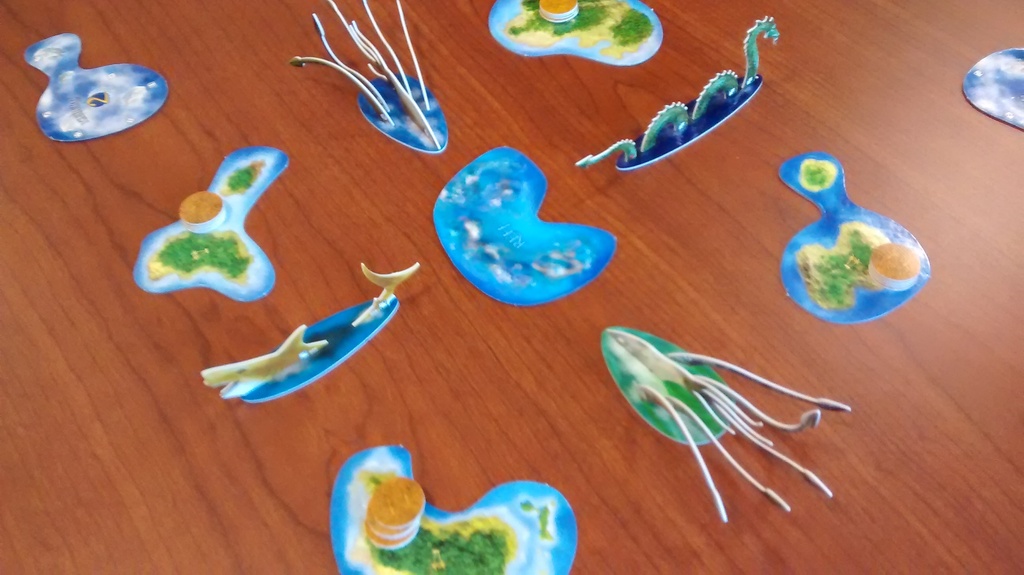
One last look for the time being – a unique shot showing the beautiful water of this contested sea.
As the English were the last fleet to take their turn, they chose the initial wind direction, choosing northeast (NE).
Without further ado the fleets set sail! The wind rules immediately affected things, since any ships sailing in the southwest direction lost S from their speed. This slightly slowed all the fleets except for the English, but the game was just beginning.
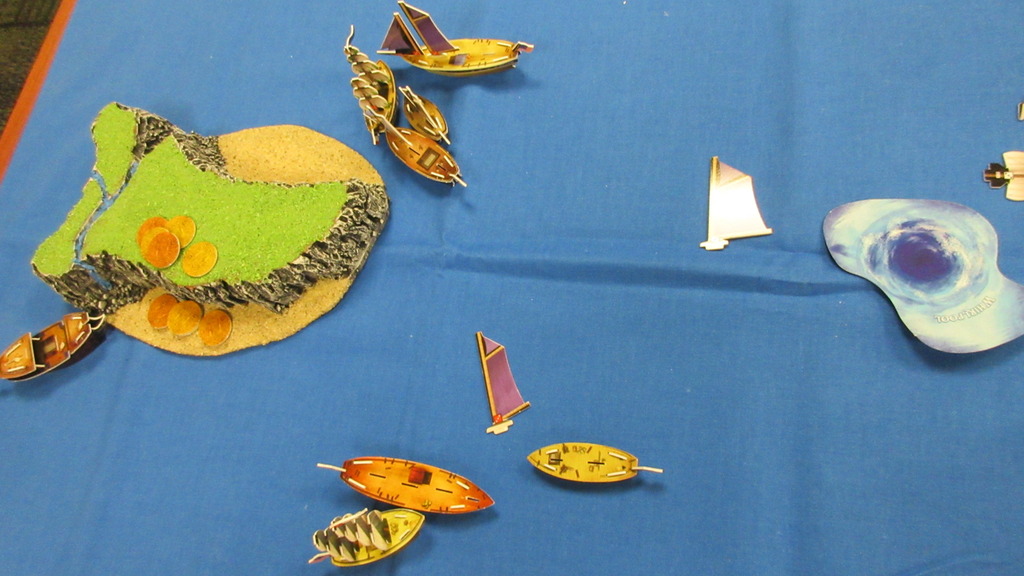
The Sea Crane was the first ship to reach an island, but the Gaule approached.
For the time being, the wind would be rolled for at the start of each round of turns, rather than at the start of each fleet’s turn. This could change. For now, a 4 was rolled, meaning that the wind shifted to blow due east, slowing ships headed west.
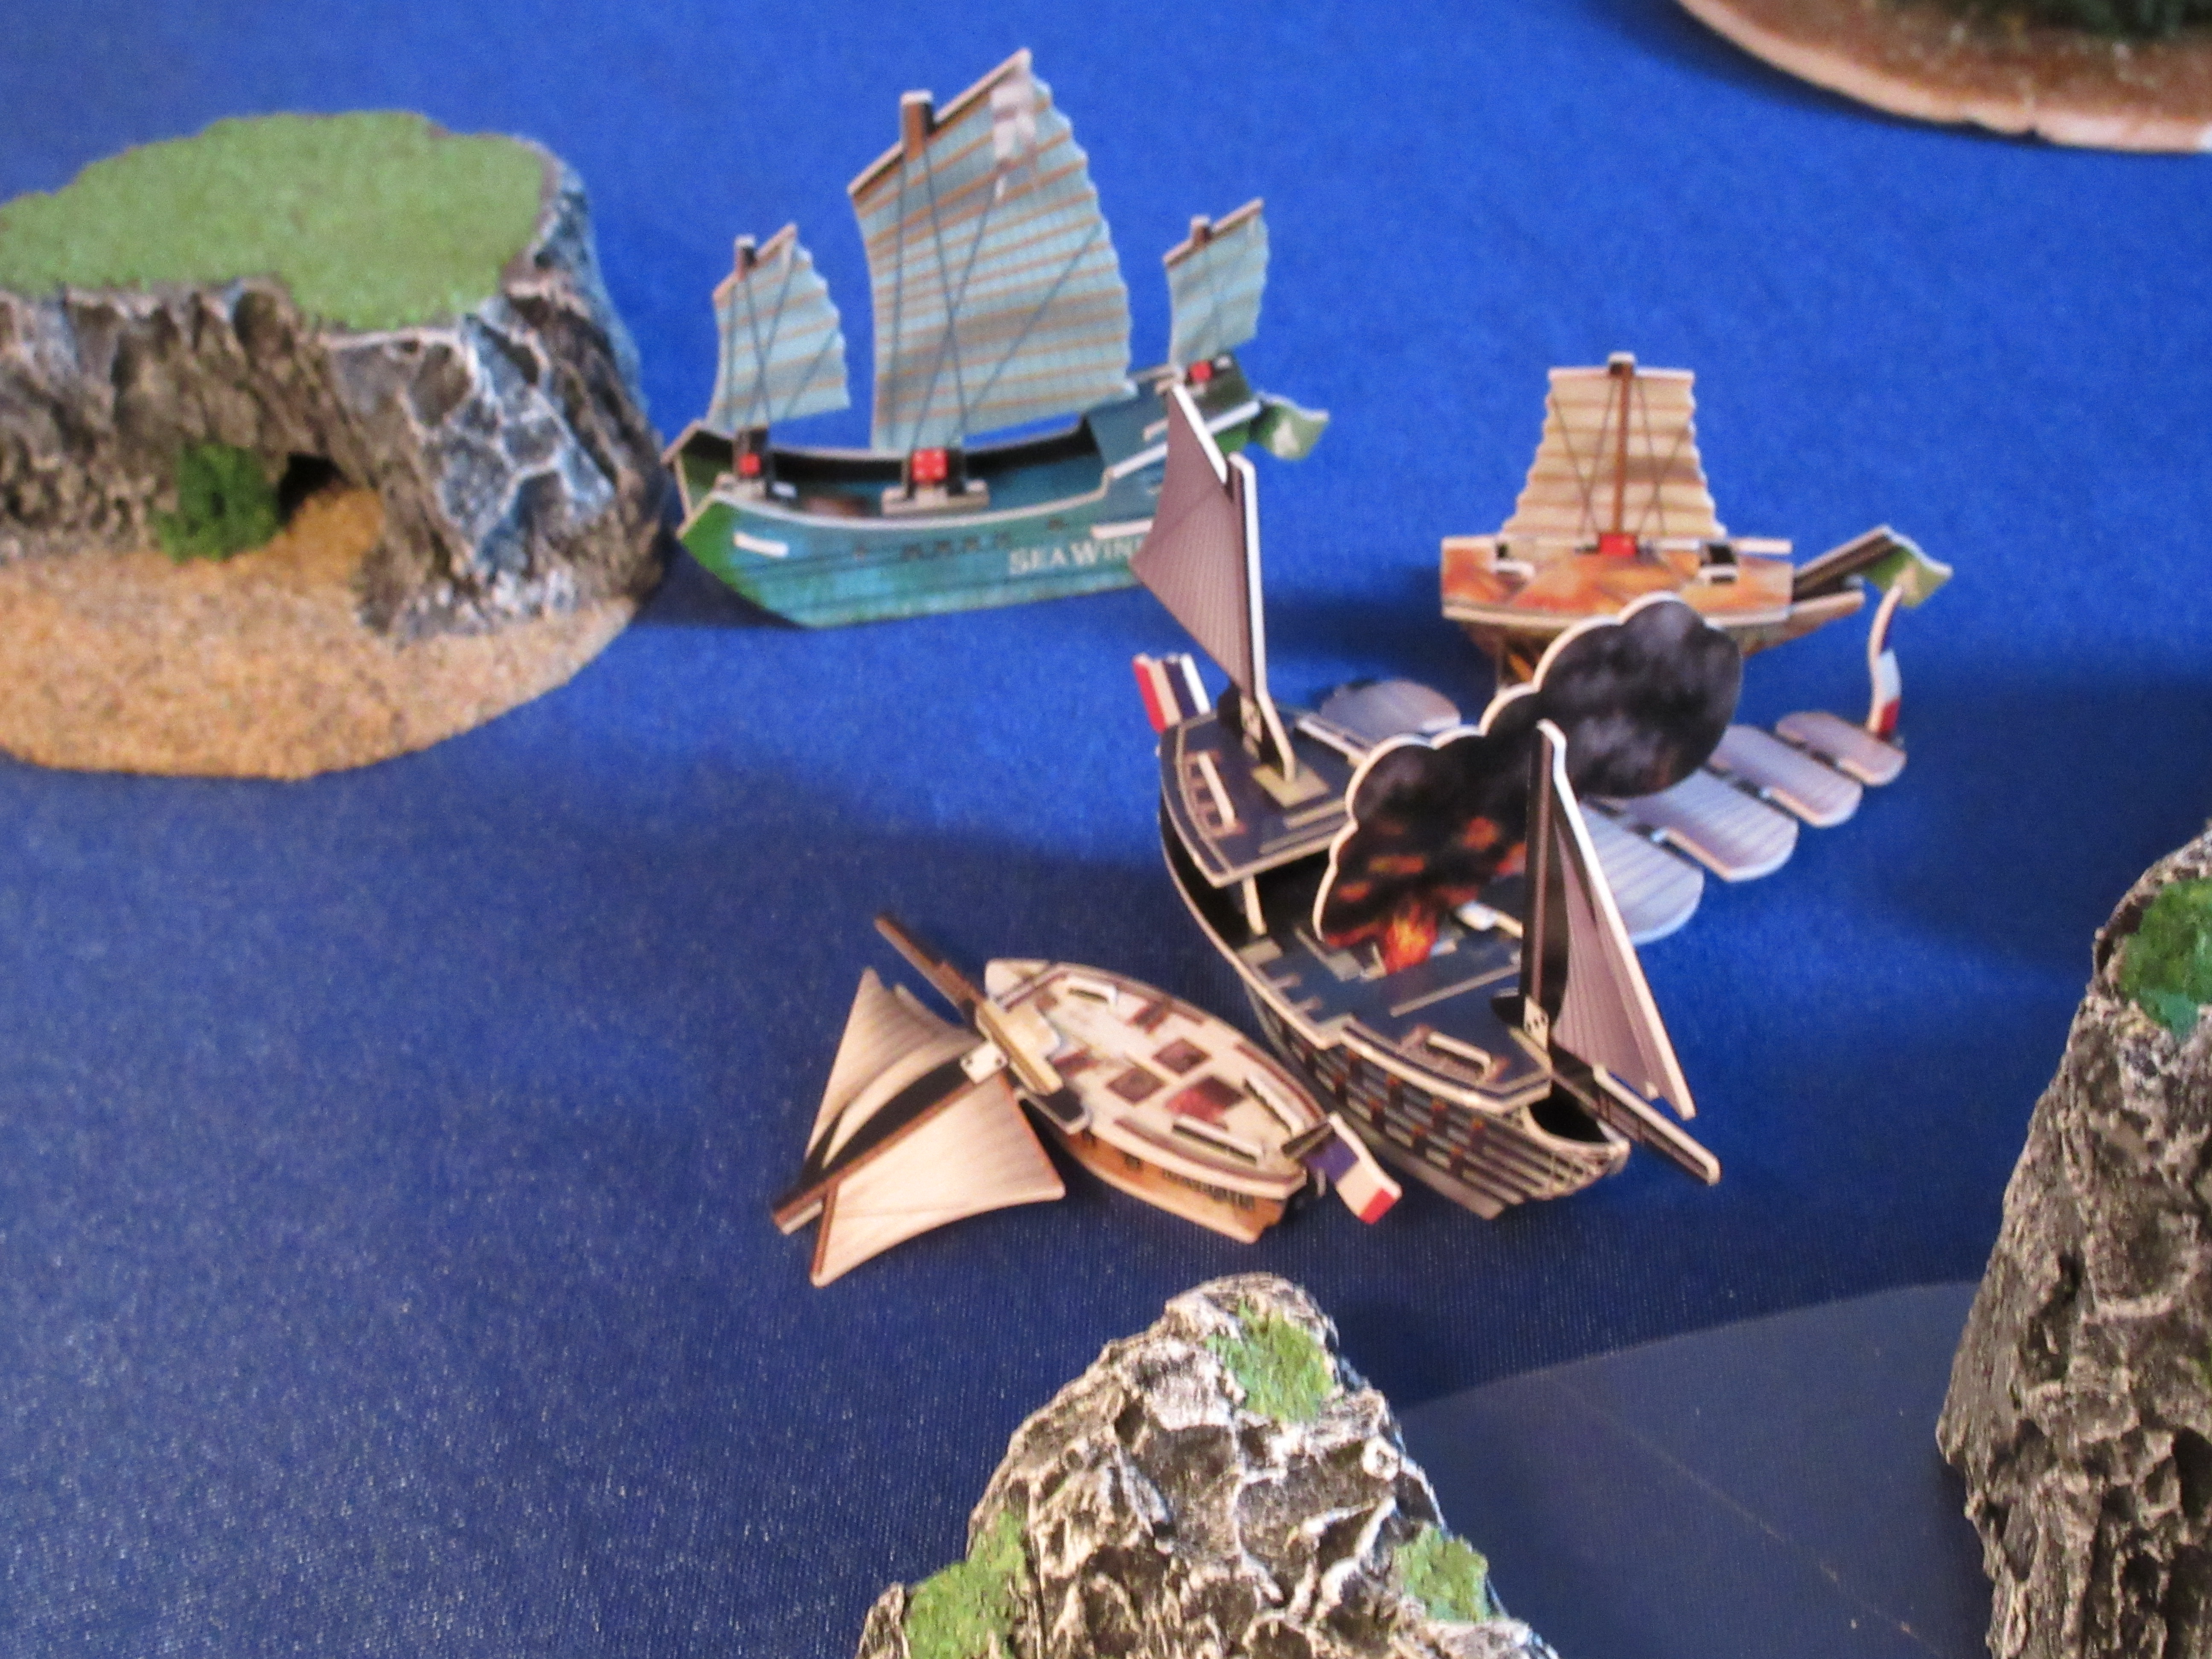
The French proved they weren’t about to shy away from a fight! On just the second turn, with war already declared, the French instigate the first conflict! La Gaule sinks the Sea Crane and her two 5 coins!
Tsai responds angrily by using his SAT powers to sink the Gaule and nearly dismast the Geographe!
In the meantime, the Sea Wind has found Rotting Hull, but she’s also brought back the first coin for the JR. The other JR ships have docked in the south and are exploring. The Geographe managed to mark that eastern island as explored and therefore knocked out the Sea Crane’s JR presence there. (This third turn saw the wind stay blowing from west to east.)
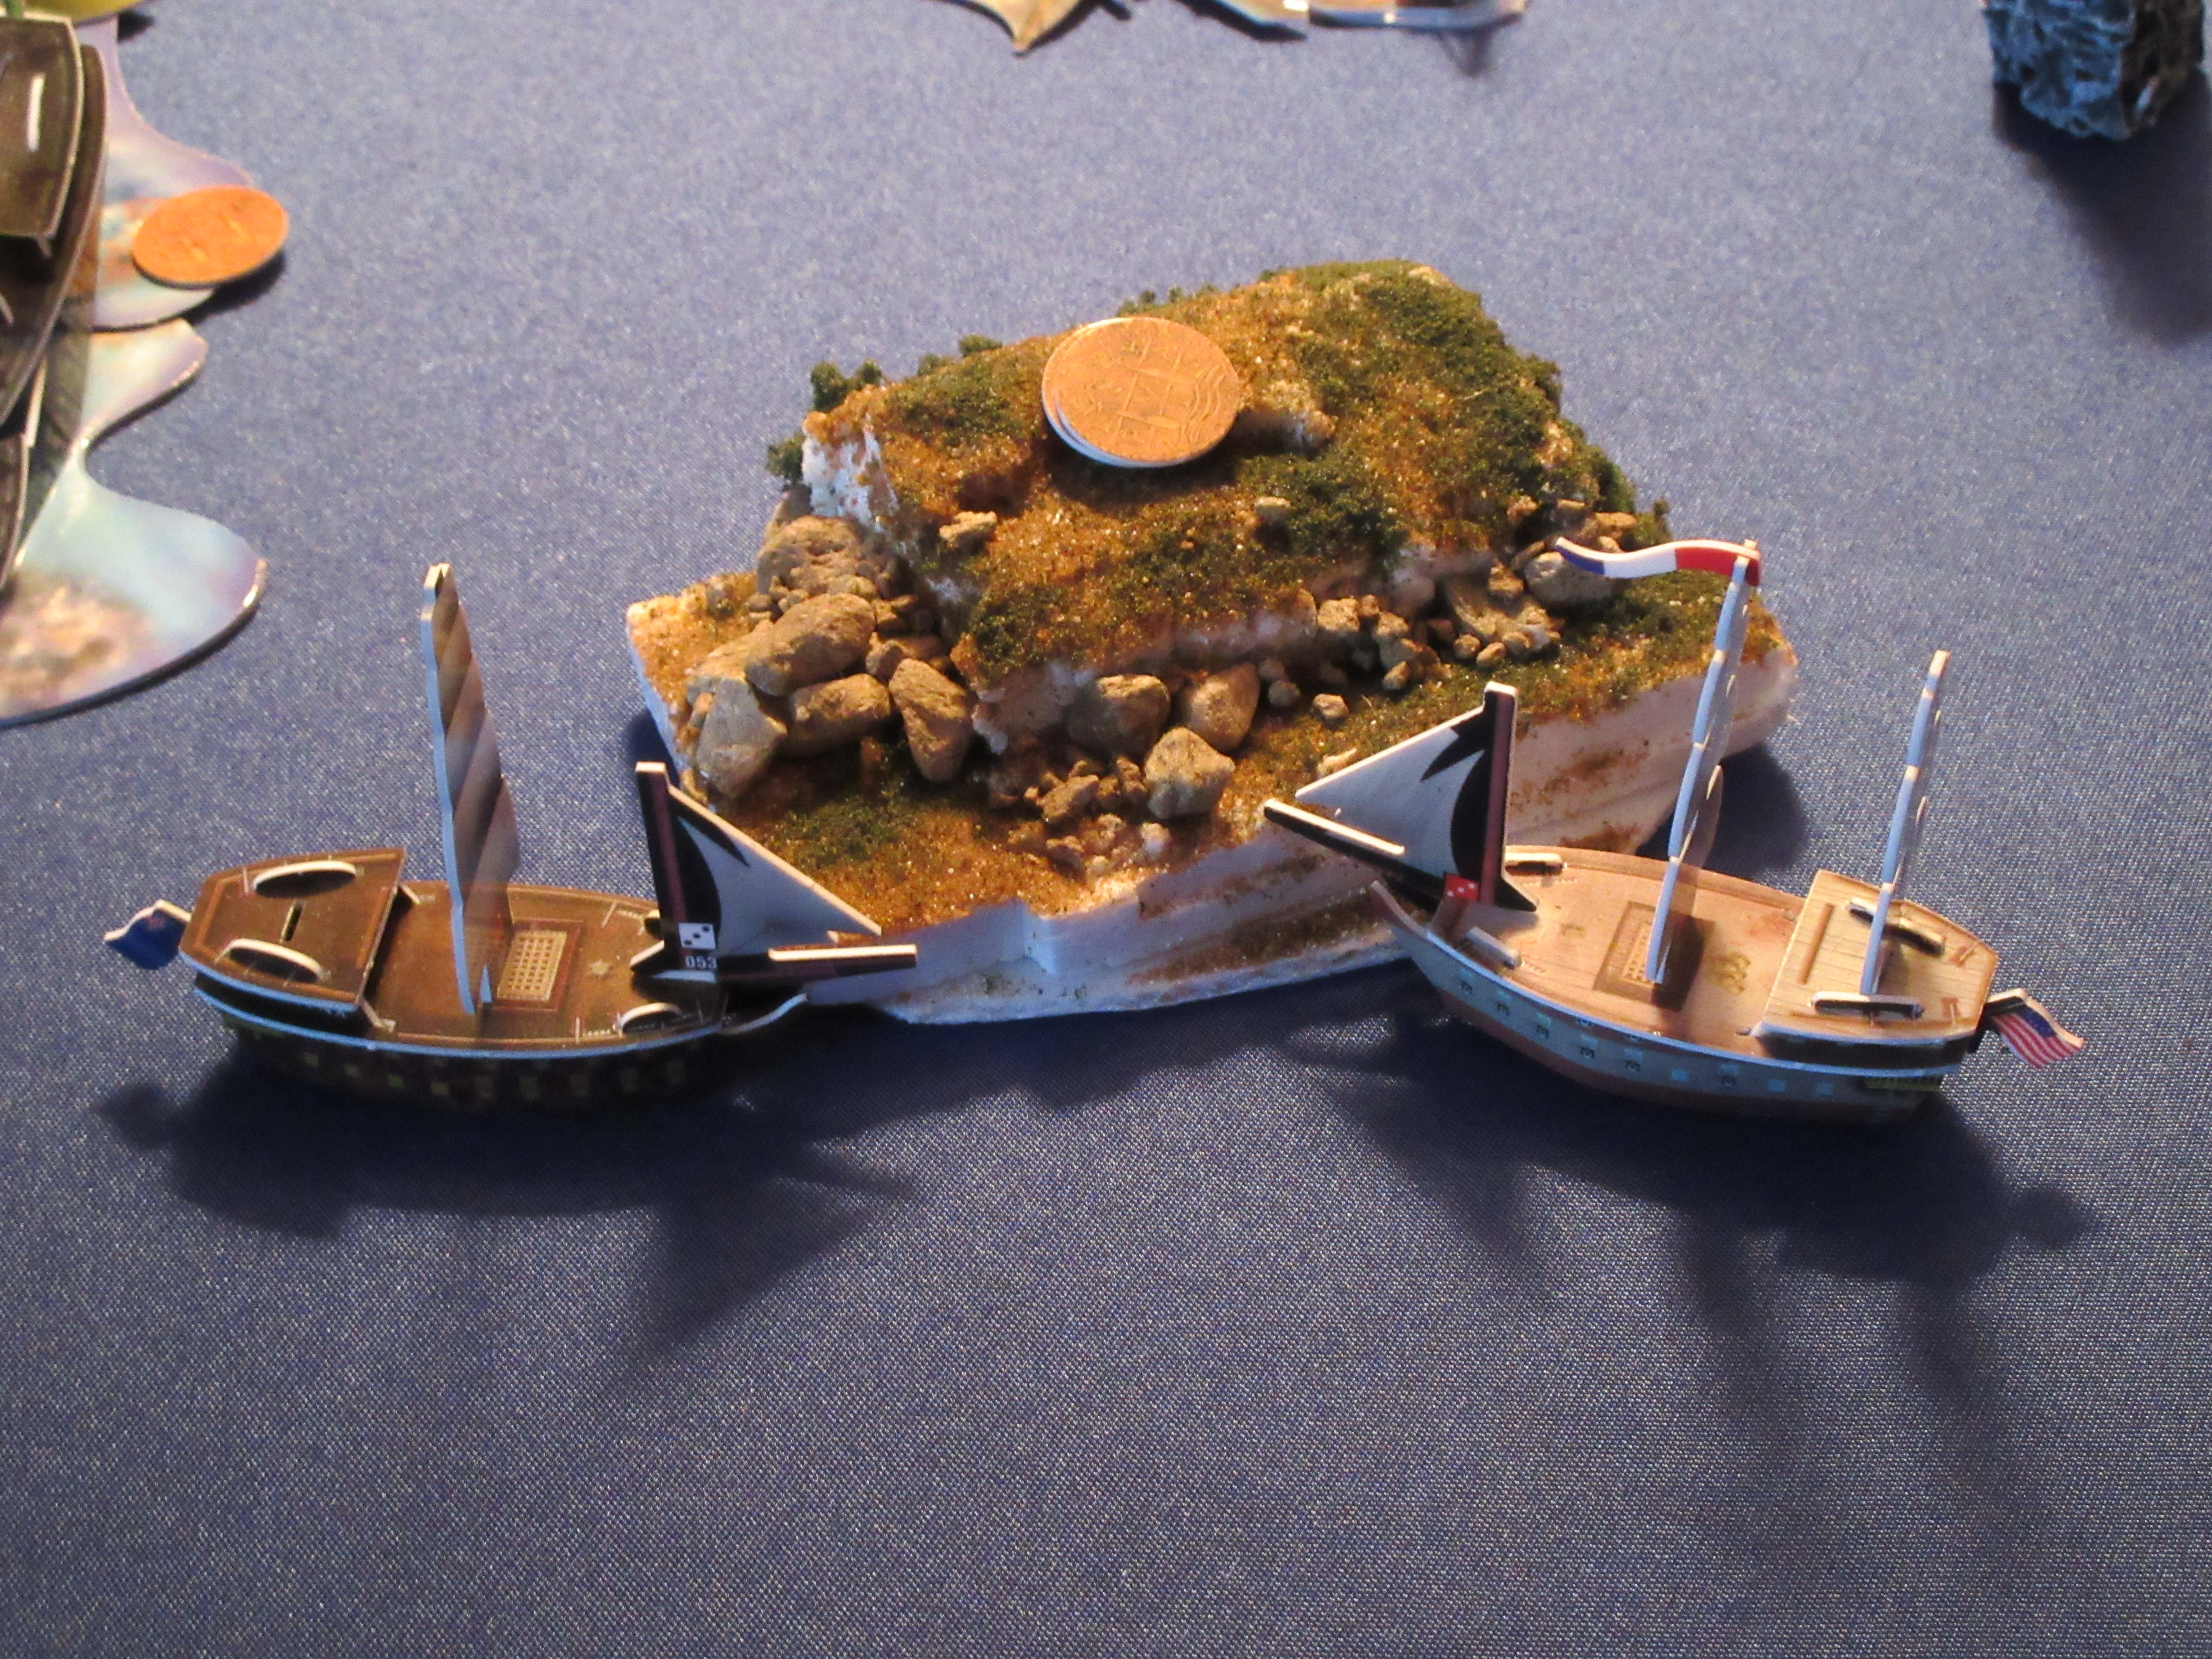
Using the wind’s +S boost, the Voz de Dios sails around the sandbar and rams the Sea Lion! With the Grand Temple off fighting the French in the east, the Spanish capitalize on an easy chance to hit Jade trade. The action is somewhat unsuccessful, with the Sea Lion only losing 1 mast after 4 shots by the Voz (and also remember no ram damage). However, the Voz did win the boarding party to steal one of the Lion’s coins. To make matters even more tense, the East Wind used her treasure trading ability to trade a 1 on that island for a 4 on the island that the other Spanish ships were docked at.
The English and Spanish have docked at western islands as separate skirmishes have already occurred in the south and east.
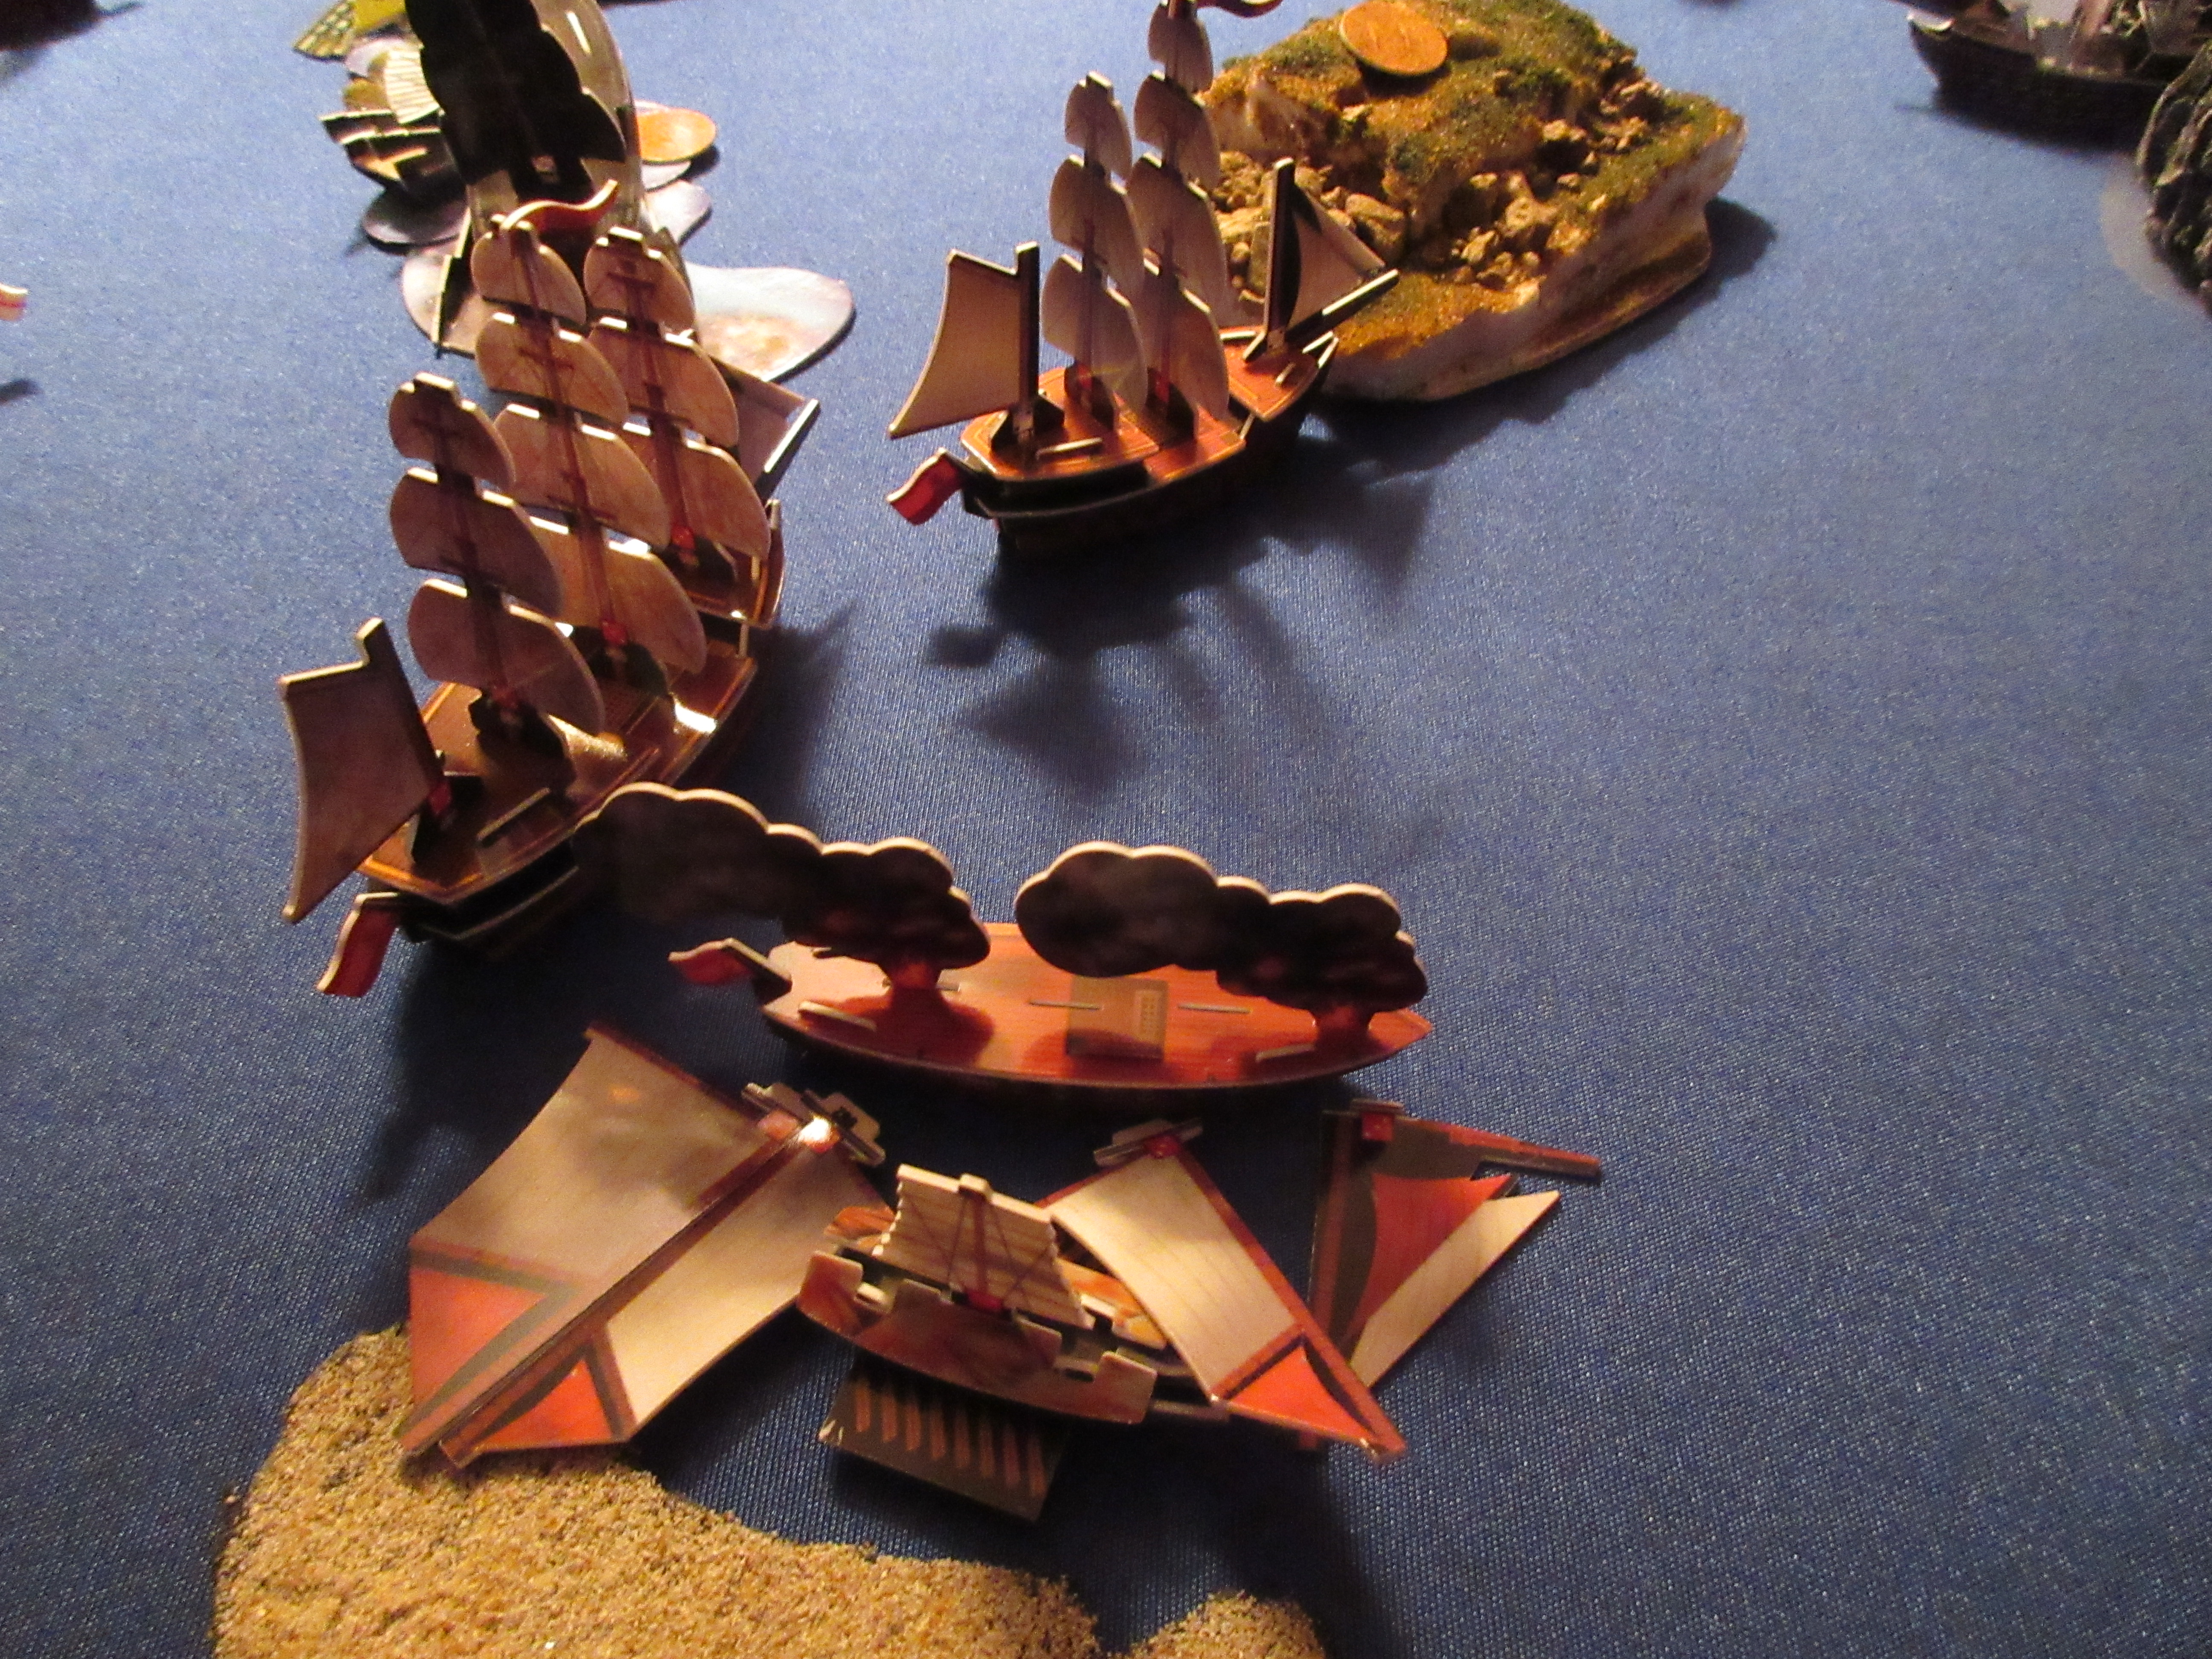
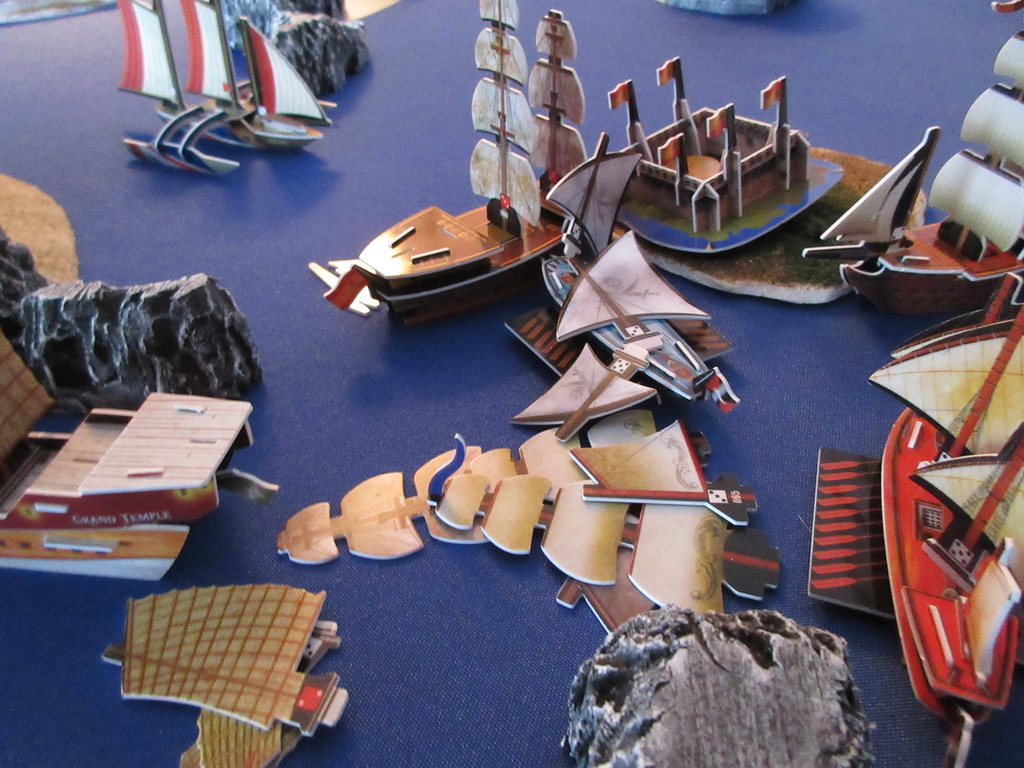
To get the +S wind boost, a ship must move in the correct direction (here anywhere between NE and SE) for one move segment. In this way, the Geographe was able to tack back to her HI in one turn, which meant she could repair. The Argus and Fureur turned around, desperate to stay away from the Grand Temple, who had already crippled the French fleet in just one turn. In addition, the Principe found Fireworks and the first ghost coin. The Dragon’s Talon had Trade Route aboard.
After just three turns, two separate battles have occurred and two fleets have already lost ships! This unique experimental game is just beginning…
1/8/2016
The fourth turn of play marked the second day’s action. The Jade Rebellion hired two captains, one for the East Wind, and one for the Dragon’s Talon. However, the Dragon’s Talon still had Trade Route aboard, and so had to wait for the Grand Temple to sail up and take it off her in order to load the captain. This turn marked another change in the wind, though it shifted back to NE, the direction it was blowing when the game began. The Sea Lion and East Wind managed to avoid further trouble with the Voz de Dios, who appeared reasonably content with the coin she stole from the Sea Lion. The approaching presence of the Grand Temple gave her another reason to head home.
On their turn, the Spanish used almost all of their gold to commission La Habana with a captain and helmsman, continuing the SCS theme by choice.
The Voz de Dios sails home with stolen loot while her fleet mates enjoy the comforts of their home island.
The Argus and Fureur head west to an island, while the Geographe repairs (top left).
However, with the wind behind her, the Sea Wind reaches that same island for the second time, as the newly-captained East Wind departs to the south. The Jade-French tension is obvious.
As the Voz rounds the sandbars, her proud fleet mates sail south to greet her. The San Agustin is slow, but her large cargo hold means she can empty the southwestern island when she isn’t carrying crew.
In the northwest, the Galapagos heads home with gold. To the east, the Argus docks but can’t explore just yet. The slow Fureur gets into position to dock and take gold next turn.
At the top of the frame, the East Wind has joined the Sea Wind on the north side of the Jade HI, giving the Jades two of their three gunships in close proximity to the French gold runners. Far to the south, the Grand Temple guards the southern island for the Sea Lion.
You may have noticed a few additional ships at the Jade HI. At the end of their turn the Jades launched two new turtle ships, the Proud Tortoise and Floating Stone.
With the Grand Temple facing southwest, the Spanish turn around and head north up the huge sandbar. The Voz docks home gold, while the San Agustin loads some. At this point, at least one of the six wild islands was replenishing at the end of each round, and many of the day’s turns saw two islands replenish in one turn.
With a meager haul of 7 gold from 4 coins, the English manage to launch HMS Patagonia with a helmsman and also add an oarsman to the Galapagos.
The Grand Temple shadows the Spanish, as the Jade gunships up north appear to sail in such a way as to cut off the French.
The Jade Rebels are still angry that La Gaule sunk the Sea Crane, and things don’t look good for the French.
Looking west to east, the Habana has been sent north to explore the mysterious shipwrecks of the northwest.
On their turn, the French did well to position their ships for possible attack, with the newly-repaired Geographe sheltering the Argus. However, the Fureur was a sitting duck.
The island that once sat in the middle of the lagoon in Economy Edition isn’t so lucrative anymore, but it’s the best option the English have.
War resumes! The East Wind takes on the Fureur!
With a devastating blow, the French are nearly defeated! The Fureur sank beneath the waves. Then the Proud Tortoise sailed towards the Geographe and hit with her fire shot! To finish up the successful attack, the Sea Wind hit the Argus and Geographe once each.
The Sea Wind carefully maneuvered to avoid illegally docking at the French HI while staying out of S-range of the Argus.
Luckily for them, the French had placed an oarsman on the Argus at the game’s start, and with the wind aiding her, she was able to return home and save herself! Her coin was only a 2, but the French had hope. That hope temporarily diminished when the Geographe continued to burn, but she got home as well. The French narrowly avoided being the first fleet eliminated.
The Spanish continue to play cat and mouse with the Grand Temple.
The East Wind and Sea Wind grab some gold on their way back to the Jade HI. The Jades have dealt with threats efficiently and have successfully intimidated the Spanish into staying in their own waters up to this point. As a side note, this day of action saw the wind blow east for four consecutive turns.
The Spanish were very worried that even with the help of La Habana, the Grand Temple could potentially cripple the Spanish battle fleet in one turn with Tsai’s SAT. As a result, they launched another ship from SCS, one of Spain’s finest: Santa Ana + Almirante Carlos Pavón y Miranda, Bianco’s Haulers (finally breaking the SCS theme), Comandante Antonio de Silva, helmsman, and oarsman.
In the meantime, the English launched an addition of their own: HMS Hyena + Sir Meyer Hampstead. This gave them a ship that could harass enemy gold runners while still having enough cargo spaces open to run gold normally if no targets were available. However, the English should have paid more attention to the man they hired…
“Hampstead knows that money—not the Crown—is what keeps the world turning, and he’ll do whatever is necessary to keep that money flowing back to the investors in London. Flags, kings, and courts are all secondary.”

The Jade Rebellion was obviously still the fleet to beat, but they were getting a little worried that they wouldn’t be able to deal with all of the growing threats at once.
The Patagonia has explored the wreck of the Deliverance, while the Habana is exploring the wreck of the Flying Dutchman, whose bulk obscures the Spaniard’s bow.
In the northeast, the French have repaired most of their battle damage, while to the south, the Jades have multiple ships coming back with gold.
All is well in the southern part of the sea… – hang on, what’s that in the southeast corner?!
IT’S THE BARBARY CORSAIRS! The Barbary Pirates have invaded the South China Sea!
The Grand Temple and Dragon’s Talon immediately head southeast to counter this unexpected threat! Seeing their opportunity, the Spanish gunships round the north side of the sandbar for the first time, entering Jade waters! The Jade HI is loaded with gold, but they may have to use some of it soon to deal with the madness that’s beginning to unravel! The Barbary 2 masters have docked at the southeastern island, while the Persian Victory heads straight towards the Grand Temple in open defiance of the Jade Empire! The Sea Dragon and Viper’s Bite sneak north.
The Jades are strong, but the Spanish have now massed all of their firepower in one spot! The returning Habana watches as her fleet mates round the sandbar in the largest display of firepower seen in the game so far. 16 masts on 4 ships, all with captains.
The 12th turn of the game finally saw a dramatic shift in the wind, as a 6 meant that the wind reversed direction from blowing NE to blowing SW!
The Jades have the opportunity to take the battle to the Spanish, and they do so! With war declared long ago, the Proud Tortoise has no hesitation sailing up to the Principe de Asturias and blasting her with fire shot!
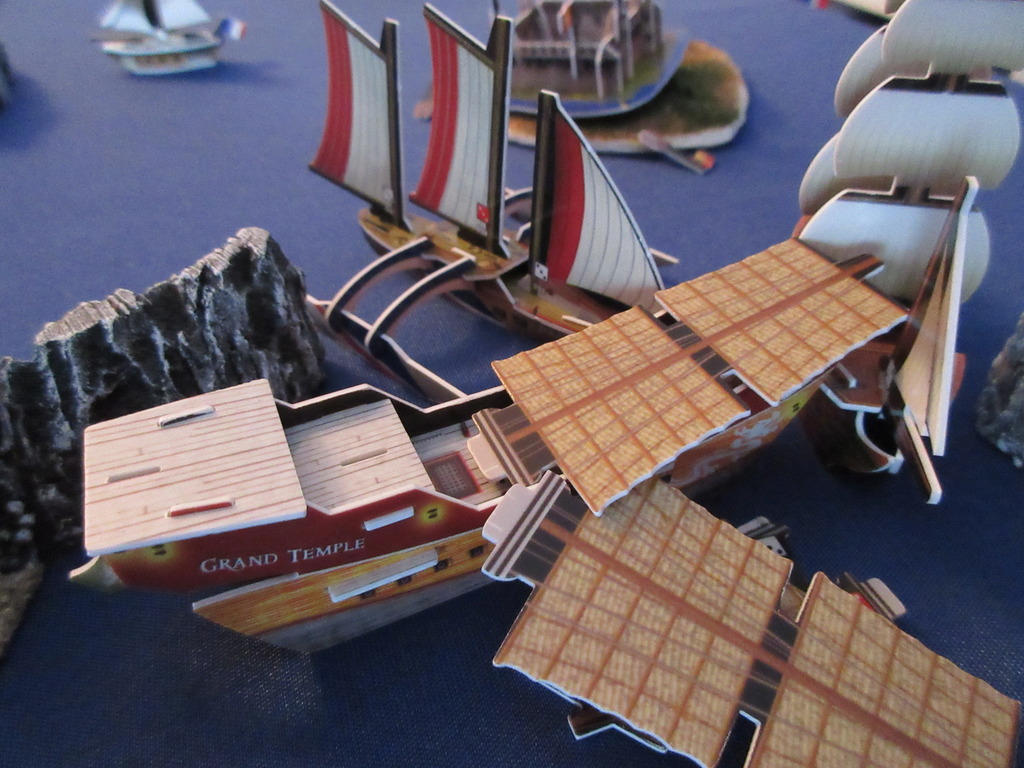
But in the meantime, another battle is erupting at the same time! The Grand Temple shows her might once again – even with no SAT from Tsai, she dismasts the Persian Victory and takes out a mast on the Pasha’s Delight.
The Dragon’s Talon finished off the Persian Victory! The Admiral Yi has decided to go to the Sea Lion’s island to avoid having her gold stolen by the Barbary Corsairs.
Chaos! The other battle rages on, as the East Wind hits 2/3 on the Principe, bringing her down to 1 mast. The Sea Wind gets the cannon bonus from the East Wind, but still misses both her shots against the Habana.
With their aforementioned capital ships in another part of the world after the conclusion of the JR/English war, the Jades couldn’t launch any more of their own ships, for they had run out of building supplies. As a result, they turned to hired Mercenaries, purchasing the Meropis with Herr Fuchs, Count Gustov, and a helmsman, leaving just 10 gold on their HI.
The Spanish started their turn by rolling for the Santa Ana’s extra action (EA). They got it, and decided to let the Habana continue sailing home with gold. The Habana almost made it all the way back with the new NE wind pushing her home. The Spanish were confident their two remaining gunships could deal with the Jades, and they were right. The Principe started things badly by completely catching on fire, dooming the poor ship. The Santa Ana then used her double action to cripple the East Wind and sink the Sea Wind!
The Voz finished the Spanish counterattack by sinking the East Wind, but her long range guns couldn’t hurt the pesky Proud Tortoise.
The fully-repaired and now-ignored French make their way west, careful not to stray too far south.
The English went next, and began by exploring with the Galapagos so her cargo was full after the island replenished at the end of the previous round. Then they ordered Hampstead’s Hyena to continue sailing north and explore the Thrud shipwreck, but he had other plans! Caring only about money and profits, he rammed the Galapagos and stole all her gold in a ridiculous act of betrayal!
As the sun sets on another day’s action, one thing is for sure: these fleets are in for the unexpected!
But wait! The Barbary Corsairs took their turn as well, using the Bey’s Revenge to explore the southeastern island! Then the Pasha’s Delight used a repair action while docked, claiming that island as the new home island for the Corsairs! Finally, to end a crazy day, they launched the Ivory Star immediately with the gold they found on the island! She’s immune to the Grand Temple’s L-range guns and can’t be shot at right now since she’s docked at her HI!
1/11/2016
Turn 13 saw the southwesterly wind continue. The Grand Temple and Dragon’s Talon scooted away from the BC ships who couldn’t be shot at. However, the Meropis got into action immediately, but only went 1/3 to dismast the Viper’s Bite and failed to damage the Sea Dragon. The Proud Tortoise returned home to avoid being trounced by the Spanish. At the upper left, the Principe de Asturias is about to slip under the waves.
The Spanish had lost one of their four gunships, but had dealt the Jade Rebellion major losses in return. Now the Santa Ana and Voz de Dios headed east while the Habana returned home with gold. To the north you can see the French getting some much-needed gold.
The Barbary Corsairs respond! The Ivory Star has docked at the southern island to the left, while the Meropis is under attack. She was subject to three boarding parties during the turn, one from the Bey’s Revenge and two from the Sea Dragon via S-board. She lost her helmsman, but the Corsairs boarded because they had no crew to lose, which meant they didn’t have captains either.
The BC’s swarm the Meropis:
Furious at Hampstead’s betrayal of the English, the Galapagos fires a full broadside. She only hit once! The Hyena sails off with her stolen gold, with the weak Patagonia unable to do anything about it.
The following turn saw the wind shift to a northerly wind, which would benefit any ships sailing south. The Jade Rebellion launched a successful counterattack, damaging the Pasha’s Delight and Bey’s Revenge. In a rare instance where the reverse captain ability came in very handy, the Meropis used it to sink the Viper’s Bite before scurrying away from the frenzy of Corsair ships. Her guns were rather poor once again, however, since she needed all her shots to sink the Viper’s Bite and therefore didn’t have a chance to hit the Sea Dragon, which would come back to hurt her.
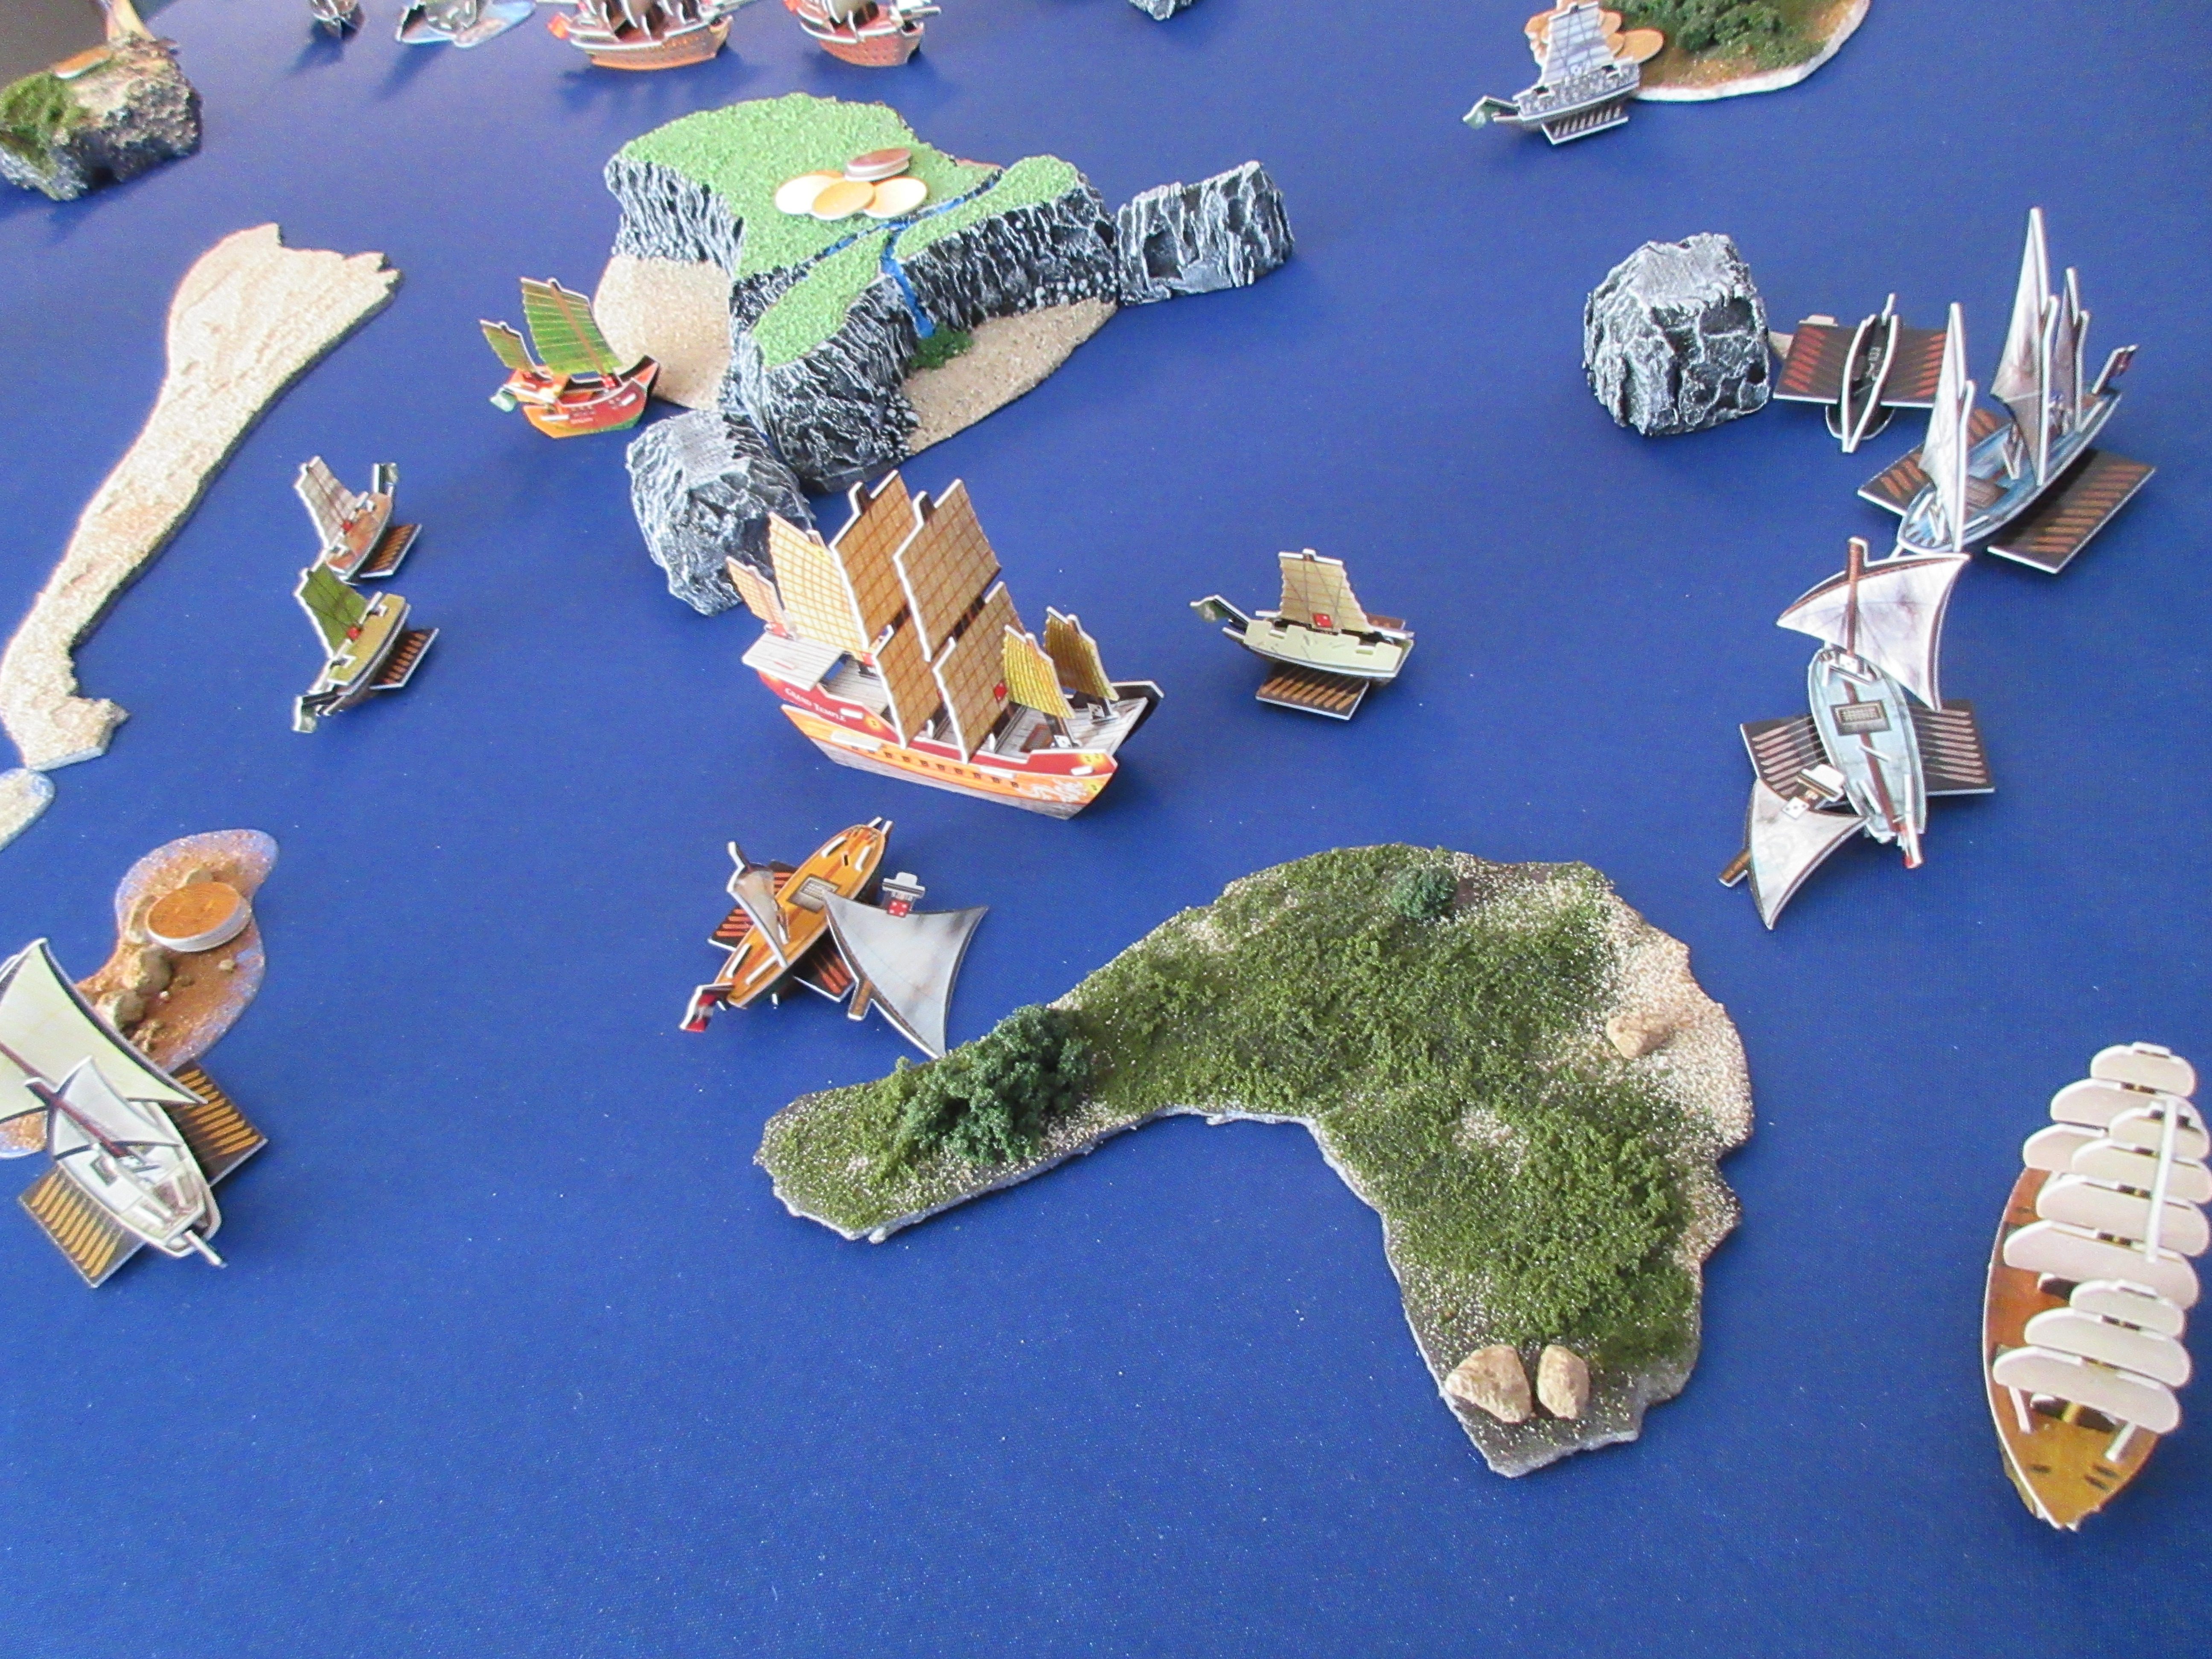
The Sea Dragon uses the wind to her advantage and catches the Meropis! With another double-board, she eliminates Count Gustov from the game! The 6 represents the fact that both ships rolled a 6 on the second boarding party, meaning no crew were eliminated with a 9-9 tie! (which happened after the Sea Dragon rolled a 6 to win the first boarding party) The 2 masted galleys returned home for safety and repairs, while the Ivory Star explored to the west. Towards the top of the picture you might notice some other things…

The Spanish continue their advance, though somewhat cautiously. The Floating Stone was off on her own, and the Santa Ana pounced, taking out both turtle shell panels. However, the Santa Ana couldn’t bring her last gun to bear since she wanted to dock at the same wild island in order to activate Bianco’s Haulers (this ship cannot be shot at while docked) and avoid getting hit with the Floating Stone’s exploding shot. The Spanish had the Voz de Dios shadow the Santa Ana, careful not to split their gunships up.
Here’s a broader shot of the situation. The main new development concerns the Habana, who has docked at the large sandbar for some reason. That longer, noticeably taller sandbar can’t be passed over by ships, but the two to the south (on the right here with one out of the frame) follow the custom sandbar rules.
The wind continued to blow south, and the Jade Rebellion empire continued to show its might. From left to right: the Grand Temple knocks out two masts on the Ivory Star (with her 3S cannons since the IS can’t be hit by L-range guns), the Floating Stone uses her initial segment to get the wind boost and escape from the Spanish, and the Meropis uses reverse captain again to hit the Sea Dragon before running away. The Dragon’s Talon hit with her lone cannon to dismast the Sea Dragon, but she can easily row home to repair. Knowing this, the JR’s are becoming tired of fighting the Corsairs so close to their HI, since it’s ineffective.
The Santa Ana got an extra action with that 6, and moved to redock at the island, and then explored. This was a puzzling move, since the Santa Ana could only take one coin aboard. The Voz followed suit, but there had to be some other motive.
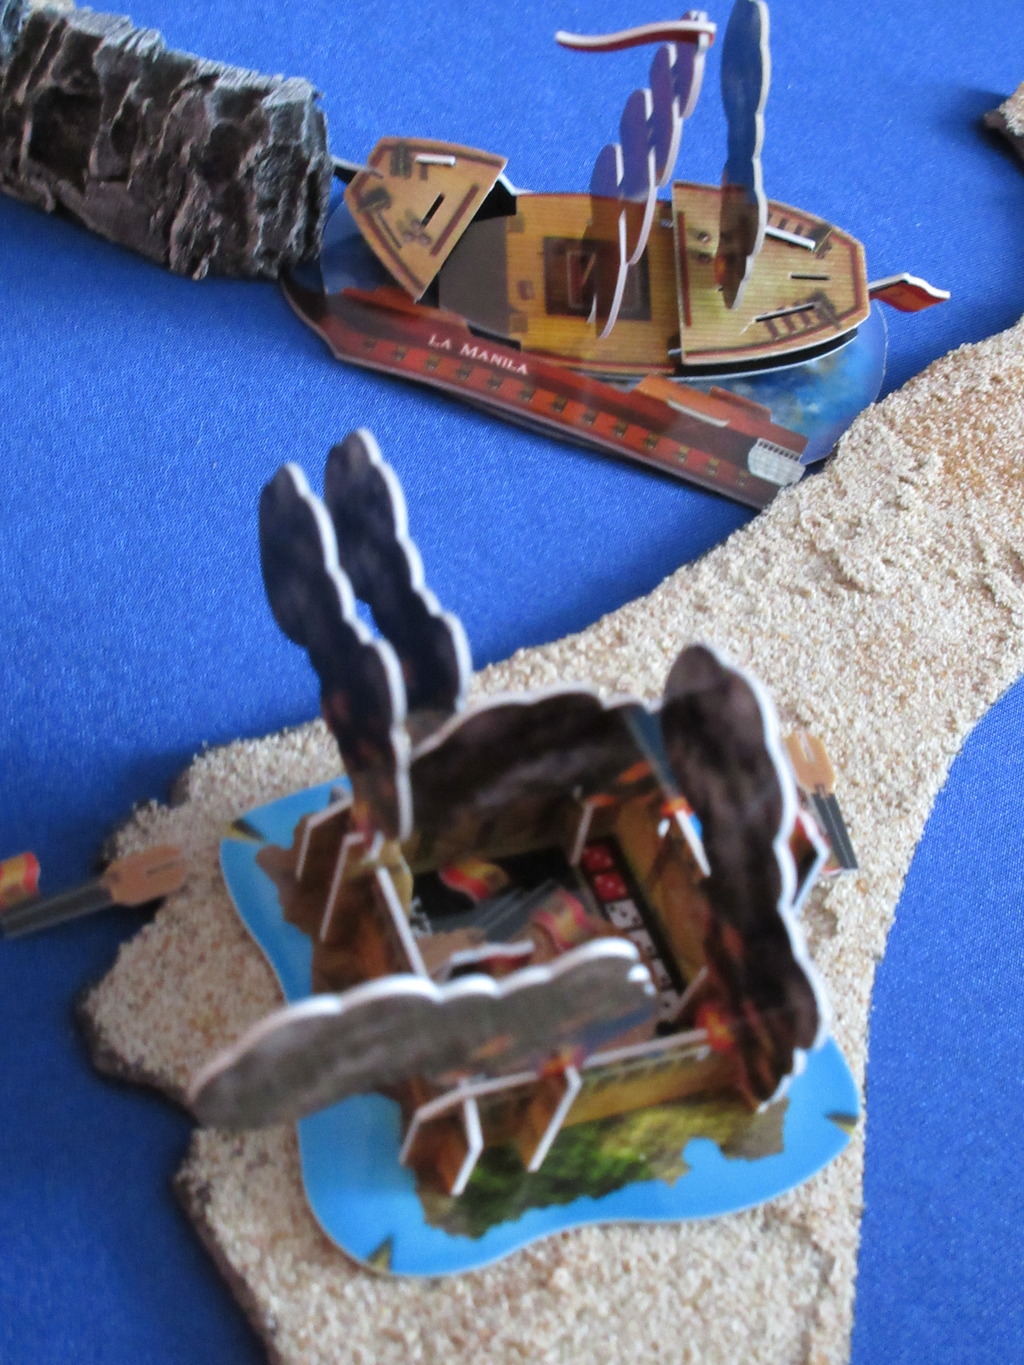
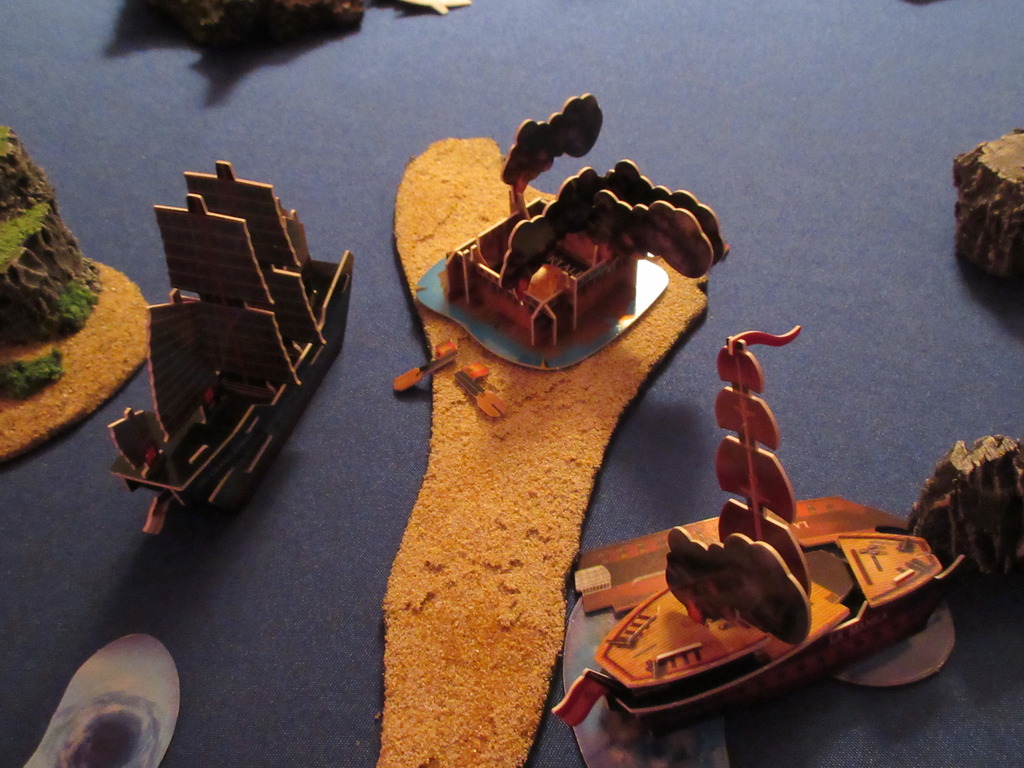
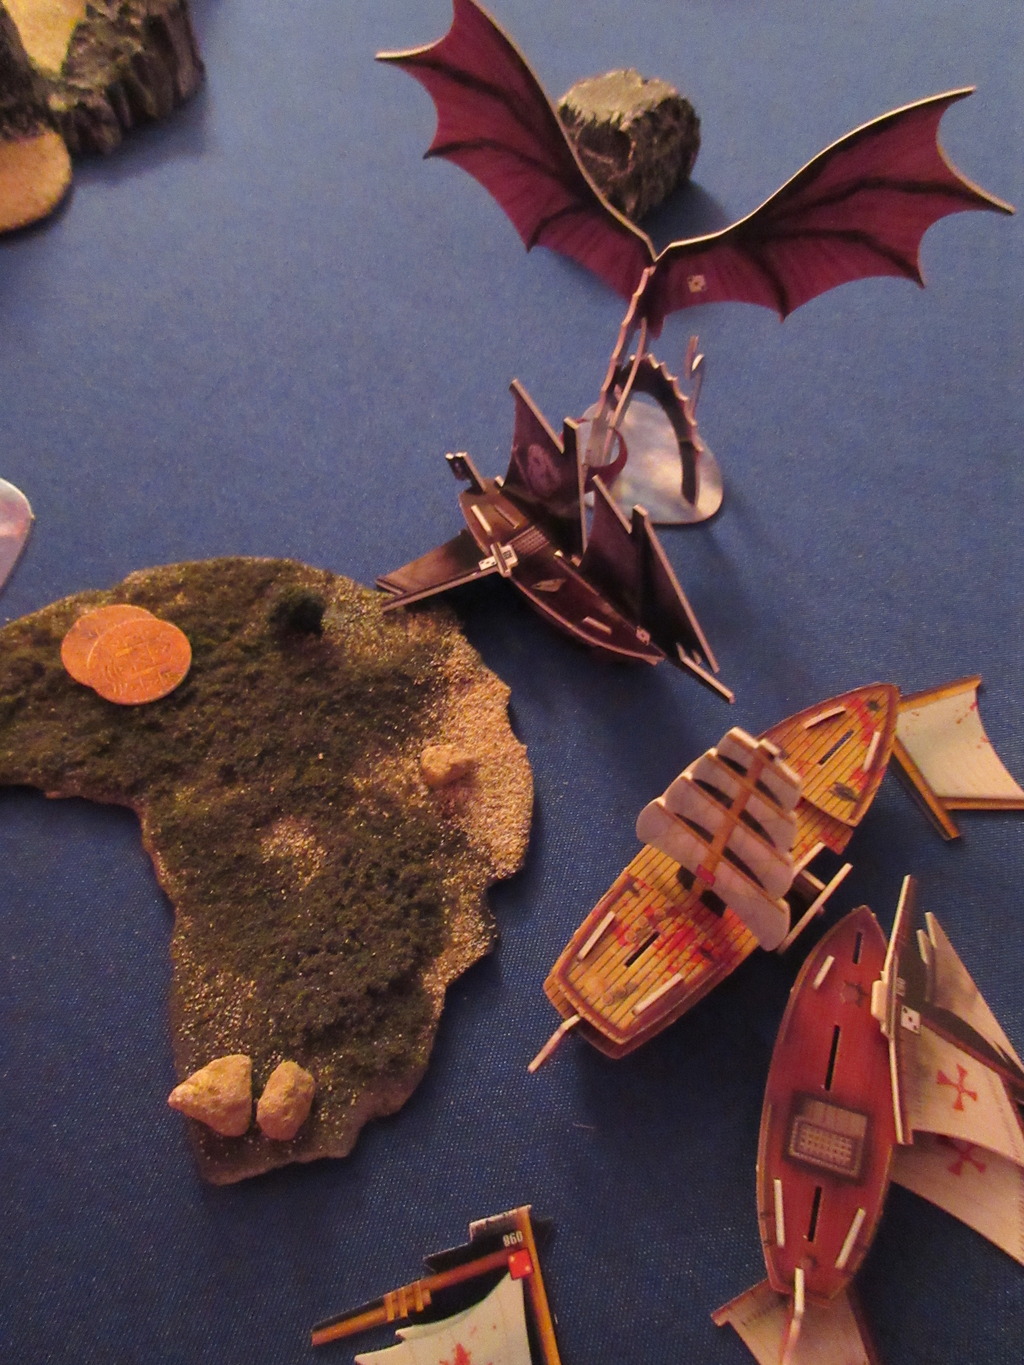
To the west, the Habana “explored” the sandbar, and the Spanish finished their turn by putting Fortaleza Dorada on it! The fort’s two long range guns reached almost to the Jade HI, so their ships were blockaded in the south from the west! The Santa Ana’s explore action became obvious…
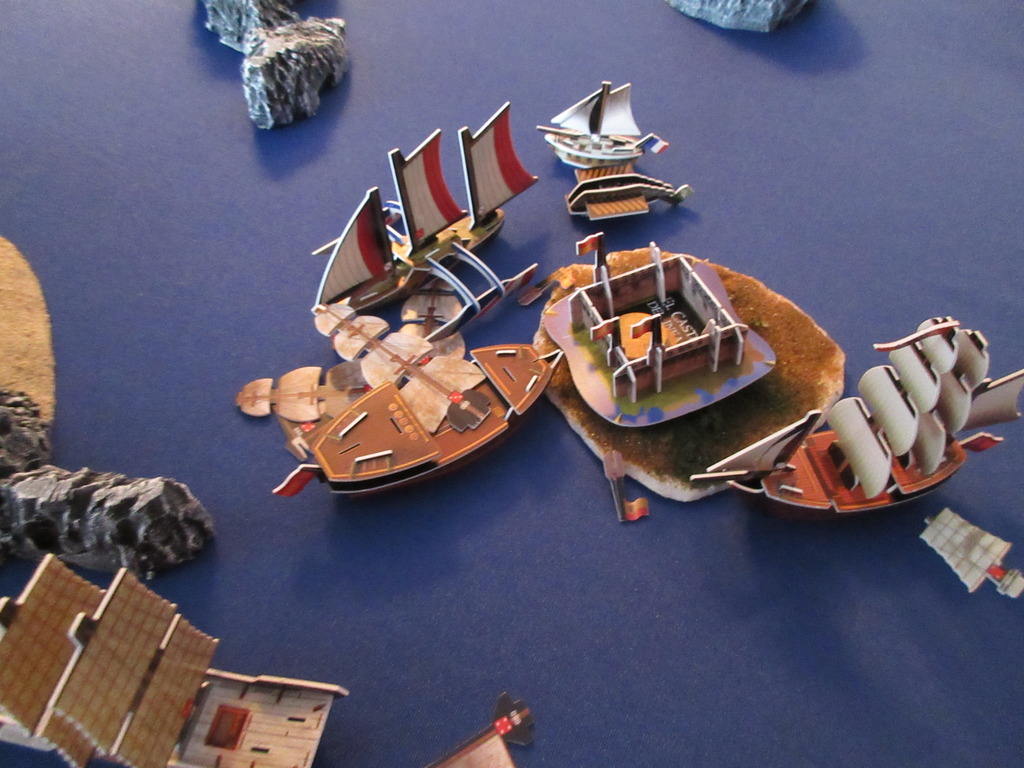
And the Spanish construct El Castillo del Infanta on the eastern island! The L-range guns again reach almost all the way to the Jade HI, and now the Spanish have lines of fire drawn on both sides of the Jade HI! This cuts the Floating Stone off from the rest of the fleet in the south, and immediately denies Jade access to the island the Castillo is on as well as the northern island at the top left. In addition, it kind of traps almost the entire Jade fleet in the south, making it harder to avoid the BC’s. Lastly, the wind was not favorable for the JR’s, since the Spanish had the weather gauge and the wind was blowing the JR’s back into the southeast.

The Hyena docks at the aforementioned northern island, and in a stunning move Hampstead reveals his new allegiance: to America! The new “American” fleet has been borne once again out of distrust of the weakened British, and the Americans claim the island as their own! With the Hyena’s stolen loot from the Galapagos, the Americans commission USS Overton with a helmsman! Hampstead comes aboard the Overton to command his new ship.
The ever-frustrated Jade empire responds after the wind shifts to the NW (blowing SE), and Tsai’s SAT gives the Grand Temple enough shots to sink the Ivory Star, who carried the hopes of the Corsairs with 15 gold on her. Now that treasure is at the bottom of the sea, and the Corsairs are struggling. They repair their 2 masters and row the Sea Dragon back. The JR’s, however, have their gunships in the southwest corner, fighting the wind to get back to their HI.
The English continue to slowly accumulate gold while their former fleet mate, the Hyena, repairs at the new American HI. The Overton has set a course for the tumultuous southern area.
With the wind at her back, La Habana has quickly moved south to the sandbars she can traverse. The Spanish may have a pincer attack in mind, with the Habana coming from the west and the Santa Ana and Voz coming from the east, while the forts prevent or delay escape to the NW/NE. At the bottom of the frame, the Pasha’s Delight is capitalizing on the JR’s dilemma and grabs a 7 from the southern island.
But once again the Jades strike first! The Grand Temple takes two masts off the Habana, further proving that the Jades are strong enough to handle the threats presented to them. The Spanish are frustrated with their slow progress in taking down the empire, but they know they need to proceed cautiously since the GT can move 6S (or more with the wind!) and rip off 12 shots in one turn with Tsai’s SAT.
Here you can see some gold on the JR HI, and they’ve done a decent job regrouping their gunships considering the pesky Corsairs and the unfavorable wind.
The Habana’s best option is to retreat, as the San Agustin docks home another load of gold. All of the factions appear to be saving up some gold at this point, and the English, Spanish, and Jade Rebellion all have at least 20. Notice the Overton on the right, sailing past the Spanish fort. The Spanish gunners hold their fire, dumbfounded at seeing an American ship in these waters.
Another picture to cover the eastern areas, this shows a good portion of the sea. The big Spanish gunships in the east have moved south! However, with a NW wind, they’re worried the wind will shift to a westerly wind and the JR’s will gain the weather gauge. Who do you think will win?
1/12/2016
Turns 18-21 have been played, and the wind stayed at a constant NW (blowing towards the SE) for turns 18-20.
At the beginning of turn 18, the Grand Temple turned around but knew she couldn’t go too far east for fear of being jumped by the Spanish gunships. However, the Jade Rebellion empire is smart. They knew that their window of opportunity to hit the Spanish hard was diminishing. They also knew that the Spanish would continue to get stronger as long as the Jades didn’t do anything about it. Therefore the Jades decided their best option was to take the initiative. The Floating Stone moved away from her HI and into range of the Castillo del Infanta’s cannons. She would do her best to cut off the Spanish escape route to the north. Then, the Proud Tortoise once again showed extreme bravery, and for the second time sailed up and fired upon a vessel much larger than herself! Her successful fire shot was instrumental in taking down the Principe de Asturias, and here it caused a fire on the Santa Ana! With the tough wind blowing southeast, the Meropis and Dragon’s Talon were forced to sail slowly back towards the Jade HI and the developing action.
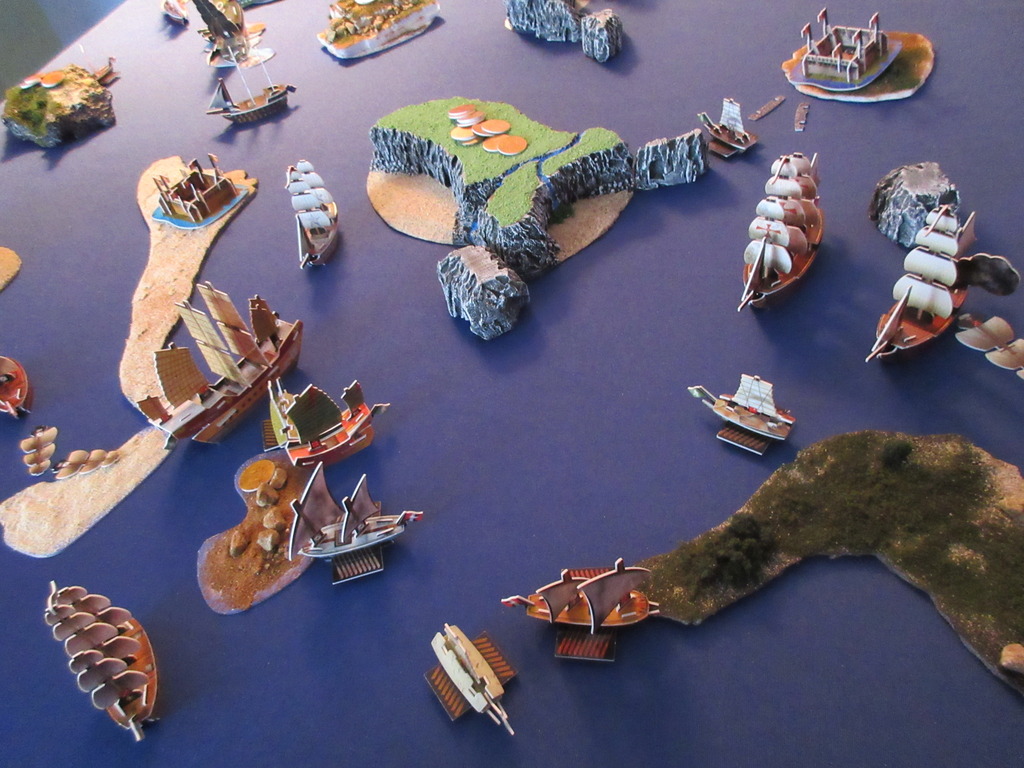
The Spanish, seeing the dangerous fire upon the Santa Ana, order a temporary retreat! They’re very cautious this game, and we’ll see if it pays off. The Santa Ana got an extra action and eliminated her fire mast. Her first action was used to blast both turtle shell panels off the Proud Tortoise, and her second action was used to move north. The fort missed the Floating Stone, but the Voz de Dios managed to sink the ship instead.
The Overton, with Sir Meyer Hampstead and a helmsman aboard, continued to curiously sail south towards the Jade fleet. The ship then reached the Grand Temple and pulled alongside despite not having a captain! Then something strange happened…
Flavor text for Katsura-chan: “Some say that Katsura-chan was a member of a secret warrior caste that trained women in the art of deception and espionage. Since falling in love with an American sailor, however, she has taken to the sea to follow her heart.”
That “American” sailor turned out to be Hampstead! And Katsura-chan left the Grand Temple and the Jade empire to join the crew of the Overton!!
That was that. Tsai, the main commander of the remaining Jade Rebellion fleet, was stunned. He ordered his crew to hold their fire even as his second-in-command deserted for the Americans. He couldn’t fire on his friend, especially so soon afterwards! With everyone on the Grand Temple in complete shock, there was nothing they could do.
To change things up, the launchings for turn 18 happened at the end of the round, rather than at the end of each fleet’s turn. The historical “big three” got busy spending:
Spanish: Granada + captain, helmsman, firepot specialist, explorer
French: Le Bourbon + Benoit de Marsilles, captain, helmsman
English: Polaris + Hermione Gold, Commander Temple, helmsman
The Spanish were anxious to replace the Principe de Asturias, and the Granada has a nice complement of crew in addition to bonuses against the pesky Corsairs, should they try to bother the Spanish. The French used an oft-forgotten ship of reasonable value, but the real story was the marine: remember from the first post that marines can fire on ANY turn for this game (though the French would forget lol). The English launched one of my newest ships, a massive and wide Double Catamaran with an interesting crew complement.
Here you can see the new Granada and Polaris at their HI’s, while the Habana has arrived to repair.
Le Bourbon has arrived. The Geographe and Argus split up. The French plans remain murky, though the Franco-Spanish remain allied against the Jade Rebellion empire.
With more daring and excellent sailing, the Proud Tortoise easily catches the fleeing Santa Ana and lights her on fire again!
With Katsura-chan gone, Tsai had lost his captain and the reroll for his own SAT ability. Seeing the fleeing Spanish, he decided to press the attack despite the loss of such an important crew member. With a successful SAT roll, the Grand Temple flew across the waves and rammed the Voz de Dios, taking out her helmsman!
It’s finally happened! The Grand Temple, the Jade flagship, takes one of the Spanish capital ships head on!
A nice shot of the southern island, where the Pasha’s Delight is currently docked. Her immunity to L-range guns makes the Meropis feel even more helpless, as she’s forced to sail at just S speed going into the wind. The Admiral Yi and Sea Lion are headed back with gold.
The Spanish were next. The Santa Ana, once again aflame, needed to get back to the Castillo del Infanta to repair. However, she rolled low and gained another fire mast, leaving her with just one mast! In the meantime, the Spanish were relieved to not see Katsura-chan aboard the Grand Temple, giving the Voz de Dios the opportunity for the first broadside. The Grand Temple knew her guns were relatively inaccurate, but then the Spanish revealed their secret weapon: Fireworks!
The Voz connects! Disappointed to hit only three times, the UT was still very helpful because only one mast would have fallen without it.
Another angle:
The French continued to sail south, but the bad blood between the English and French was present throughout the world at this time, so the South China Sea was no different. However, the Polaris only managed one hit against the Geographe. To the right, it looks like the other French ships may be sailing to help out their Spanish allies.
Not the center of attention anymore, the Corsairs bring back enough gold to launch the Fire Djinn! This gives them another empty ship with S-board, and they’ve fully embraced the swarm/boarding ideal. With empty ships, they can board without restraint and try to steal gold and kill crew. The Sea Dragon and Fire Djinn can board twice in a turn with a ram, while the Pasha’s Delight and Bey’s Revenge have a nice tag-team gold system going at the southern island.
A closeup shot of the beautiful Barbary Corsair ships at their nice home island.
The Proud Tortoise continued to harass the Spanish, and hit once again with fire shot to burn down the last mast on the Santa Ana! With an oarsman aboard, the Santa Ana couldn’t be scuttled from the fire, but it was a very close call since the Santa Ana would have sunk if she wasn’t so close to the Castillo. In the meantime, the Grand Temple shot off two masts from the Voz de Dios as the big ships poured a heavy fire into each other.
In another instance where reverse captain was useful, the Grand Temple moves to ram and board after the broadside! The boarding party was a 9-9 tie after both ships rolled a 6, just like the Sea Dragon vs. Meropis earlier in the game!
To finish off the attack on the Voz, the Dragon’s Talon made it to the battle in time to knock another mast off.
The Spanish respond with a Broadsides Attack! As usual, it misses.
The Spanish took their chance at dismasting the GT with one die roll, but came up empty.
As the Santa Ana burns, the Jade Rebellion continues to surprise the FS with their resilience and fighting ability.
A rare angle looking from north to south, and you can see that the Santa Ana has managed to row over to the Castillo and eliminate her fires! The JR’s almost had a huge victory in sinking the current Spanish flagship, but once again decisive action is not to be found (which is ironic given the historical nature of this game so far).
The French have arrived with the help of the northwesterly wind! With a stunningly successful shoot action, the Bourbon goes 4/5 (including Benoit’s shot) to dismast the Grand Temple and knock a shell off the Dragon’s Talon! The Argus doesn’t have a captain, but she can’t be shot at within S and carries a 2S cannon.
The Bourbon raked the GT by the bows, firing a devastating broadside that increased the carnage in the battle area. The mizzenmast of the Voz has fallen between the two ships and further hinders the gunners’ visibility.
The Spanish have been having a rough time, and therefore see no reason to slow their expanding battle fleet. They launch La Manila + captain, helmsman, cannoneer, musketeer, oarsman. The Manila is heavily crewed to support her numerous but inaccurate cannons. The Habana finishes repairing and the Spanish have 3 healthy gunships, more than any other fleet. However, their unhealthy ones are on the front lines. The “USS” Hyena appears to have interest in exploring the southwestern island, partly because the Americans can’t go to the English island in the northwest and the FS haven’t shown hostility to the Americans so far.
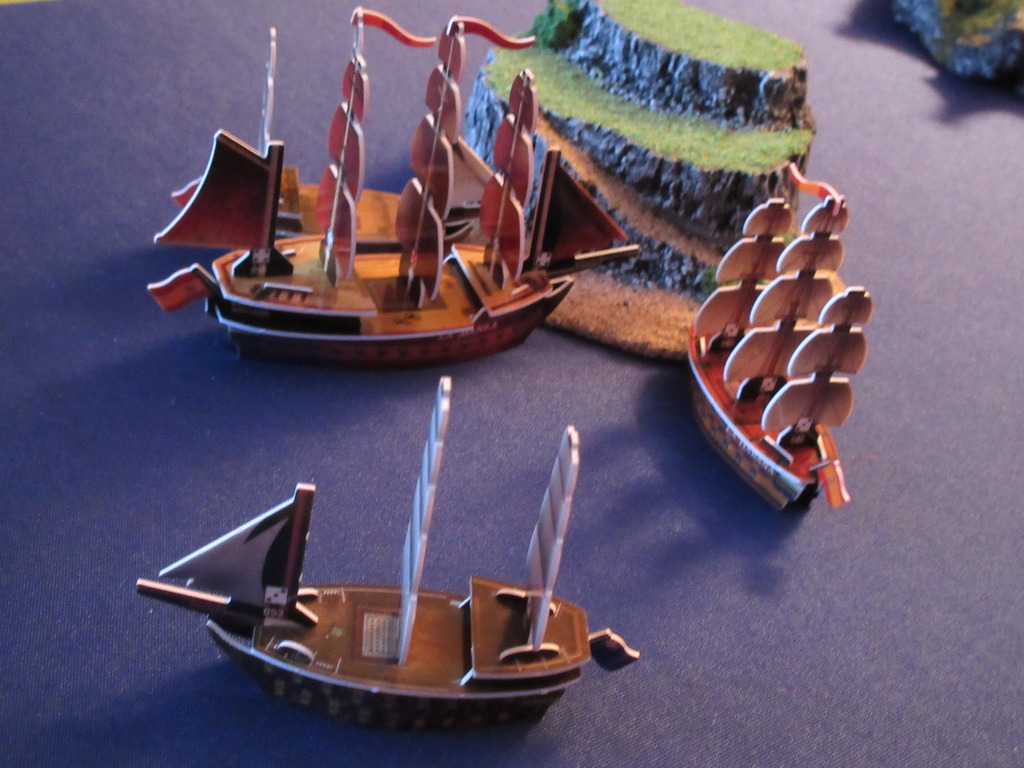
In the foreground, the brand-new Granada has used the wind to quickly make it to Barbary waters, where she corners the obnoxious Pasha’s Delight. In the background, the Geographe continues sailing south, possibly in search of gold. With the American HI in the north, the Americans and French both have to travel considerable distances to get gold, and they were already two of the weaker fleets in the first place. This may serve to increase American/FS tension, though the Overton calmly sailed past the Geographe and Fortaleza Dorada without so much as a word. Hampstead seems to be content in reuniting with Katsura-chan, and the Overton has simply sailed for home. To the east however, there are more shots flying at once than the game has seen thus far, with the Corsairs now appearing to have a desire to join the fight.

The Sea Dragon and Fire Djinn increase the scope of the eastern battle, which is essentially a 3 on 1 fight against the Jade Rebellion empire. The Sea Dragon S-boards the Dragon’s Talon to eliminate her helmsman.
Turn 21 saw a 6 rolled for the wind and it shifted completely to blow towards the northwest!
The Spanish were smart to put an oarsman on the Santa Ana, as it recently saved her from a fiery doom. The Jade Rebellion put an oarsman on the GT to protect her valuable crew (but from shots, not an “English” nobleman!), but here the oarsman combines with the helmsman to let the GT return to her home island to repair!
The hostilities between the French and Jade Rebellion have recommenced, as the Meropis opens up another conflict by dismasting the Geographe!
The Jades are simply a force to be reckoned with this game! They won’t go down without a fight, as the two turtle ships ram the Santa Ana in an attempt to take out her crew. The Dragon’s Talon needed the wind’s assistance since she had lost her helmsman, but she also lost this boarding party to lose her captain. However, both turtle ships connected on the Bourbon, who was quickly down to two masts and aflame.
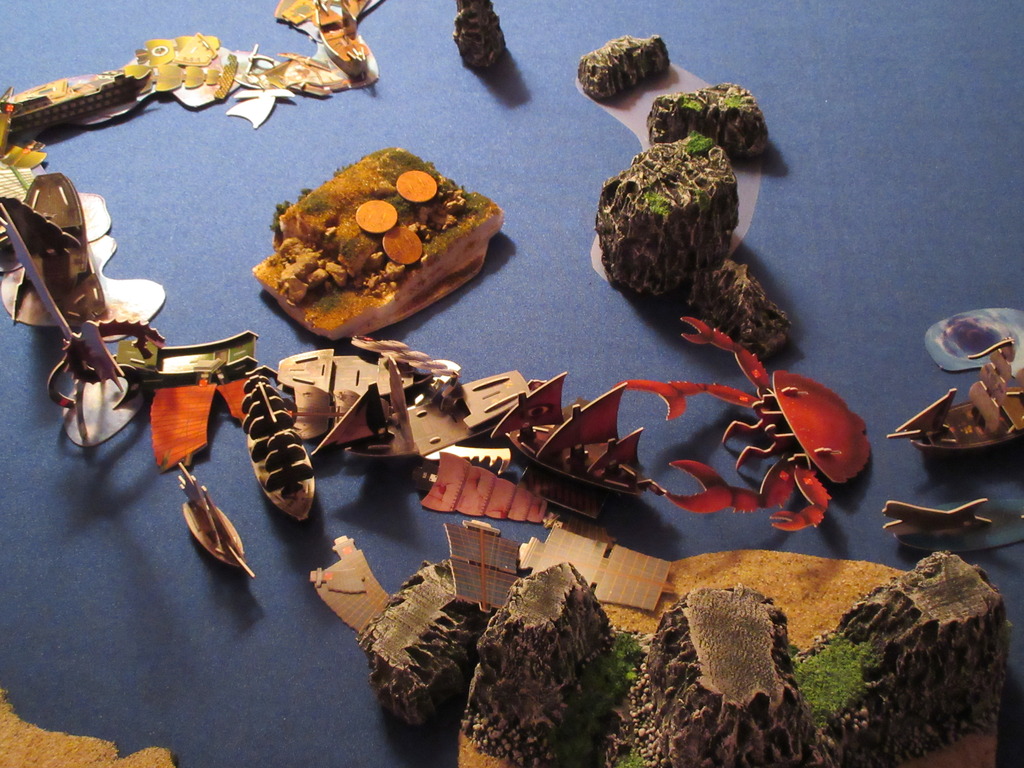
Total carnage in the east!
The Spanish won’t be friends with the Americans! Their gunships fire upon the Hyena, but somehow manage to hit once in eight tries! (Counting the musketeer and cannoneer since the latter two masts on the Manila weren’t in range)
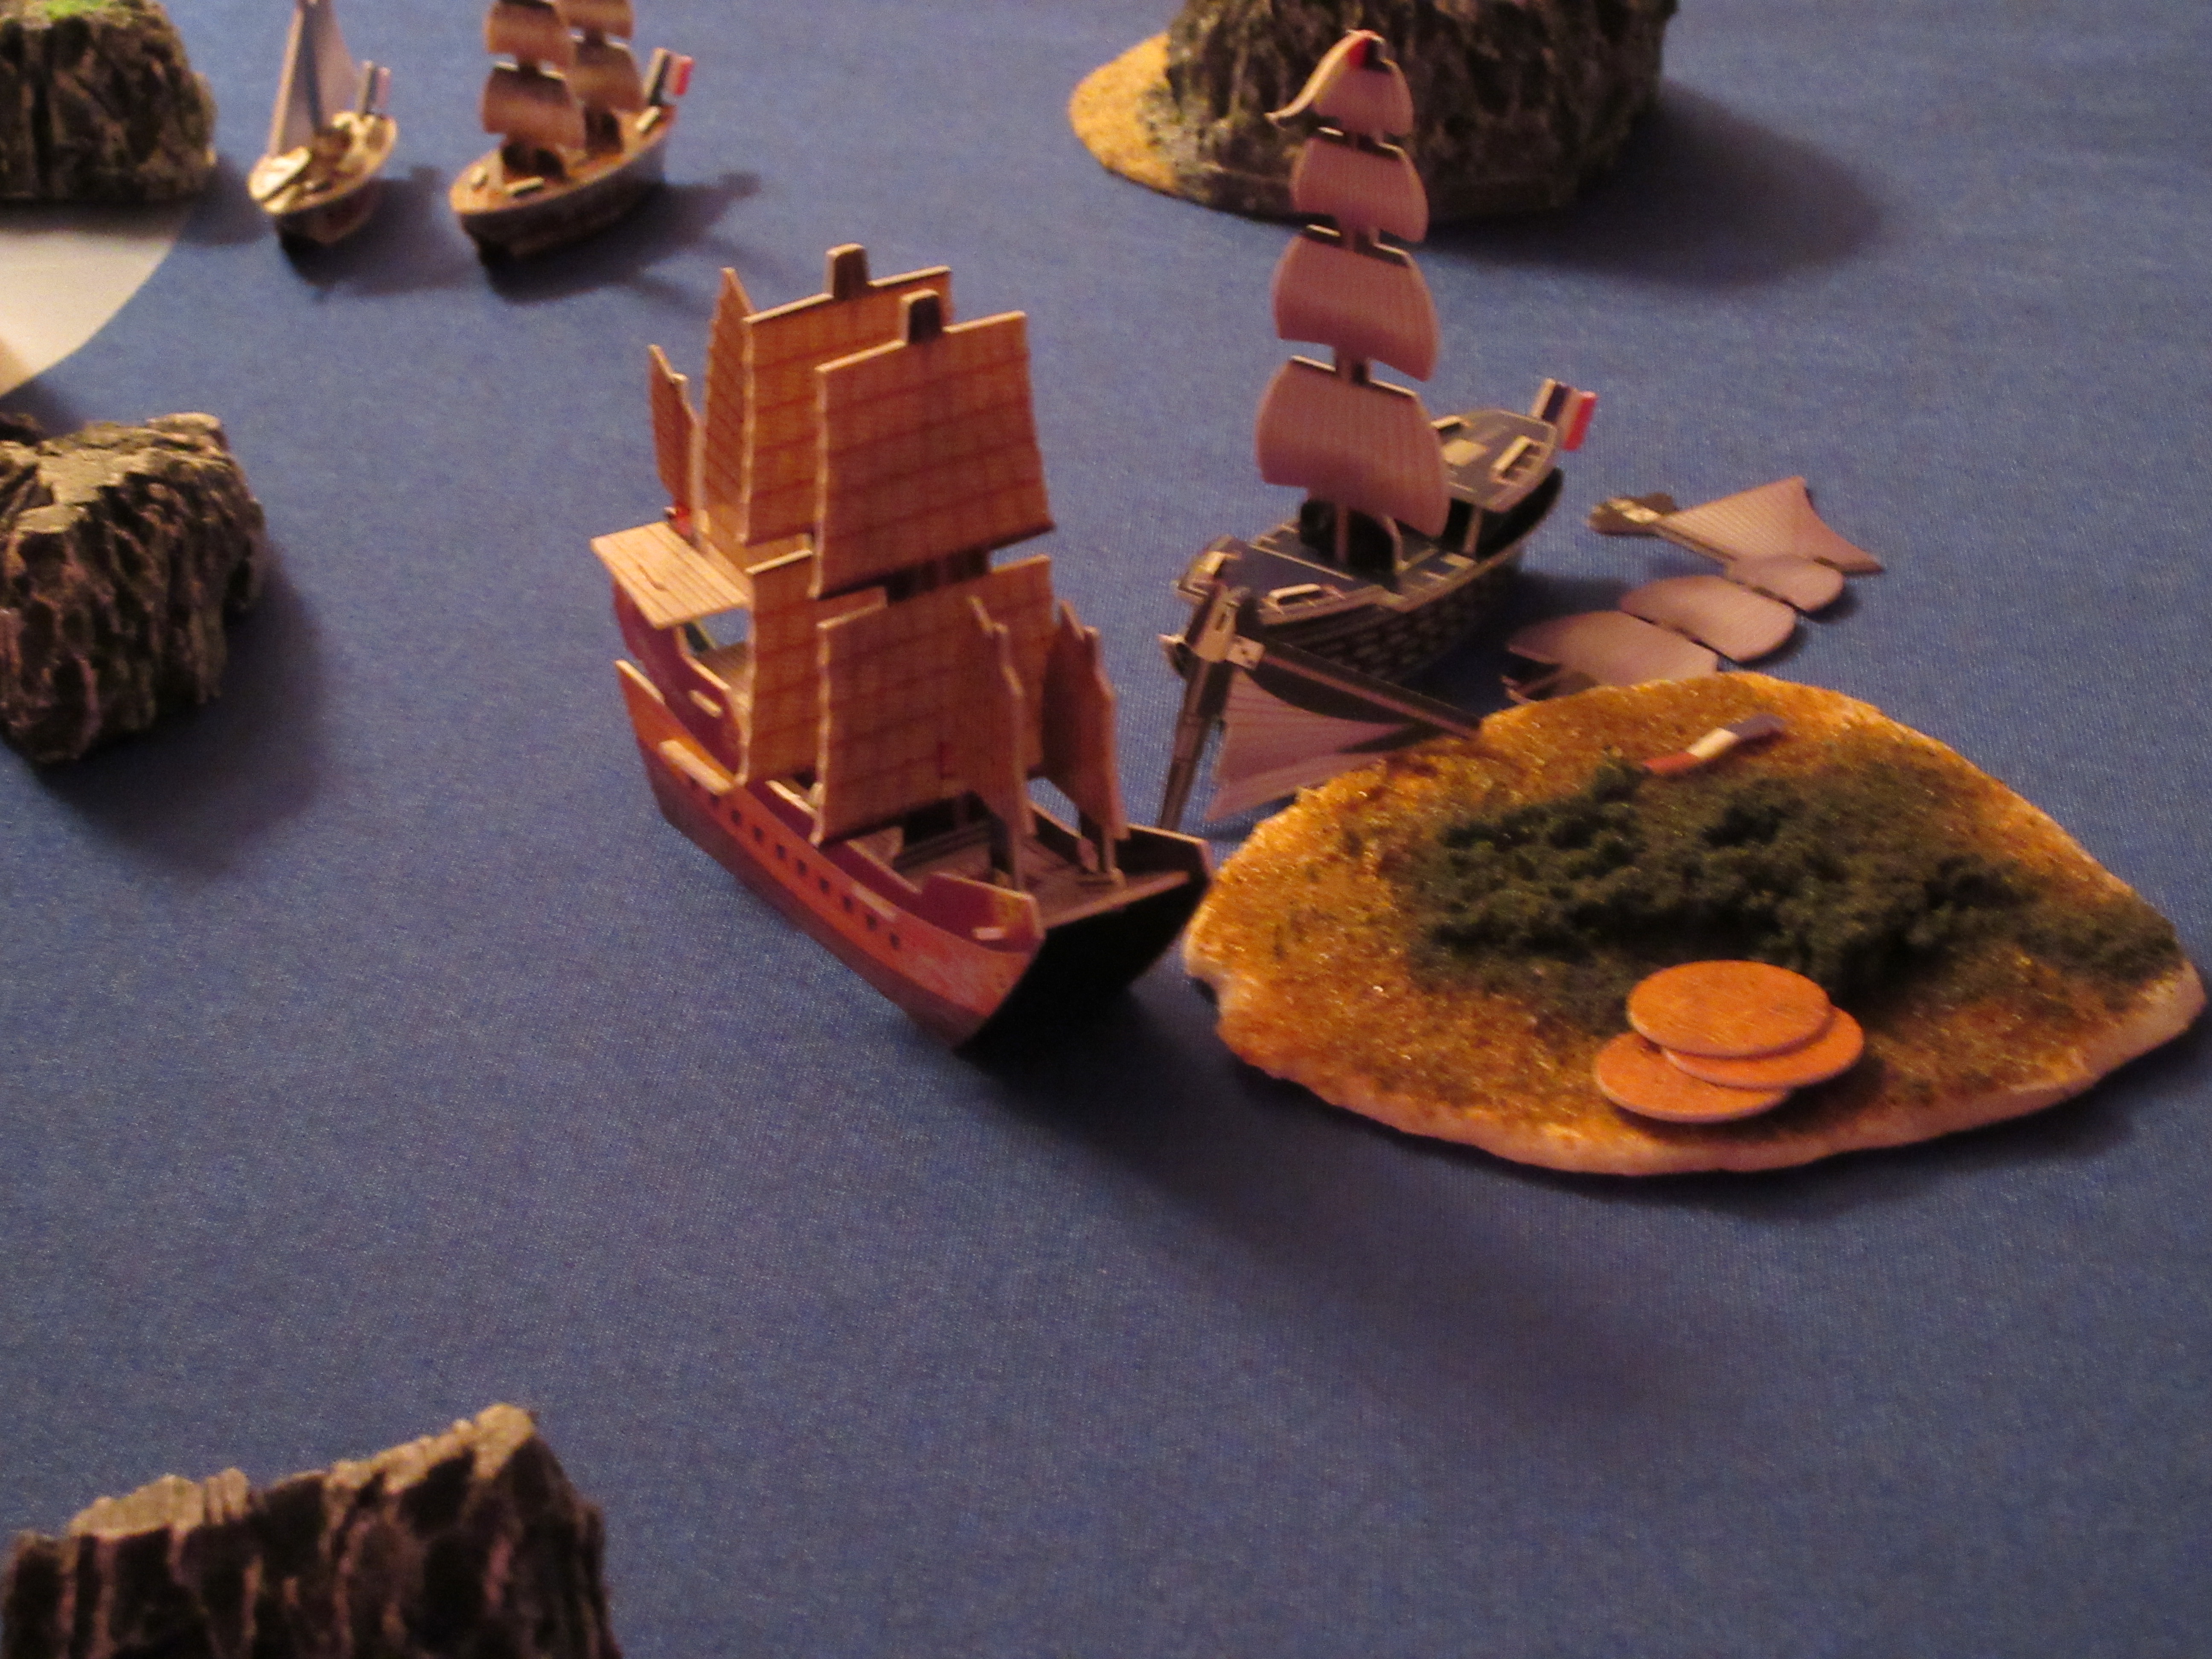
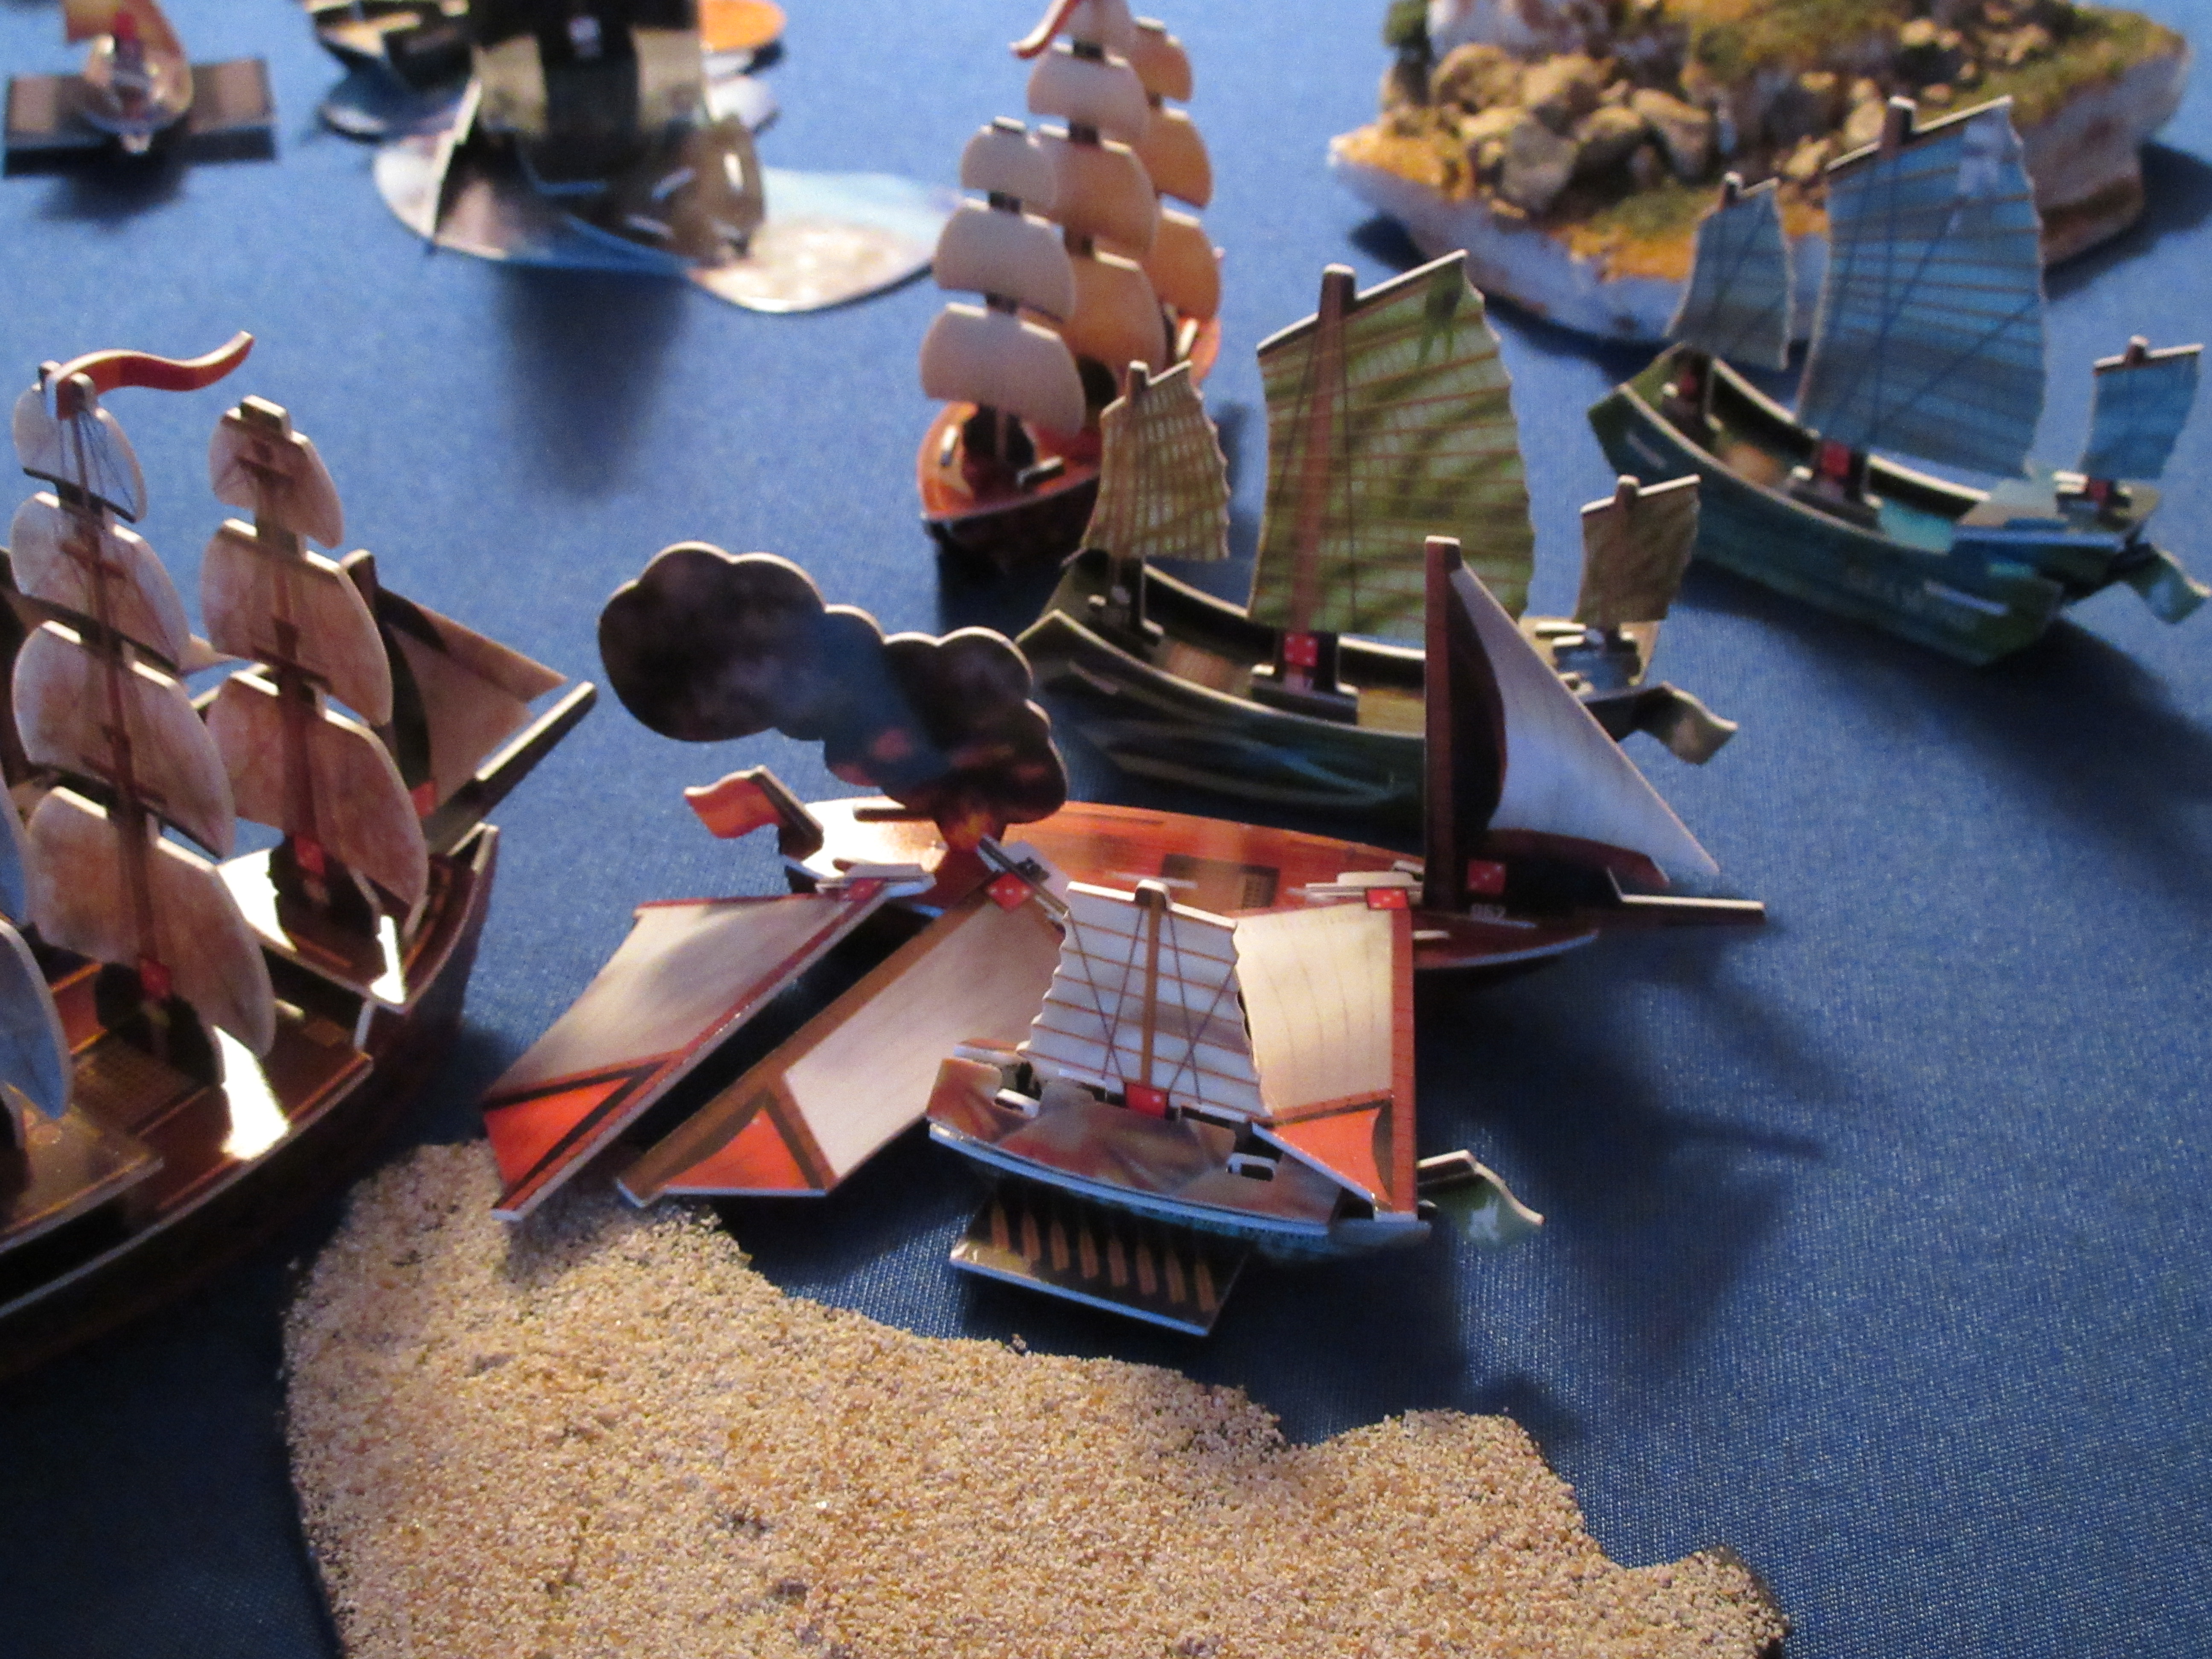
Going 2/2, the Granada hits with her S-range guns to set the Pasha’s Delight on fire. I thought this was a cool picture, and later noticed it had a lot of orange/brown: the sandy/rocky island, the gold on the island, the gold on the PD, the PD’s deck, and the Granada’s masts and sails.
The Voz sails to the Castillo to repair. She manages to get her guns in range of the Dragon’s Talon and hits once to knock off a shell panel. The fort has one cannon in range, but misses the shot and reroll. While the Santa Ana repairs two masts with an extra action, Benoit (aboard the Bourbon) suddenly realizes he can keep shooting and dismasts the Dragon’s Talon!
The fire aboard the Bourbon spreads, but she manages to sink the Dragon’s Talon.
Courtesy of the Proud Tortoise, the Bourbon is now running north to her HI to put out fires and repair, exactly the same situation the Santa Ana was just in! Somehow, after all that has happened, the Proud Tortoise is still sailing.
The Sea Dragon eliminates the Voz’s captain, leaving the big Spaniard with no crew. This also made it clear the BC’s were at war with the Spanish, and by extension, the French.
Here are a few overhead shots looking from west to east to give an idea of the overall nature of the game. The English are getting gold with the Galapagos and Patagonia, but they’ve sent the Polaris east. The Overton is headed to pick up the last coin from the wreck of the Flying Dutchman, as the eastern battle still rages on.
The same angle but slightly south to expose the rest of the sea. In the far south the Pasha’s Delight has put her fire out, but the Granada can sink her. The Hyena has decided to run away from the Spanish, and the Americans haven’t really been able to gather any gold so far. The 4 gold on their HI is the gold left over from when the island was a wild island. A sharp eye will notice a peculiar fire marker lying on the deck of the Geographe, which was placed there to remind the Jades that she rolled for a successful scuttle attempt. The French don’t want the ship in enemy hands, as the Bourbon and Argus won’t be able to rescue her.
The wreckage of turns 18-21 sets up another very interesting day of action tomorrow!
8 turns were played today, turns 22-29. The first two turns saw the wind stay blowing to the northwest.
With an SAT from Tsai, the Grand Temple has repaired two masts already. The Proud Tortoise connects with another fire shot hit, dooming the Bourbon.
Without the weather gauge, the Meropis can’t fight the Granada yet, so Herr Fuchs settles for sinking the Geographe. This leaves the French with just one mast standing in their fleet, L’Argus.
The Spanish take their turn, and between the guns of El Castillo del Infanta and the Voz de Dios, dismast the Sea Dragon.
The English spent some gold and finally got some crew for the Galapagos – Commodore Rhys Gryffin Owen, Thomas Gunn, shipwright, oarsman.
Then the Corsairs bought another 4 masted galley – the Crescent Moon!
The Fire Djinn used S-boarding to eliminate the same oarsman who saved the Santa Ana, but the Sea Dragon was unsuccessful.
The Habana dismasts the Hyena:
The Granada quickly takes care of the Admiral Yi, setting her aflame with a firepot hit. The Spanish have successfully invaded JR trade.
With no captain, the best the Grand Temple could do was get in range of the Voz while staying out of range of the fort’s guns.
The Santa Ana got an extra action and dismasted the Fire Djinn! Notice the Polaris lurking behind the island.
And the Grand Temple gets her revenge! With another SAT, she shoots twice to dismast the Voz de Dios, almost sinking the ship. With the help of the wind, which is now blowing due west for the first time in the game, the Proud Tortoise is quickly trying to row back to the Jade HI and escape the angry L’Argus.
The Granada and Meropis engage each other in a predictable fight (as in, it had looked like it was going to happen). Both ships take damage. The Crescent Moon uses the opportunity to grab gold from the southern island.
The Jades have spent 39 of their 54 gold and used it to hire some more Mercenaries! 10 of the gold was spent on Dragon Eyes, who waits on their HI for the GT’s return. The Forward is crewed with Luc Savard, Ibrahan Ozat, and a helmsman.
With an extra action from Owen aboard the Galapagos, the Polaris joins the fray! She sank the Proud Tortoise (finally!) and caused some damage to the fort.
As the Sea Lion bravely ventures back to the tumultuous waters around the southern island, the Forward supports her by taking two masts off the Crescent Moon.
The Grand Temple has done it! The Voz de Dios is no more!
The Santa Ana immediately responds by making the GT derelict once again and eliminating her oarsman!
In the meantime, the Spanish have gained the upper hand in the south, and the Jade empire is crumbling. After a turn of unsuccessful broadsides by both ships, the Granada finally wins her battle against the Meropis. On this turn 25, the wind dramatically shifted to a westerly wind blowing due east, which let the Manila make great progress and arrive at the southern battle!
However, the Spanish suffer a setback when the San Agustin finds Wolves on her gold island! The Spanish don’t want to wait for the slow Manila (and her musketeer) to return, especially considering the change in the wind, so they decide to launch a new ship instead.
An overview of the situation: the game is actually shrinking a bit with so many ships being sunk. The Sea Dragon and Fire Djinn were finished off, leaving the Corsairs with just one ship. The new development here is the Habana (up north) speeding east to assist the fort against the possible danger of the Polaris, and also to help protect the Santa Ana, Spain’s flagship.
However, instead of continuing to bombard the Spanish fort, the Polaris has sailed south to touch her bow to the bow of the Grand Temple…
… and with an extra action from Owen, uses Commander Temple to warp both ships back to the English home island! The English have gotten revenge on the Jade Rebellion and captured the Grand Temple!!
To get even with the Spanish for the sinking of the Hyena, the Overton uses the wind to catch the Habana and dismast her!
In this picture, the Meropis has succumbed to fire, the Forward must fight the westerly wind, and the Crescent Moon has returned home.
Despite having the weather gauge and the first strike advantage, the Manila and Granada only manage two hits on the remaining two Jade ships!
The Spanish end their turn by commissioning the Pamplona with Diego Cesar Olano.
At the English home island, shipwrights busily get to work giving the Grand Temple a new paint job. With another extra action from Owen, the Temple raises two masts in one turn, and is rechristened HMS Grand Temple!!
The Barbary Corsairs saw that their swarming and boarding tactics weren’t working, so they gave up and decided to get some crew for the Crescent Moon – Kheir-ed-din, helmsman, shipwright, oarsman. However, some recently discovered Rats cut into their profits. The Crescent Moon loaded the new crew and repaired.
The Overton captures La Habana:
The Forward hit 1/2 on the Manila to set her alight.
Olano misses the Wolves:
Taking advantage of a great set-specific combo, the English then hired Calico Cat, Griffin, and a Pirate helmsman to crew the HMS Grand Temple!
With the Galapagos down to one cargo space open with her recent crew acquisitions, the English needed some more treasure runners to assist the slow Patagonia. They built HMS Discovery and HMS Tweed, both literally acquired yesterday in a trade with manicdrake!
The only English ship not docked at their HI in the above picture is the Polaris, who sank the captured Habana! This served to lessen Anglo-FS tensions, since the Spanish didn’t want the Habana in enemy hands. It also served as a way for the English to get some revenge on the hated Americans, for Hampstead still sailed the Overton. Between all that and the three new English ships, one of which was the mighty Grand Temple, the English were taking on a powerful position in the game.
The Overton wouldn’t be able to get all of her guns in range of the Polaris because of the wind, so instead Hampstead sailed her downwind and inflicted major damage on the Santa Ana!
Olano killed the Wolves, which allowed the San Agustin to take treasure once again. However, what she found was similarly horrible: Plague and Enemy of the State! The San Agustin had no crew aboard, but the UT’s meant that Spain’s only gold runner had issues.
On the previous turn the Granada had set the Sea Lion alight and dismasted her. On the next turn, the Sea Lion burned to the water line, and the Manila sank the Forward! Finally, the Jade Rebellion empire was no more! Note the Granada fleeing to the fort to repair, which is also what the Santa Ana has in mind. Bianco’s Haulers mean the Santa Ana can’t be shot at by the Overton while docked at the fort.
As the new gold runners set a course for the northwestern island, Calico Cat’s EA gives the GT her last two masts, and next turn she’ll be ready to sail for England once again!

With the repairing Santa Ana invulnerable, the Overton has turned for home, but the Polaris may be waiting for her. The Argus, the last French ship remaining, passes by the Granada on her way to the southern or southwestern island. The Manila is still burning a little bit, but she still has three masts standing. The BC’s new philosophy is to avoid combat if it’s impractical, so the Crescent Moon maneuvers around the Spanish 5 master. With her fire mast and (so far) extremely ineffective guns, the Manila isn’t likely to continue hostilities. The eastern and southern battles have concluded, and the English are the only faction not completely worn out at this point. The Jade empire is gone, but Dragon Eyes is still stranded on their former home island. Speaking of Dragon Eyes, he was the first to feel an ominous rumbling, which wasn’t from cannon fire but rather from the earth itself that he was standing on!
BOOM!
The pent-up pressure was released, and the former Jade home island was consumed by multiple explosions from below! Lava bombs flew high into the sky, and descended onto ships and forts in the nearby vicinity. Dragon Eyes and the gold on the island was long gone, but a new island with volcanic peaks took its place!
Here you can see the devastation. The Manila, Overton, Argus, and Granada (out of the picture) have been set on fire, as well as both Spanish forts. Ships were also thrown off course by the ensuing shock waves and water waves. The Polaris lost her starboard outrigger, and you can see the Crescent Moon has been thrown off course despite being undamaged. The Argus was tossed against the side of the BC home island, while the Santa Ana was driven backwards away from the fort.

Fortaleza Dorada on fire. The rules for flaming forts will work like this: instead of the fort rolling for each fire every turn, it rolls one die regardless of how many fire masts it has and regardless of whether the fort is given an action during the turn. The roll follows the regular rules for fire masts. The fort will be automatically destroyed if the fire consumes all 8 areas (not how many guns the fort has). Just like in my Economy Edition game, fleets can place a shipwright inside the fort to give it repair actions. If this is done, a shipwright can only put out one fire per turn, but no flag is raised in the fire’s place until another repair action is given.
Here you can finally see the Granada, who was heading north when the eruption occurred. She’s now heading east, and the Overton has been blown from heading west to heading north.
With their fleet and forts aflame and in shambles, the Spanish are desperate. With no enemy ships around, the San Agustin unloads the Plague onto the Pamplona, killing Olano! The Pamplona is given an explore action to take Enemy of the State from the San Agustin so she can ferry treasure once more.
At the top of the frame, the fire in Fortaleza Dorada spreads. At the bottom, the Manila puts one fire out but another spreads, for a negative overall effect.
The Santa Ana and Granada are both headed towards El Castillo del Infanta to repair, but the fort is in more trouble than they are!
After a brief discussion, Calico Cat and Griffin come to an agreement. With their HMS Grand Temple and no English crew aboard, the Pirates set sail for the first time, betraying English orders and firing a full broadside at the Galapagos!!! The hired Pirates have turned on the English! Almost as soon as the English take the former Jade ship, the Pirates have commandeered her! With the loss of all crew members, HMS Galapagos, the final English ship in SCS waters after the JR-English war, sinks beneath the waves in her own harbor. How ironic that it’s at the hands of Tsai’s old flagship (the way he would have wanted it if the FS didn’t invade the area), though not in his command, but in the command of pirates.
With an extra action from Calico Cat, the Grand Temple moves on and dismasts the Polaris!!
In an instant, half of the English fleet and all of their gunships are gone. The Polaris and Galapagos are finished, while the Grand Temple has been commandeered by pirates while the stunned one masted treasure runners look on.
The Grand Temple lays in shadow, an ironic twist given her turn to the “dark side”. The burning Overton hopes to return to the American HI.
And with that, the Jolly Roger was raised!! Calico Cat and Griffin signaled their secret fleet that now was the time to strike! Pirate ships swarmed the area, including some ships and Pirates that the English really didn’t want to see:
Revenge + Captain Villanueva, helmsman
Greed’s Hammer + Mistress Ching, helmsman
Black Mongoose + captain, shipwright
Empress + Captain Sao Feng, captain, helmsman
Mocha + Kanhoji Angria, helmsman
Plague of the East + helmsman
Plague of the North + captain
(Notice some SCS crew and the Jade-inspired POTC crew)
Captain Sao Feng leads the Pirate fleet, which is a ragtag bunch of former Jade Rebels turned true rebels against the JR empire. Now that the once-strong empire has fallen, the Pirates are looking to seize their chance at controlling the area. Their hatred of the English stems from their jealousy at the English initially getting the better of the Jades during the JR-English war, which many of these Pirates fought in. These Pirates deserted the Jade Rebellion cause during the war since they had faith that the English would win. When the Jade Rebellion won the war, they were forced into hiding and exile. Feng is the best example of this band of Pirates: “There is no honor in remaining with the losing side. Leaving it for the winning side, that’s just good business.”
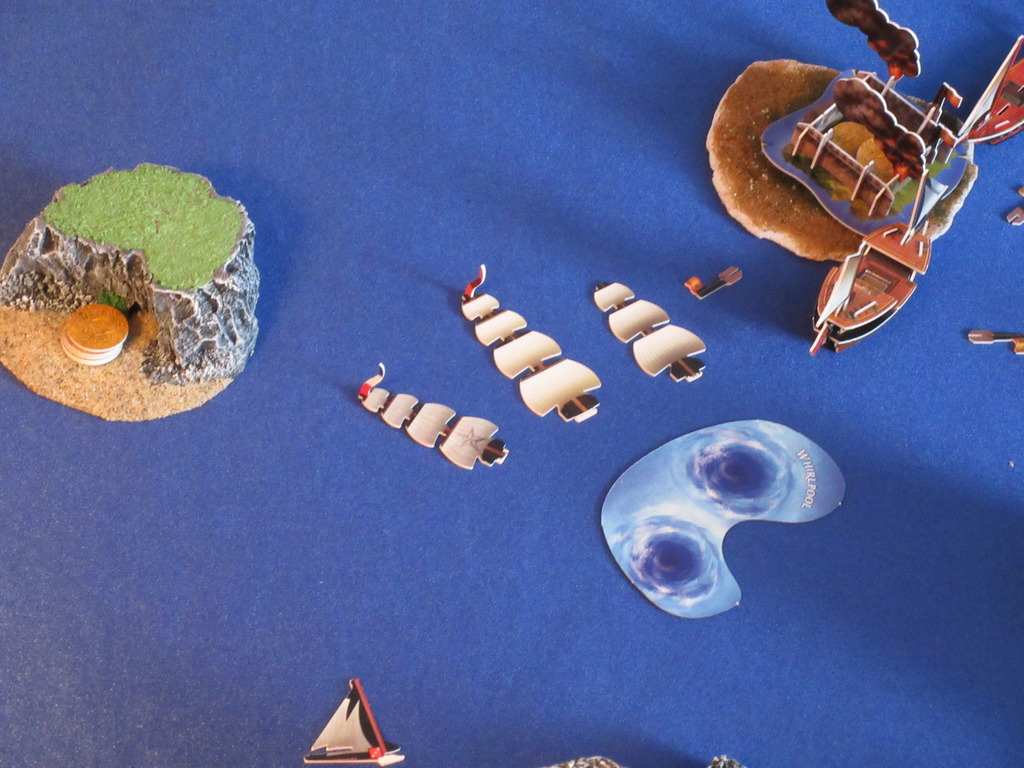
The effect wasn’t obvious at first, but it’s now apparent that the volcanic activity created two natural whirlpools and three reefs!
During this day of action, a whopping 15 ships were sunk in the 8 turns that were played, including 8 ships from SCS. The wind has now blown due east for 5 consecutive turns, and the game’s end is starting to approach…
1/14/2016
4 turns were played (30-33). The wind blowed east on turn 30 and southeast on turns 31-33.
The Pirates have begun their assault. The Discovery has been dismasted, while the Grand Temple shoots at Fortaleza Dorada and the Polaris at the same time. The Revenge rams the Patagonia and steals some of her gold.
At the bottom of the frame, the Mocha has blocked the San Agustin from docking at her HI. The burning La Manila is making her way towards Fortaleza Dorada, which is also on fire.
The Argus burned to the water line, which officially eliminated the French from the game! Their HI became a new wild island.
In her attempt to eliminate her fire masts and repair at the fort, the Manila must cross one of the reefs created by the volcanic activity, but she rolls a 1!
The Spanish have truly fallen hard. The Manila is now a flaming wreck, blocking part of the southern sea from the north.
Fire has consumed more than half of Fortaleza Dorada, and the smoke can be seen for miles around.
Using the wind to her advantage, the Pamplona rams the docked Crescent Moon and gives her the Plague, killing all four of her crew!
With no helmsman or weather gauge, the San Agustin can’t quite make it home. This allows the Pirates another chance to catch her…
The Pirates are cleaning up the west by wrecking everything in their path. The Black Mongoose has sunk the Discovery, while the Empress will soon do the same to the Tweed.
The San Agustin was sunk when the Grand Temple turned around and used an extra action from Calico Cat to arrive at the Spanish home island!
The Spanish still have hope in the east: the Santa Ana and Granada have almost finished repairing, while El Castillo del Infanta managed to put out her fires. However, the Plague-ridden Crescent Moon is now looking to get revenge on the Spaniards. At the top of the frame, notice the Overton docked at the former French HI, but she’ll need to explore next turn.
In the far southwest, the Greed’s Hammer and Plague of the East look to plunder the Spanish gold island, while the Mocha rounds the sandbars and heads east. The Grand Temple has begun moving north, towards the end of the Pirate/English battle.
The Patagonia put up a fight and set the Revenge on fire, but the Pirate forces are far too much for the little galley. The Empress has finished off the Tweed.
Fortaleza Dorada has finally been destroyed!
The Spanish know they must act quickly to have any hope of survival, so they send their ships on different missions. The Granada will try to set the Grand Temple aflame with her firepot specialist, while the Santa Ana takes care of the Crescent Moon and her Plague. Continuing the Spaniards’ unfortunate woes however, the Santa Ana only hits 3/6 on the Crescent Moon!
The Corsairs get revenge and eliminate the final three crew (Carlos Pavon, Bianco’s Haulers, and a helmsman) on the Santa Ana!
The Overton explores the former French HI-turned wild island, and finds the Whirlpool UT! This drags her into the nearest whirlpool, which is just to the south. However, mysteriously, she doesn’t appear at the southwestern whirlpool as she should. Instead, she seems to have disappeared!
The waters of the northeastern whirlpool where the Overton disappeared began to froth and bubble. Foam and steam flew in the air, and suddenly, demonic beasts and bloody ships came flying up from beneath the ocean!!!
(The above picture was purposely taken like that, to illustrate how quickly the Cursed came up – in a flash!)
Grinder + El Fantasma, helmsman, oarsmen x3
Skin Flayer + Sammy the Skull, White Crew, Wraith, helmsman, oarsman
Brachyura + captain, helmsman
Cyclops + captain, helmsman
Shal-Bala
Squalo
The Pirates immediately summon all of their ships to attack the Cursed! The Grand Temple leads the charge, while the Revenge, Black Mongoose, Empress, and Plague of the North follow. The Patagonia was sunk, officially eliminating the English from the game!
The Pirate ships in the southwest explore the Spanish gold island, but the Greed’s Hammer finds The Red Skull, turning her into a Cursed ship!
After 33 turns, who could have pictured a scene like this?
1/15/2016
Turns 34+ have been played! The wind shifted from the SE to the NW on turn 35, but after that it was a whirlwind and I didn’t keep track of the wind or turn count.
At the top of the picture, Squalo has sunk the Granada. The Santa Ana and Pamplona run from the Grinder and Mocha respectively, knowing that they stand the best chance when fighting together. The Grinder has sunk the Crescent Moon, eliminating the Barbary Corsairs from the game.
With her recent turn to the Cursed, the Greed’s Hammer fires and sinks the Plague of the East. In the background, the main battle has begun.
With the sun setting on the game and glinting off the switchblades of the Skin Flayer, the Cursed are in control. The Skin Flayer and Cyclops team up to crush the Grand Temple, while Brachura waits behind them. White Crew eliminated all of the Pirates aboard the GT, but Wraith couldn’t reanimate any of them.
The Pirates have arrived! However, they do minimal damage. The Revenge makes an ill-advised ram against the Skin Flayer, and loses her crew. The hulk of the Grand Temple is blocking the path for either faction to proceed.
The Cursed launch another attack, and it’s just as deadly as the last. The Revenge is dismasted, while the Grand Temple is finally sunk! Shal-Bala swoops on the Empress, and the Pirates are down to three usable ships.
The Grinder sacs another oarsman to sink the Santa Ana! The Pamplona is waiting, while the Mocha also wants to sink the Grinder.
The Pirates manage to dismast the Skin Flayer, but their time is running out!
Shal-Bala takes care of the Plague of the North, but the Black Mongoose and Cyclops continue to miss each other at point-blank range. The Greed’s Hammer has arrived via whirlpool, while an impatient Brachyura has whirlpooled to the south to approach the battle from a different angle.
Total carnage on the high seas!
The Pamplona went 1/2 against the Grinder, but soon afterwards paid the price.
Shal-Bala prepares to savage the Black Mongoose:
In the meantime, Squalo looks to take a bite out of the GT’s mast!
The Grinder has finished off the Pamplona, but now the Mocha is upon her.
The Black Mongoose is finally derelict!
Brachyura has sunk the Empress, and the Pirates are all but finished.
Or are they? A forgotten shipwright on the Black Mongoose gives the Pirates another chance!
As Shal-Bala flies off to deal with the Mocha, Brachyura unleashes her fury on the Black Mongoose. The Greed’s Hammer had captured the Revenge, and they scuttled her. The Hammer then sunk the Plague of the North, ending the northern battle with no Pirate survivors.
The southeastern area will see the final action take place:
The Pirates continue to show their resilience as the Mocha dismasts the Grinder!
Shal-Bala is given a shoot action, and the game ends!!
The Cursed have won this short experimental cumulative game!
After around 40 turns, nobody could have predicted this! None of the original starting factions are in the game, while one island has been completely transformed by nature. Dark times have fallen upon the area, with Pirates and then Cursed taking turns to dominate the waters. Debris is strewn over the northern area, while a shipwreck blocks a trade route south. What a crazy game!
This was a good game, and I’m happy that I finally did some things I’d been meaning to do. The biggest one was trying out one of the various wind rules. I liked it quite a bit – it affected gameplay but not overly so. It didn’t make or break every situation.
One interesting aspect of the wind is for gold runners – in general, on a trip to a wild island they’ll have the advantage one way, but usually have it hinder them on the other way (to or from their HI). This balances things nicely, but for longer voyages it can be a major nuisance, or a major help (and when it’s a major help, the voyage won’t turn out to be so long after all!). I waffled back and forth on how to determine the wind’s +S/-S for extra actions: at first I had the wind only affect one of the actions, but later on I wanted it to be more prominent so sometimes I had it affect both actions. For example, when the Santa Ana gets an extra action, her first move with the wind might be L+S+S, but the second could be the regular L+S even if she’s still going with the wind. To make things more complicated and more interesting, sometimes ships would be going into the wind with their first action but with it for their second, so the net effect was neutral. Also, ships were occasionally able to “tack” in order to gain an extra S by sailing slightly out of their way to go with the wind for a moment before continuing on the original direction with that extra S boost.
I’m glad the game looked good – it’s my first cumulative game I’ve played using exclusively 3D islands and terrain (excluding those whirlpools and reefs at the end). This made it look more realistic, something I was going for when I started the game with a semi-historical scenario of sorts. It was also my first cumulative game that I played on a table, and I mostly enjoyed that aspect of it. The fabric used was the unique one – I have 4 more “regular” fabrics but this 5th one is the silky, shinier one that kind of looks more like water in the way it can shimmer. (the pictures don’t usually do it full justice) There were also certain aspects that looked very cool – the forts on fire, the burning wreck of the Manila, and the classic shiny blades of the Skin Flayer glinting in the sun.
I will admit that the game became somewhat rushed towards the end. The Jade Rebellion held out for far longer than I expected them to, so that delayed the entrance of the Pirates and Cursed. When they did show up, my other priorities and events conspired to give them less of a showing, but the game was still completed and it worked out fine. However, as a result of this rushing at the end, I do have one regret about this game of something that I wanted to include but couldn’t: fireships. I still need to try this out. With the semi-historical nature of the majority of this game, they would have fit reasonably well, especially as a last-ditch effort by the Jade Rebellion or perhaps the English. I was happy to get lots of fire into the game in general, and having forts ablaze is something I look forward to seeing more of.
With all that said, I have a feeling that my next cumulative game will take place not on a table or a floor, but on VASSAL.

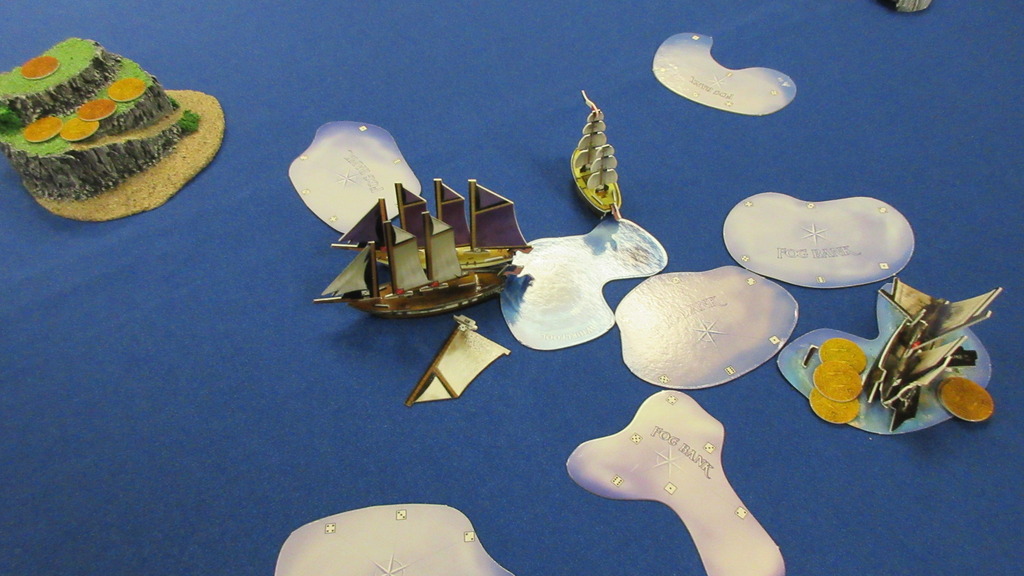
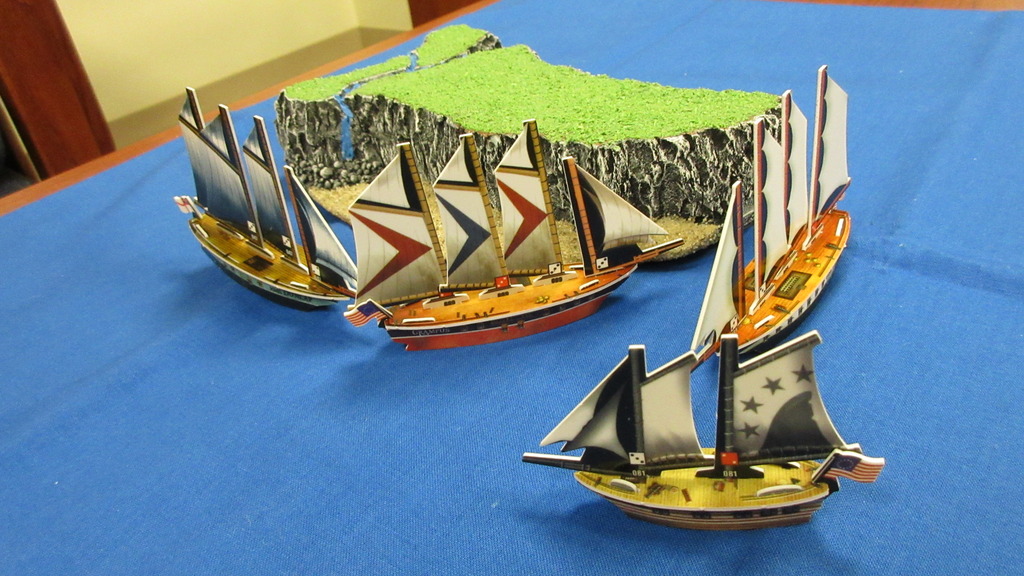
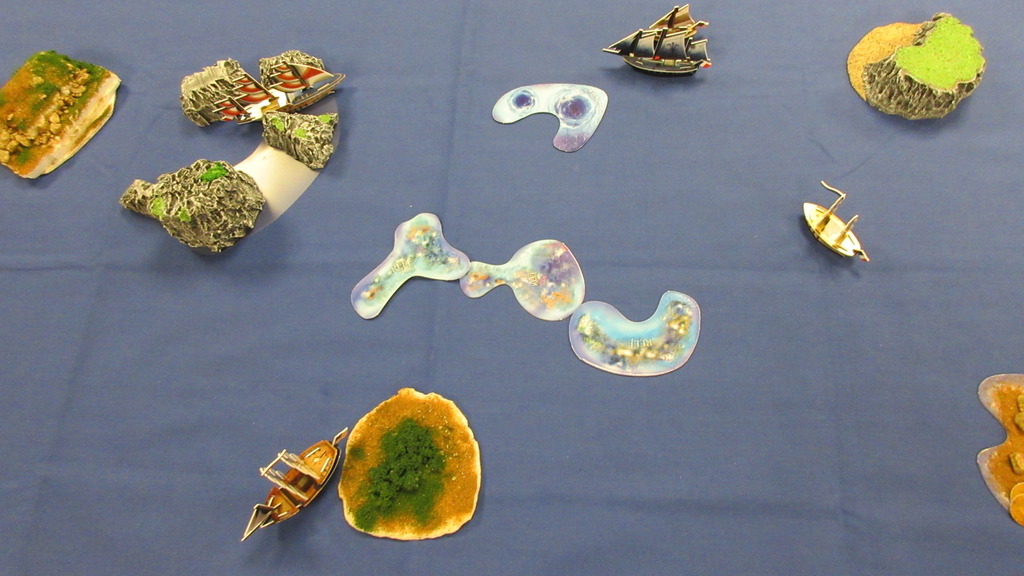


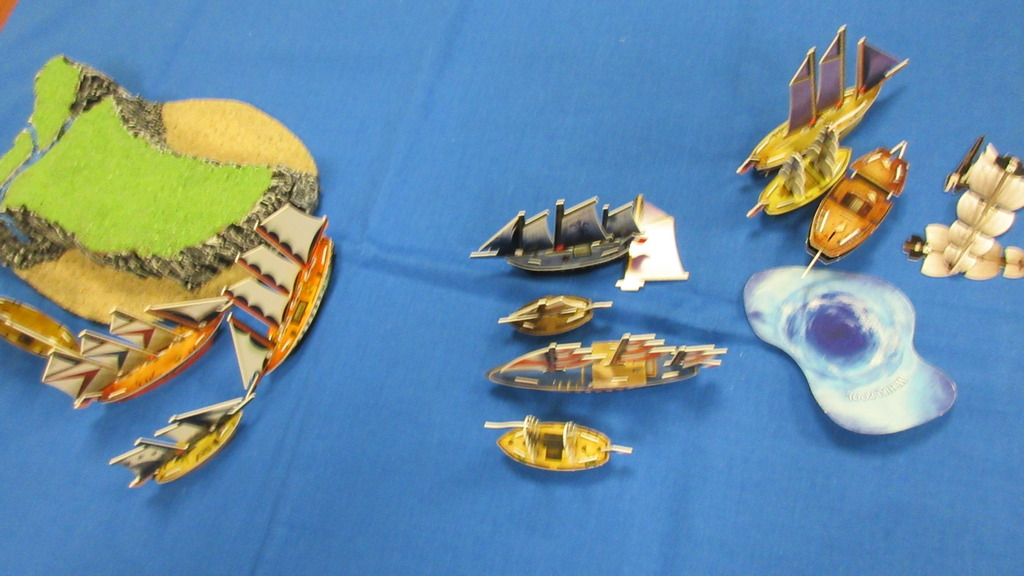
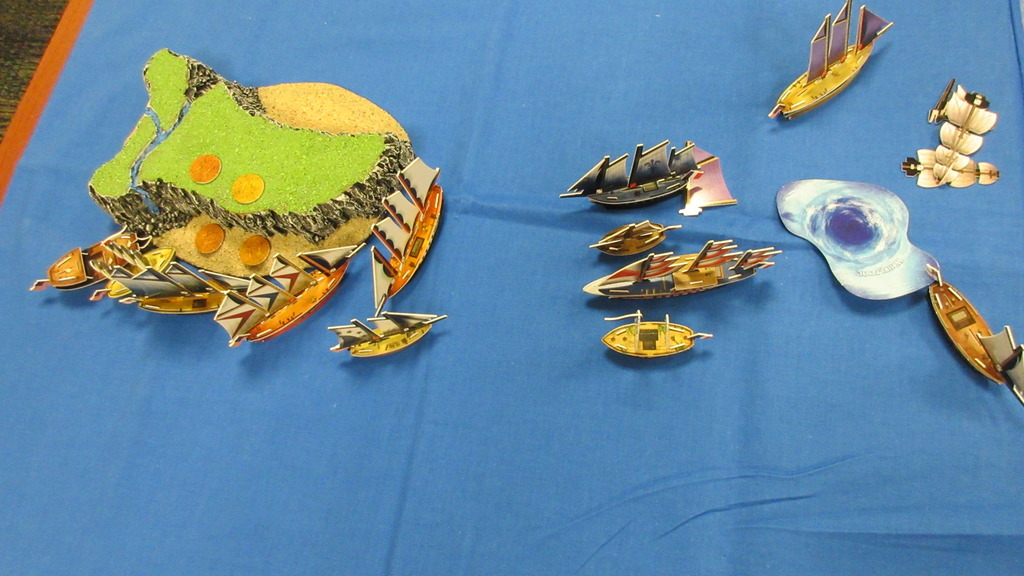


































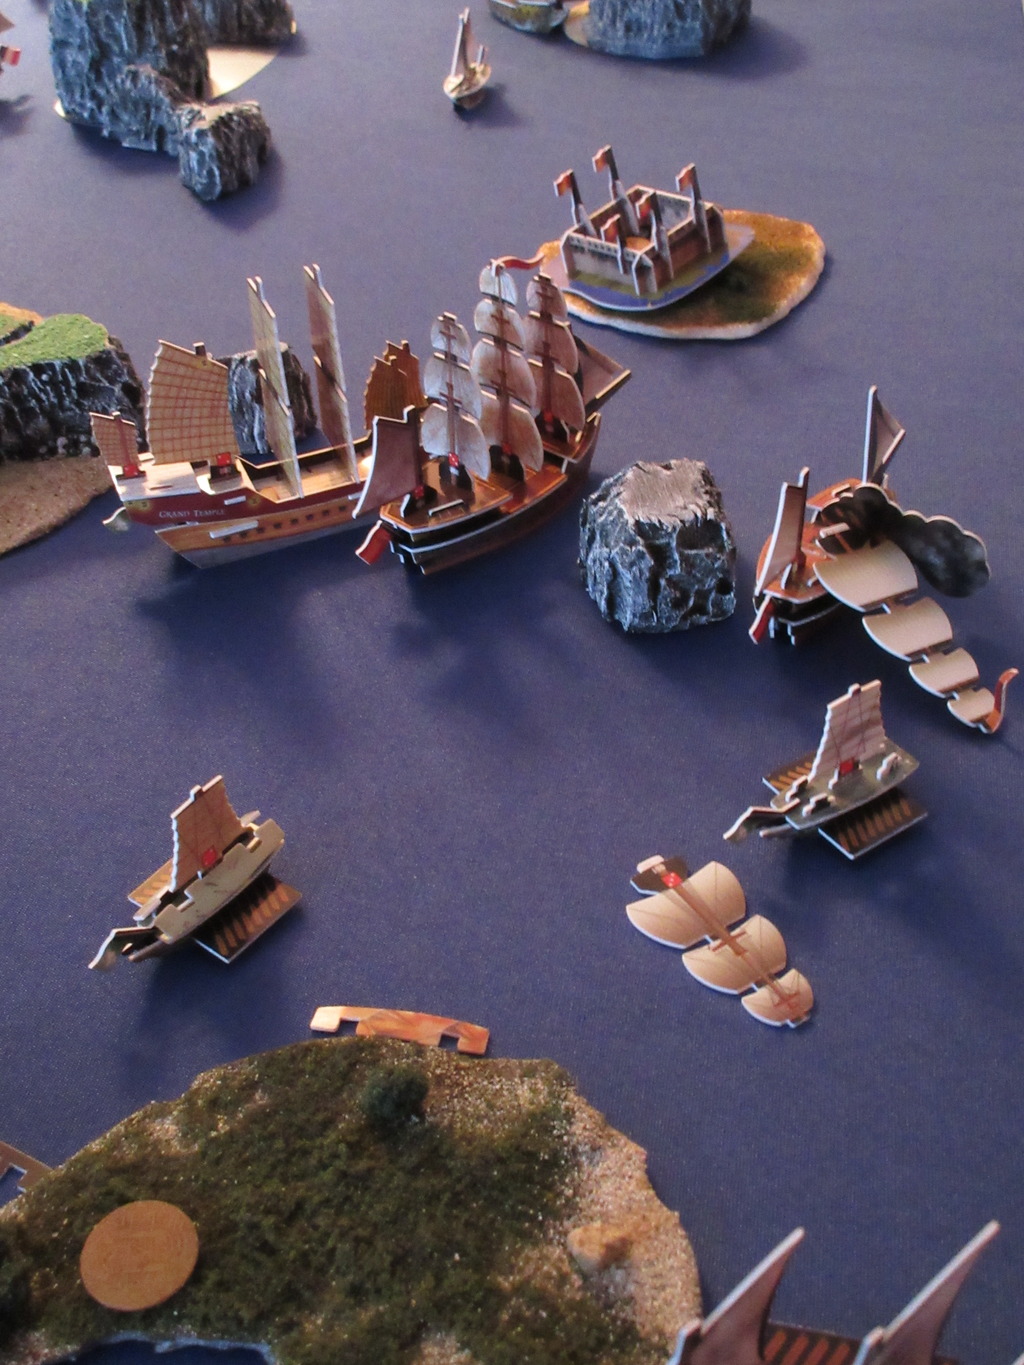


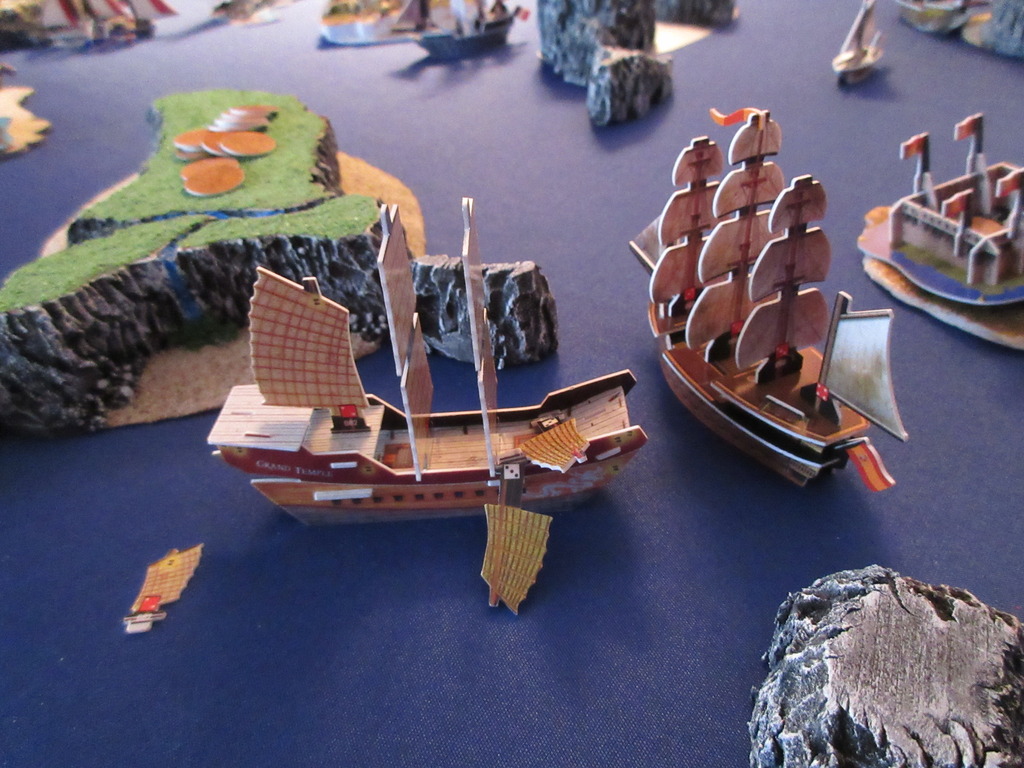
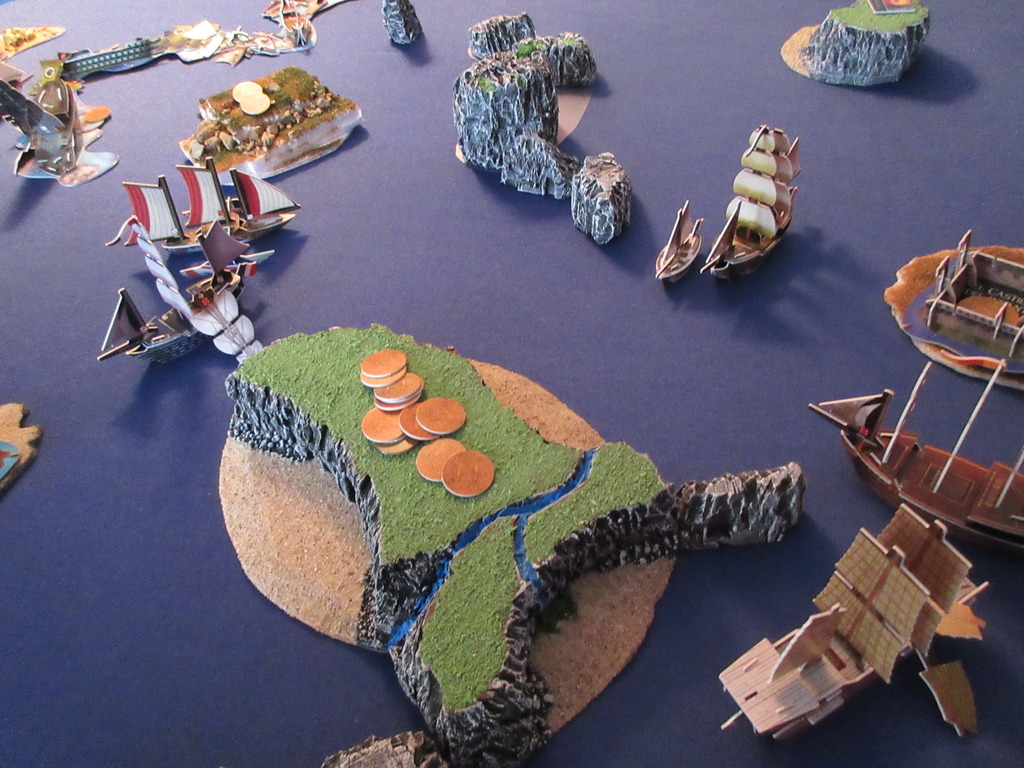

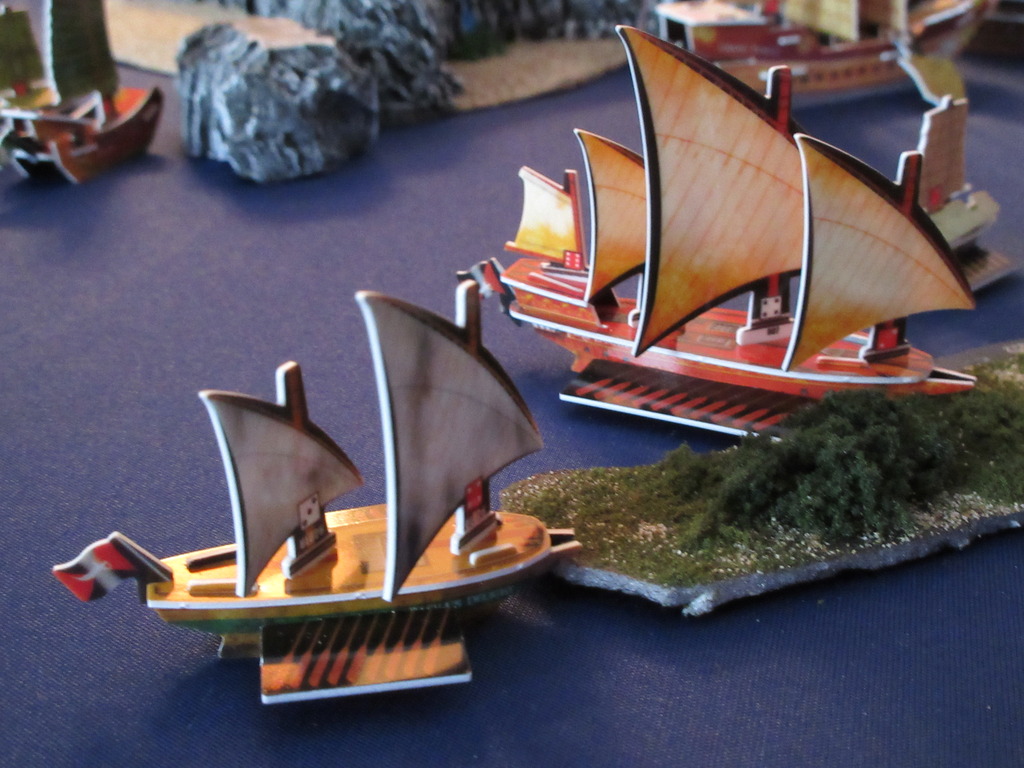





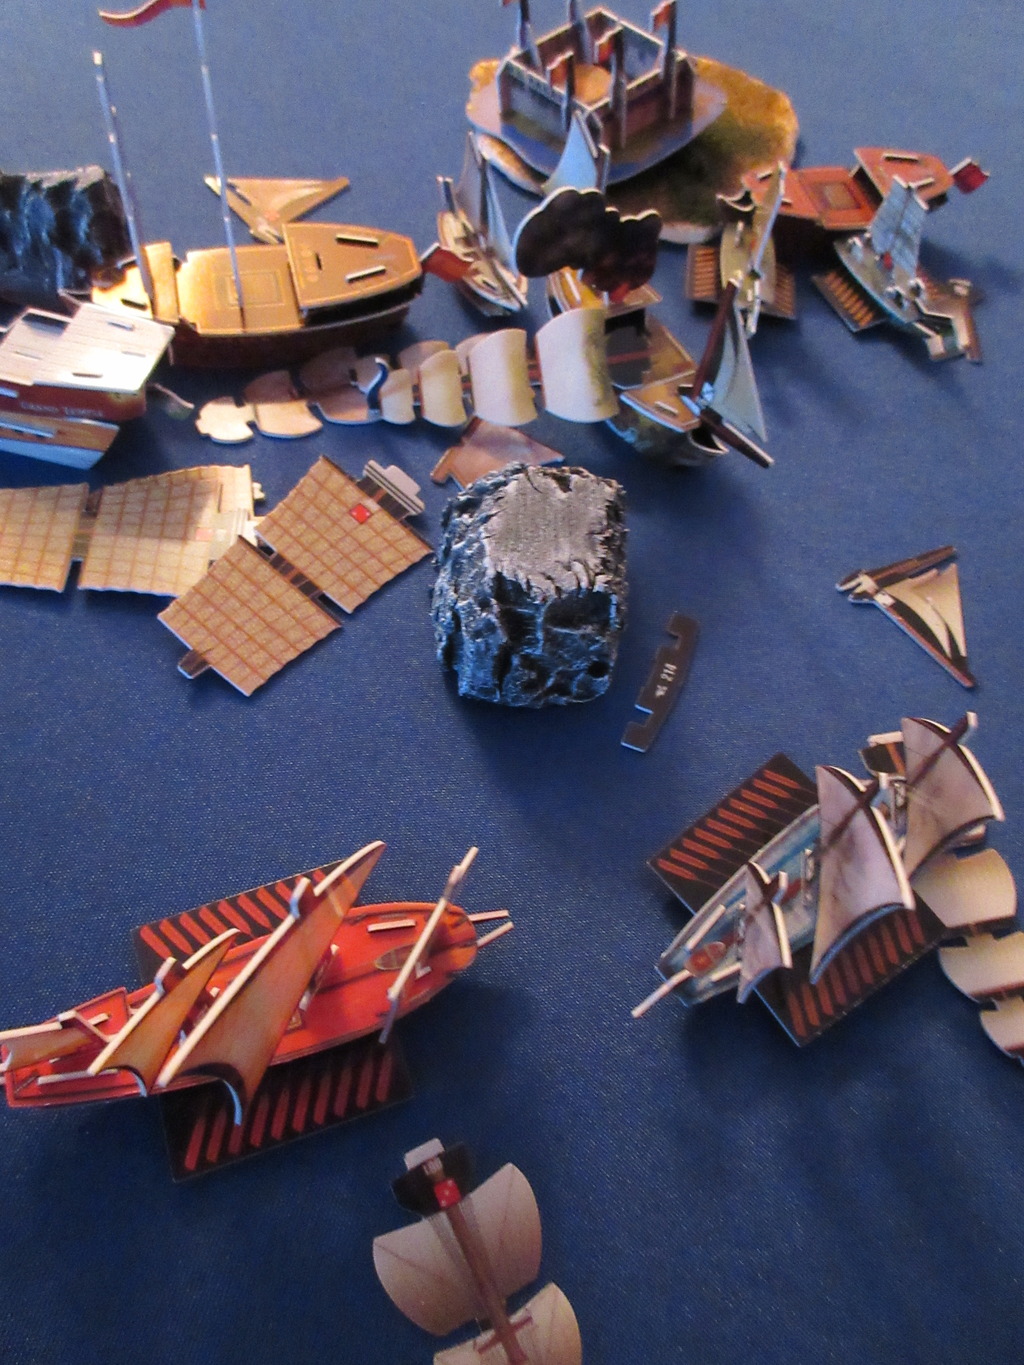

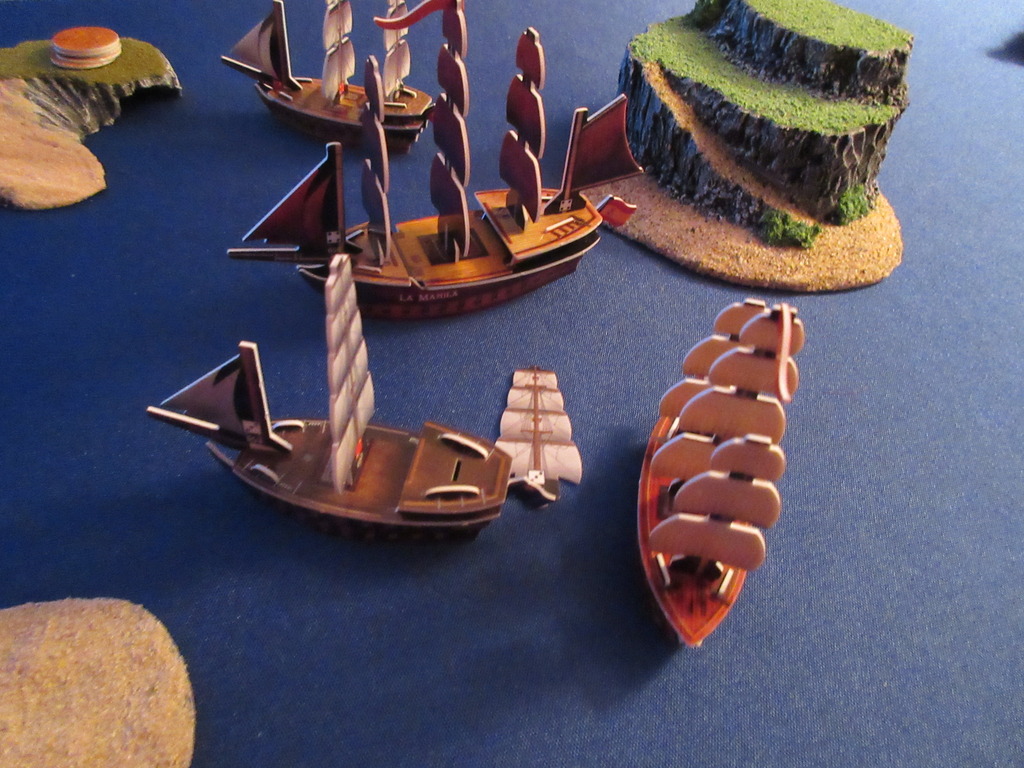
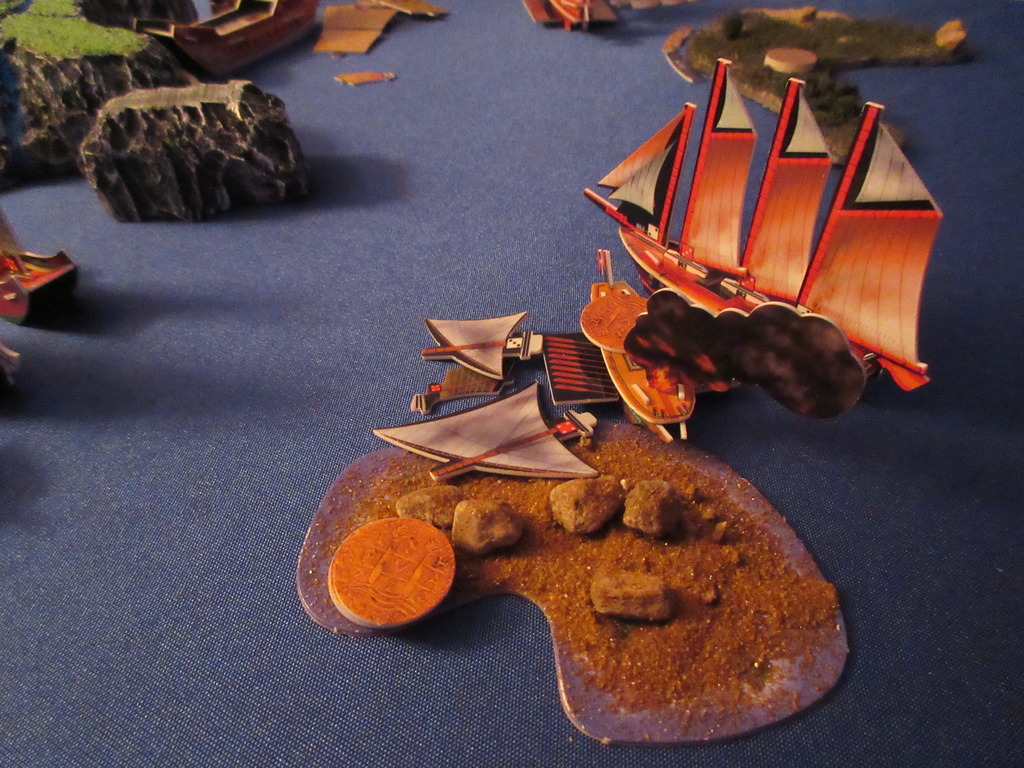

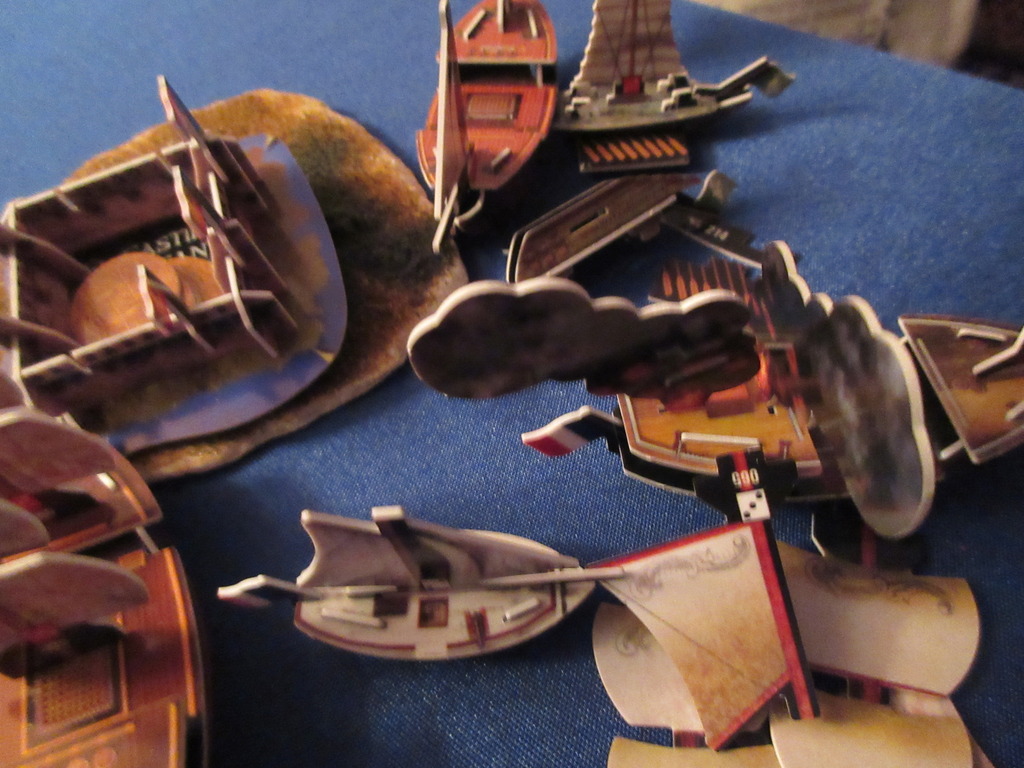






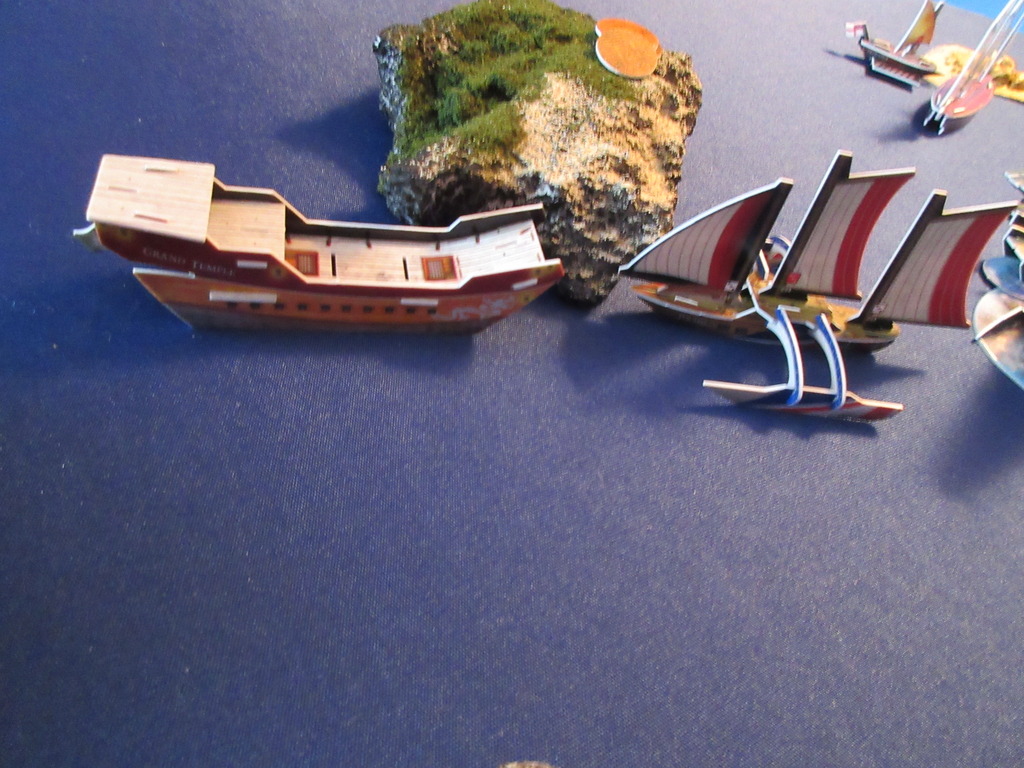


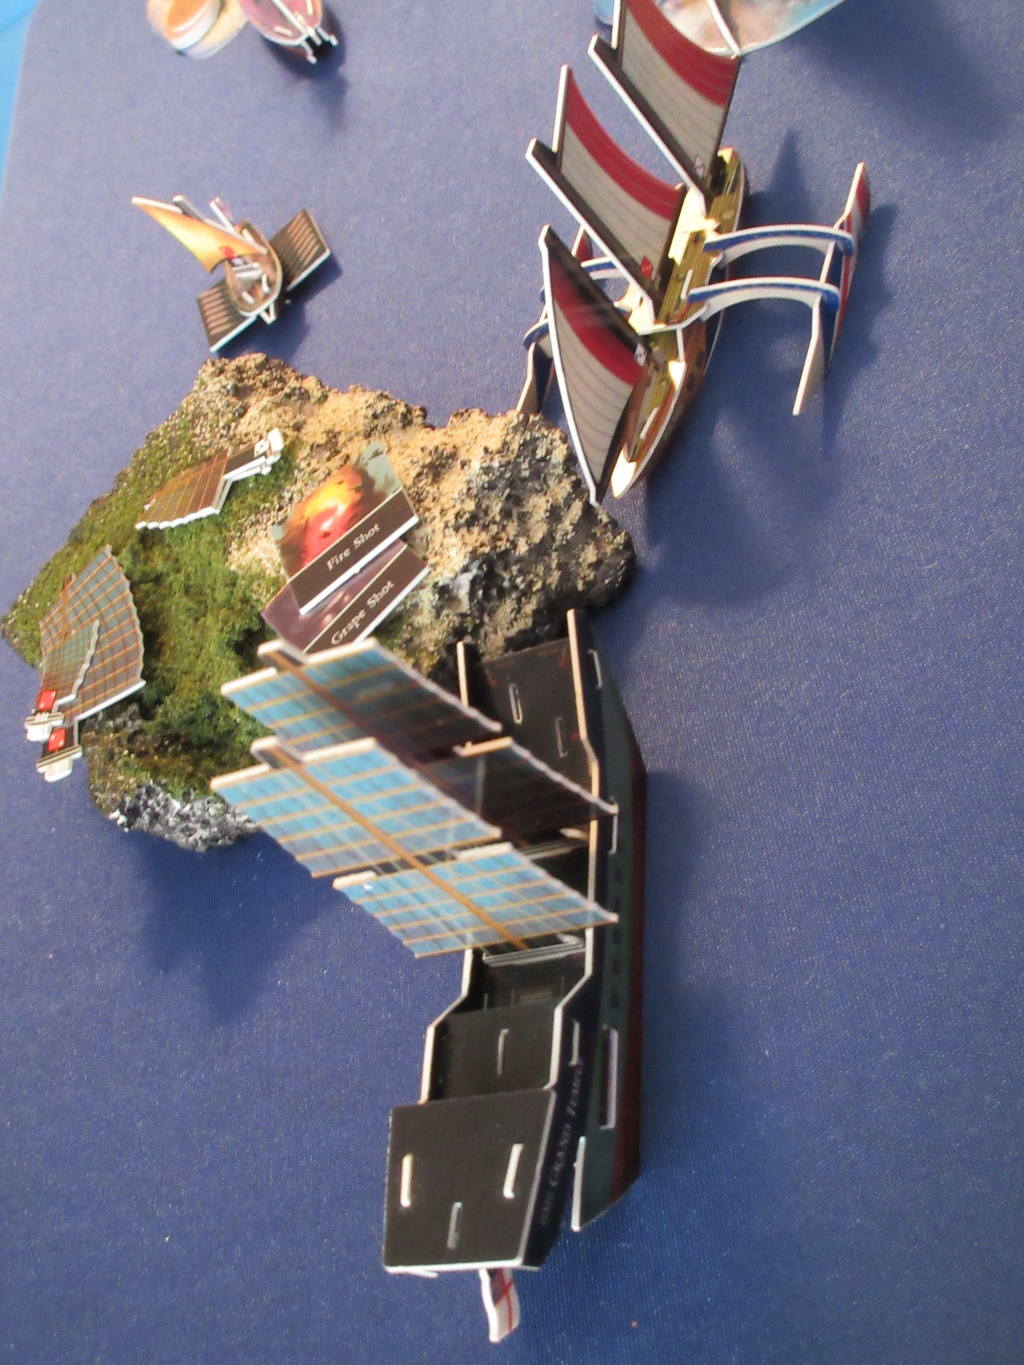

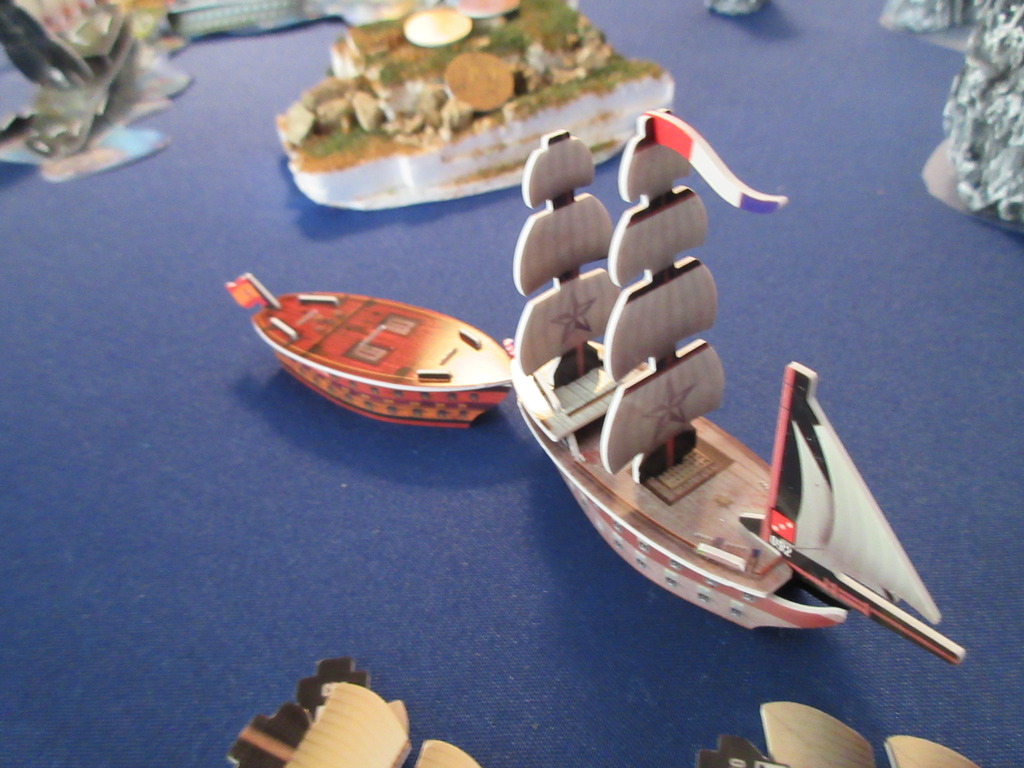


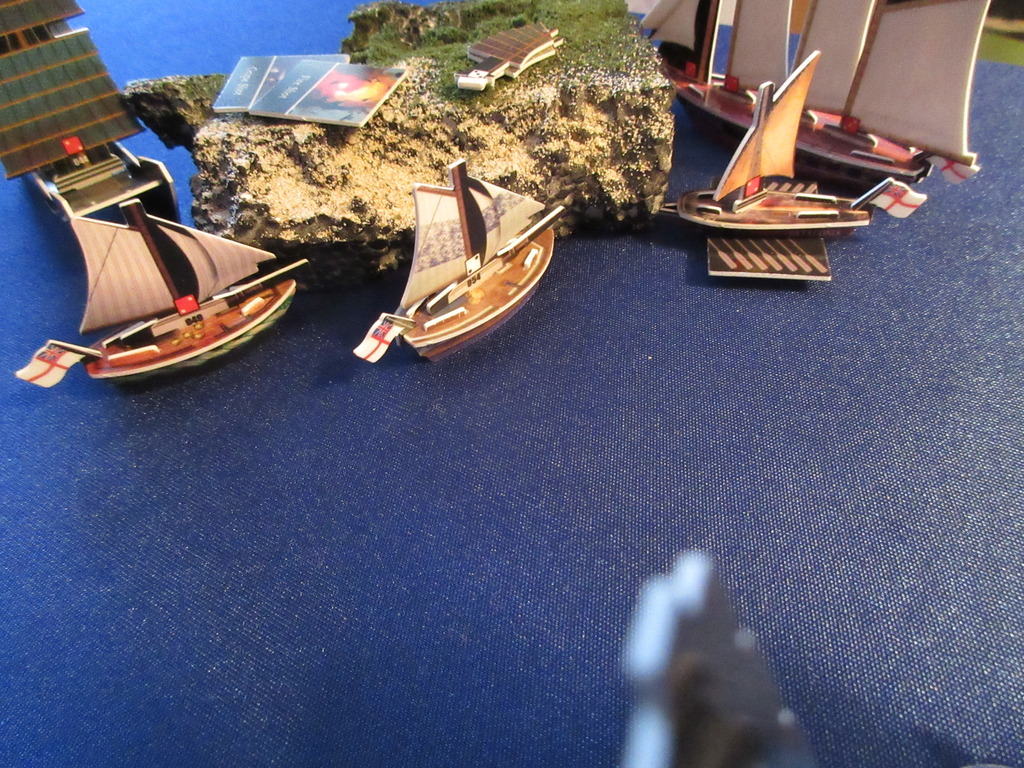
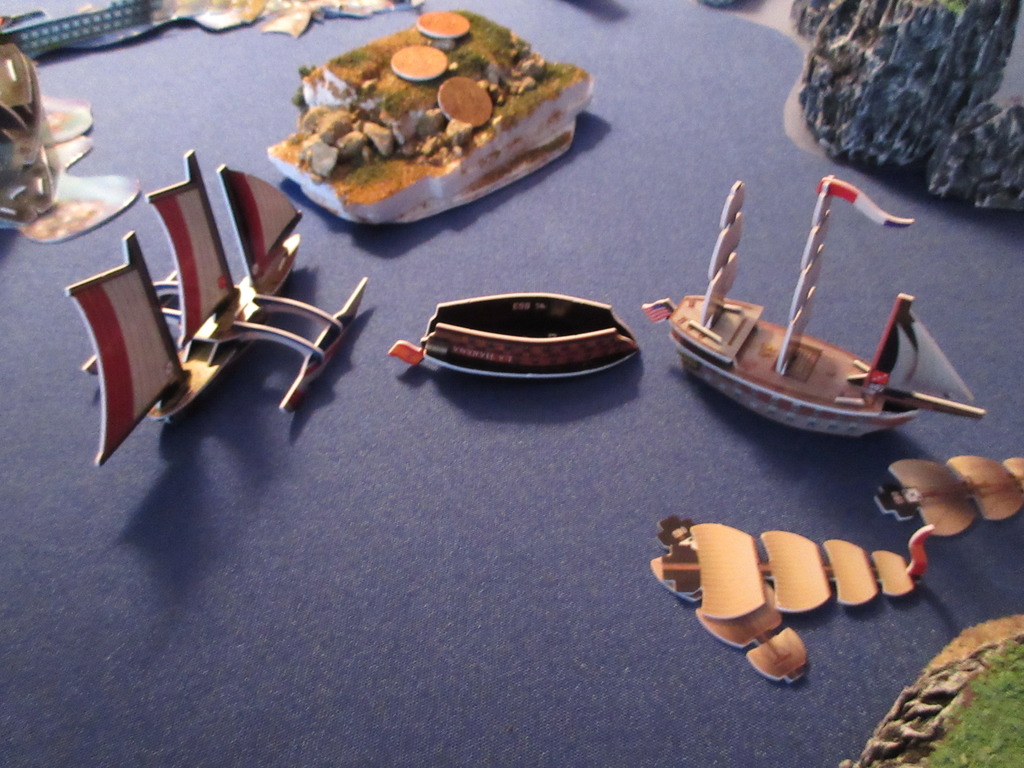
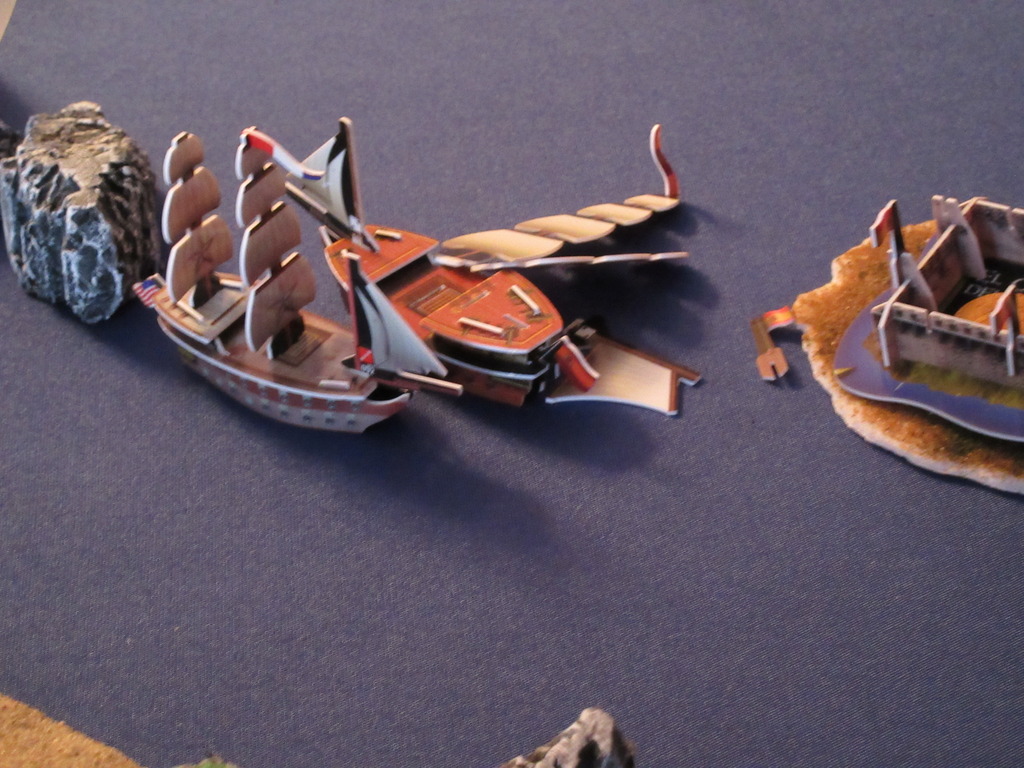


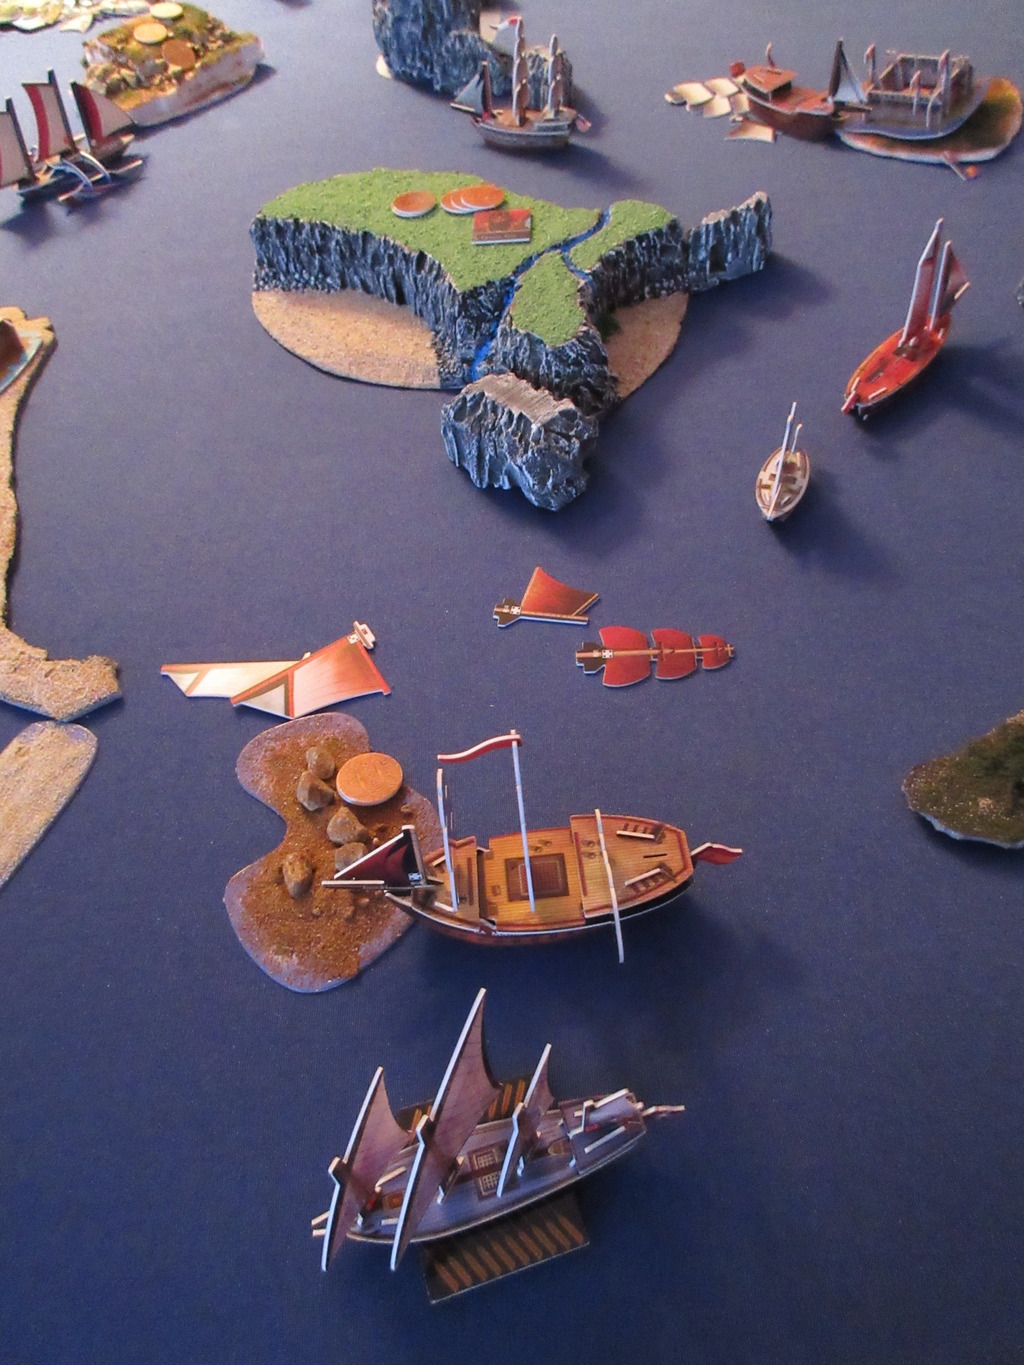
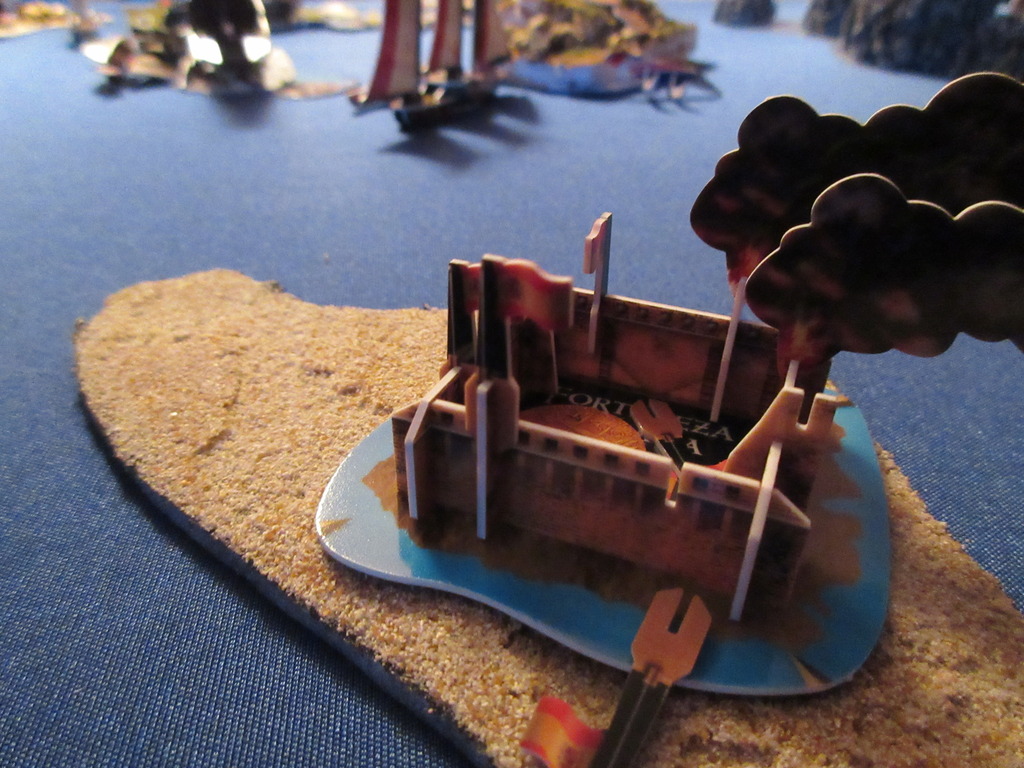


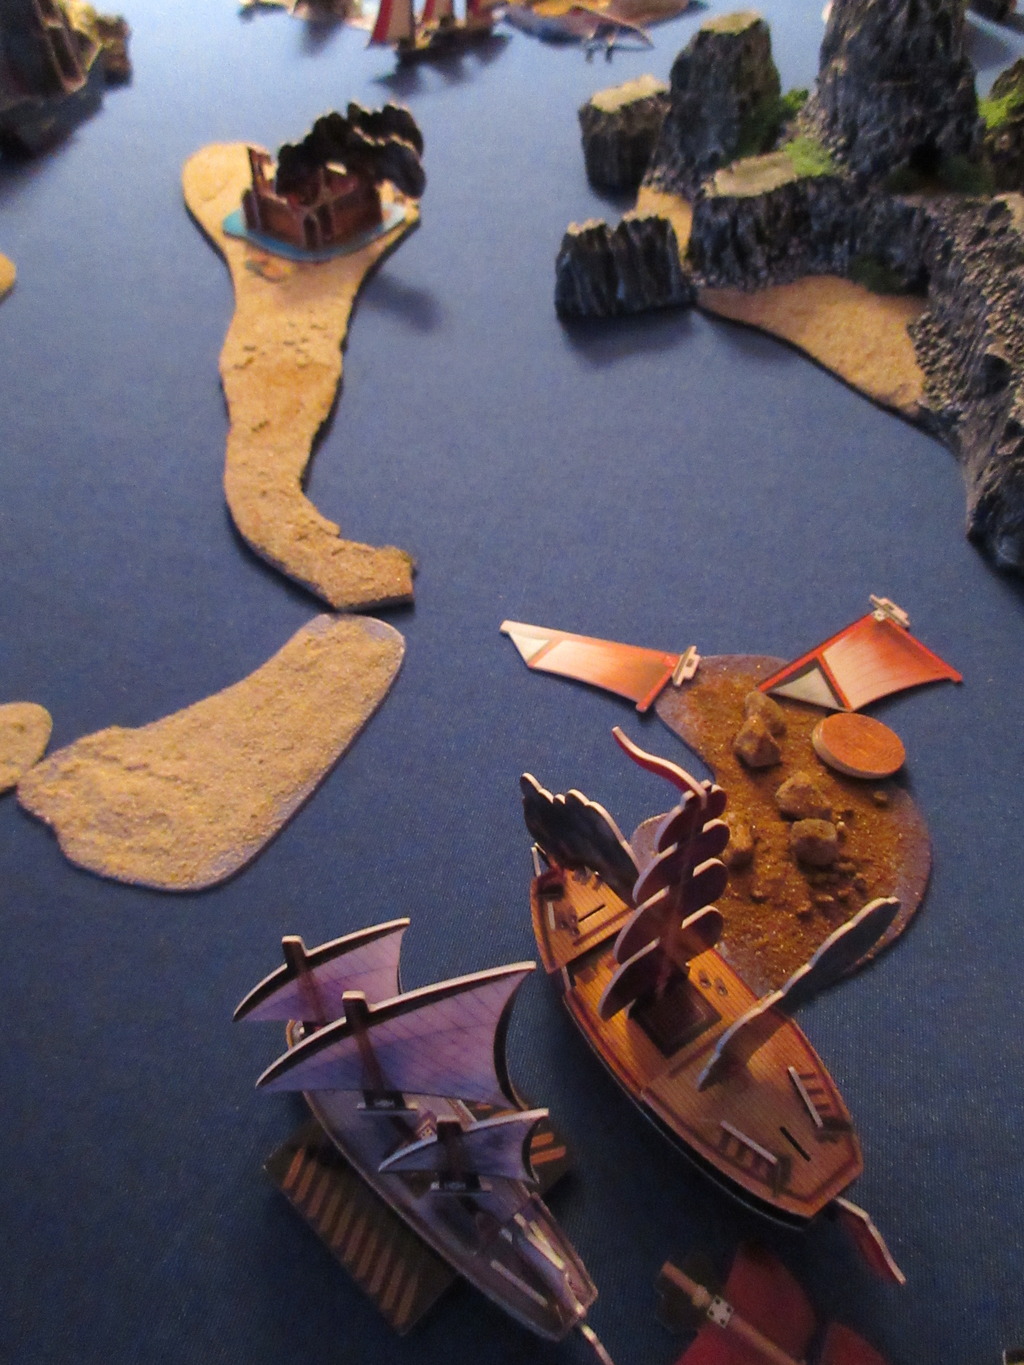

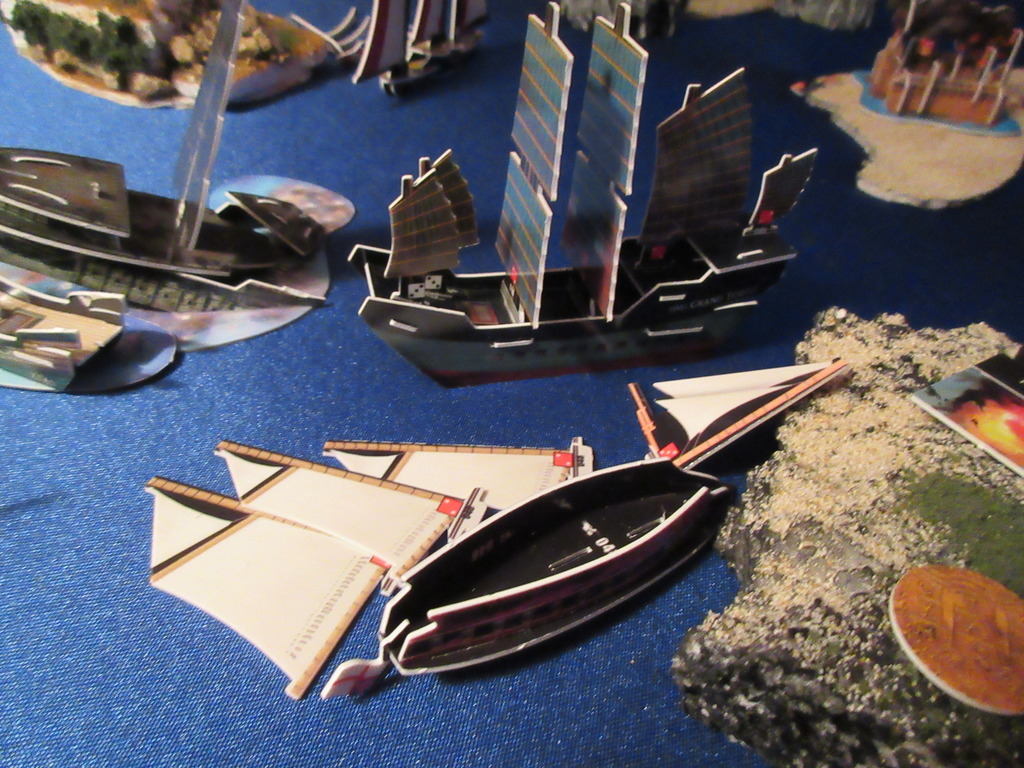
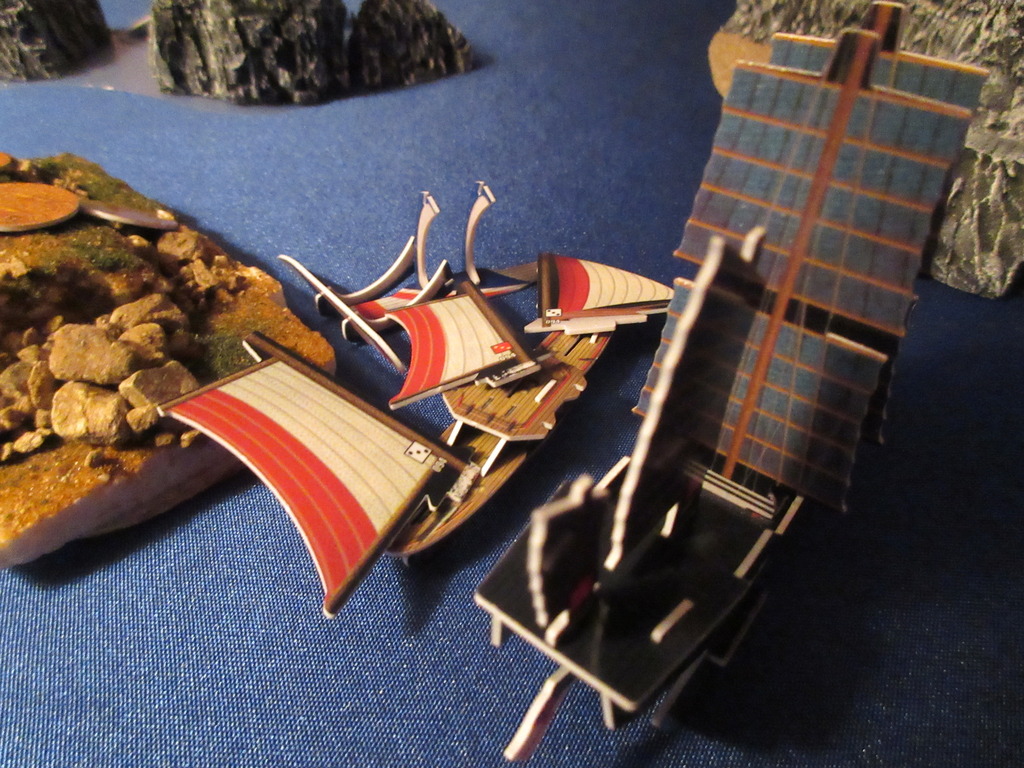

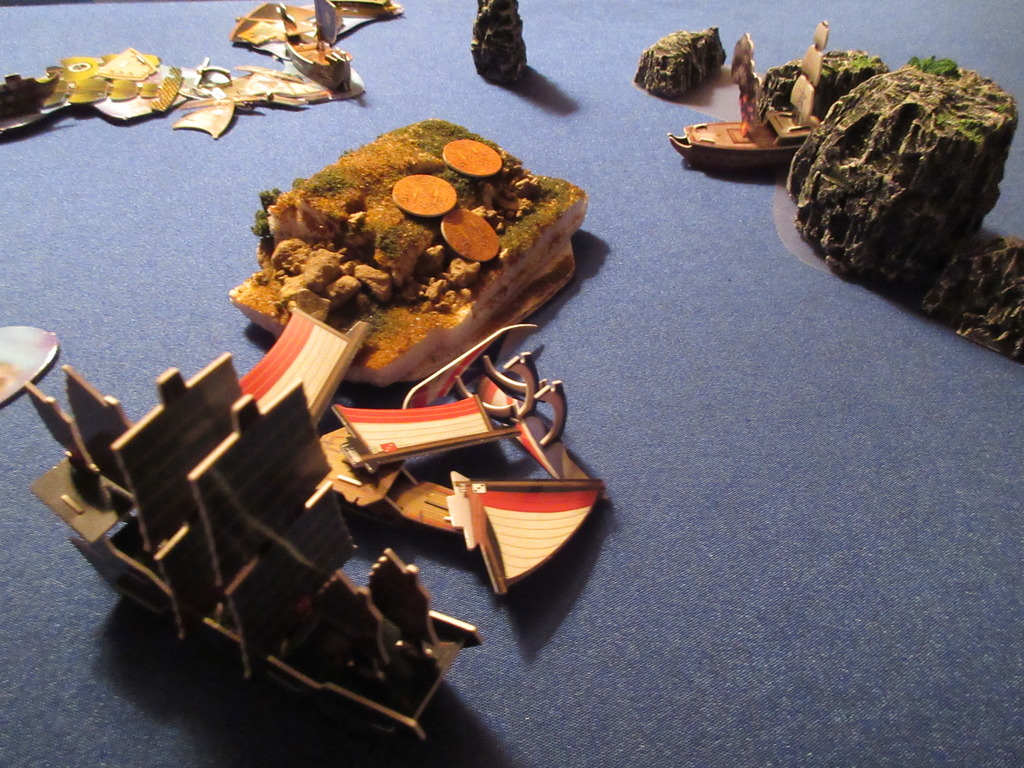










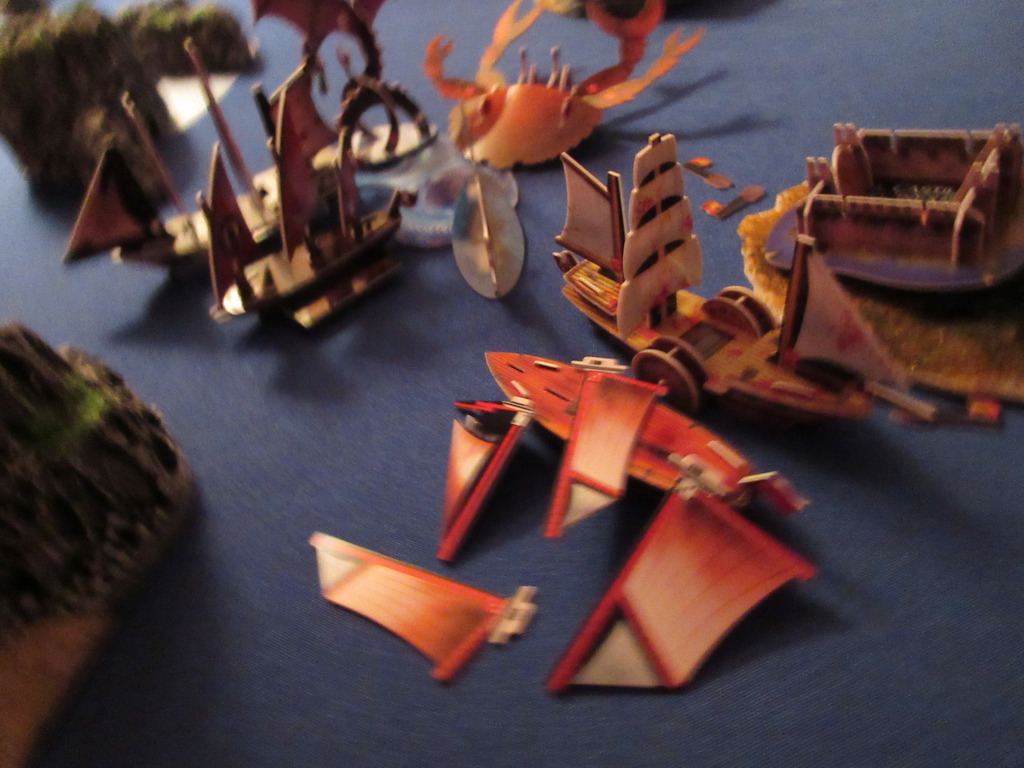





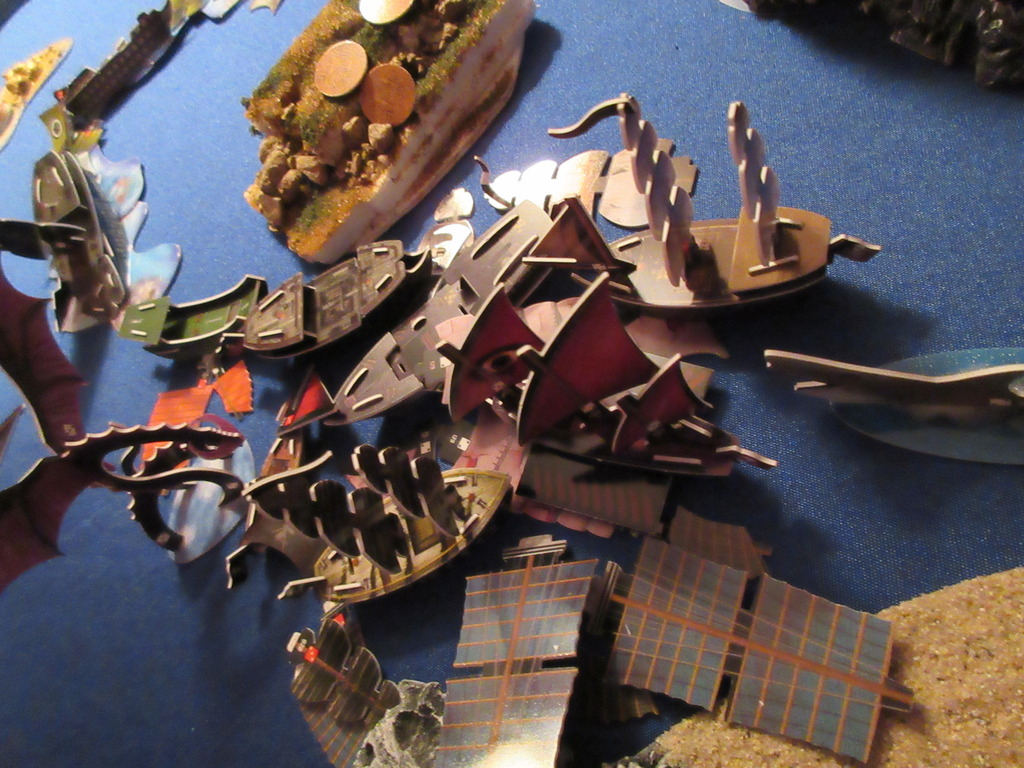


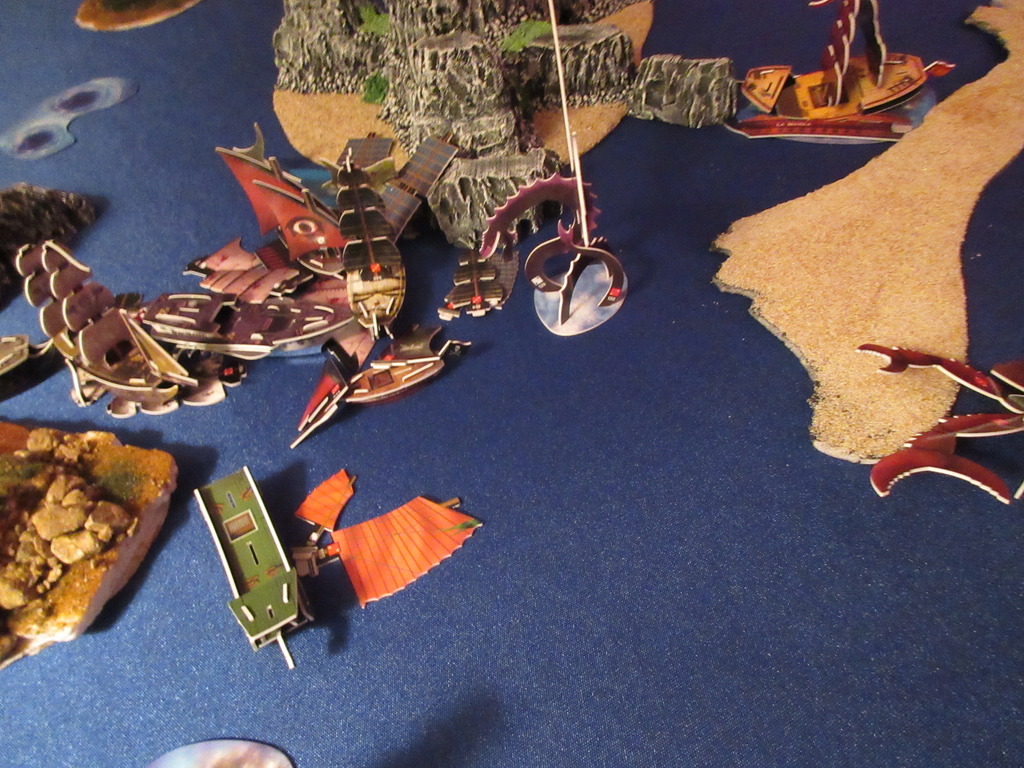
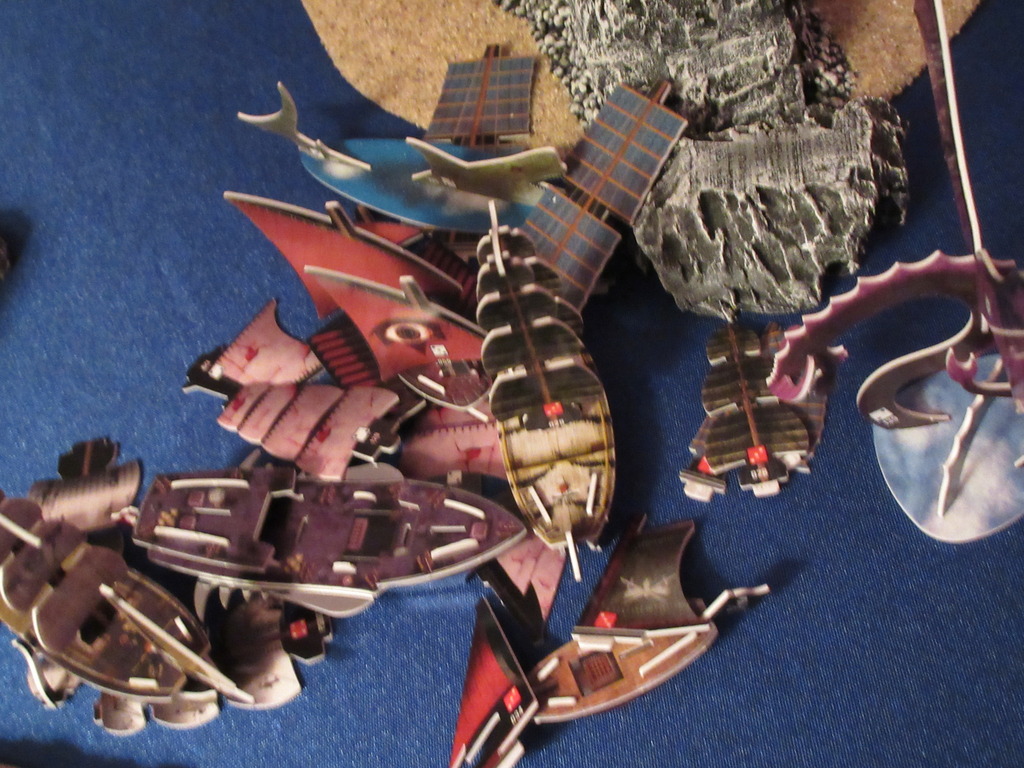


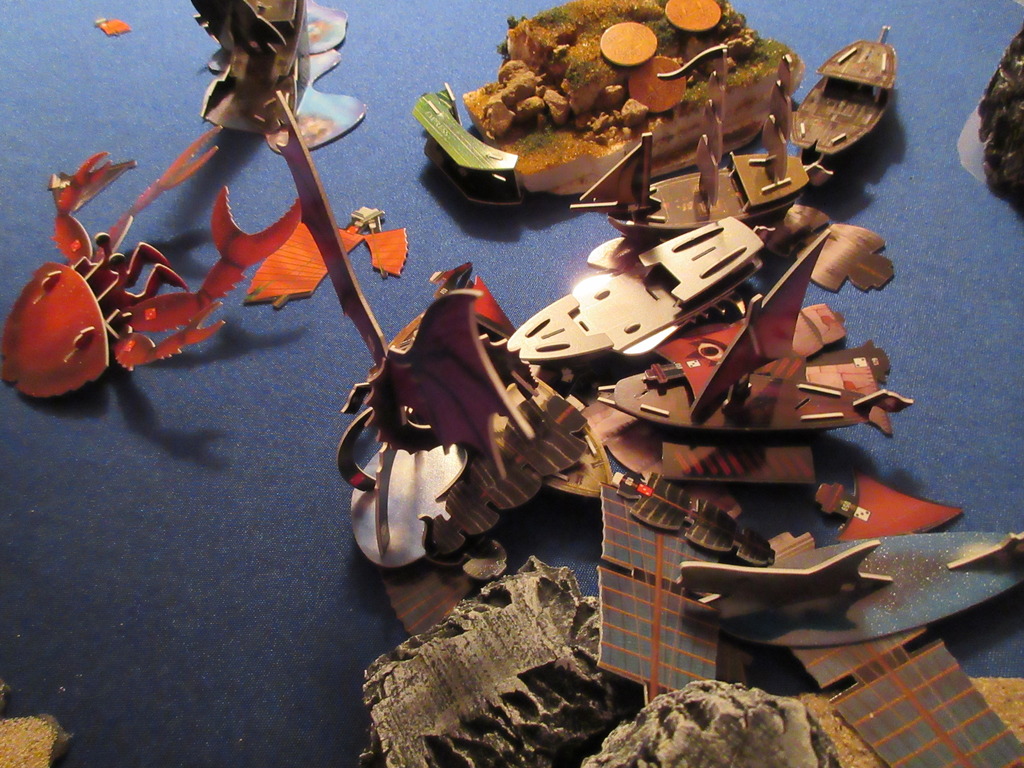








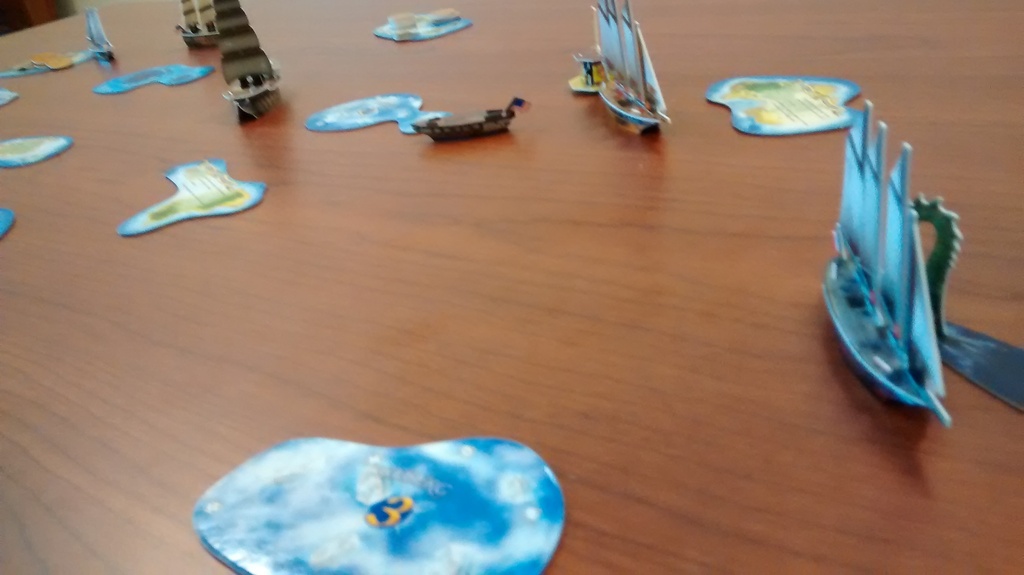
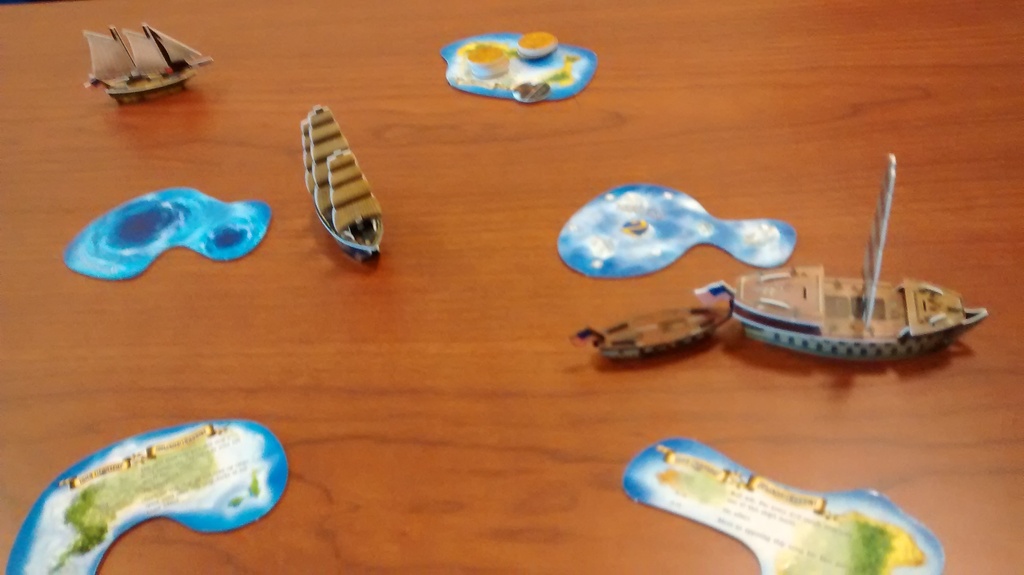




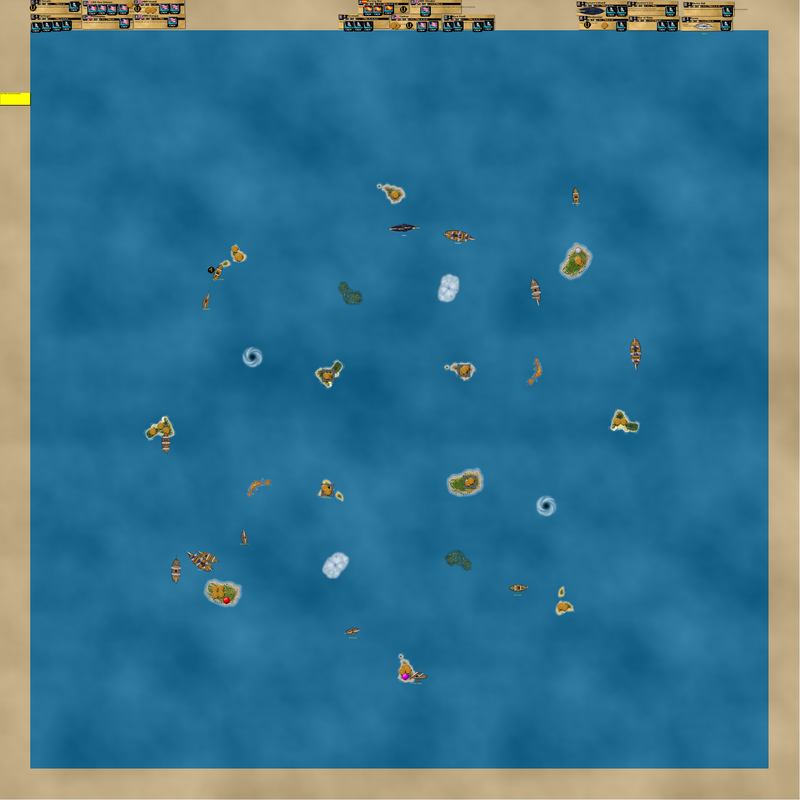
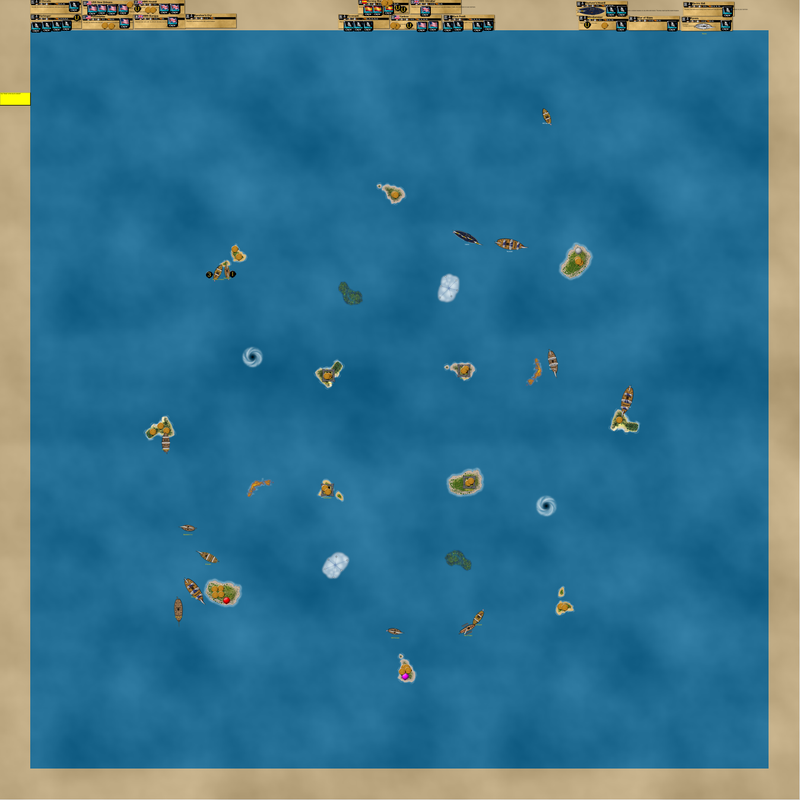
 Now, I will admit that I got lucky once more, but it was perfect timing for the second time too. The Hound had caught the SoS at the SE island and knocked off her final mast. The SoS lost Calico Cat in a boarding party but rowed a bit to the south at S+S. To mitigate the Hound’s fear of the Black Pearl arriving imminently from the north, the Harbinger was sailing at full speed towards the general area of interest.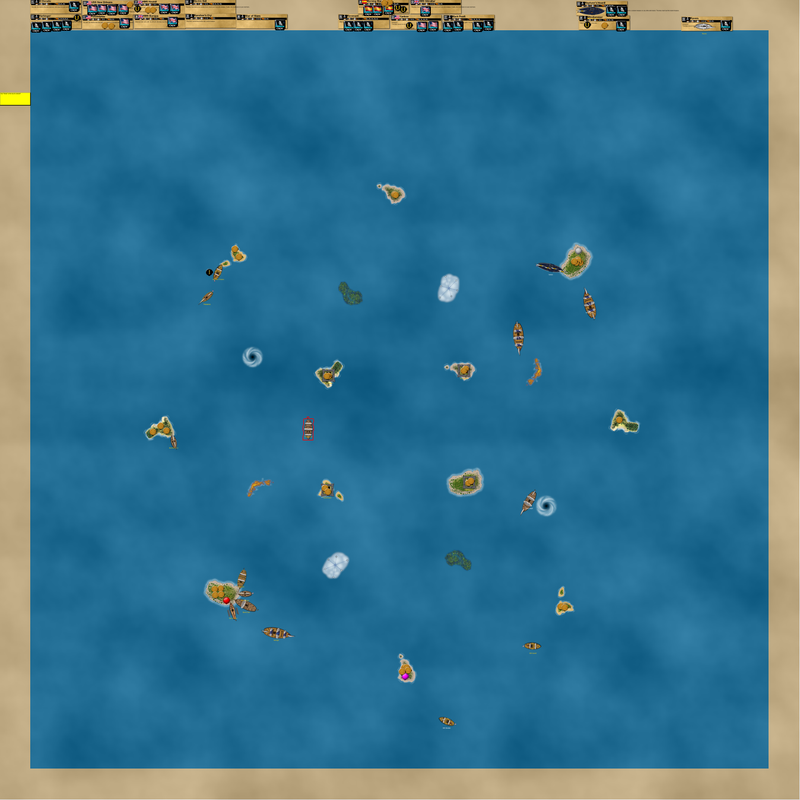
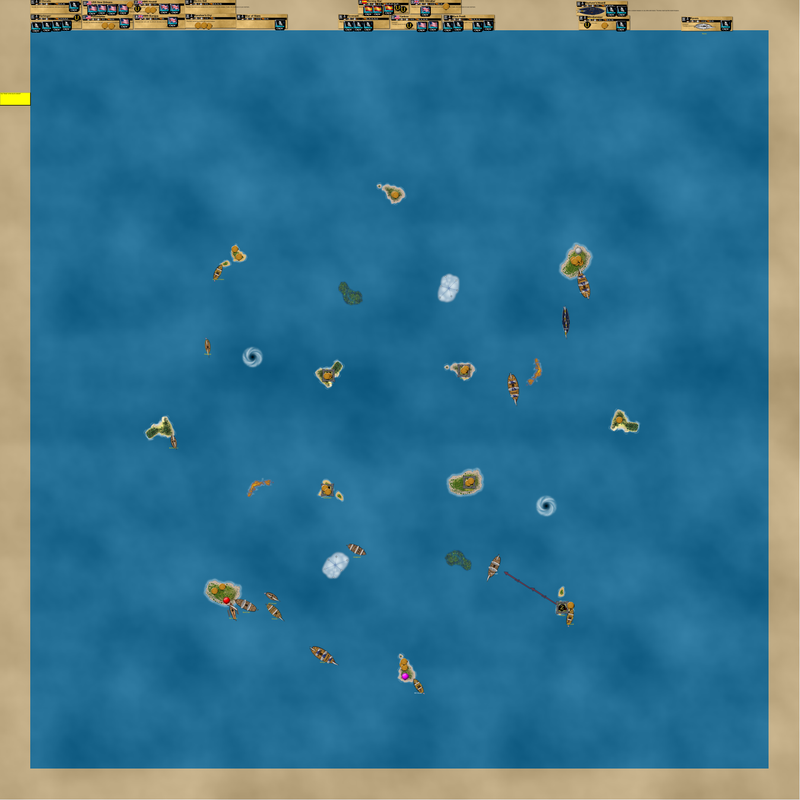
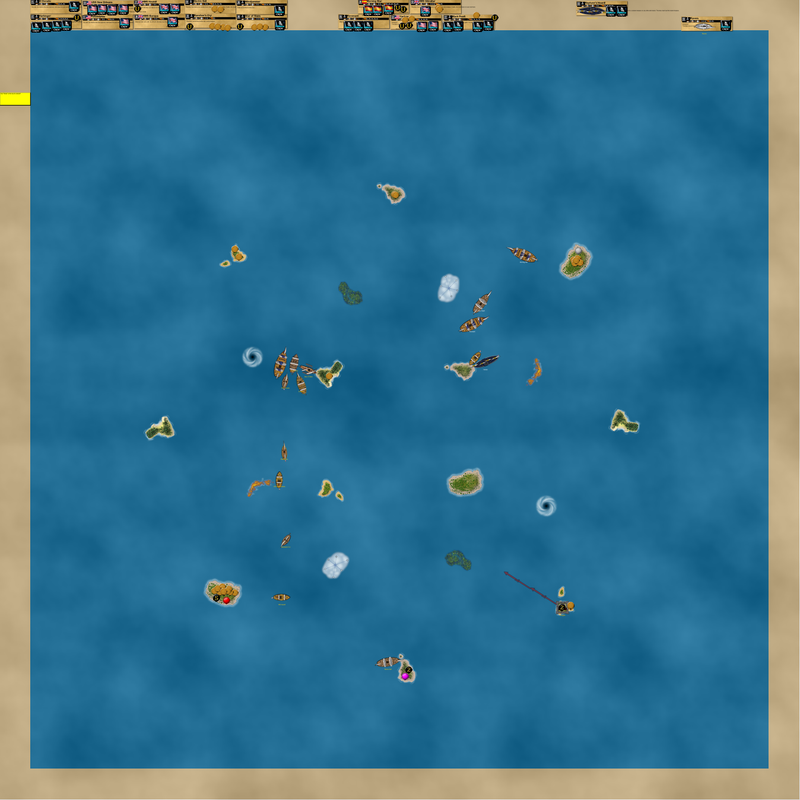
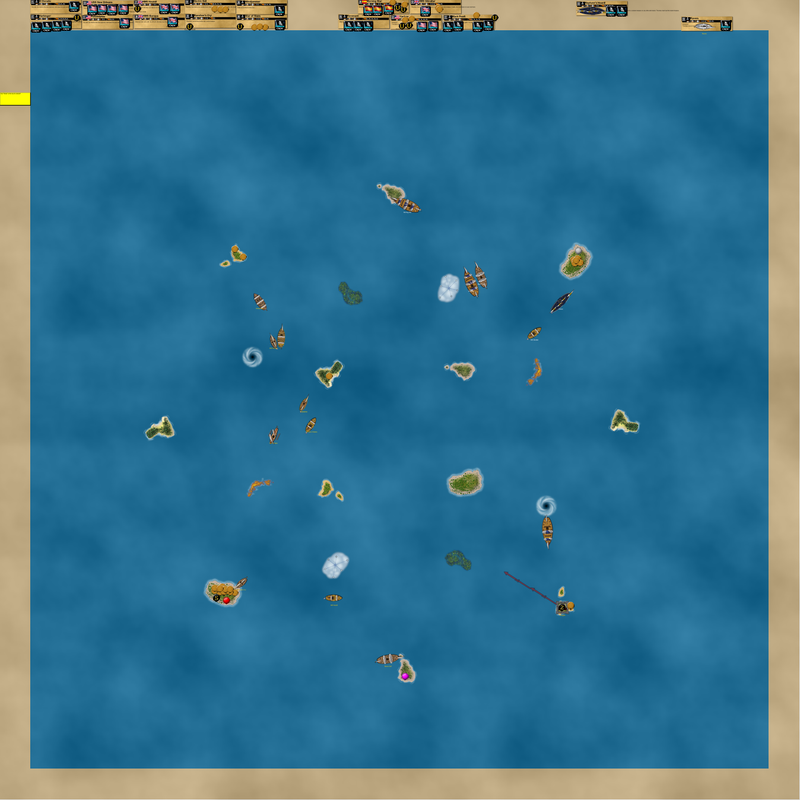
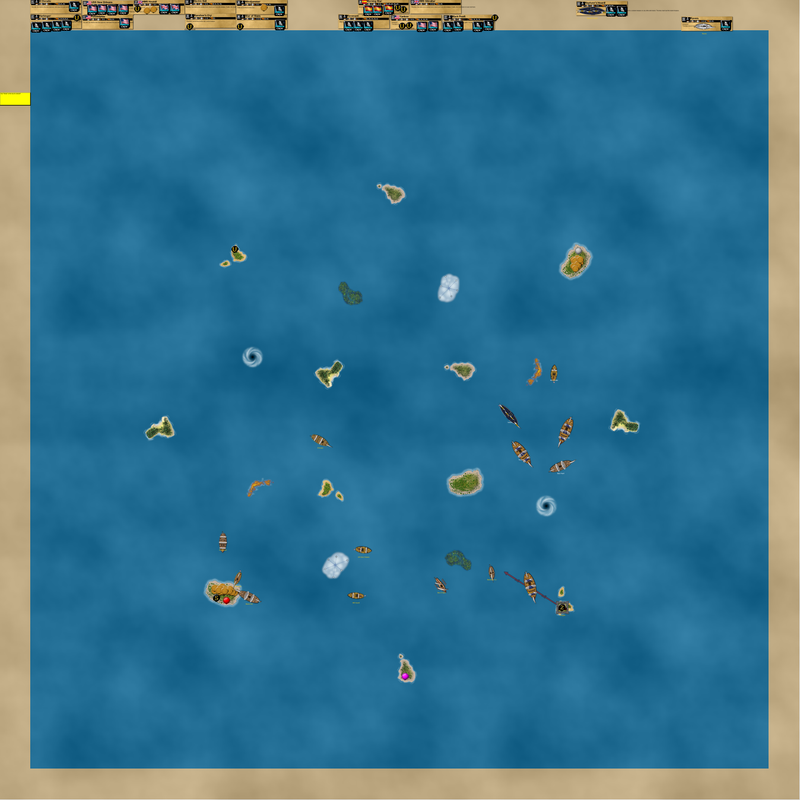
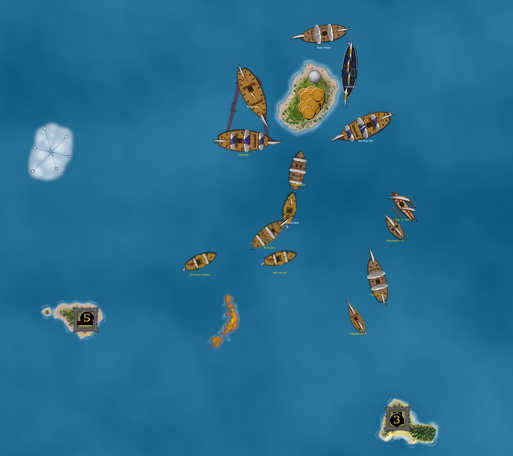
 ), and tried to set up the islands and icebergs the same way.
 , but I am using crew).
 . I would rather not go on a long rant, but if they keep disappointing me I think I will flip out. Basically, they all stink. The Baochuan went 7 for 20 in her double shoot action today thanks to a rare 6 from Zheng He. She has 7 rank-3 guns, and they were essentially rank-2’s thanks to world-hater Chang Pao. Whatever. In a rage, I ignored the ‘can’t shoot at ships in your own fleet’ rule and sunk all three of them easily. HMS Leicester sunk the Baochuan without any help, and she didn’t even have Hermione Gold (MI version) on board. I think I will redo the turn and place them back where they were, and give them a final chance. I know they aren’t designed for just combat, but the fact that they are this bad is just plain embarrassing. Hopefully they will prove me wrong when I resume play again tomorrow.
 . If not for this aberration, the big ship fleet would have won all three times. Their biggest advantage was that they had a sac captain, three cancelers, and two SAT crew.