Maelstrom debut! Two games at 4×60
9/10/2023
It was finally time to debut the Maelstrom map that my friend Gino got me for Christmas! 😀 Two games at 60 points would be played, both using the Maelstrom house rules. The first was a Maelstrom of Gold, with the second being a quick deathmatch before we ran out of time. We played at Laughing Dragon MTG in Issaquah Washington. It was a really fun meetup – I got to see Luke for the first time in a while, with Xerecs (Billy) and Kyle getting the opportunity to play against Luke for the first time. This was also the second day in a row where Xerecs got to play a fellow PNW pirate for the first time. This was the first test of the Maelstrom house rules, so it was a bit of an experimental “wild west” game, with a couple small clarifications needed during the game. However, I was pleasantly a little surprised by how well it went overall.
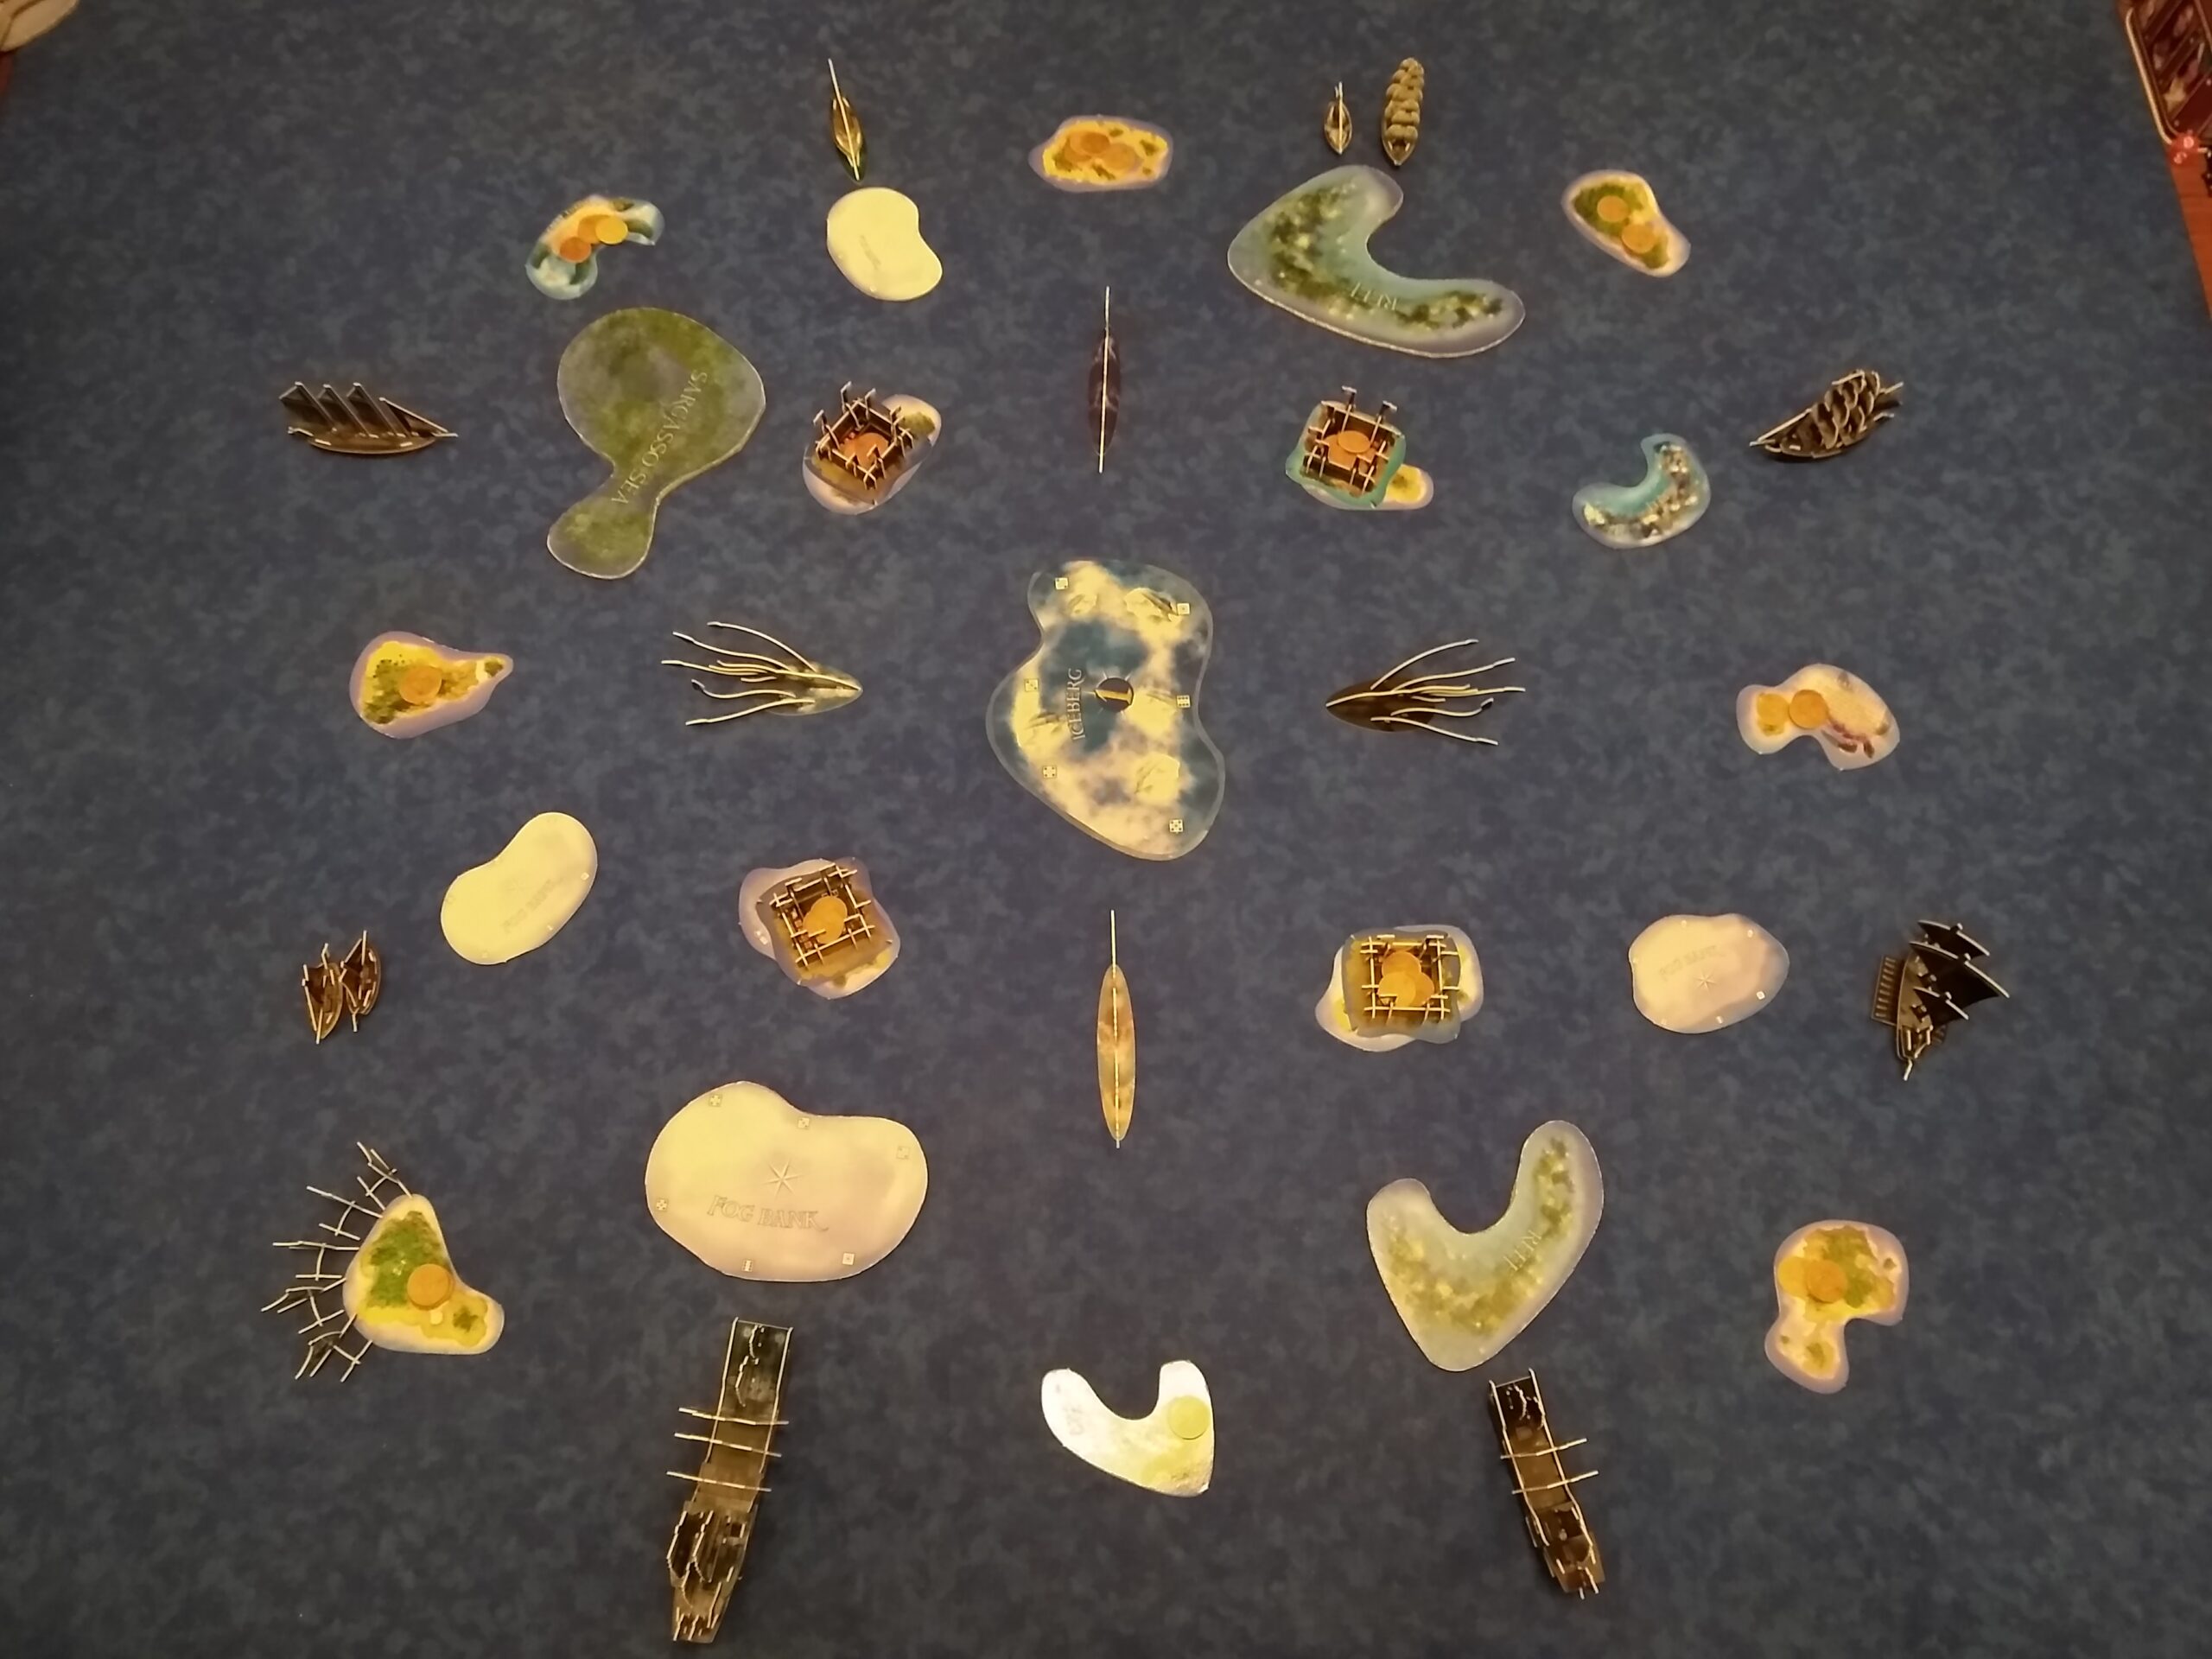
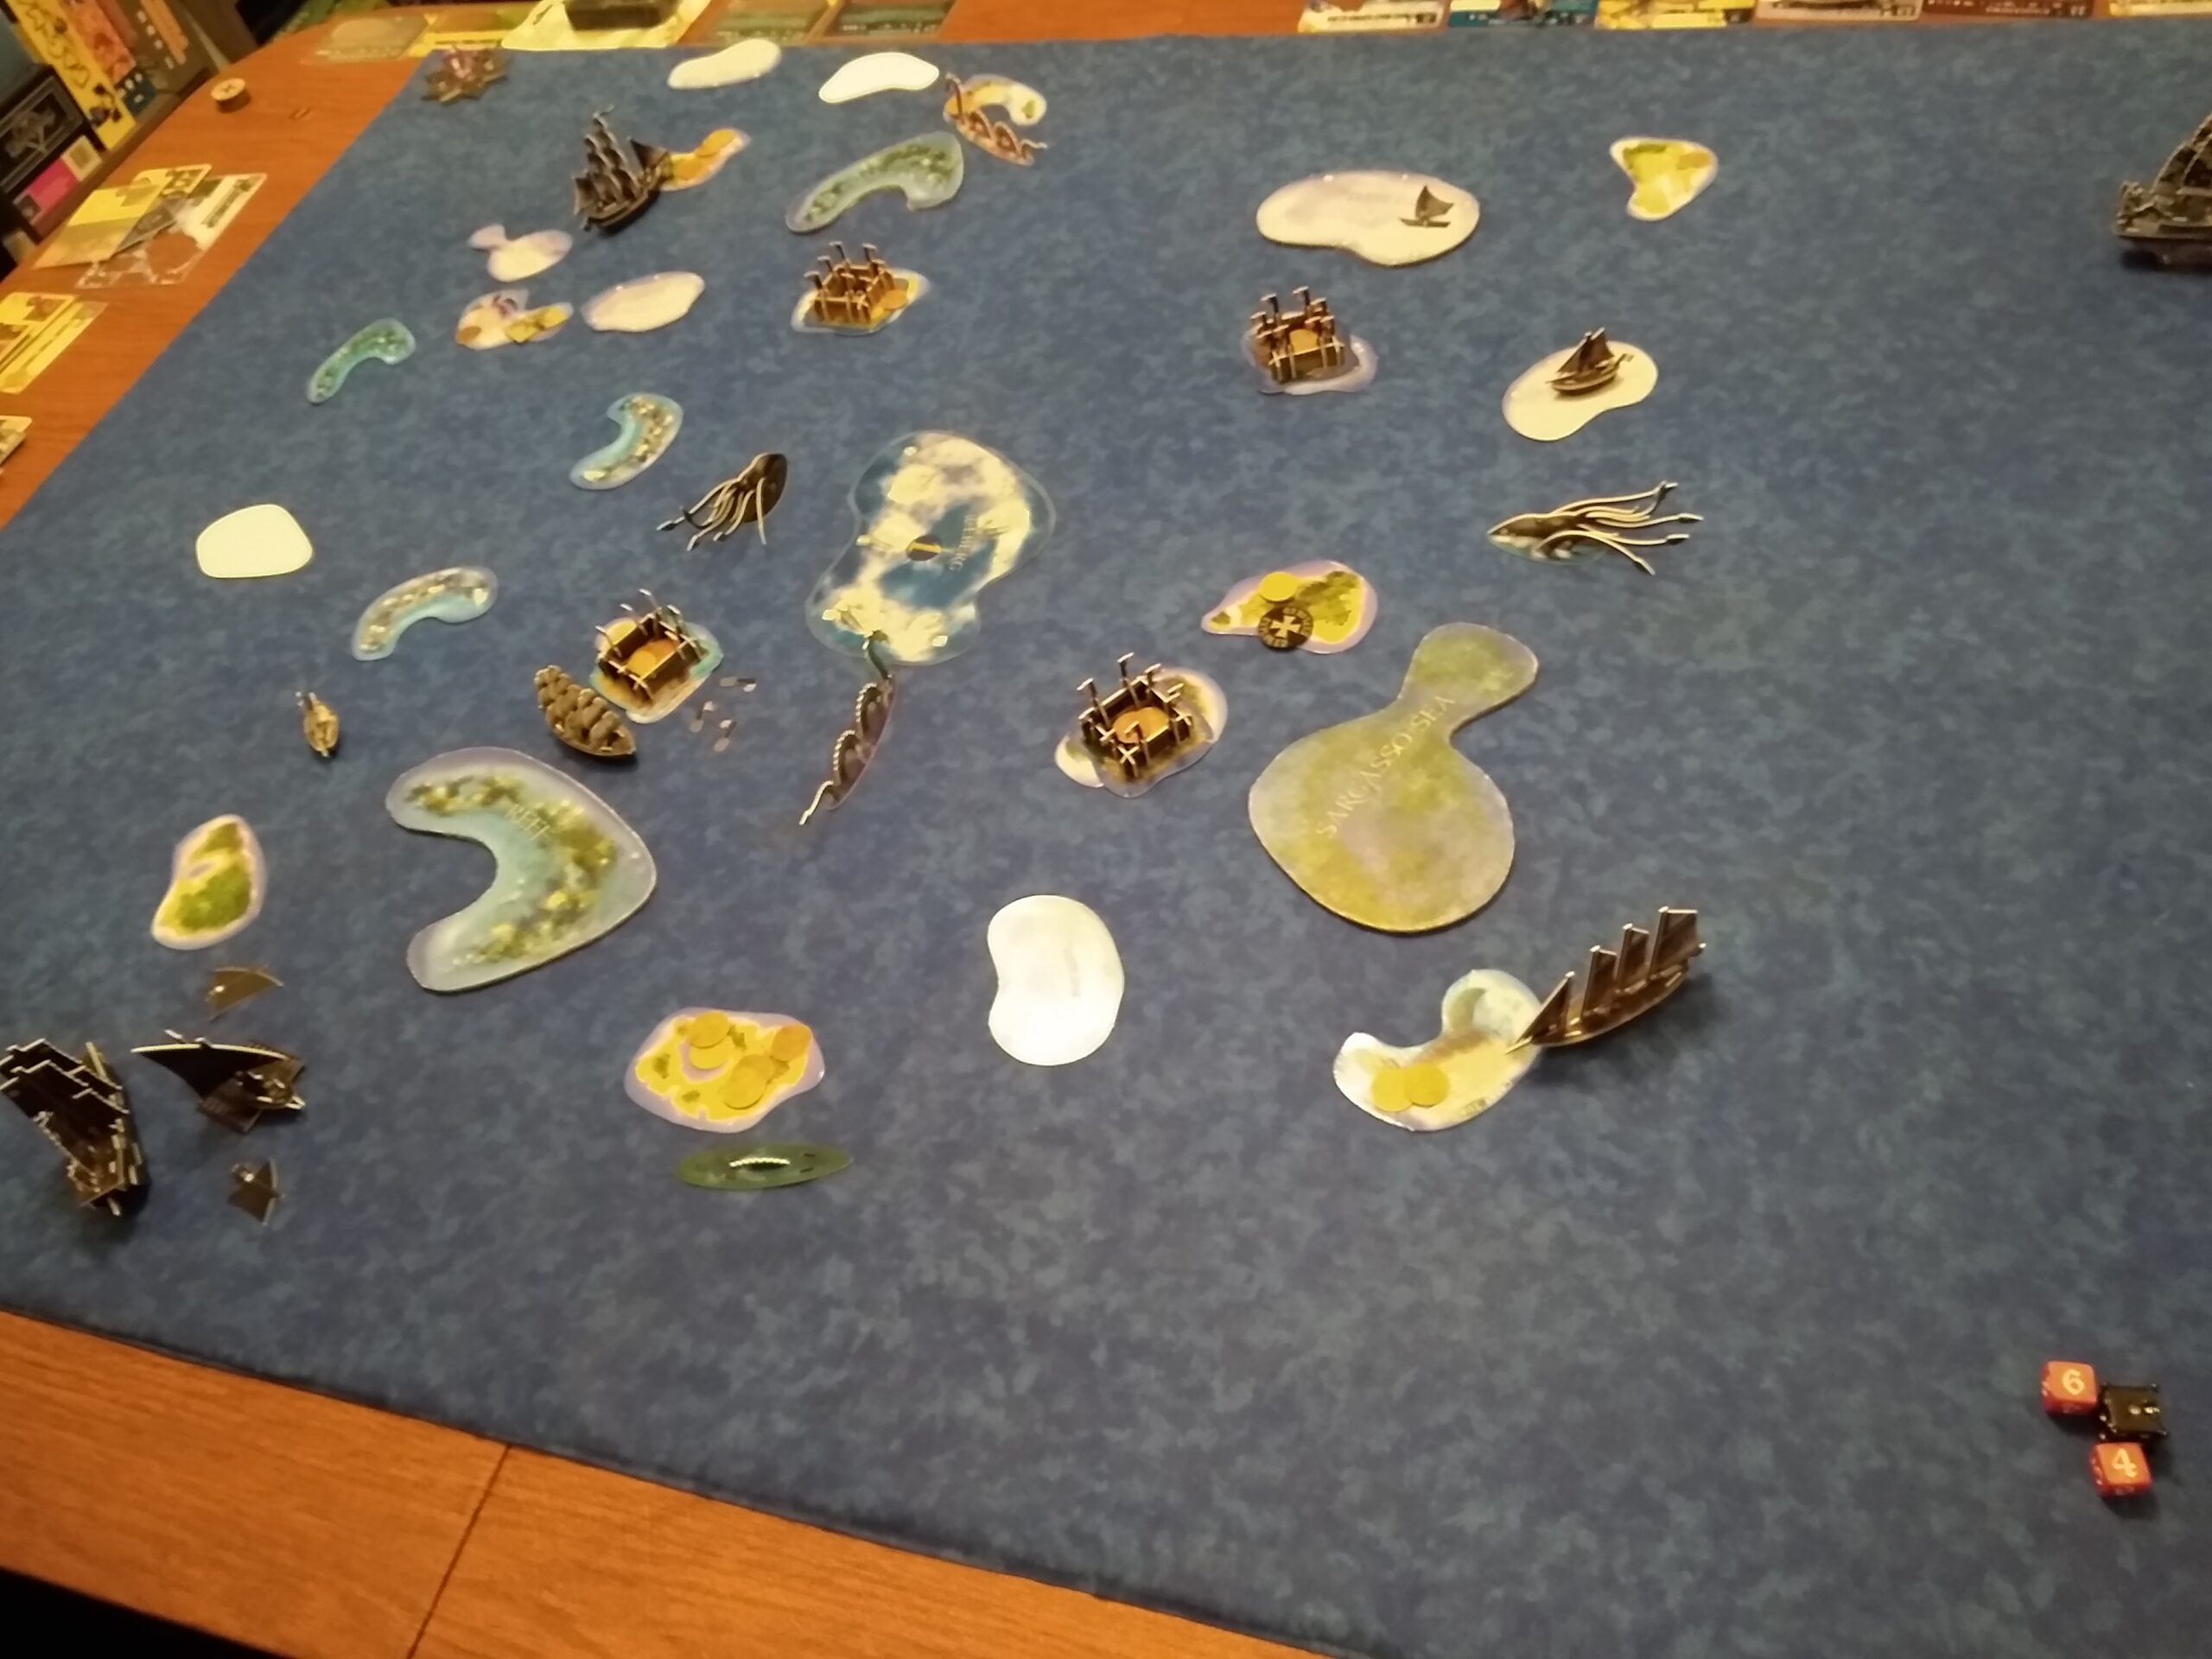
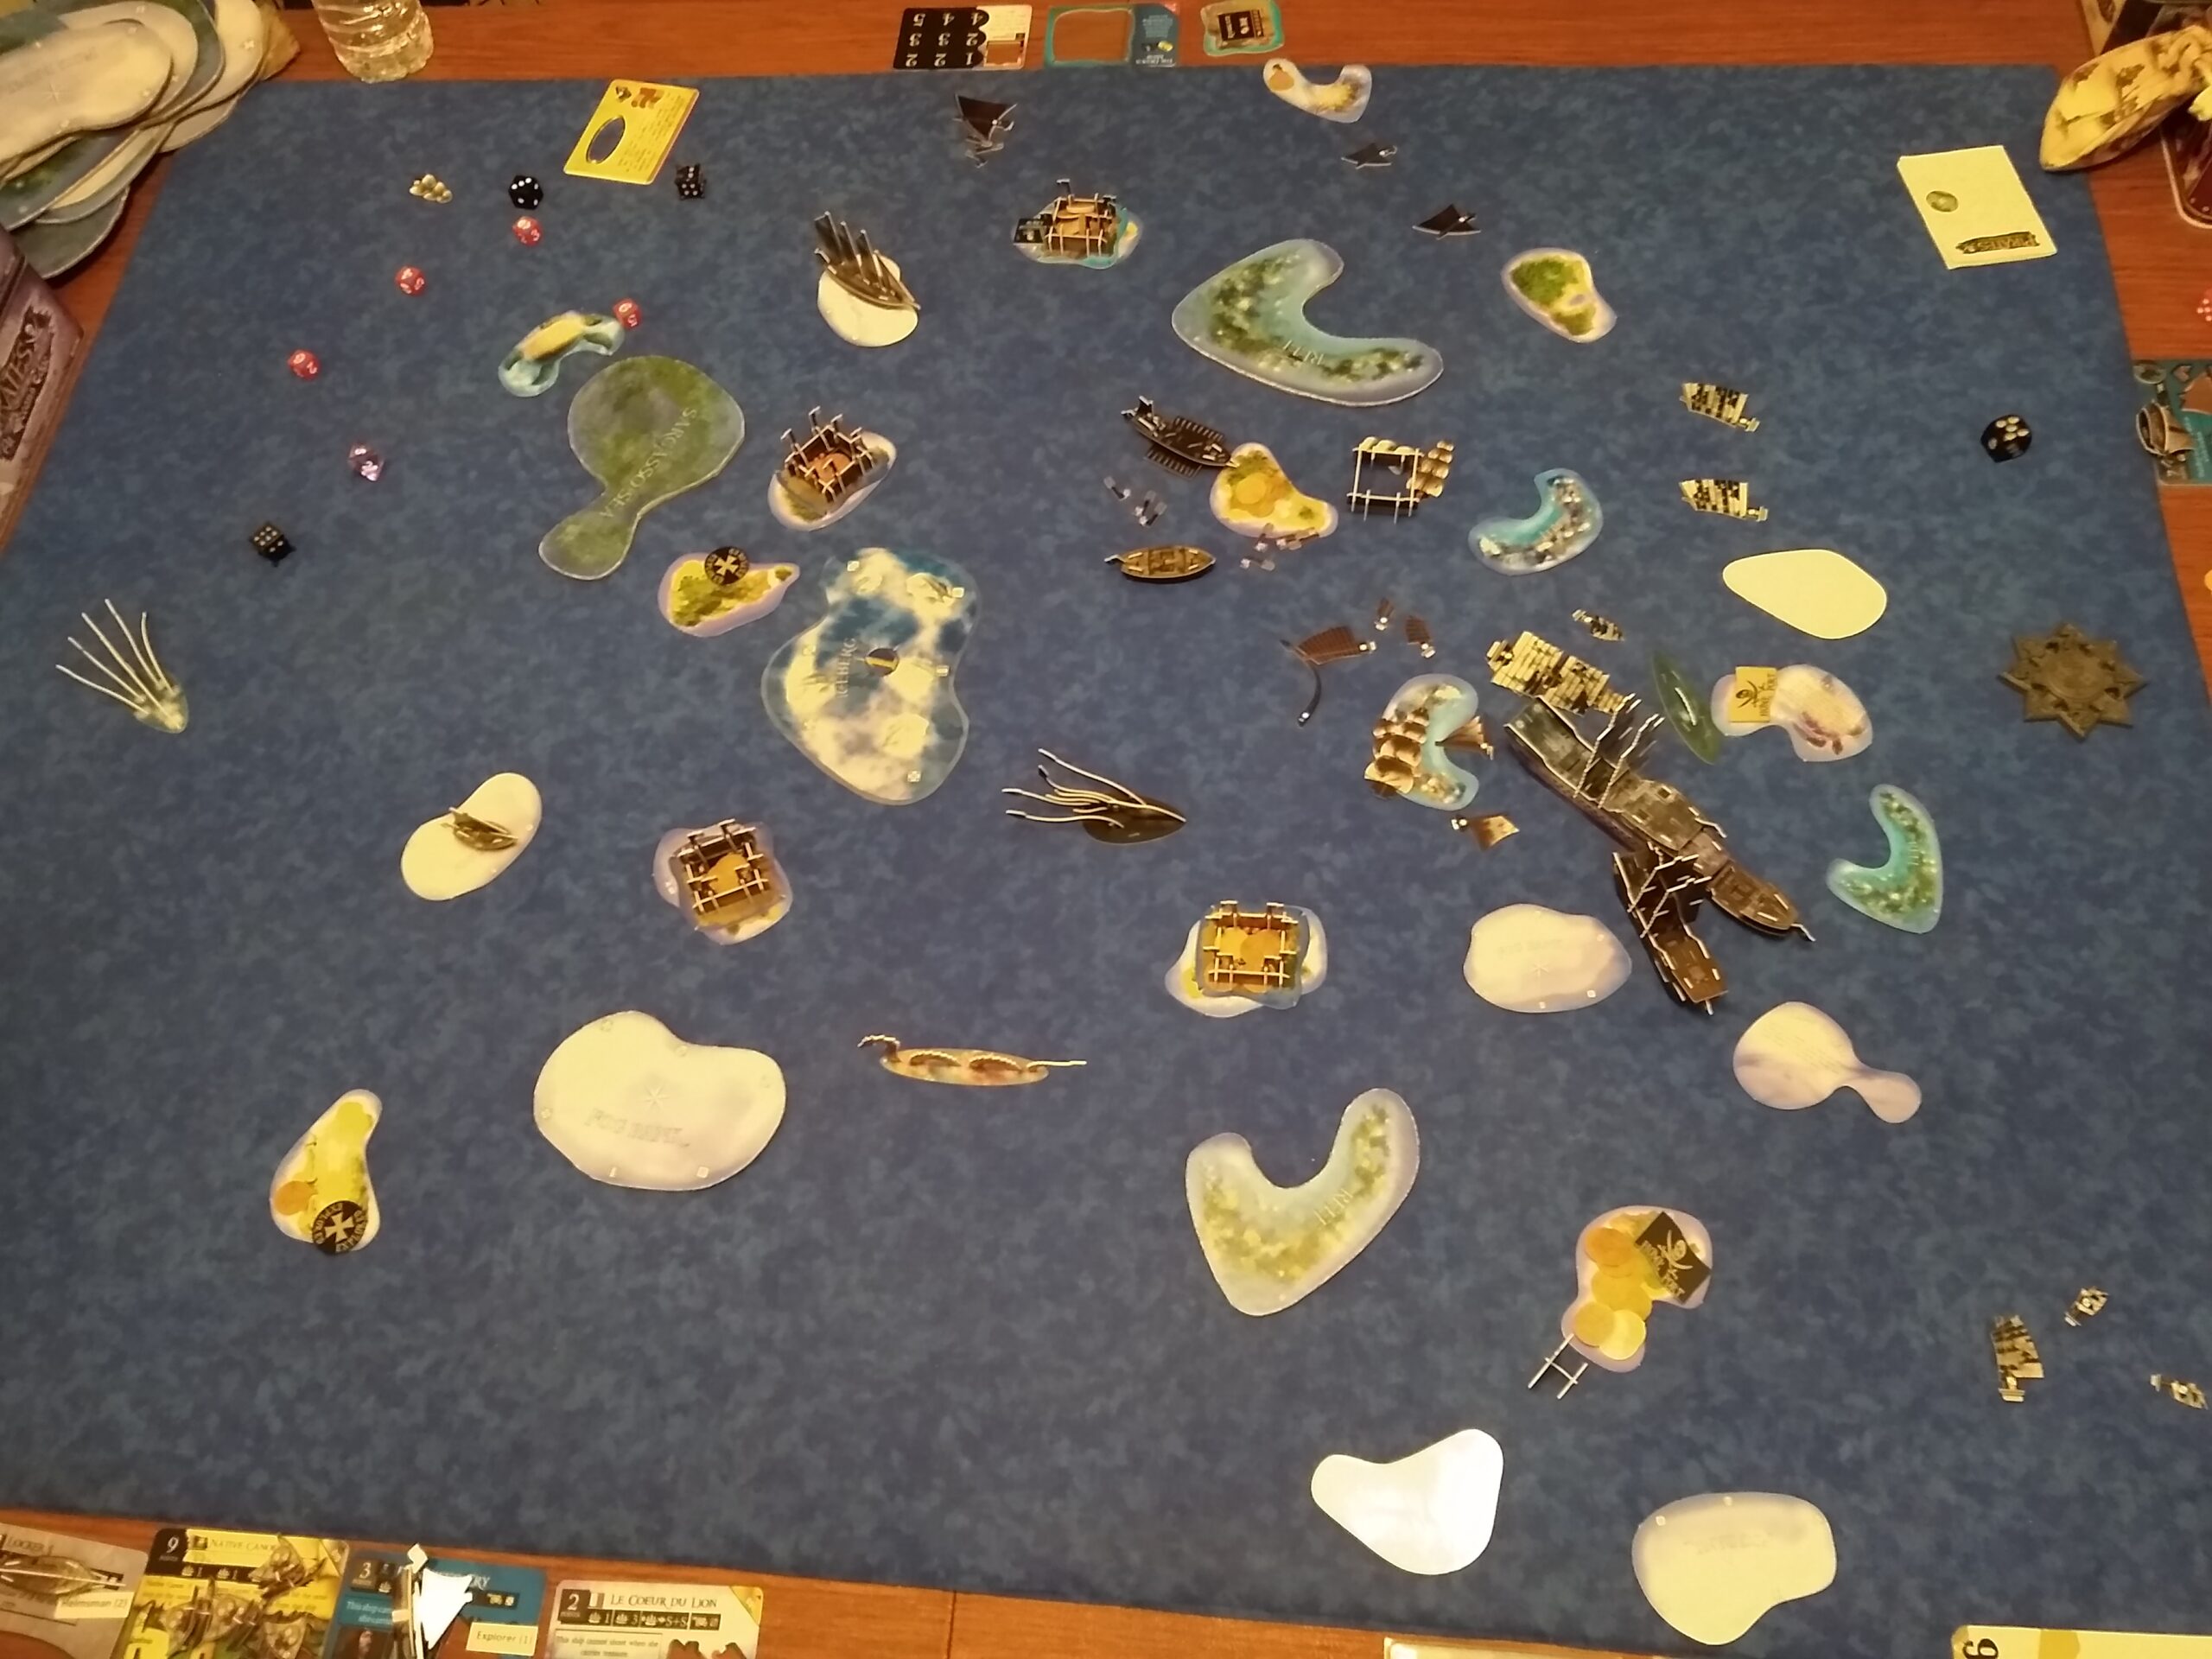
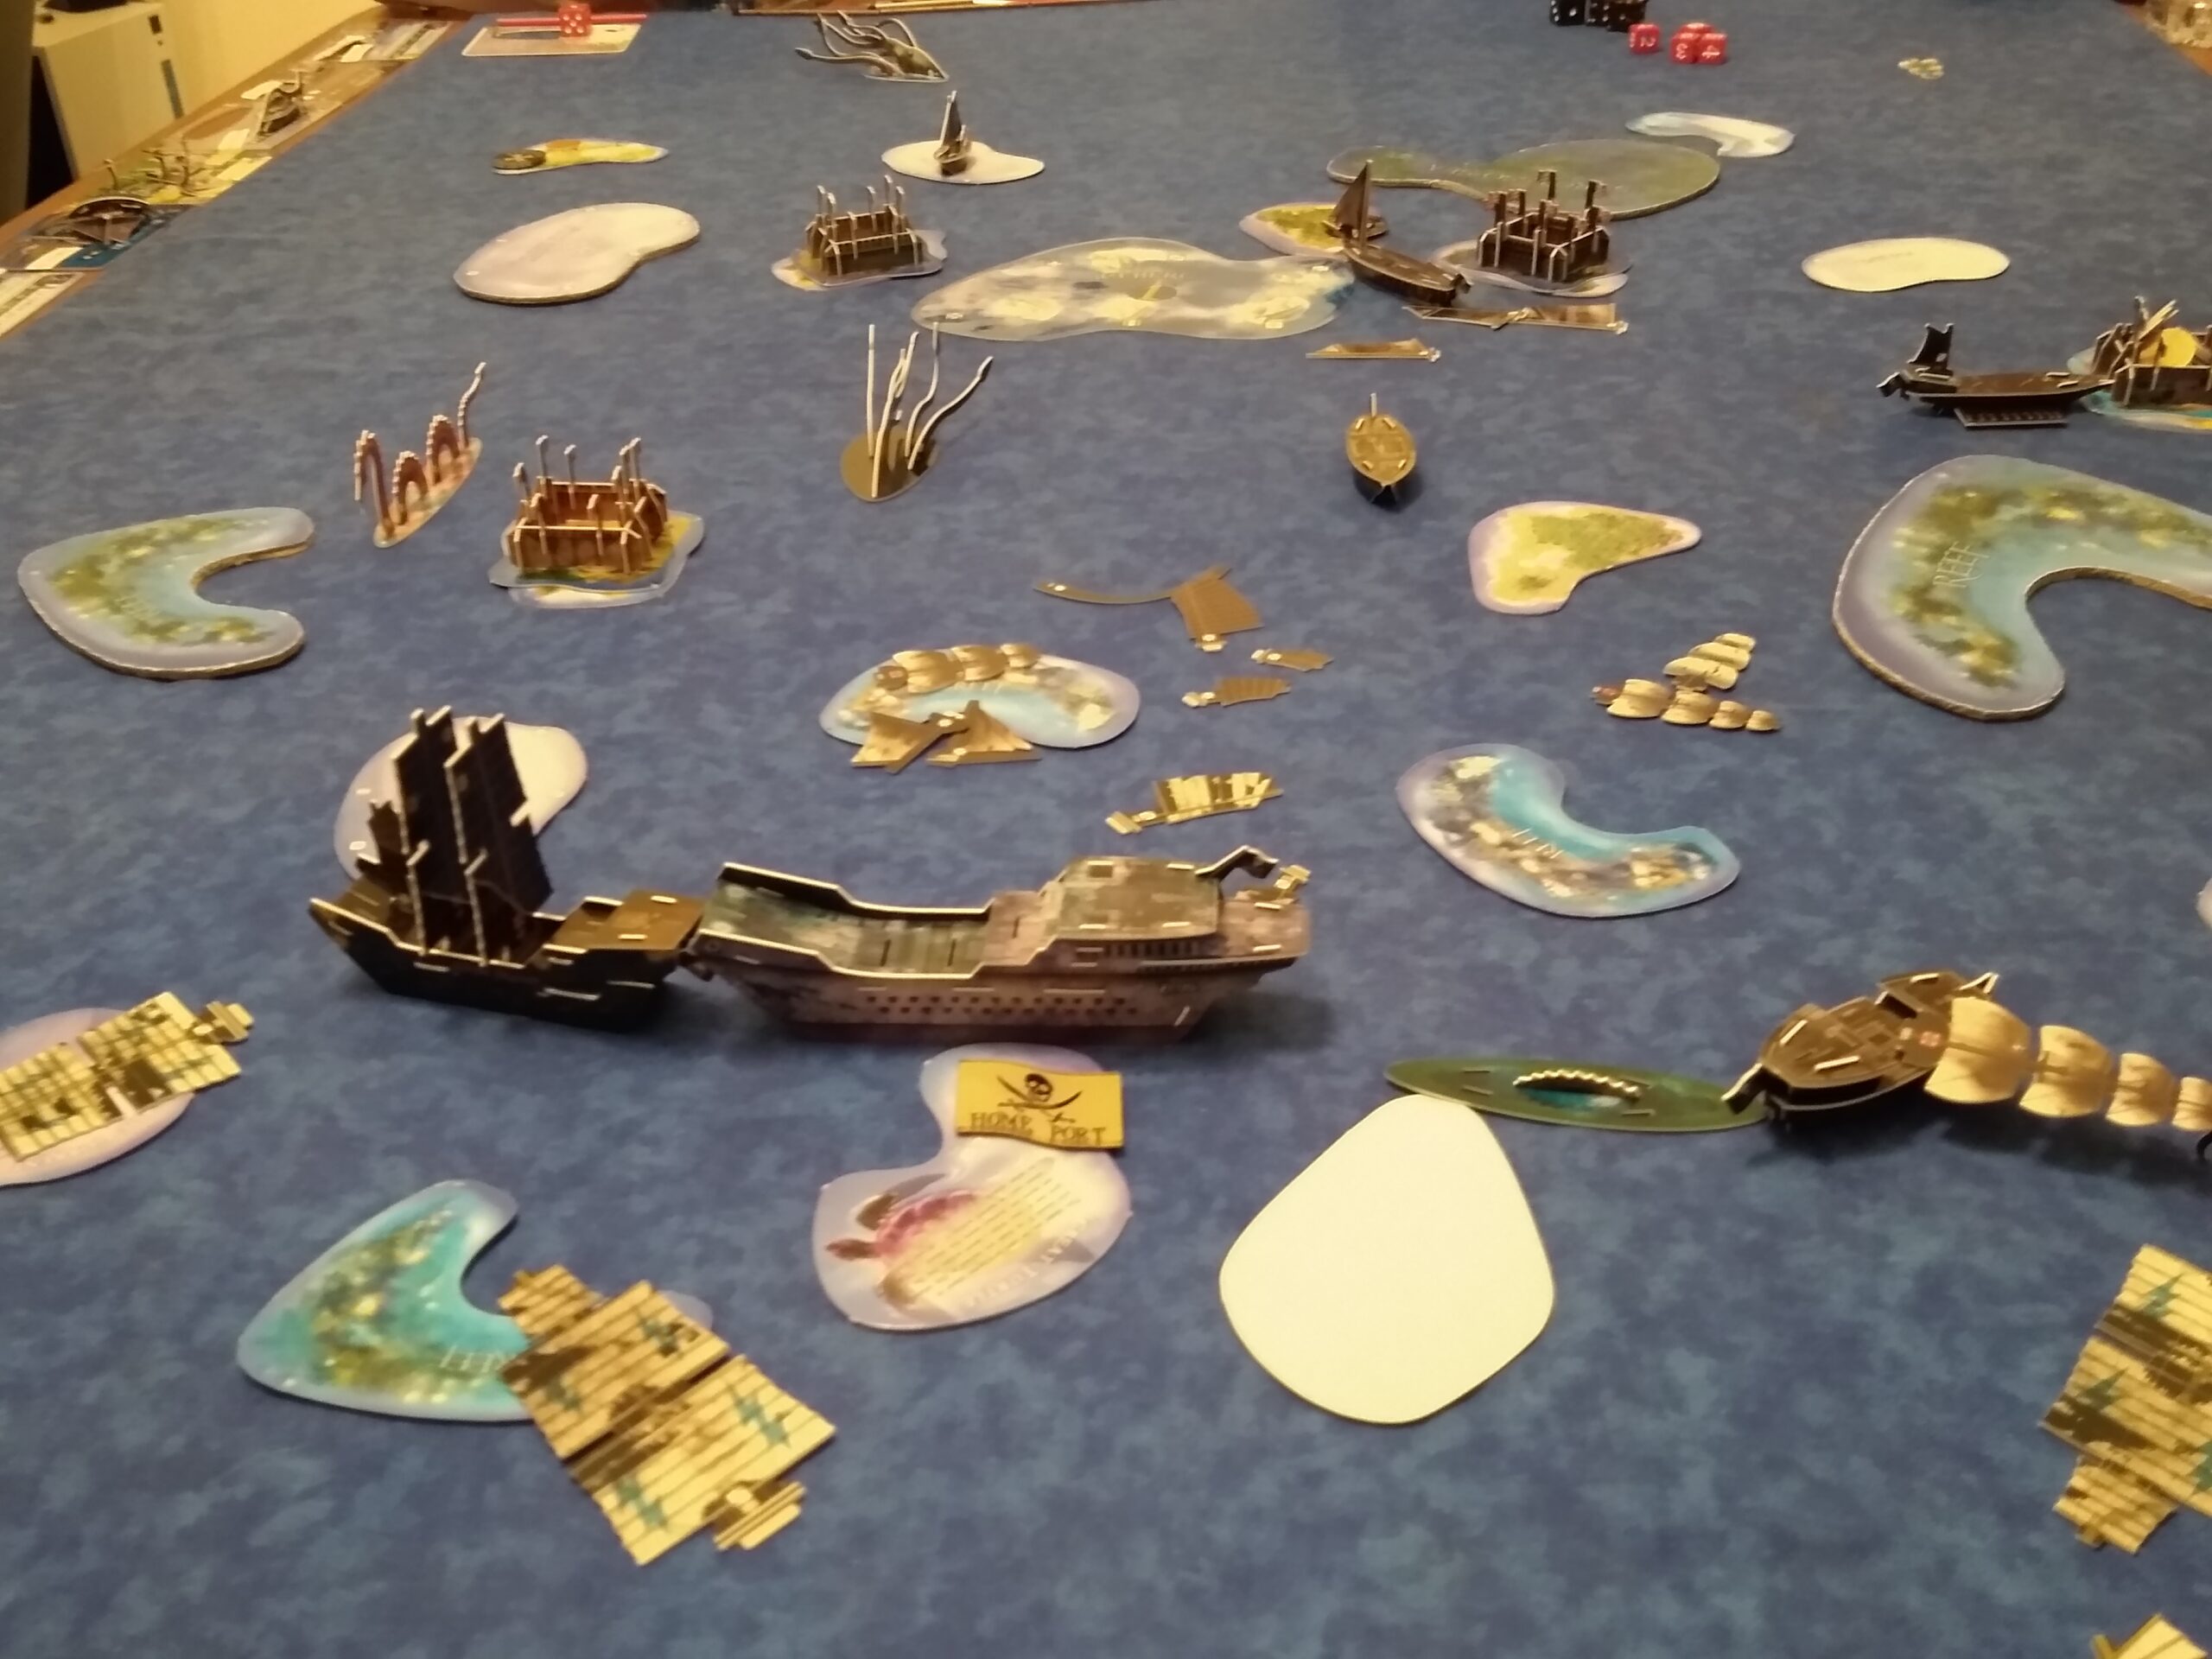
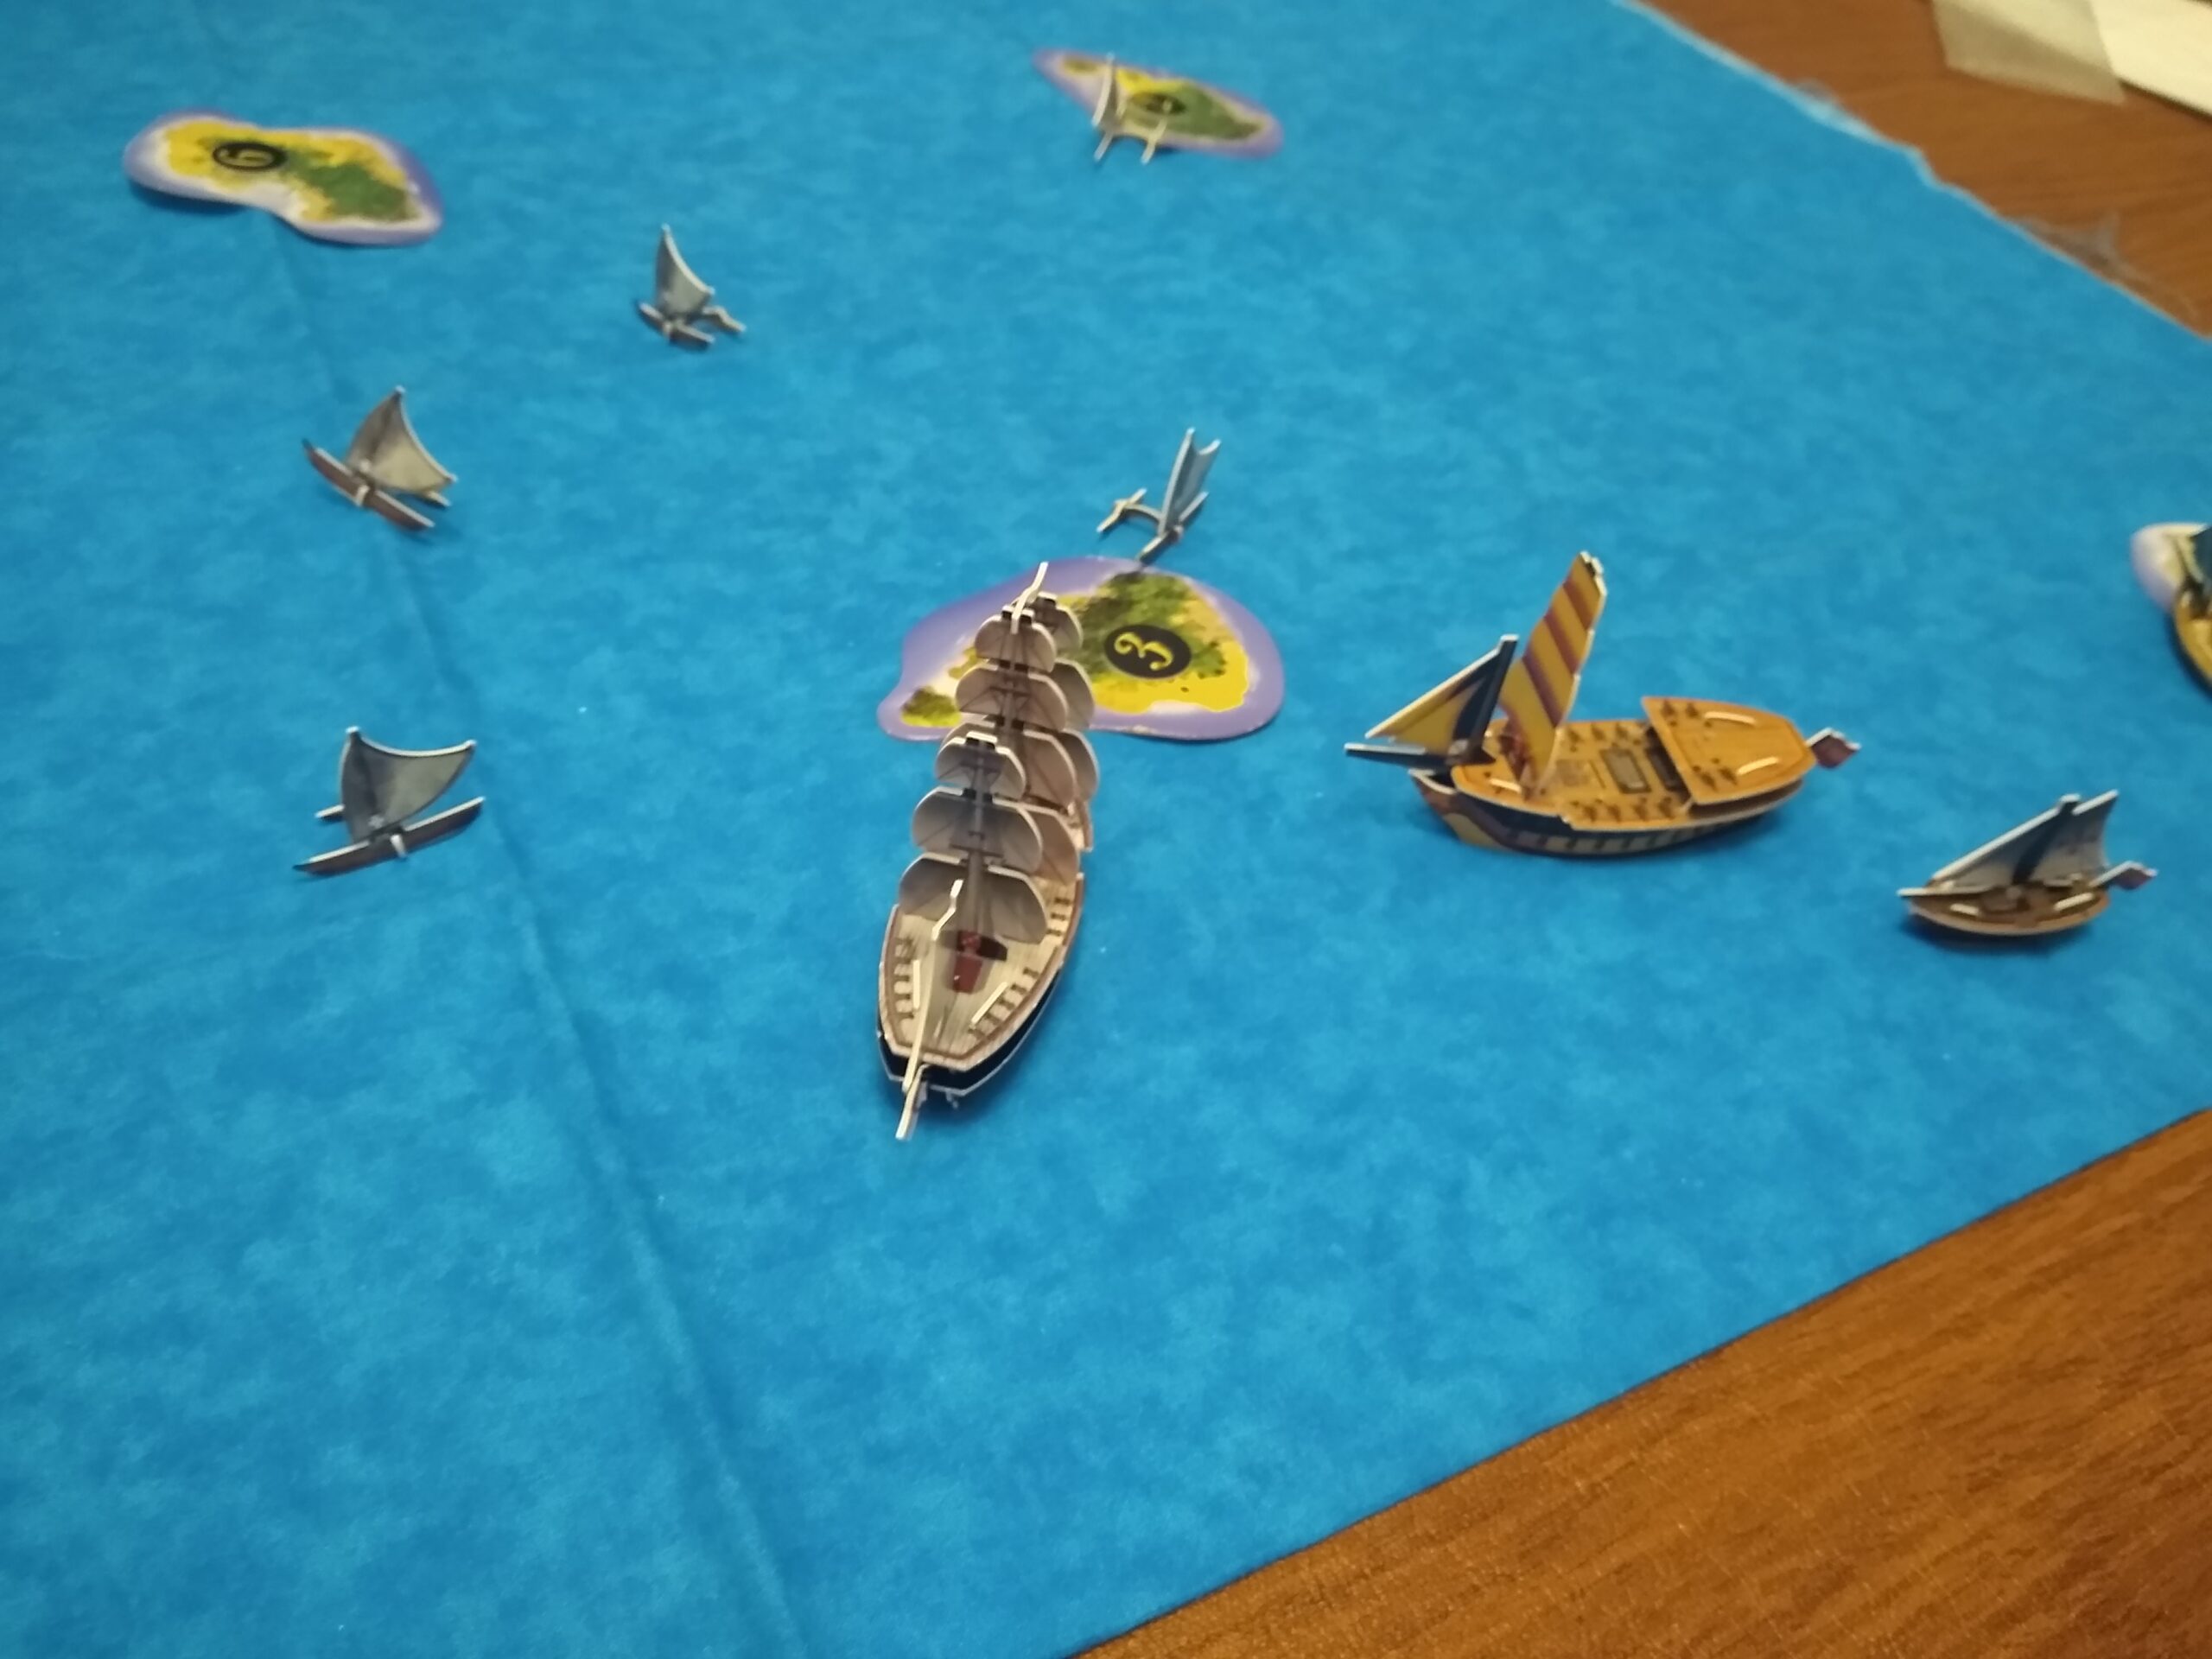
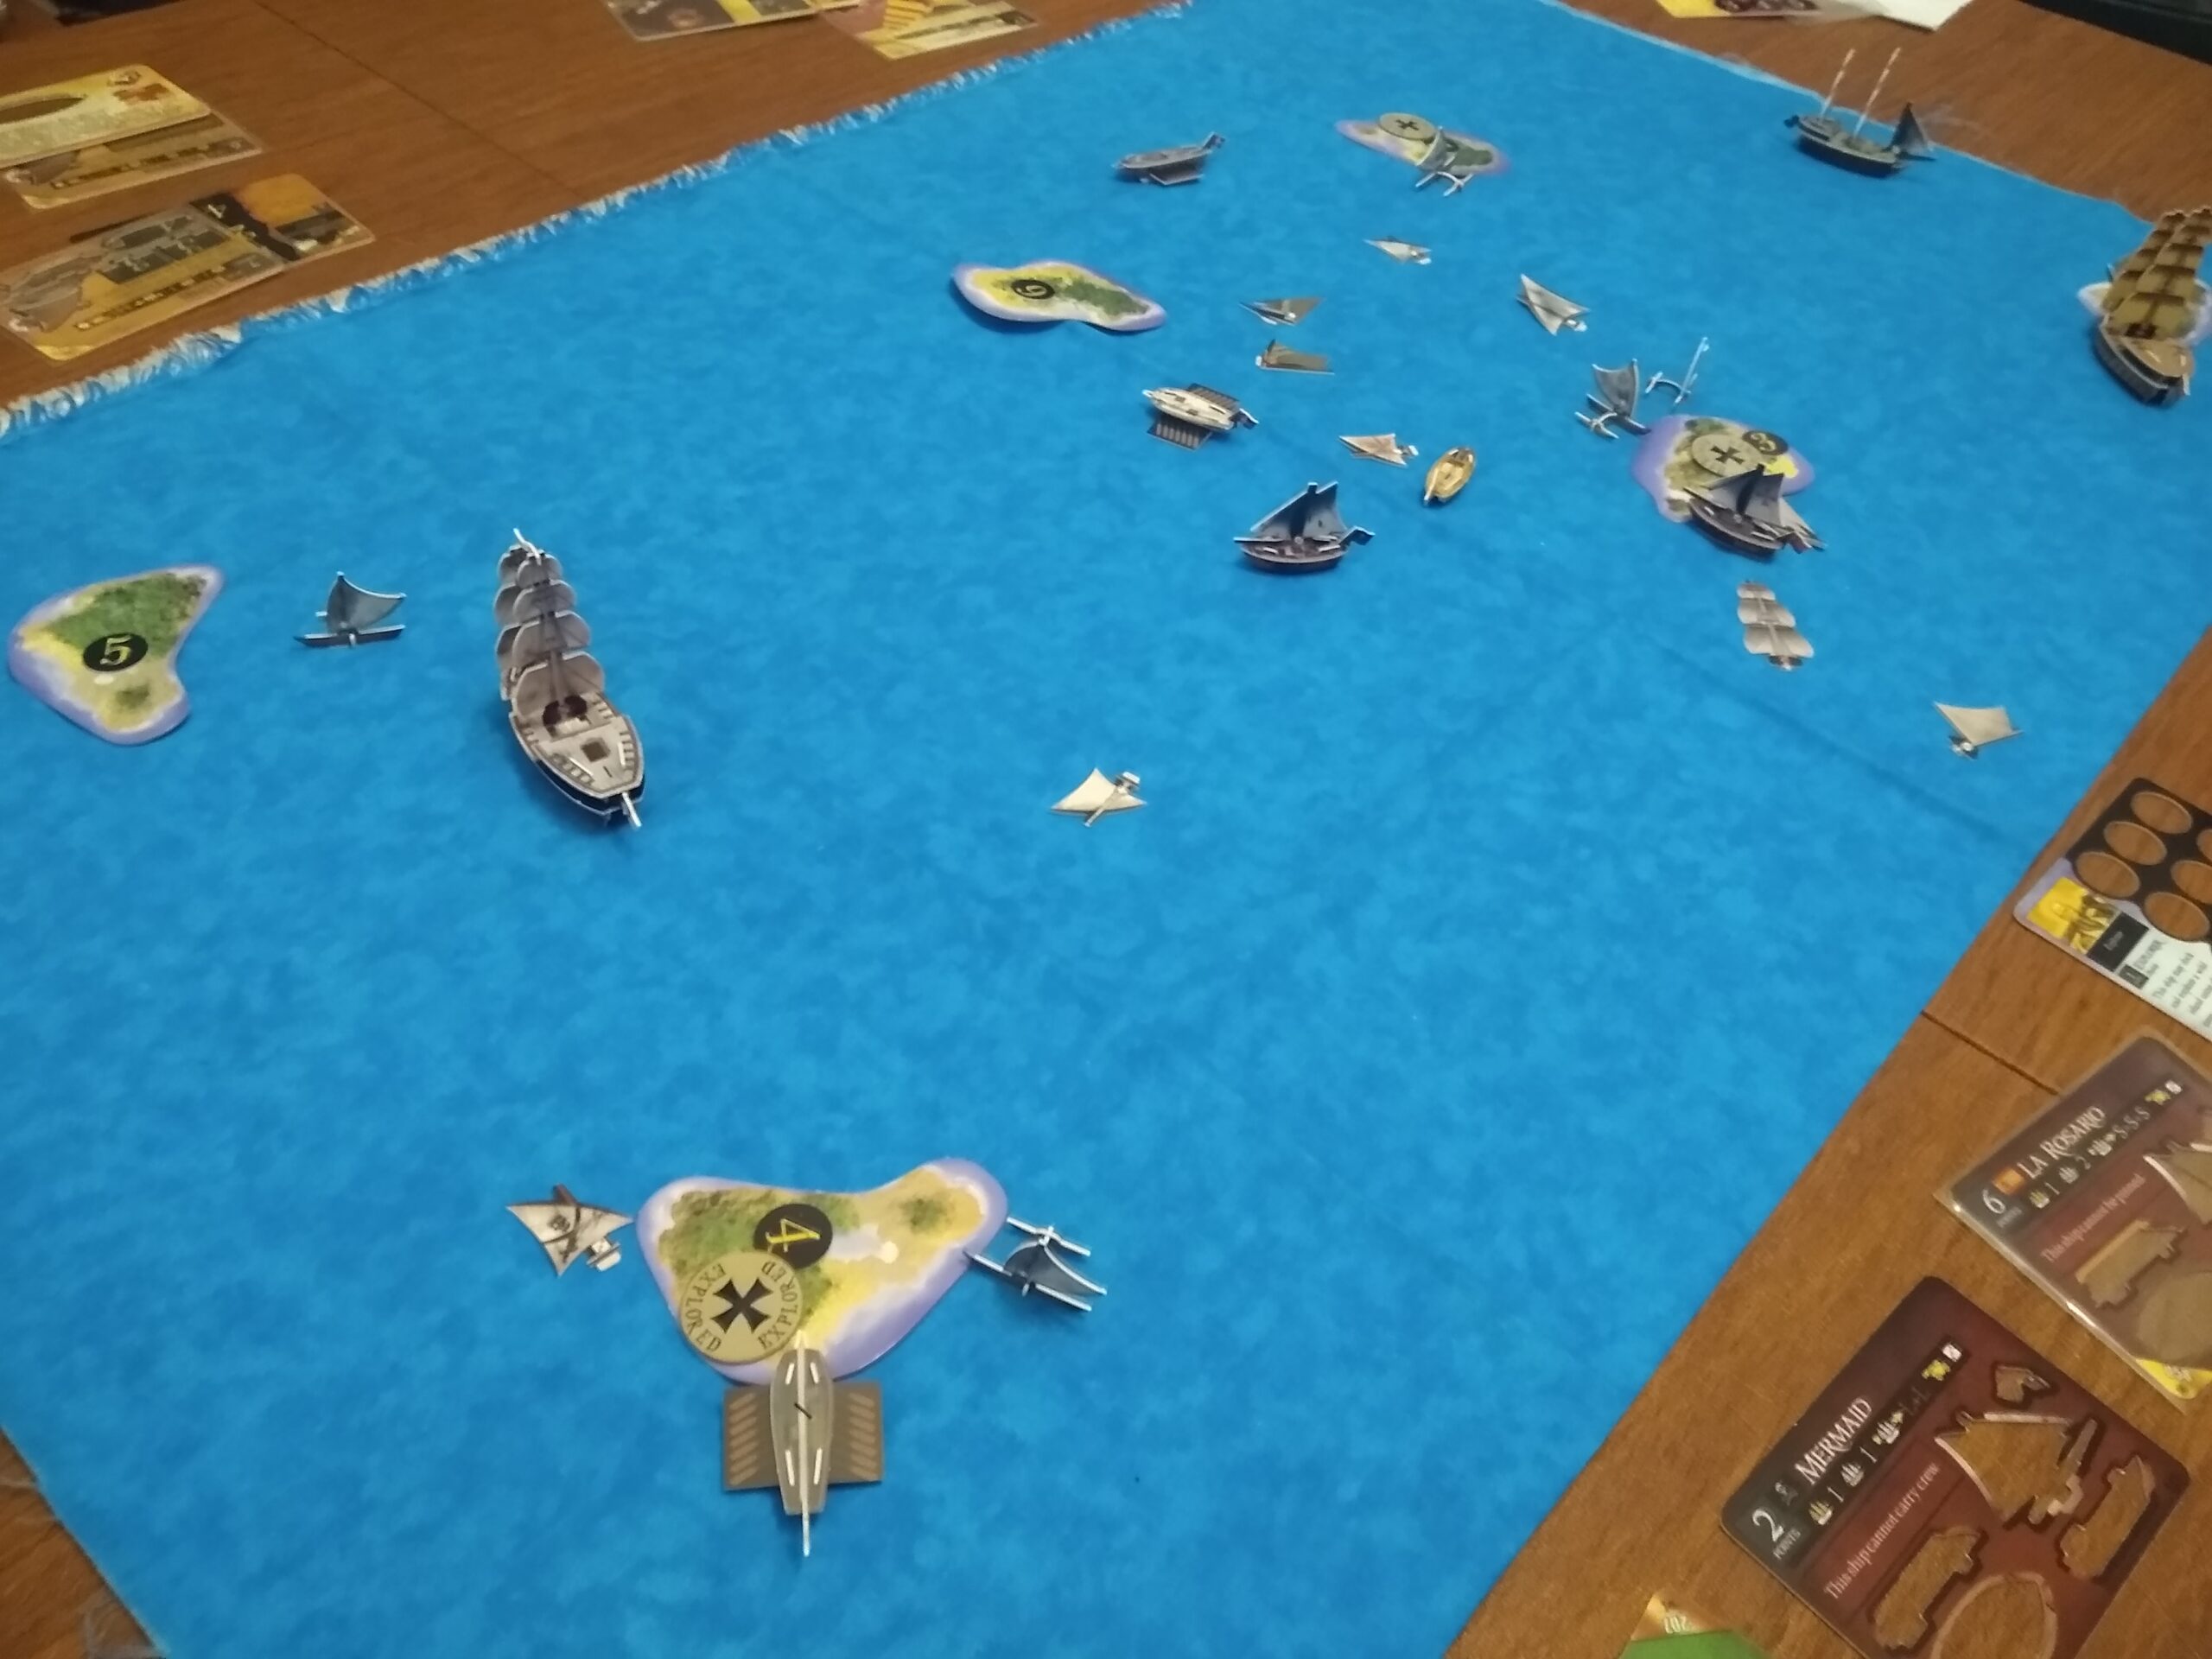
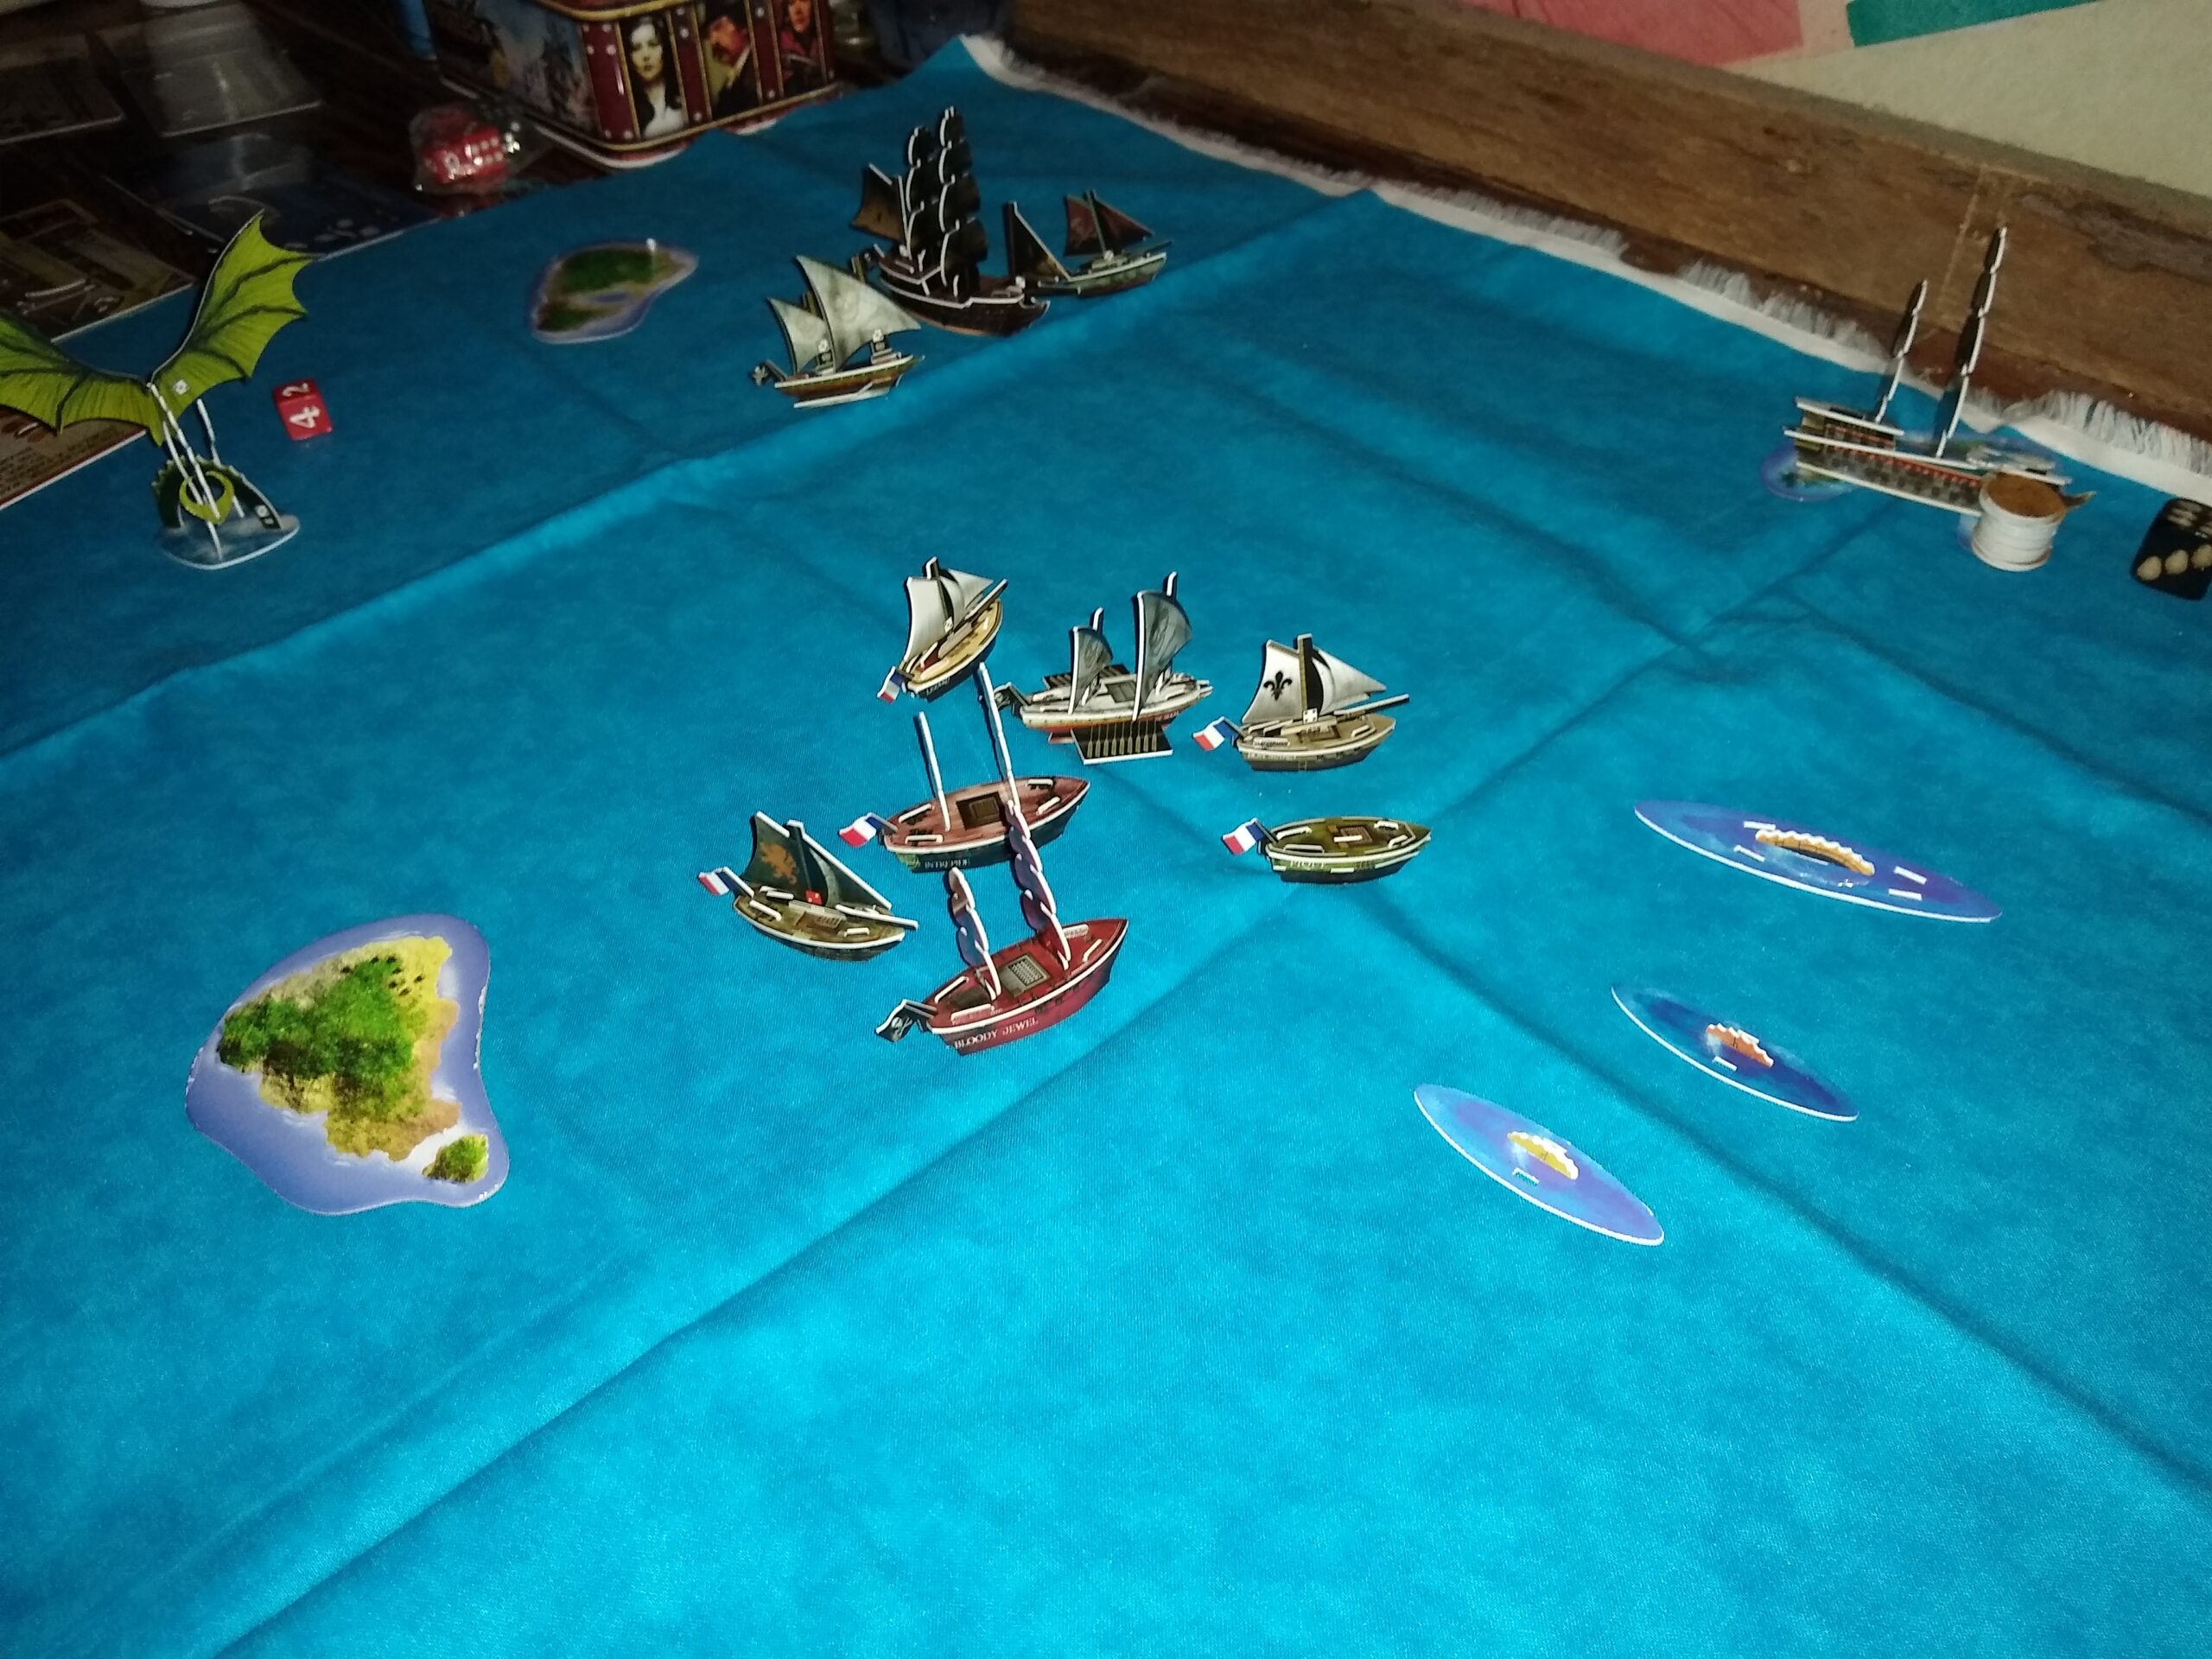
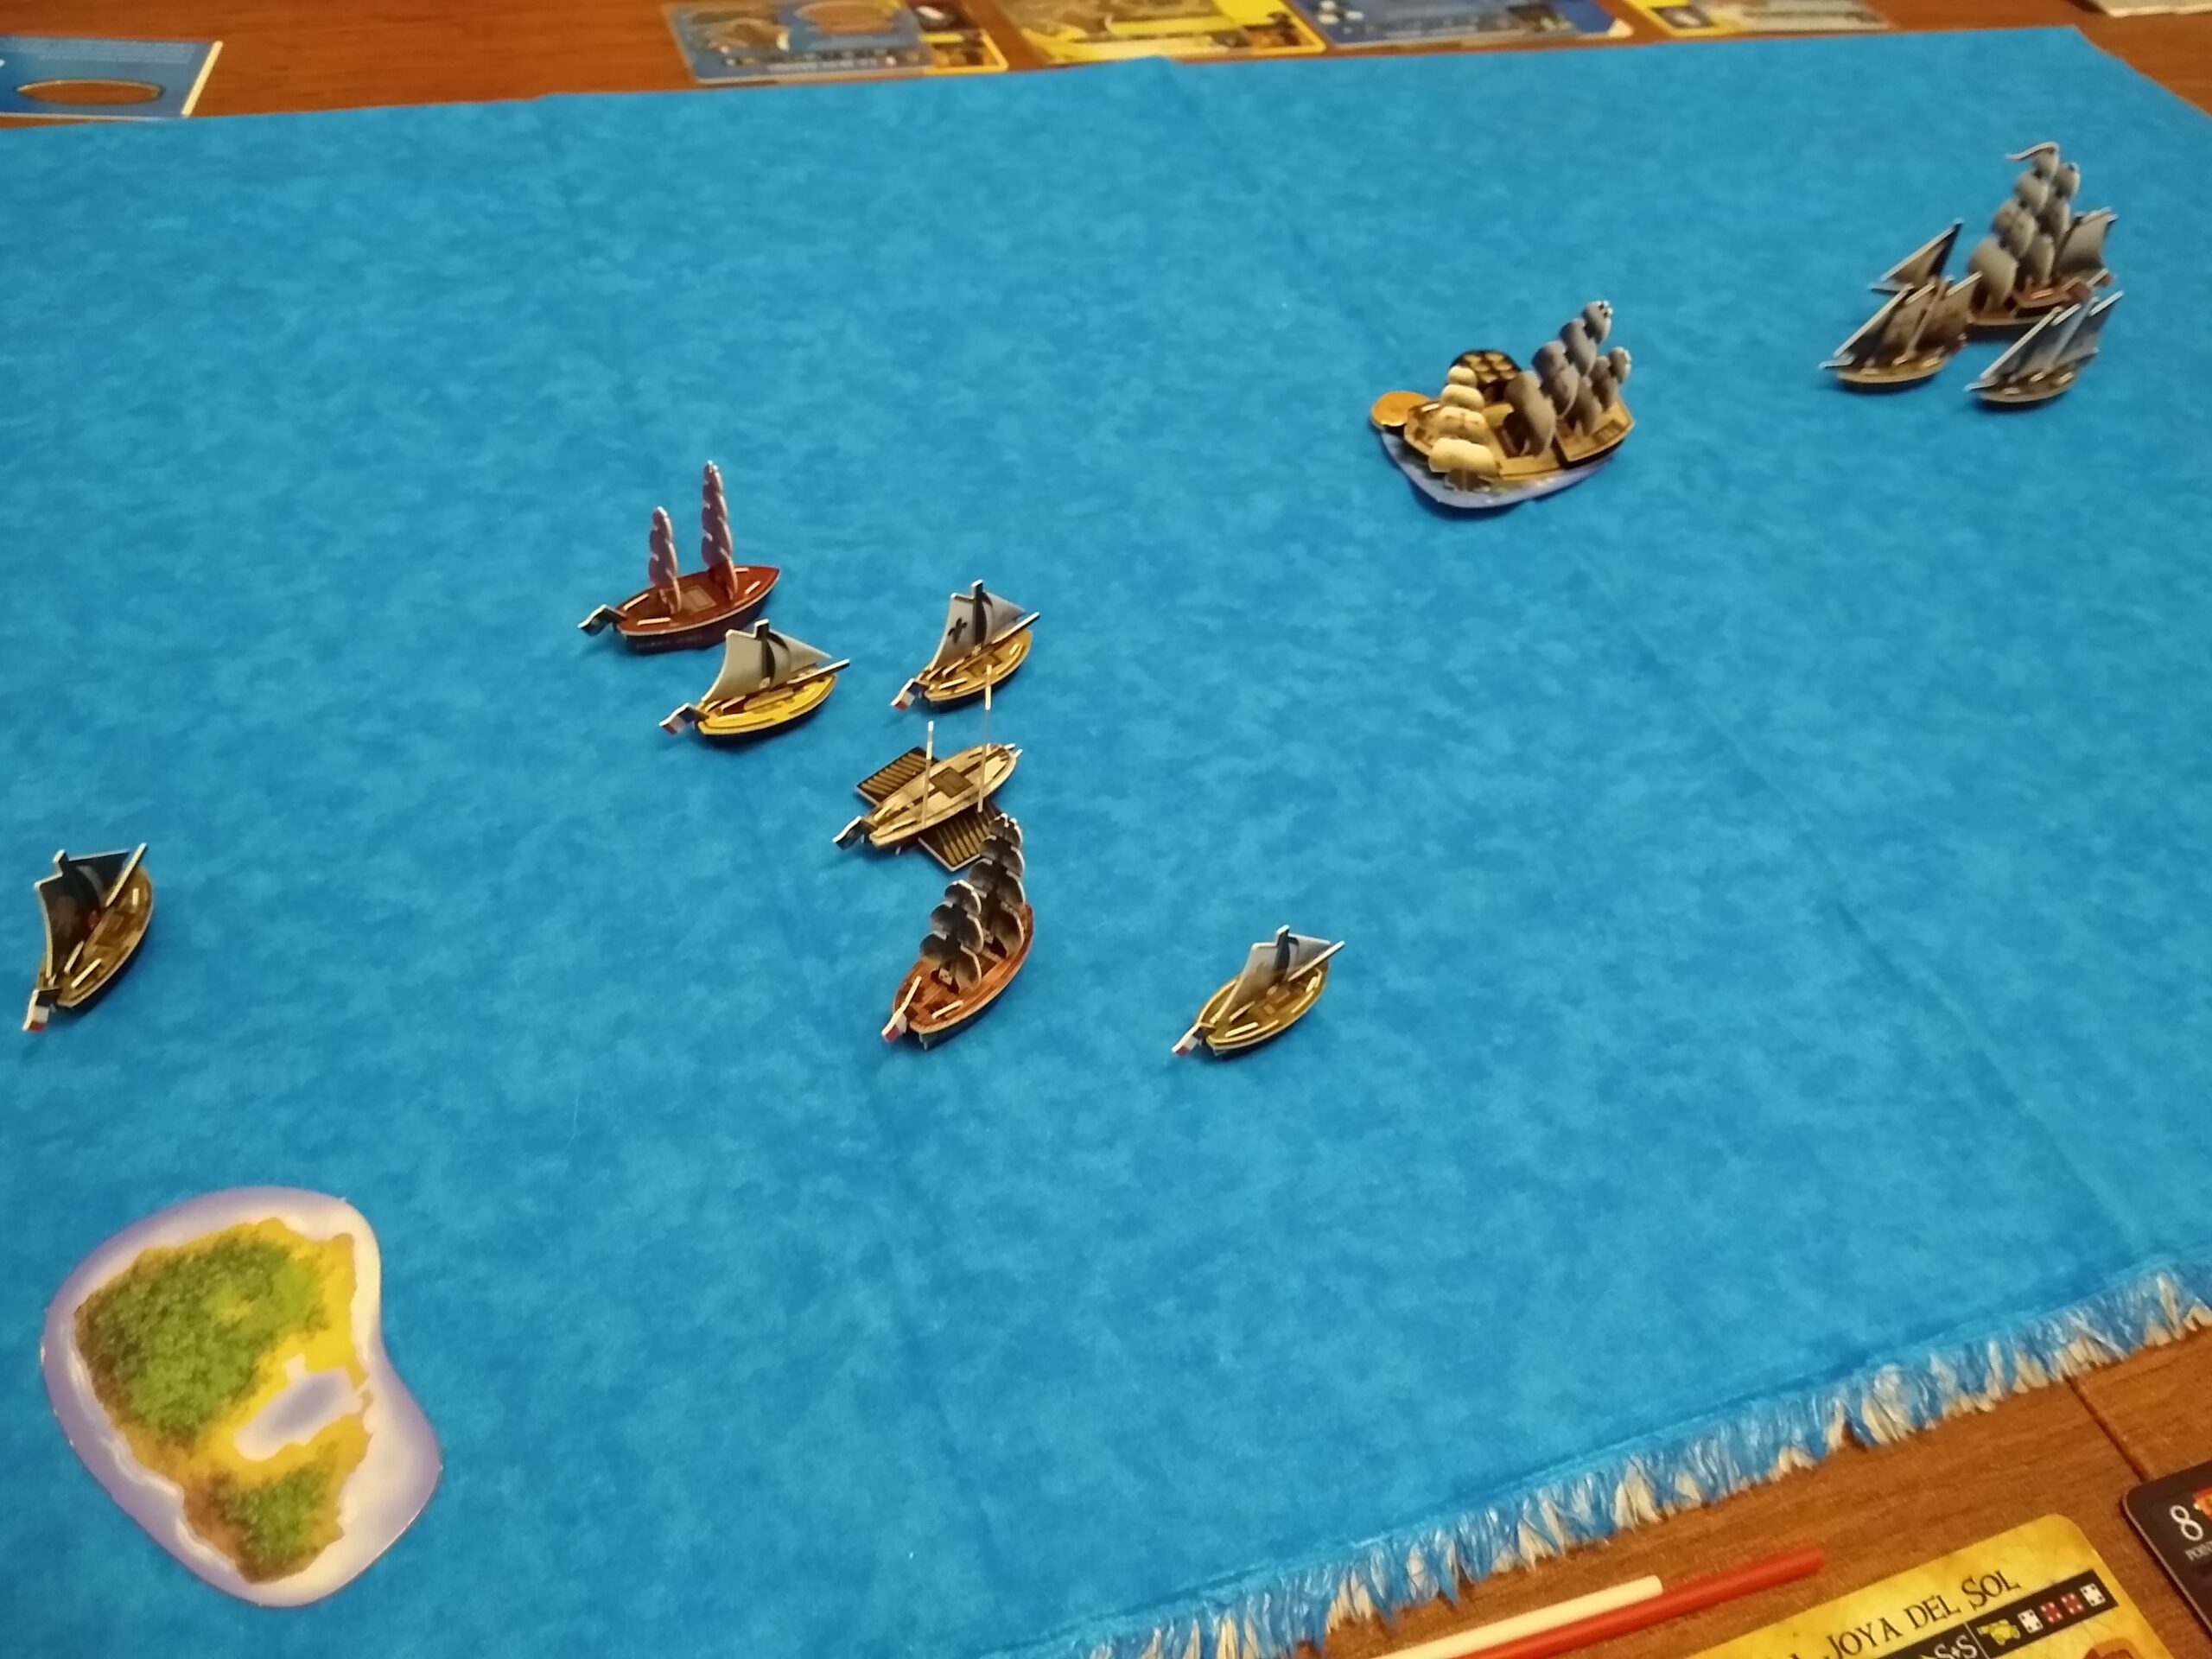
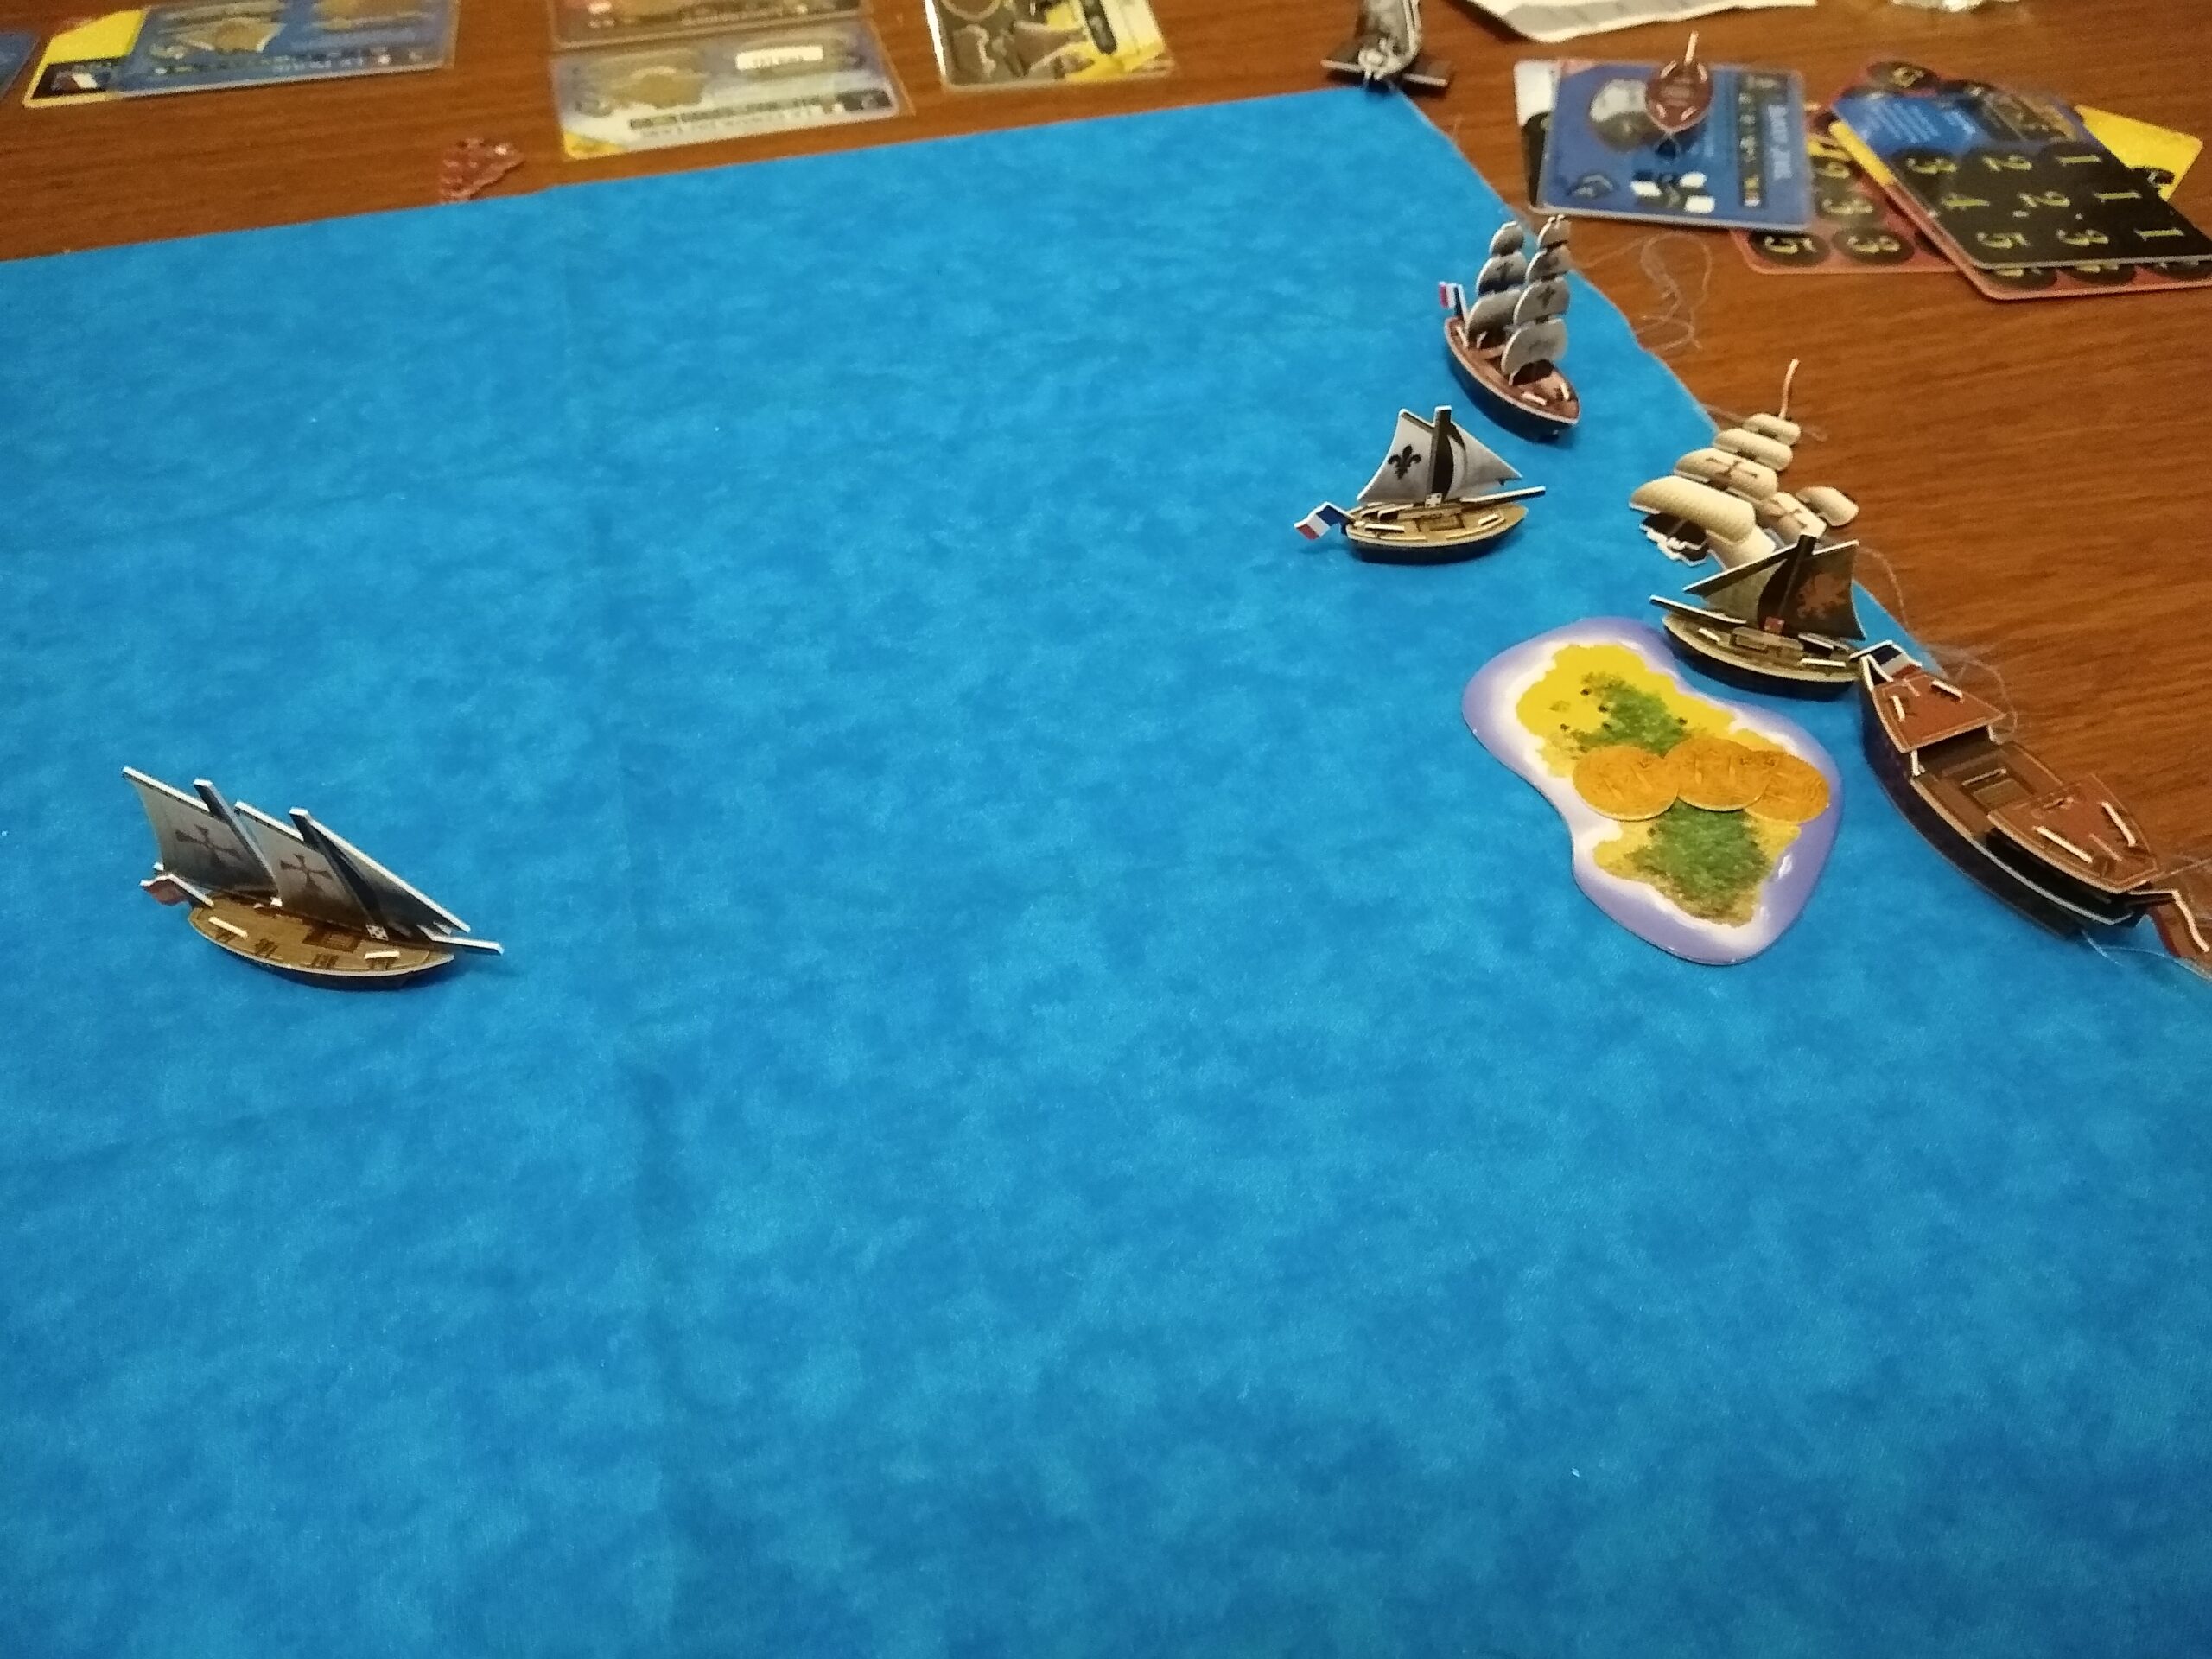
We still used the Seattle house rules for any non-Maelstrom stuff. Here is the setup! (fleets are below)

If you’d prefer to check out parts of the game in video form, here is all the footage I recorded:
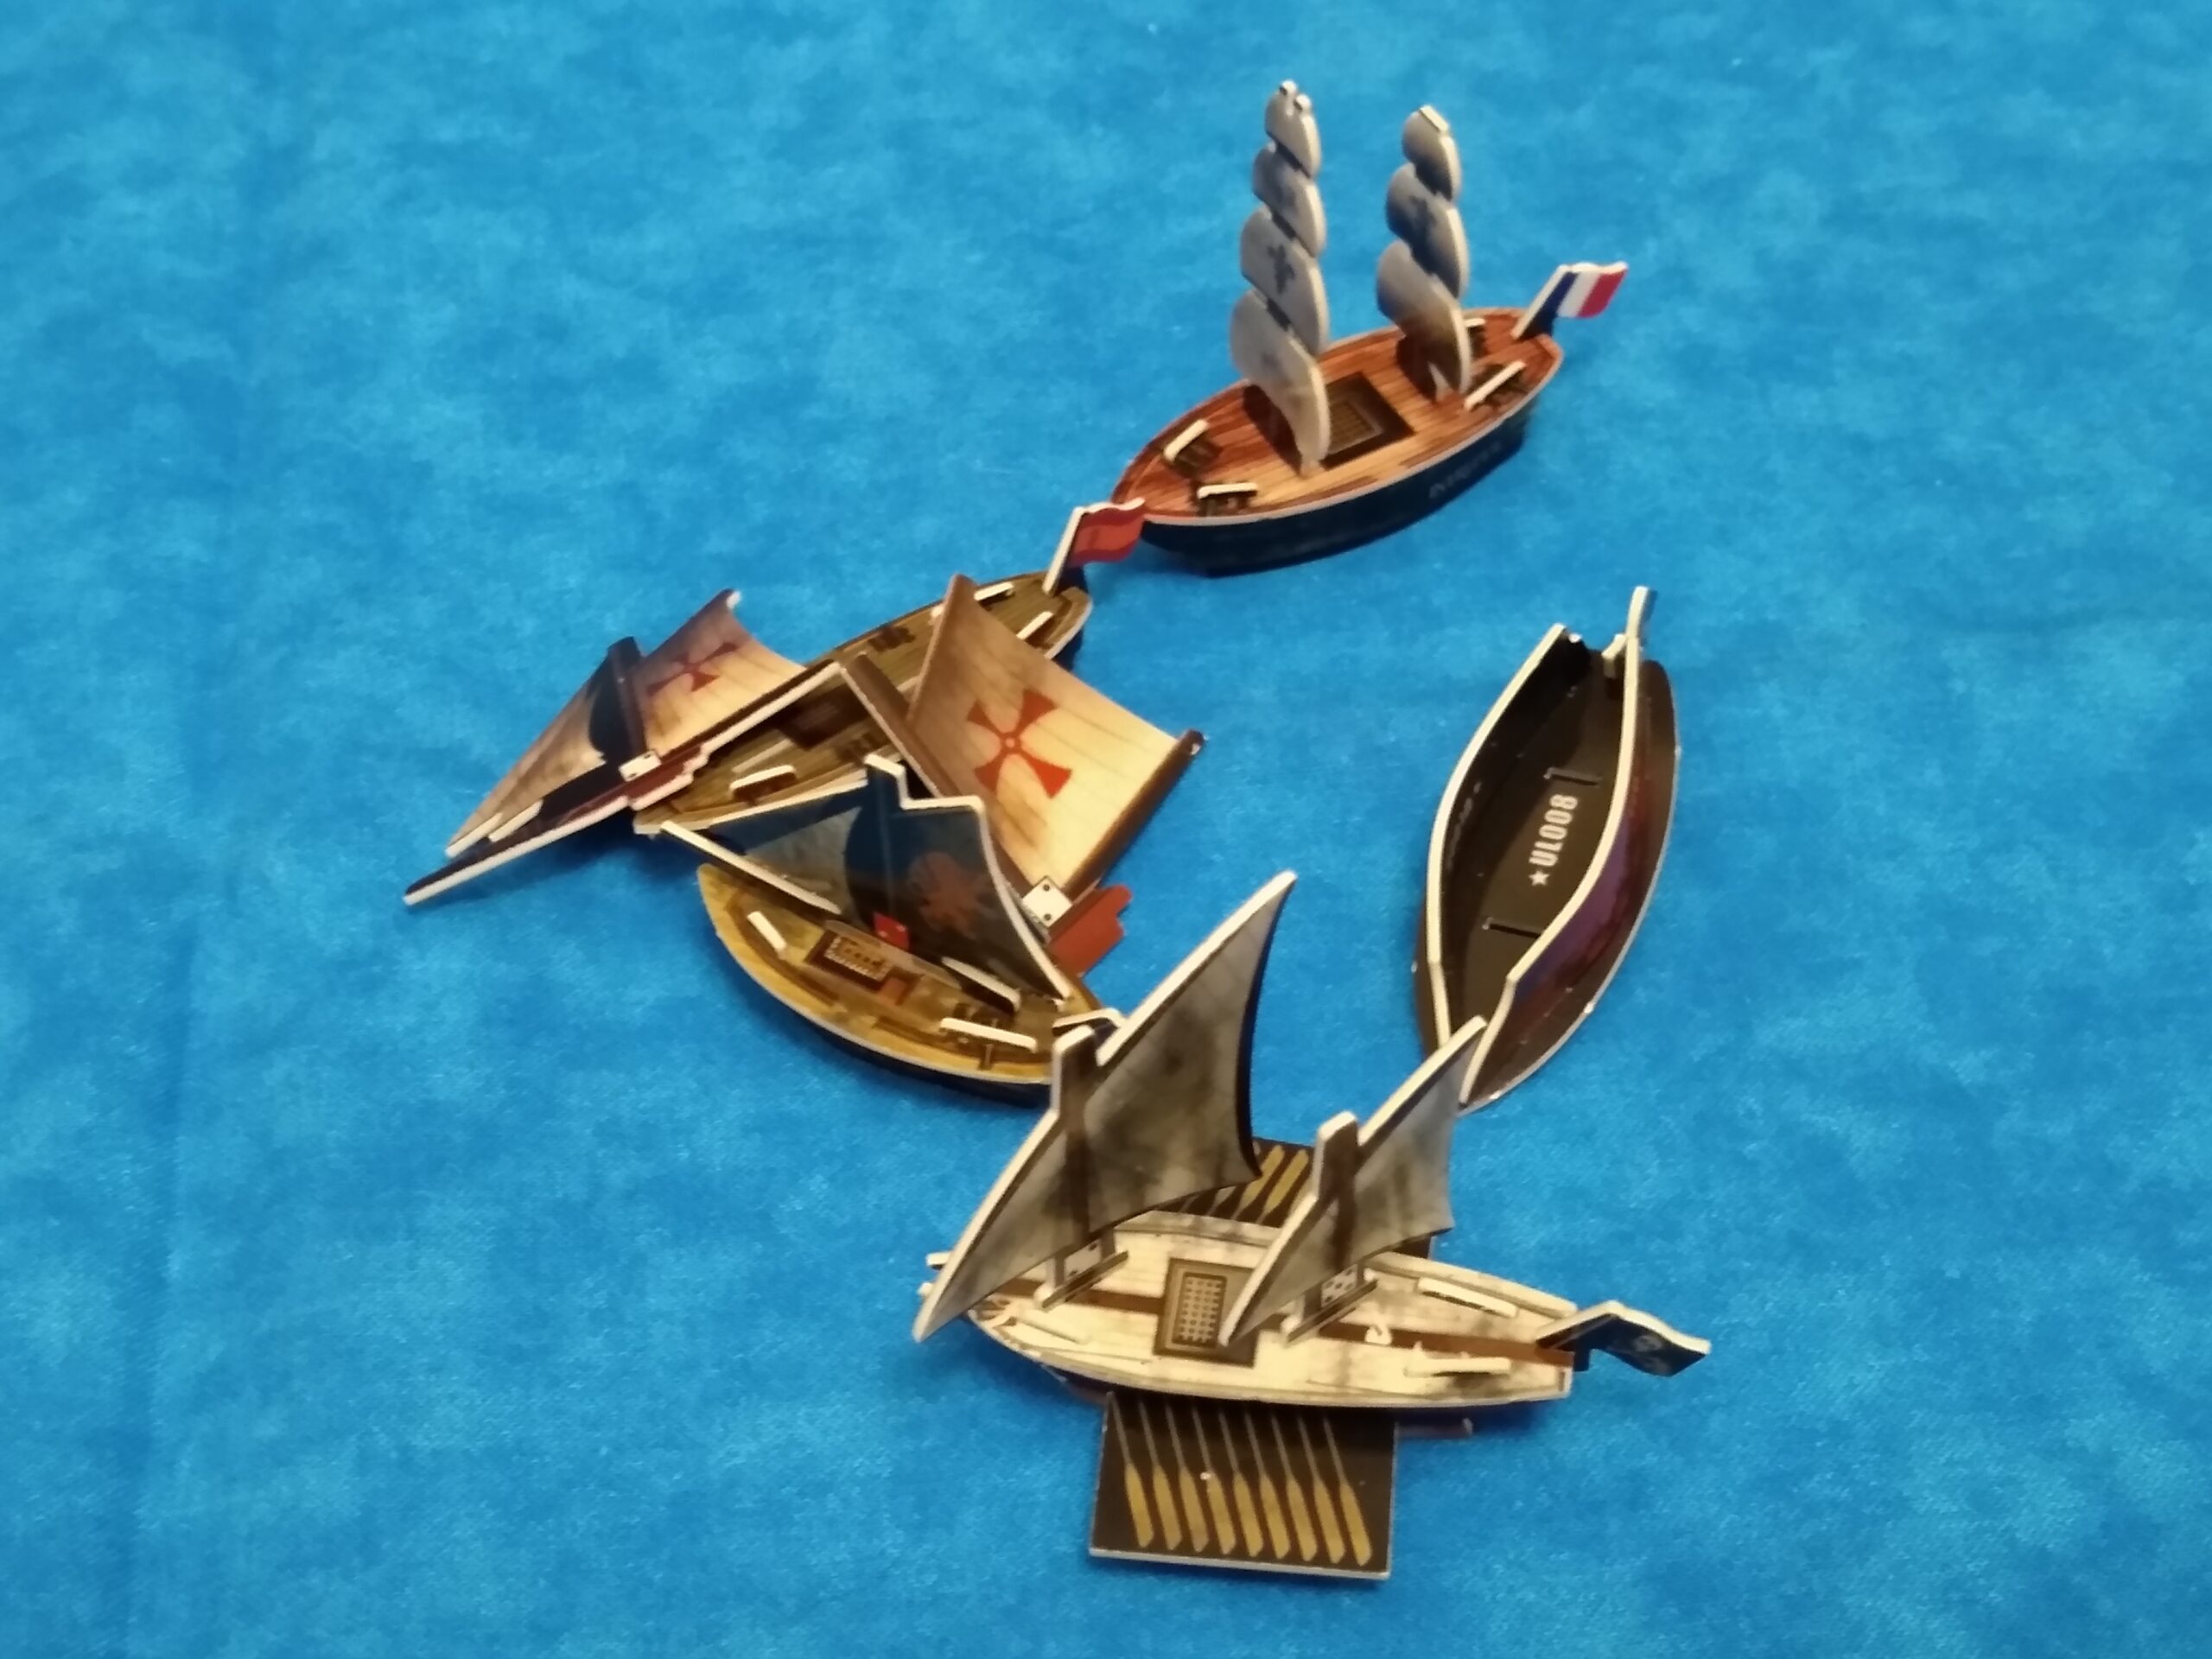
Here is a quick peek at the fleets in play order – all game pieces found in the Master Spreadsheet.
Xerecs was using Le Gaule, Longshanks+Calypso, and HMS Cordwainer (unreleased ship)+Lord Mycron.

Kyle went all English, with HMS Oxford, HMS Durham (FN), and HMS Granville among his ranks.

I felt it had been a while since I used a fleet with only minor factions in it, so I went with a relatively basic Corsair Mercenary fleet (alternatively called Barbary Mercs/etc).
Wicked Kareen + captain, helmsman (15)
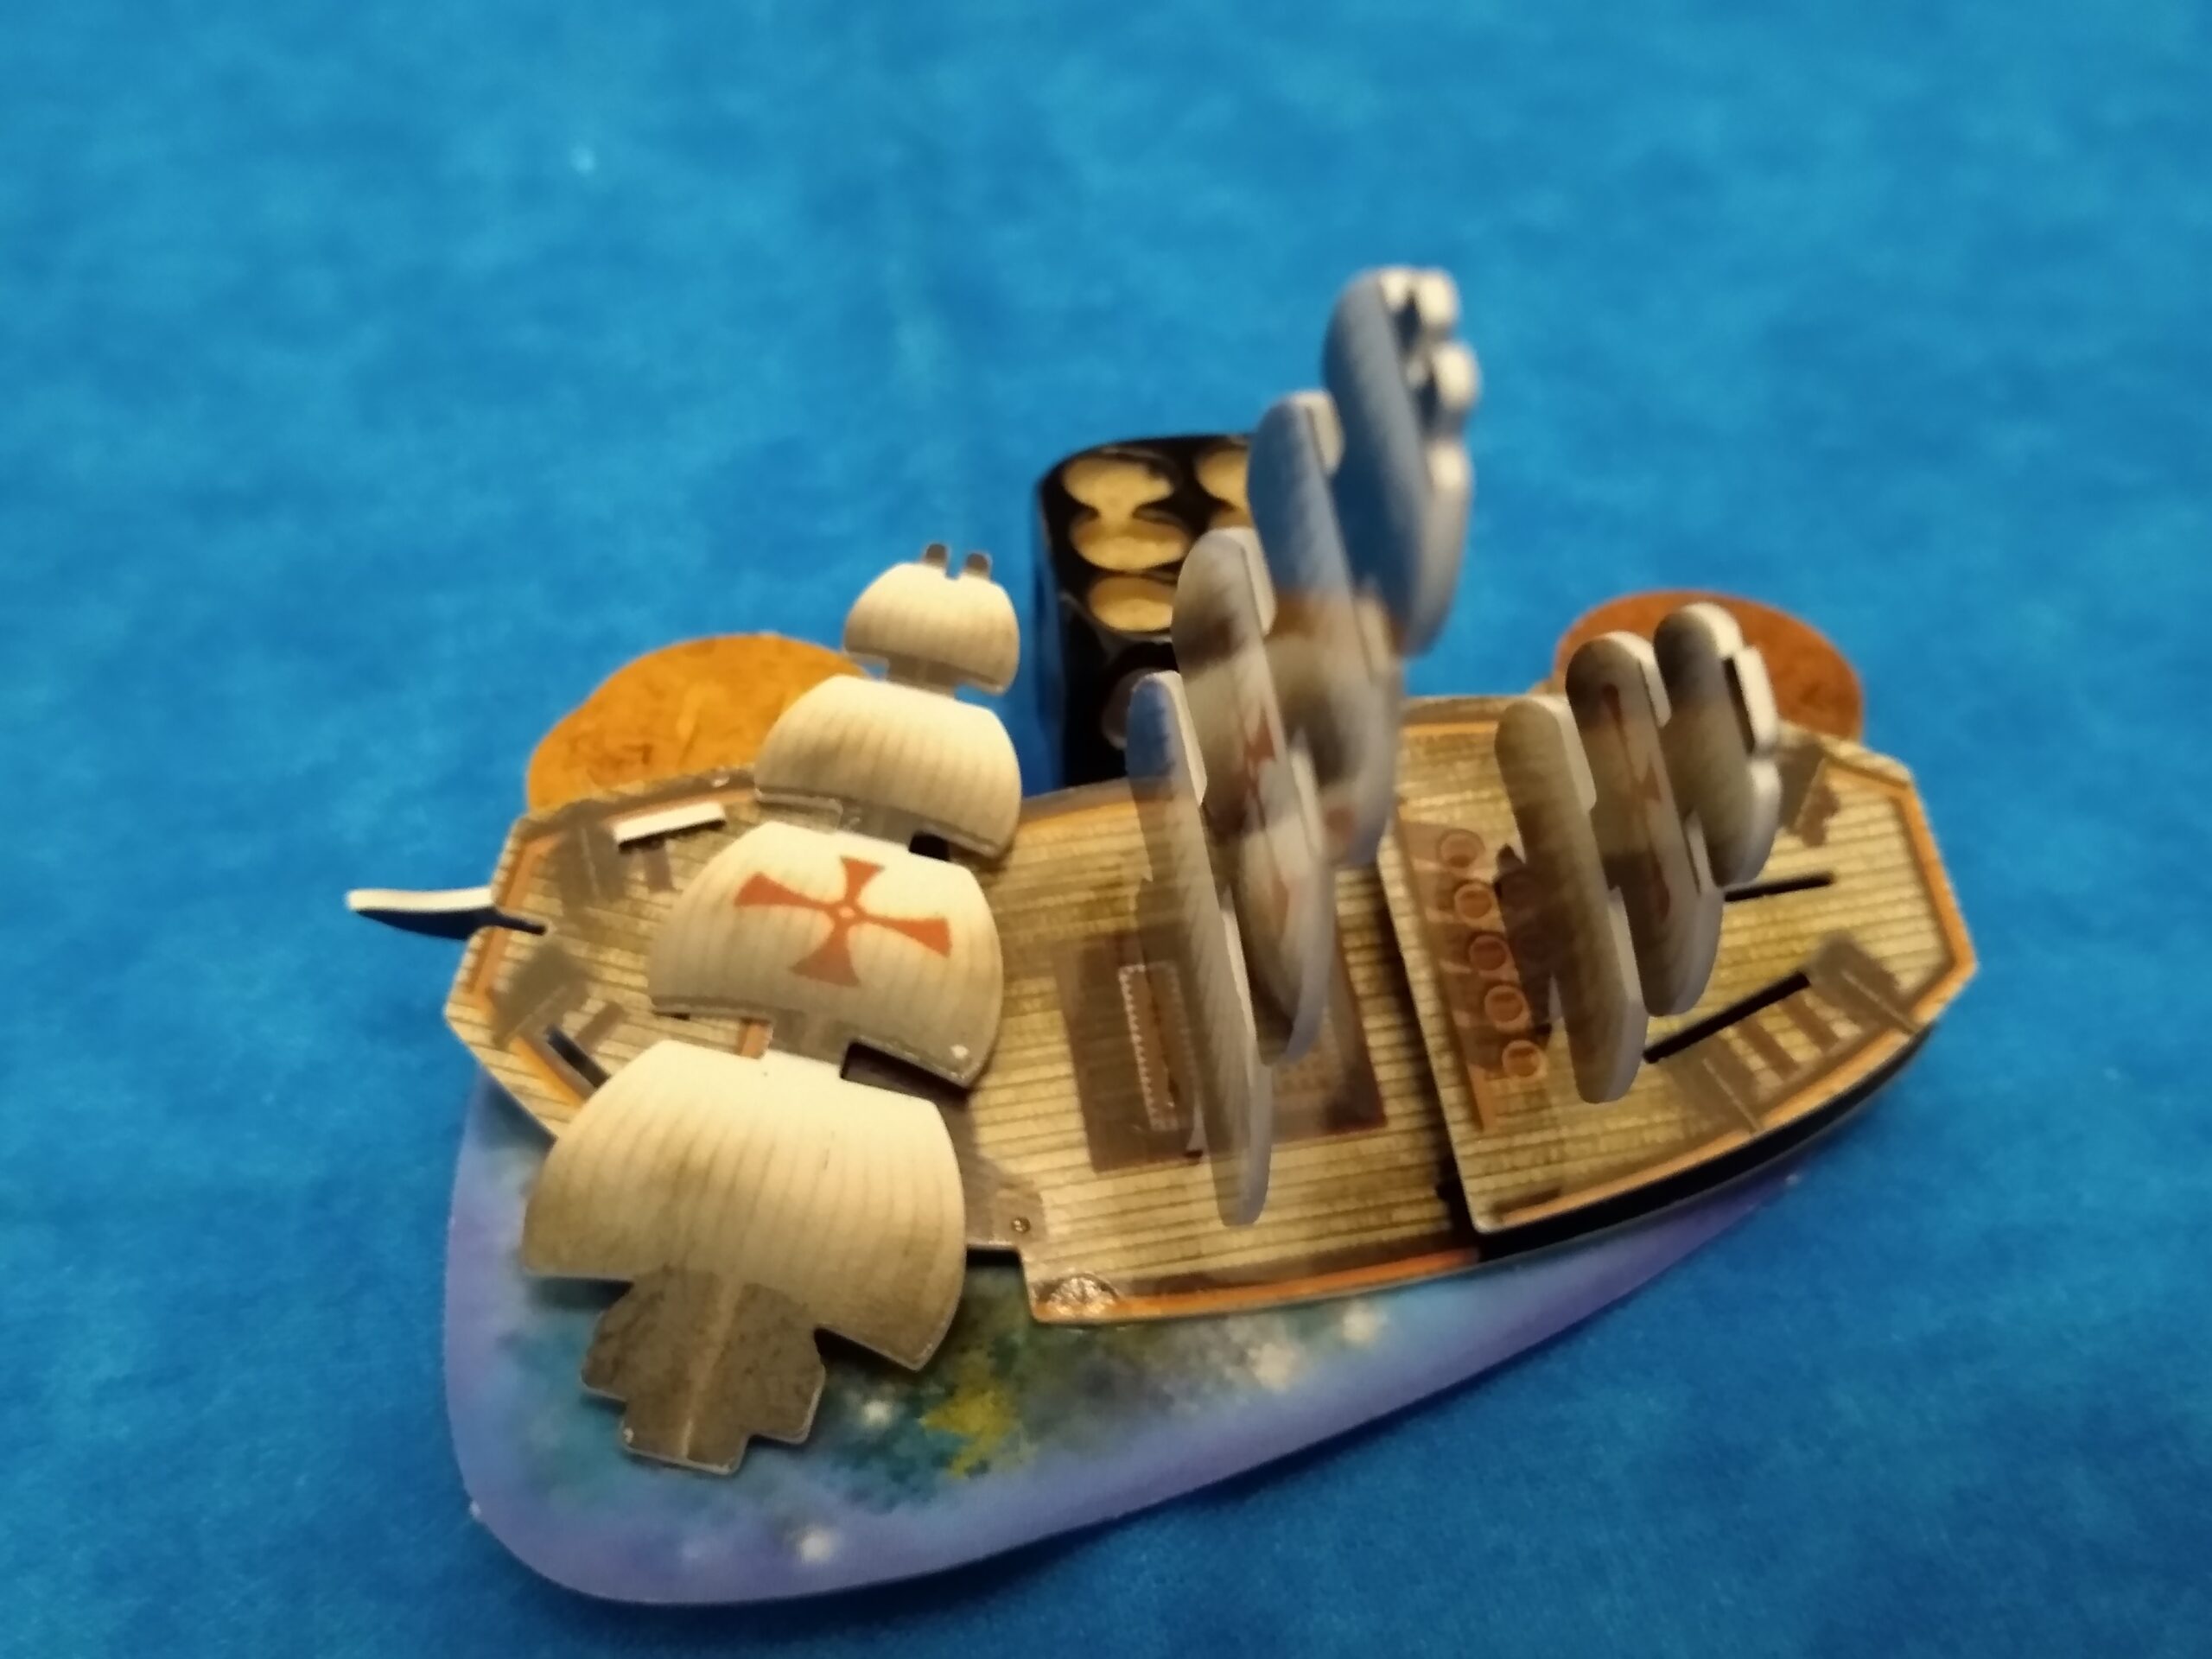
Queen of Sheba + captain, helmsman, explorer (12)
Tasmanian Devil + captain, helmsman, fire shot (20) (should not have had fire shot due to only 2 cargo)
Shaihulud (13)

Luke had the Americans, bringing the Intrepid, Carolina towing Minuteman, and Rattlesnake.

After Xerecs passed giving actions on his first turn, the counterclockwise movement of fleets began. My Queen of Sheba and Wicked Kareen explored on the first turn, loading up a bunch of valuable gold.

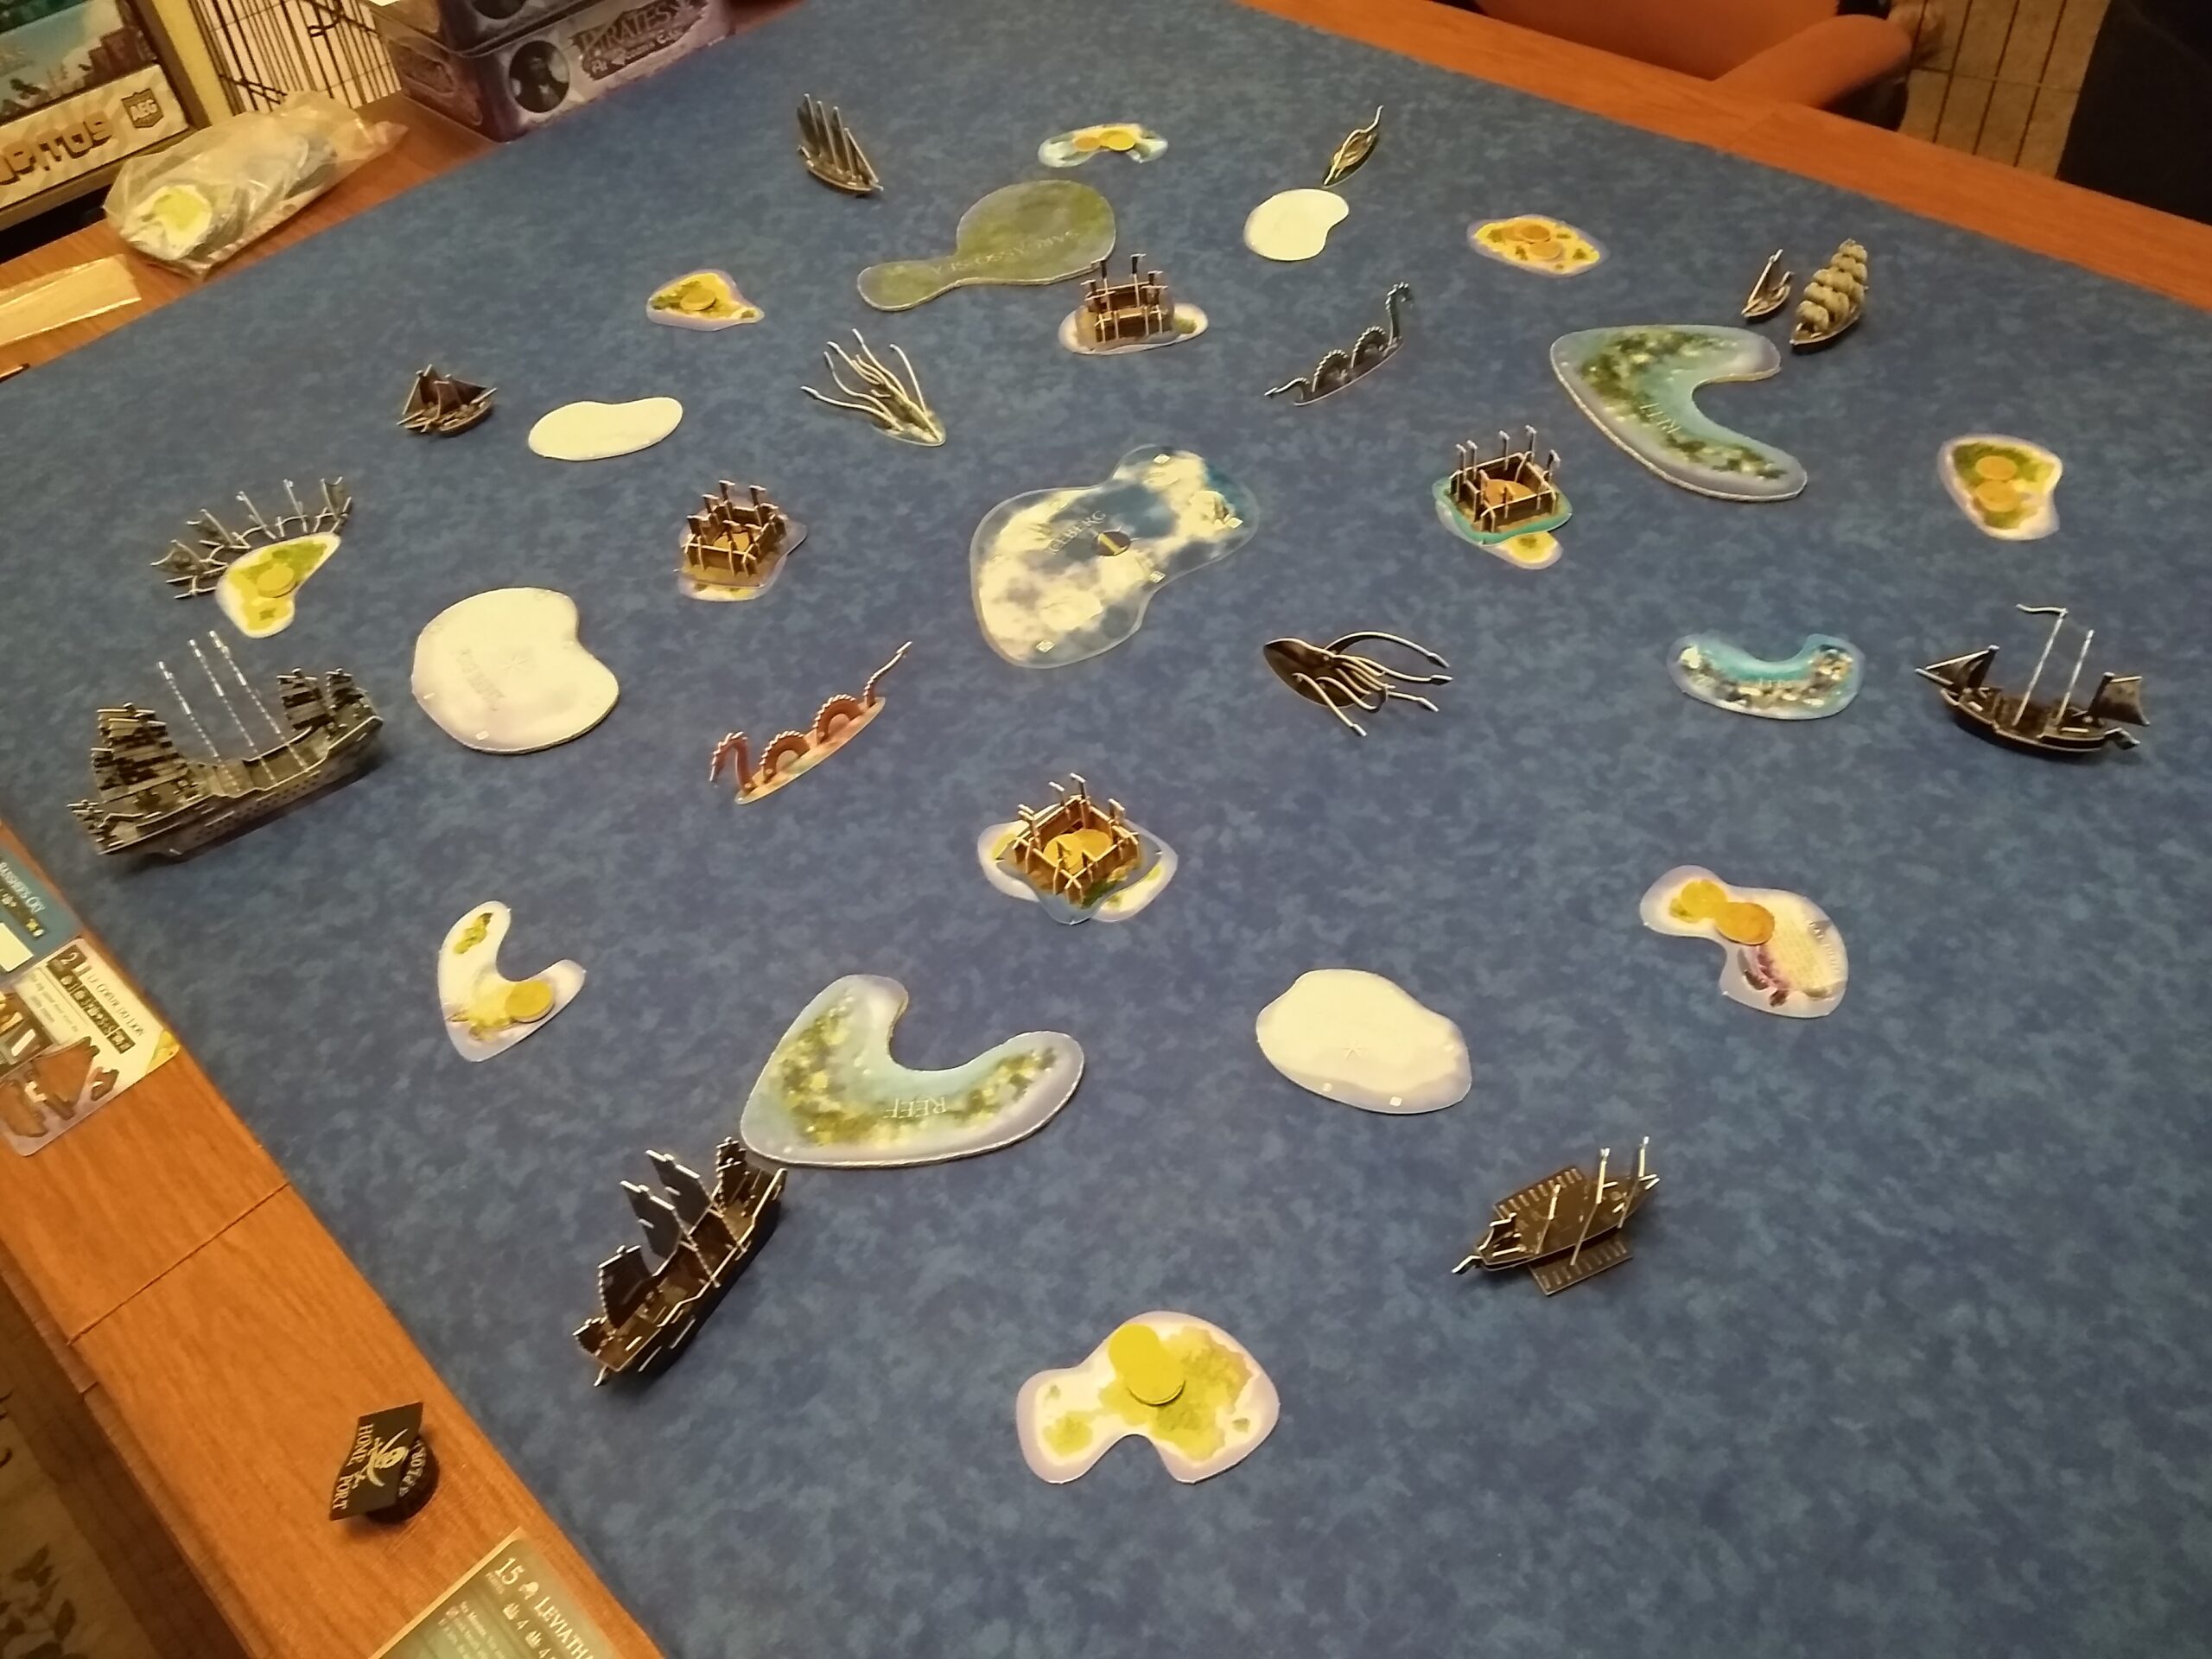
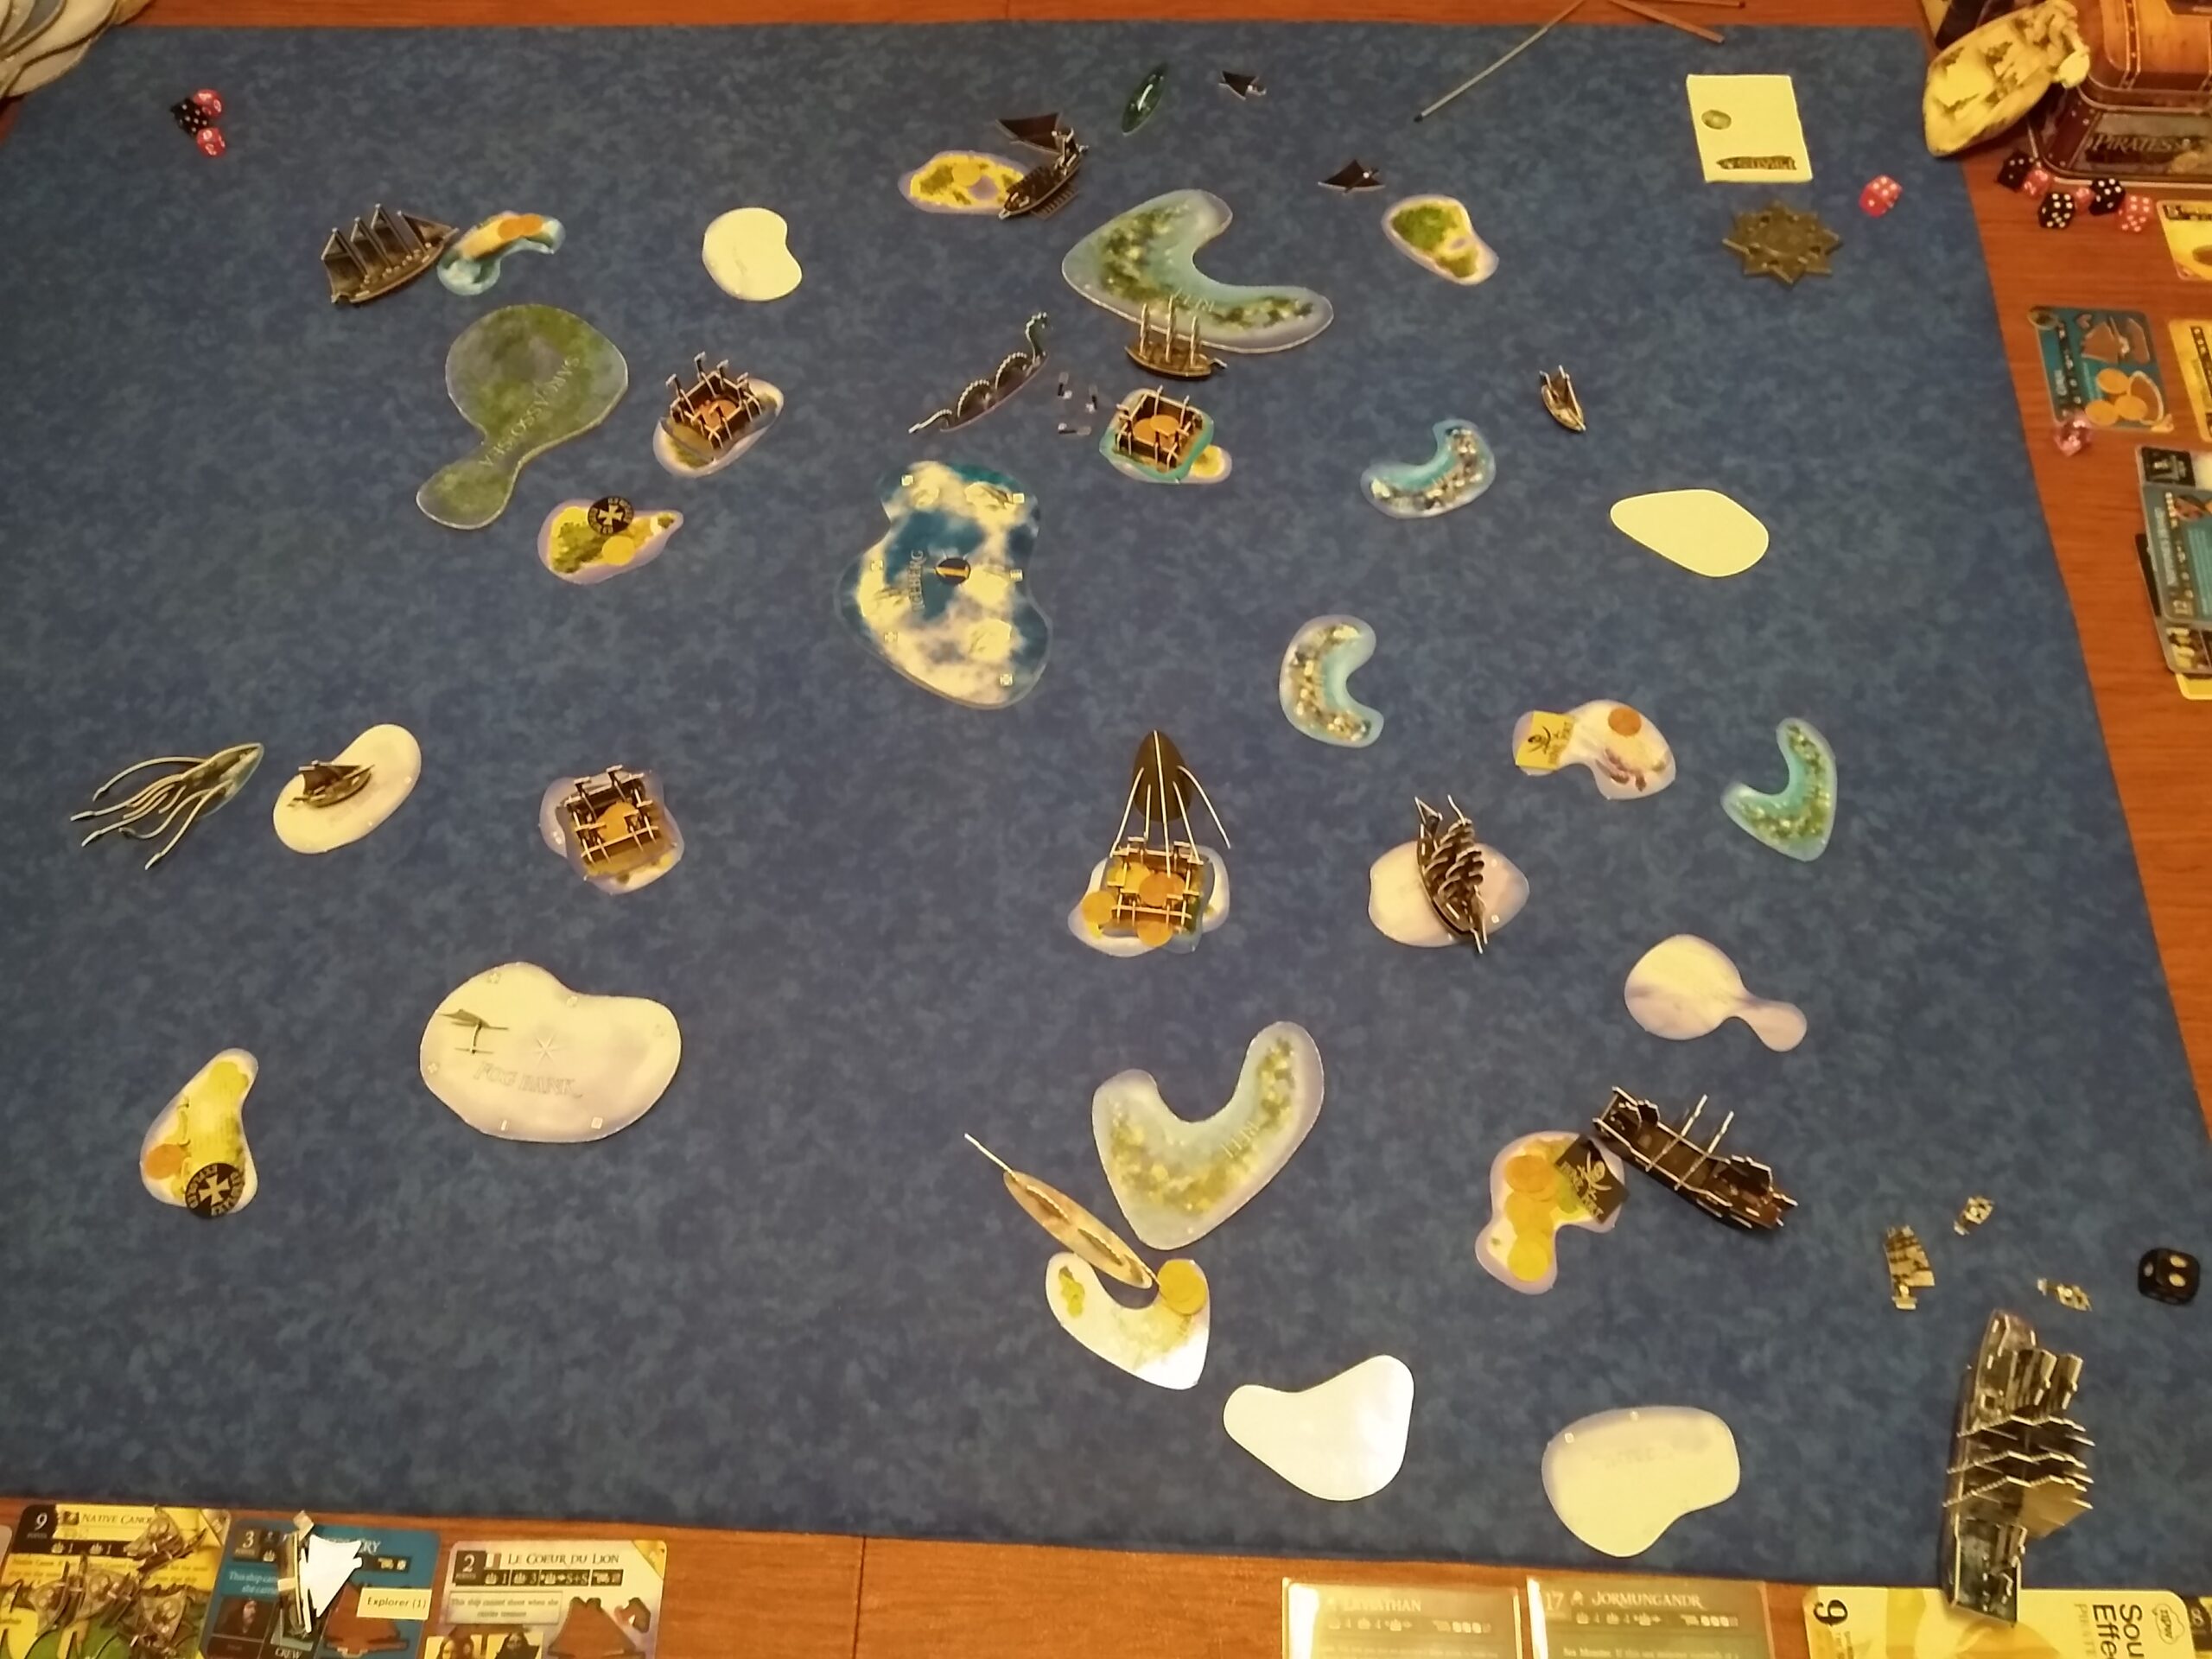
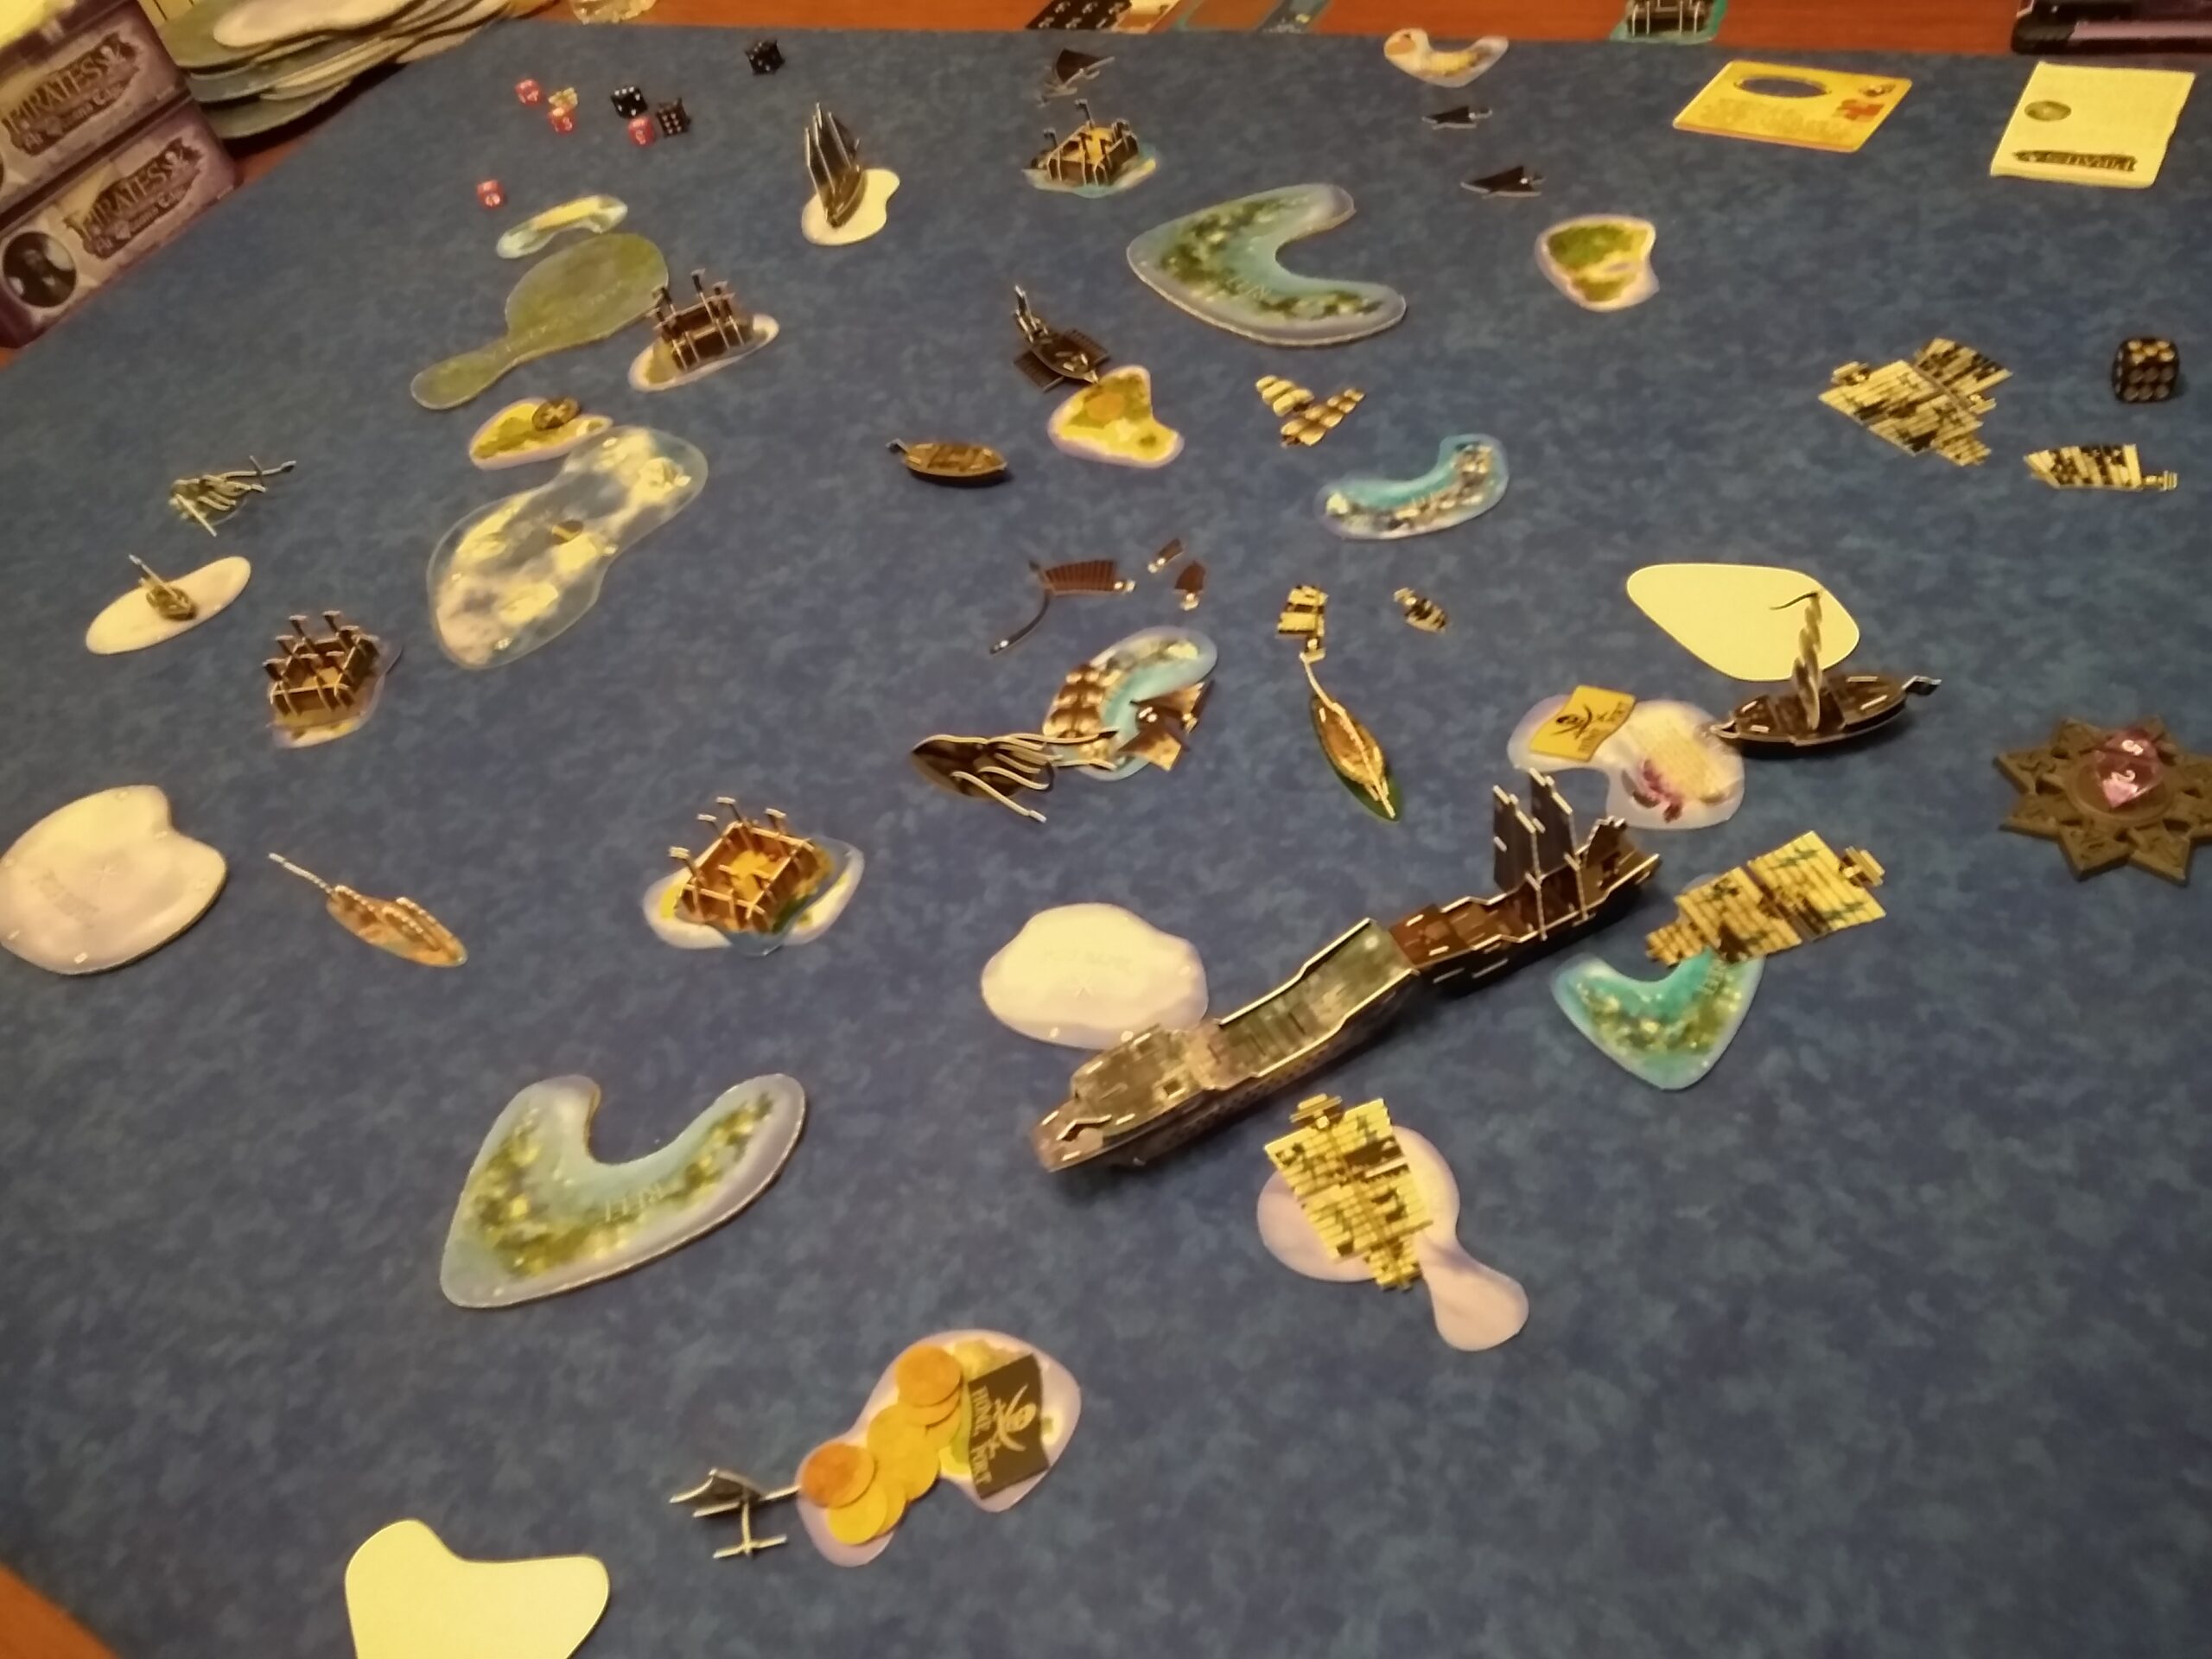
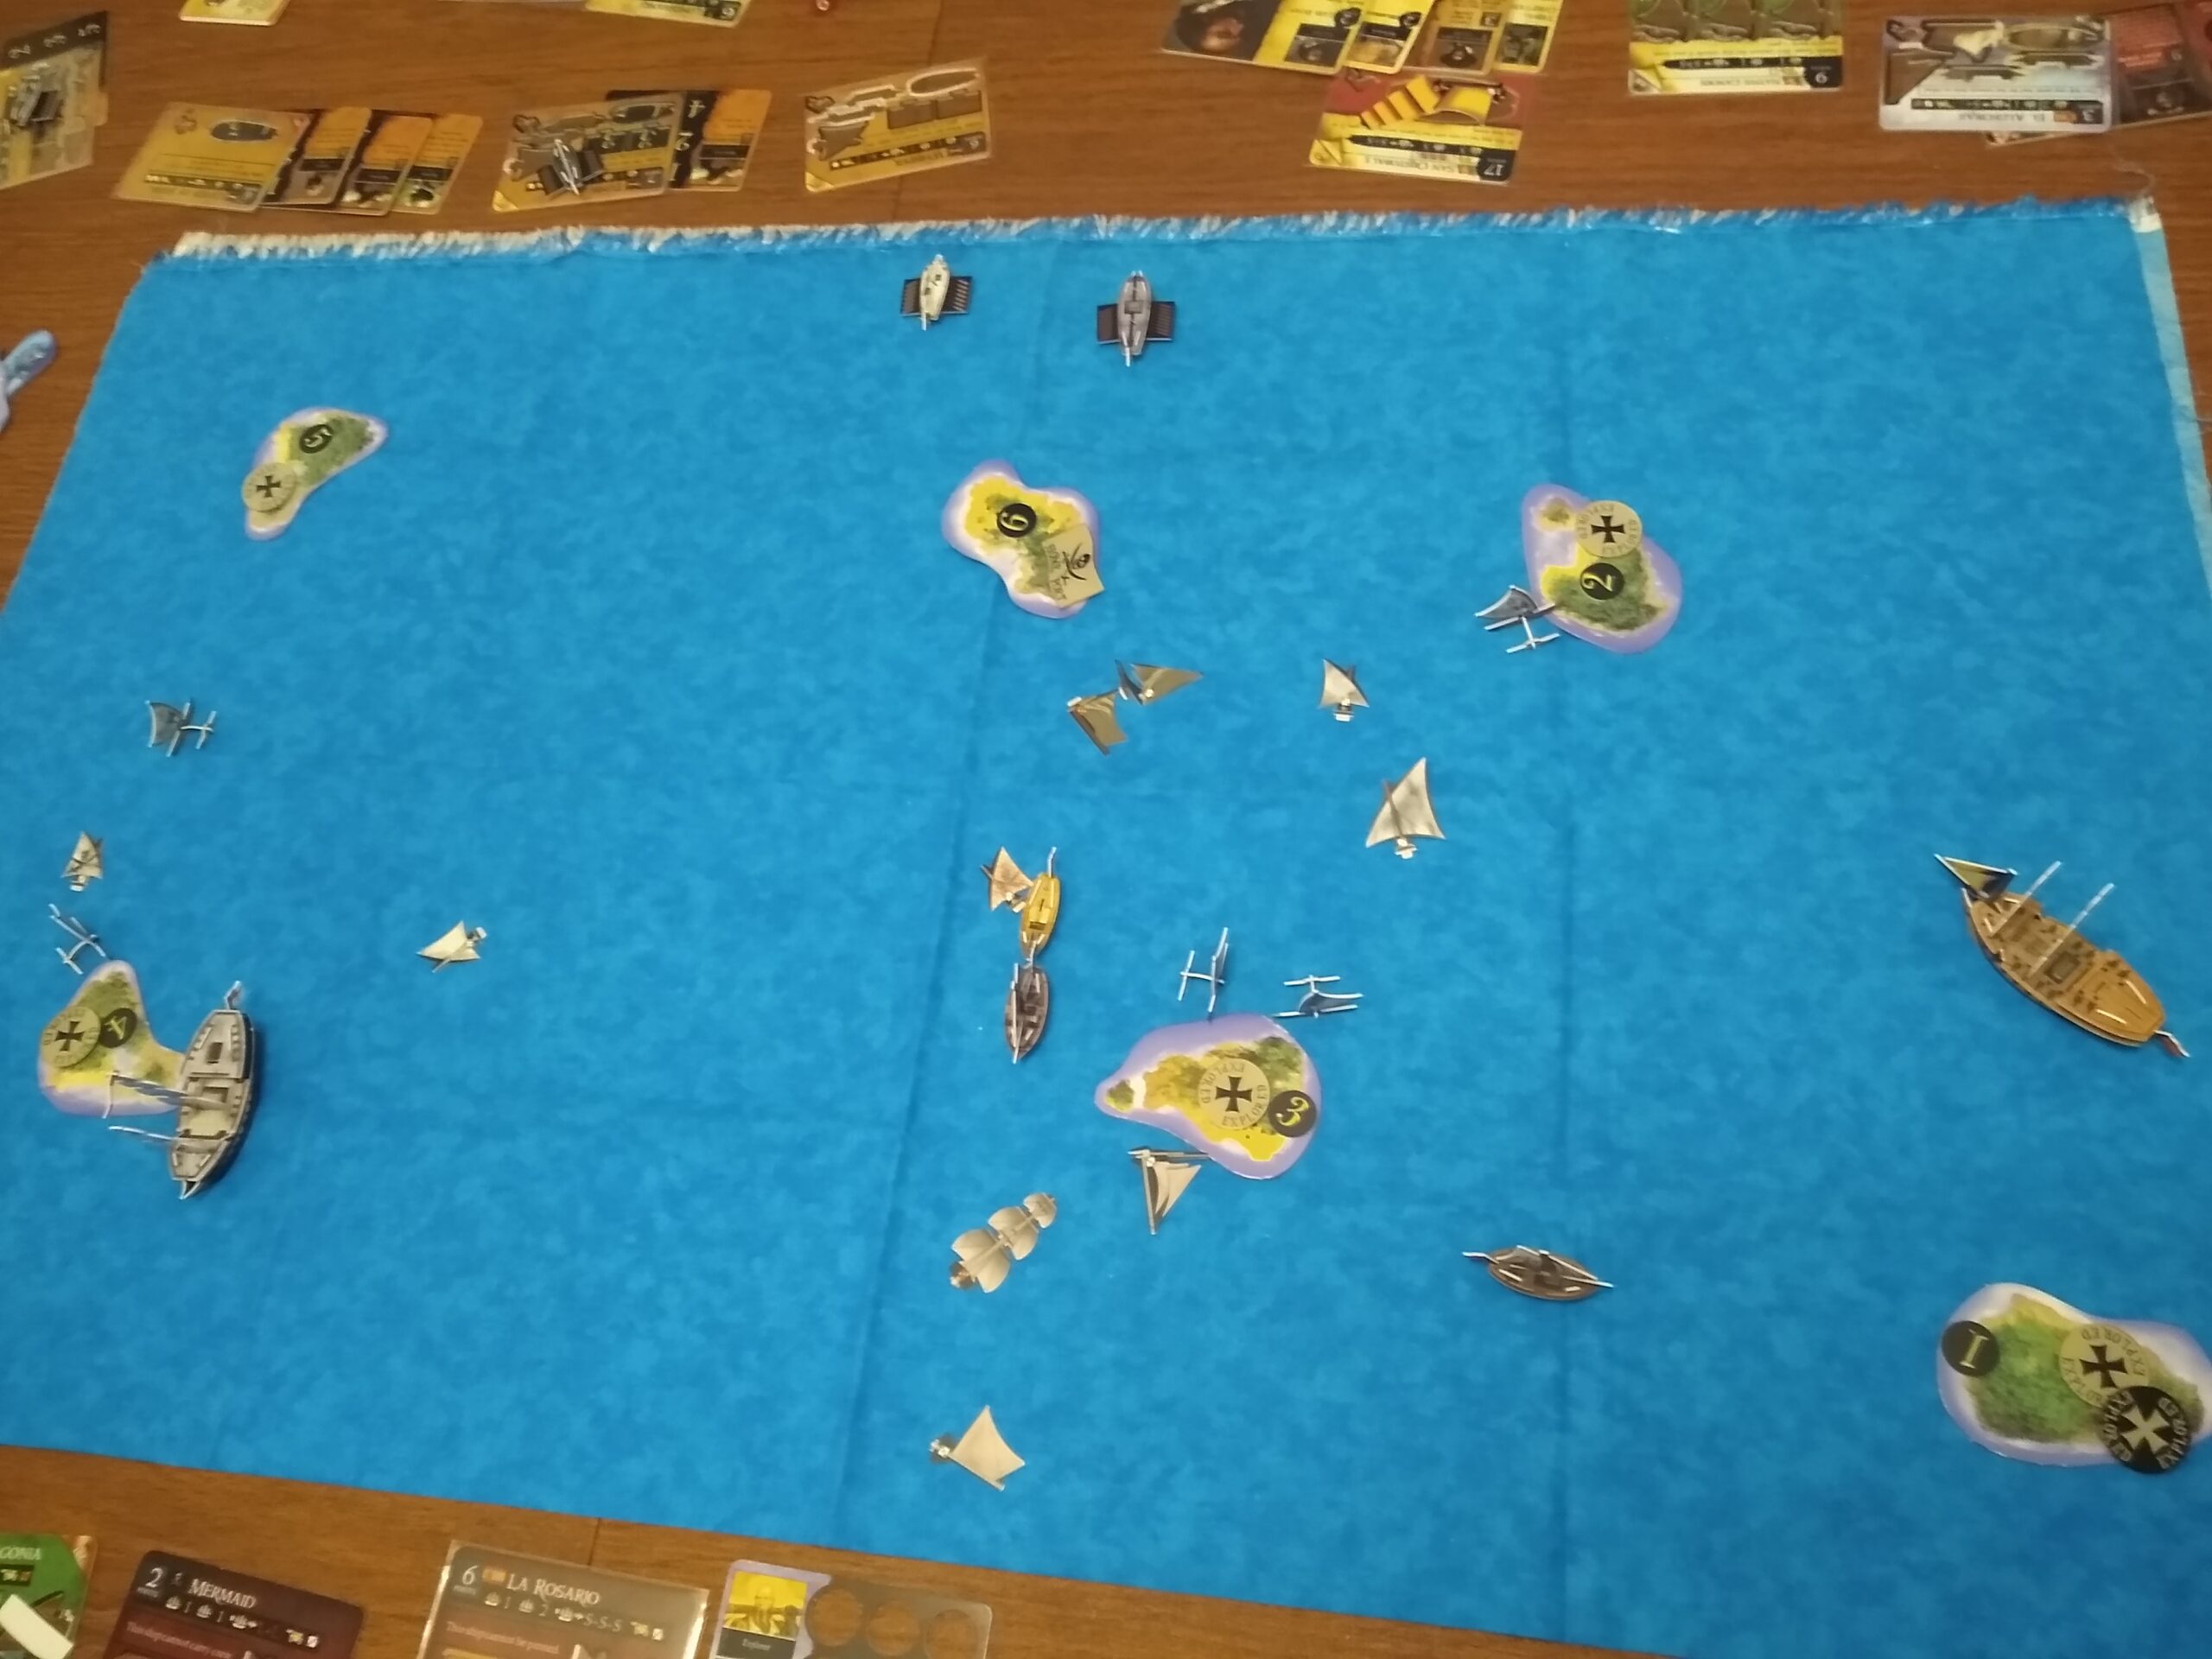
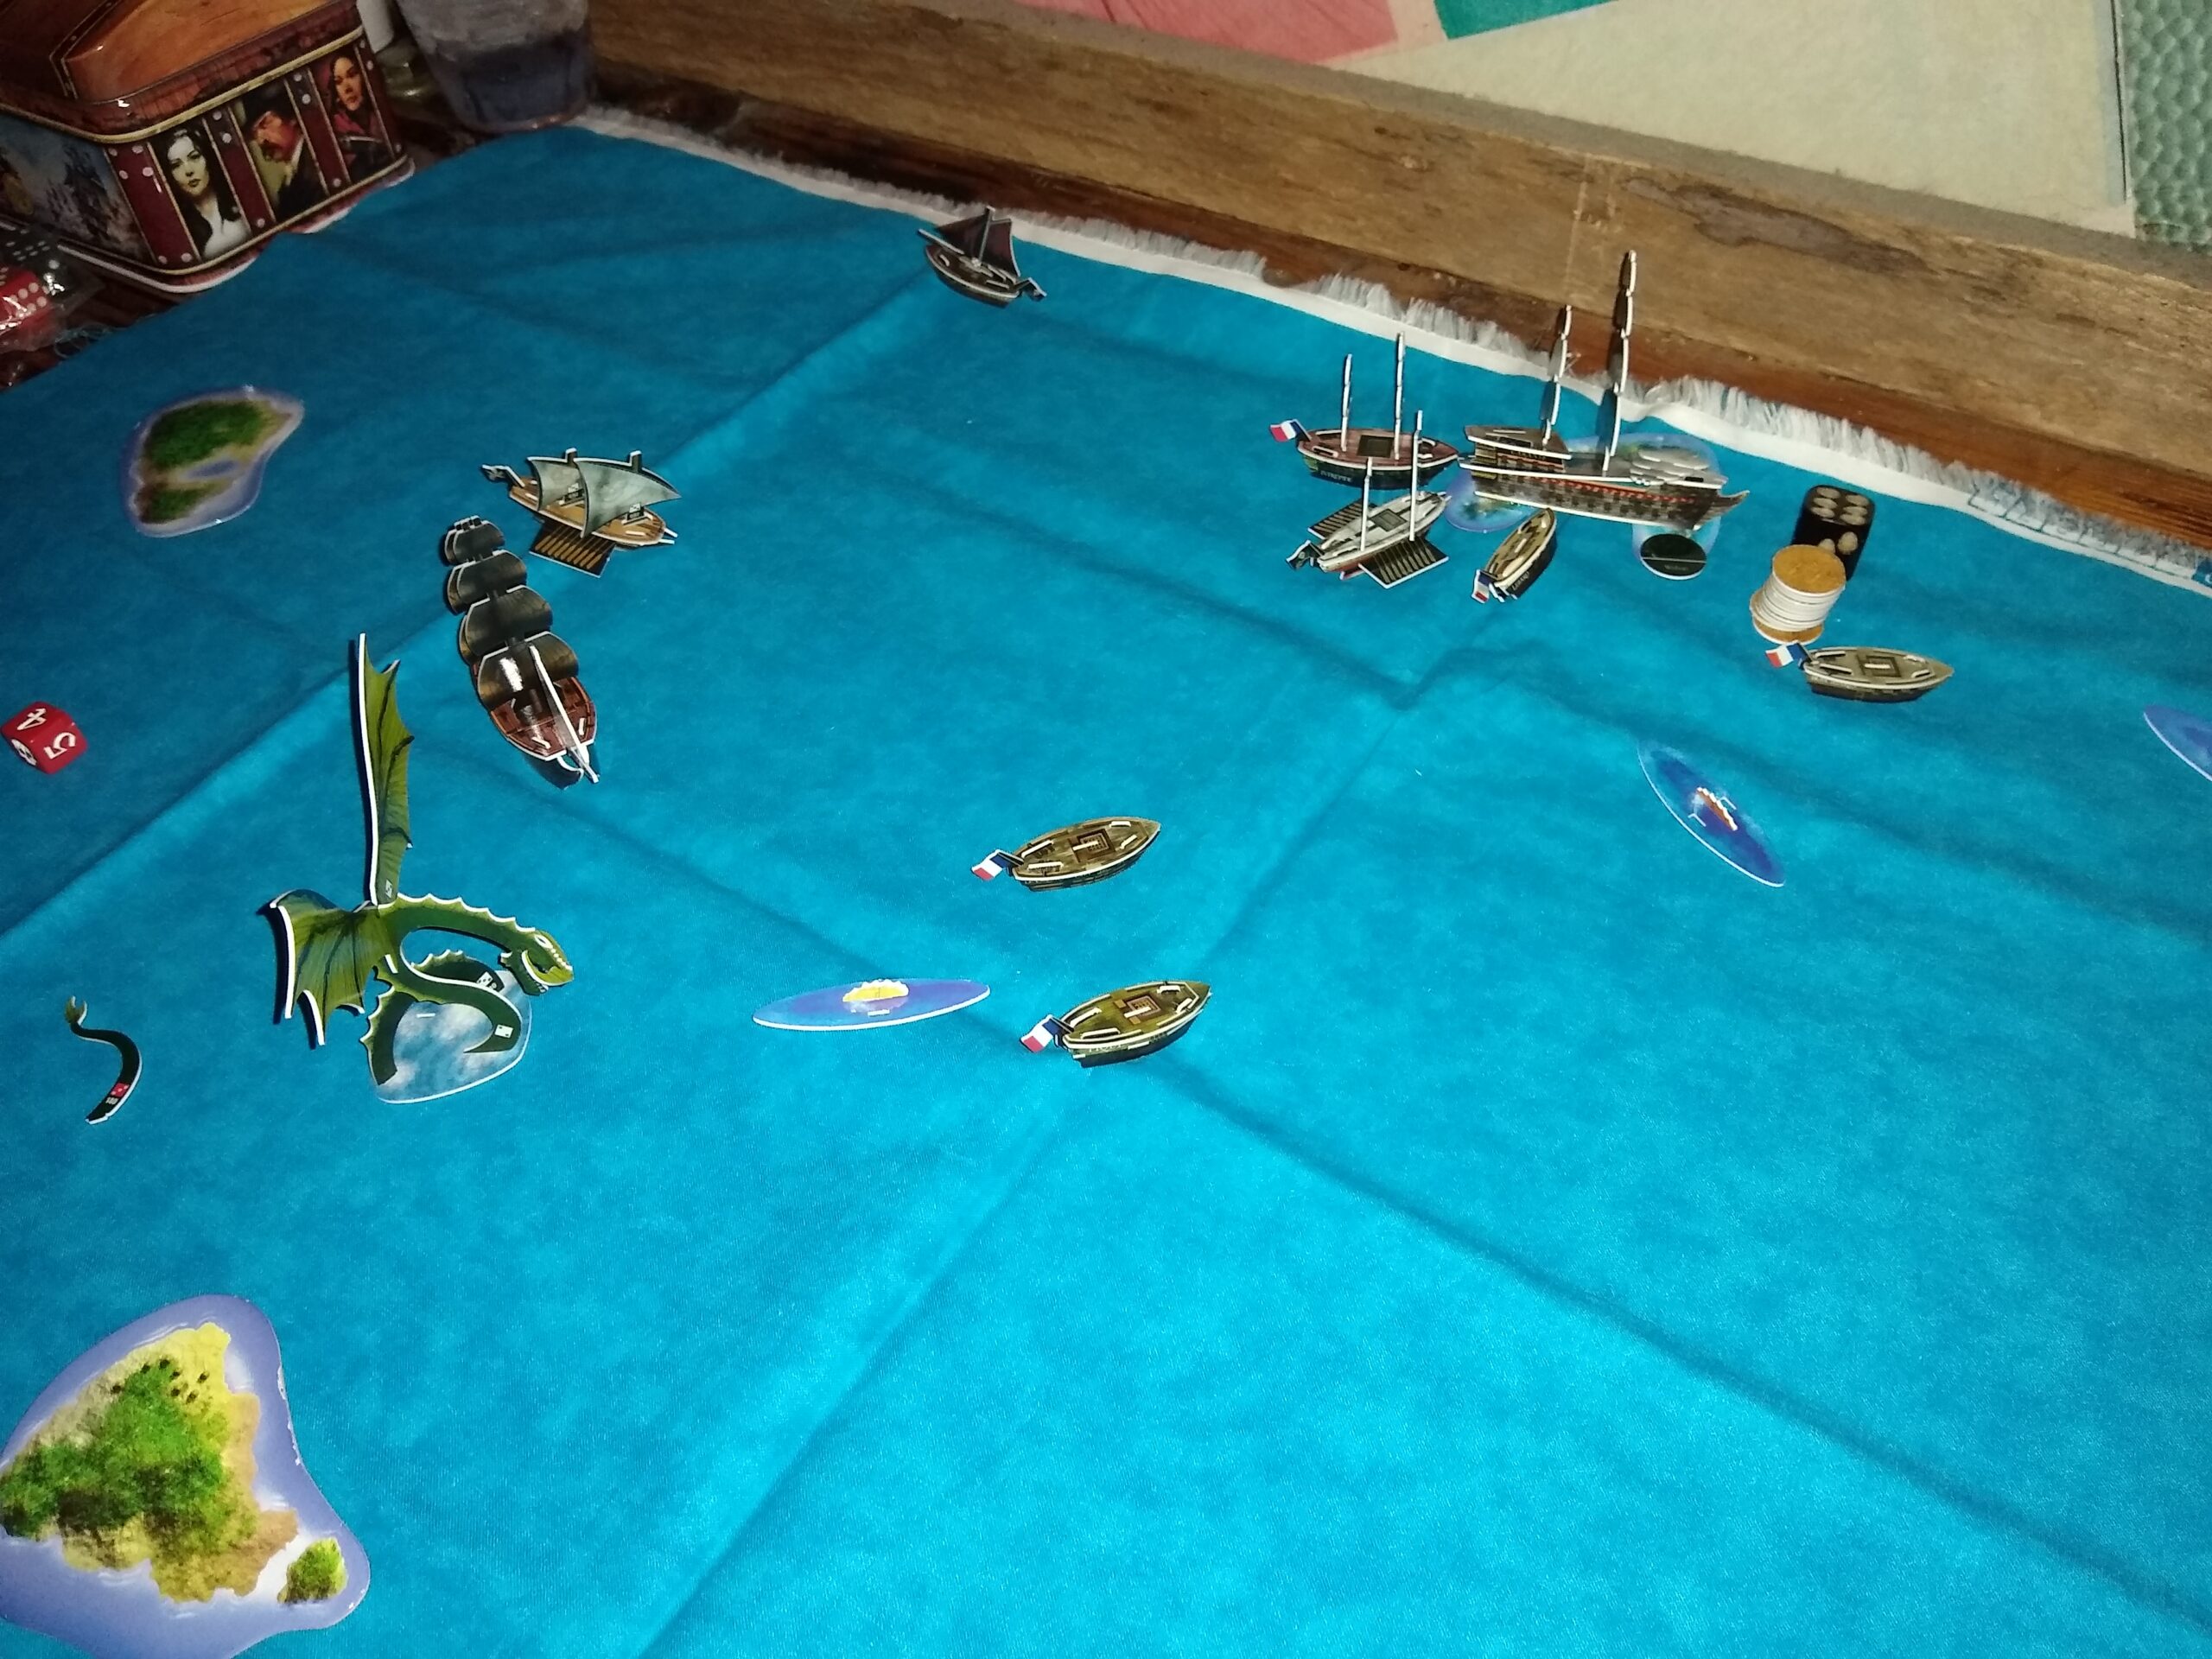
Looking from the southwest, you can see the English have split up. Intrepid stays at home.

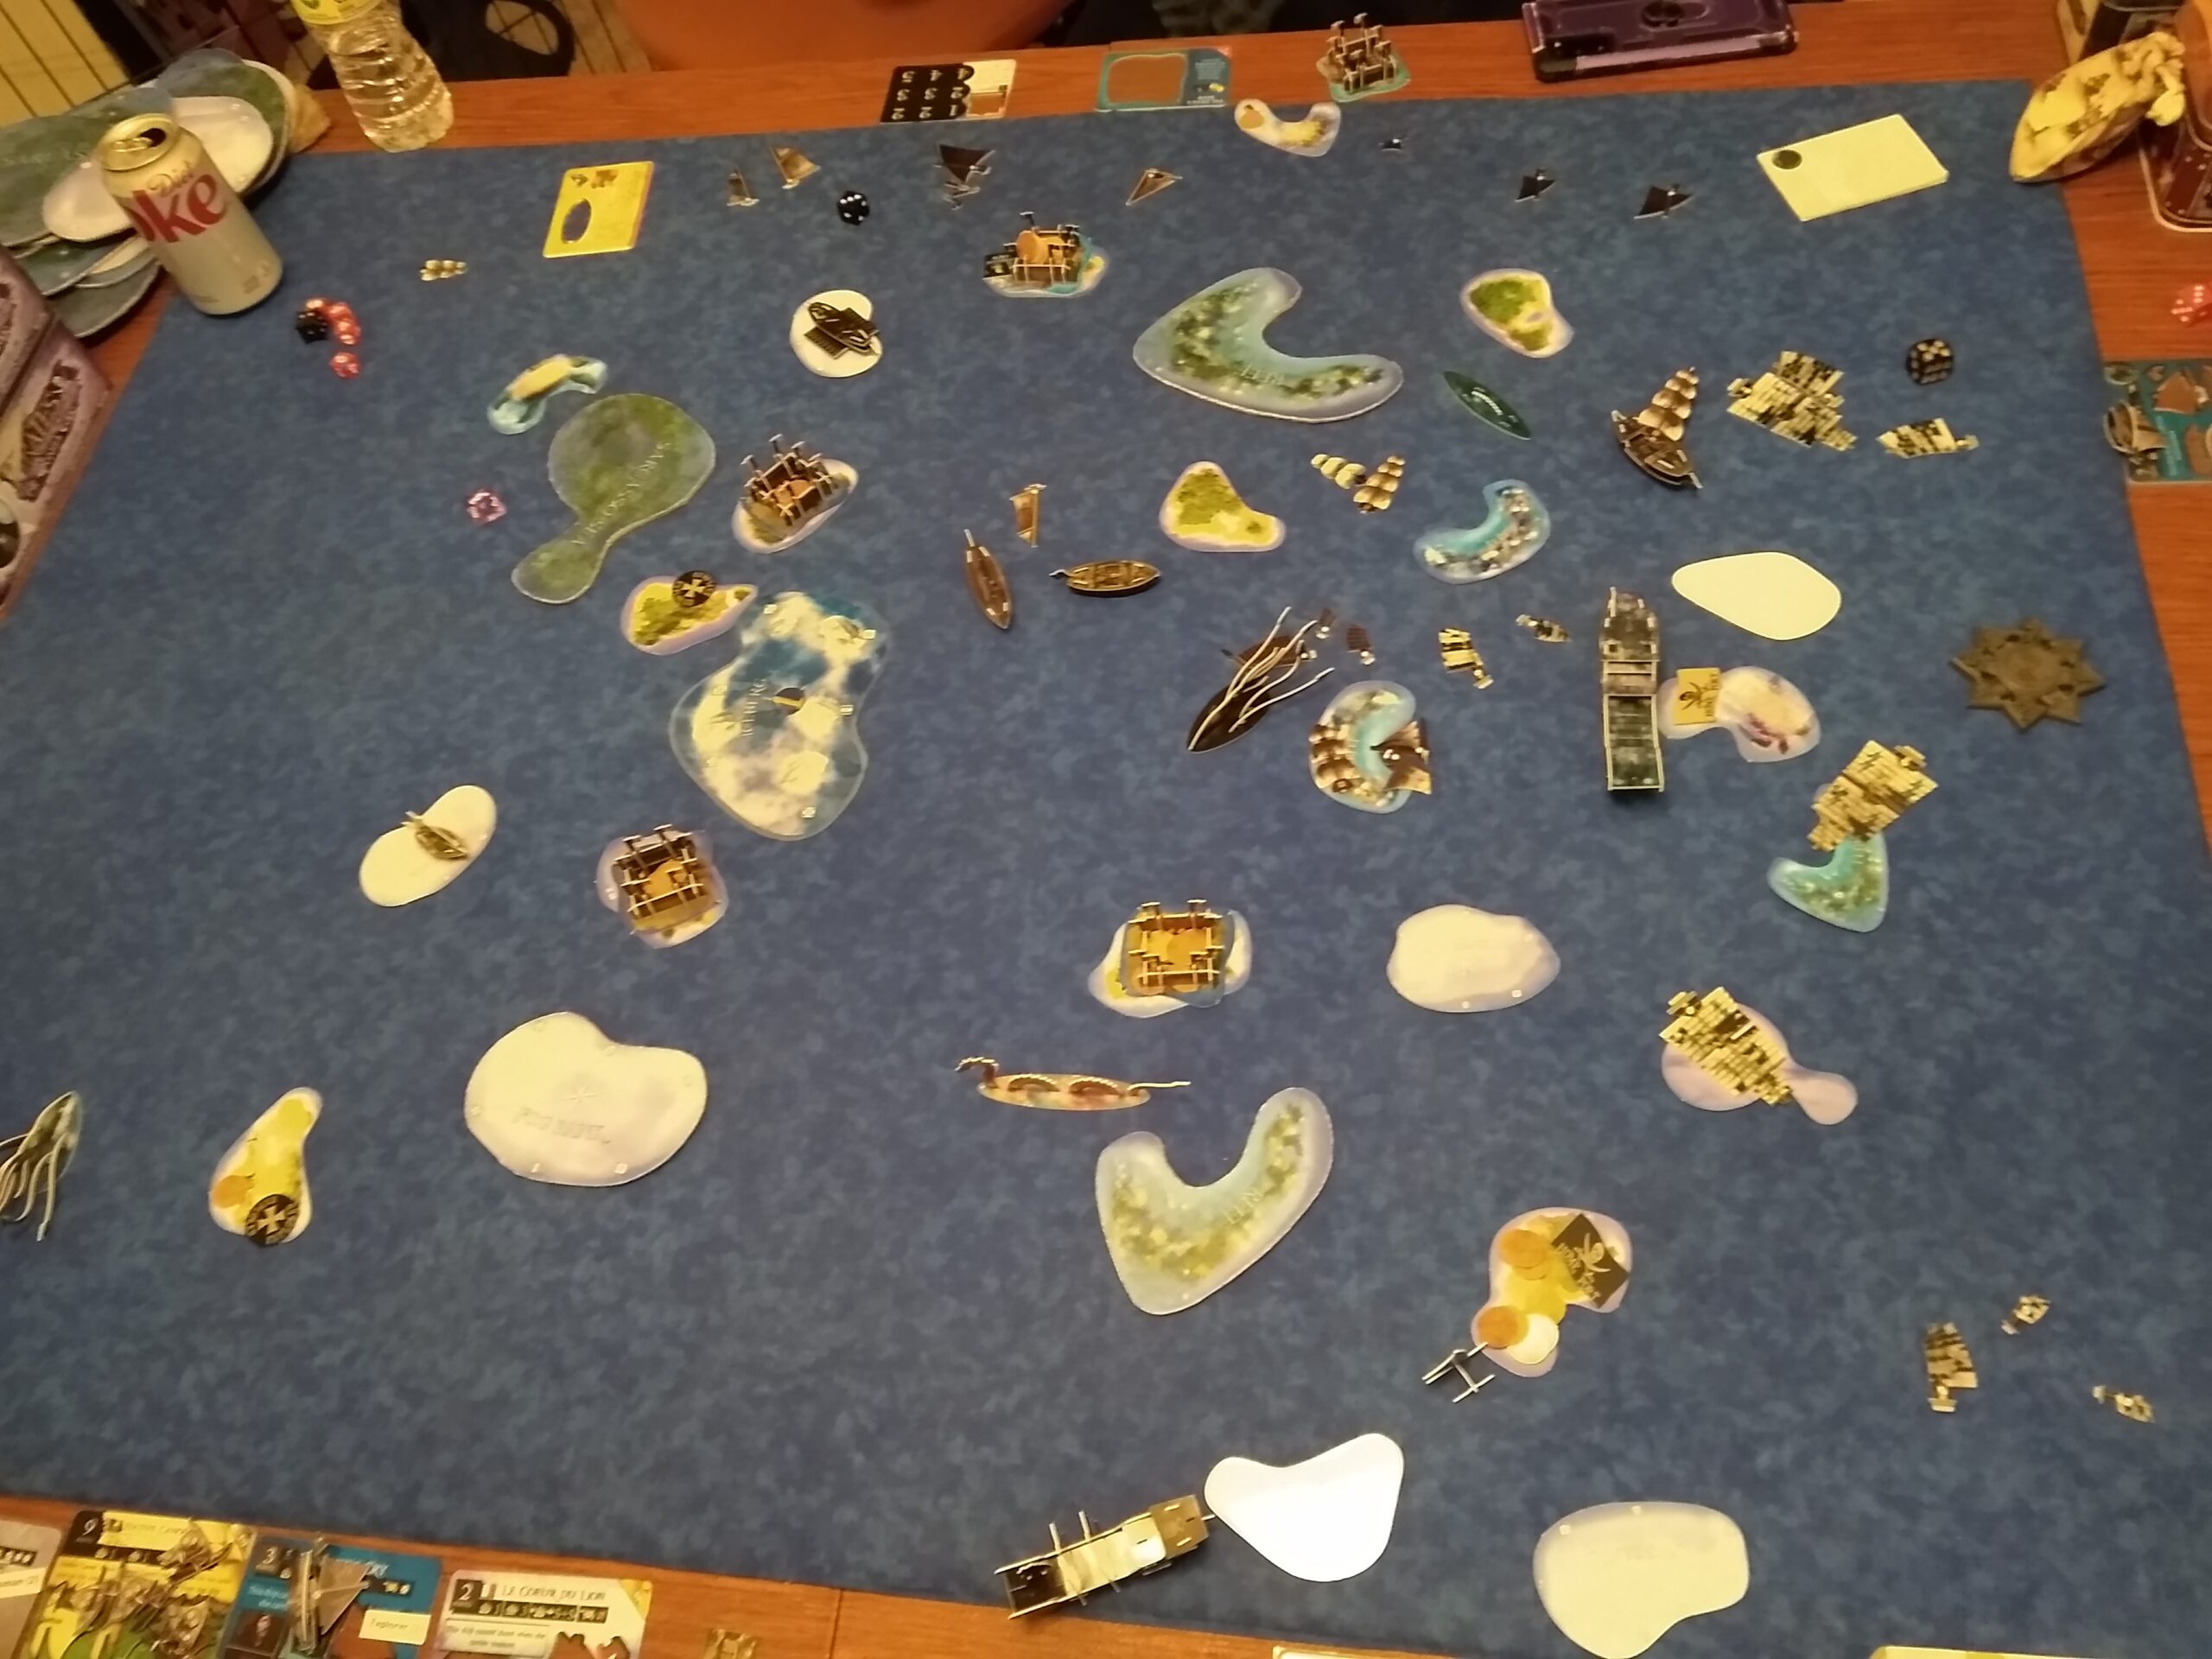
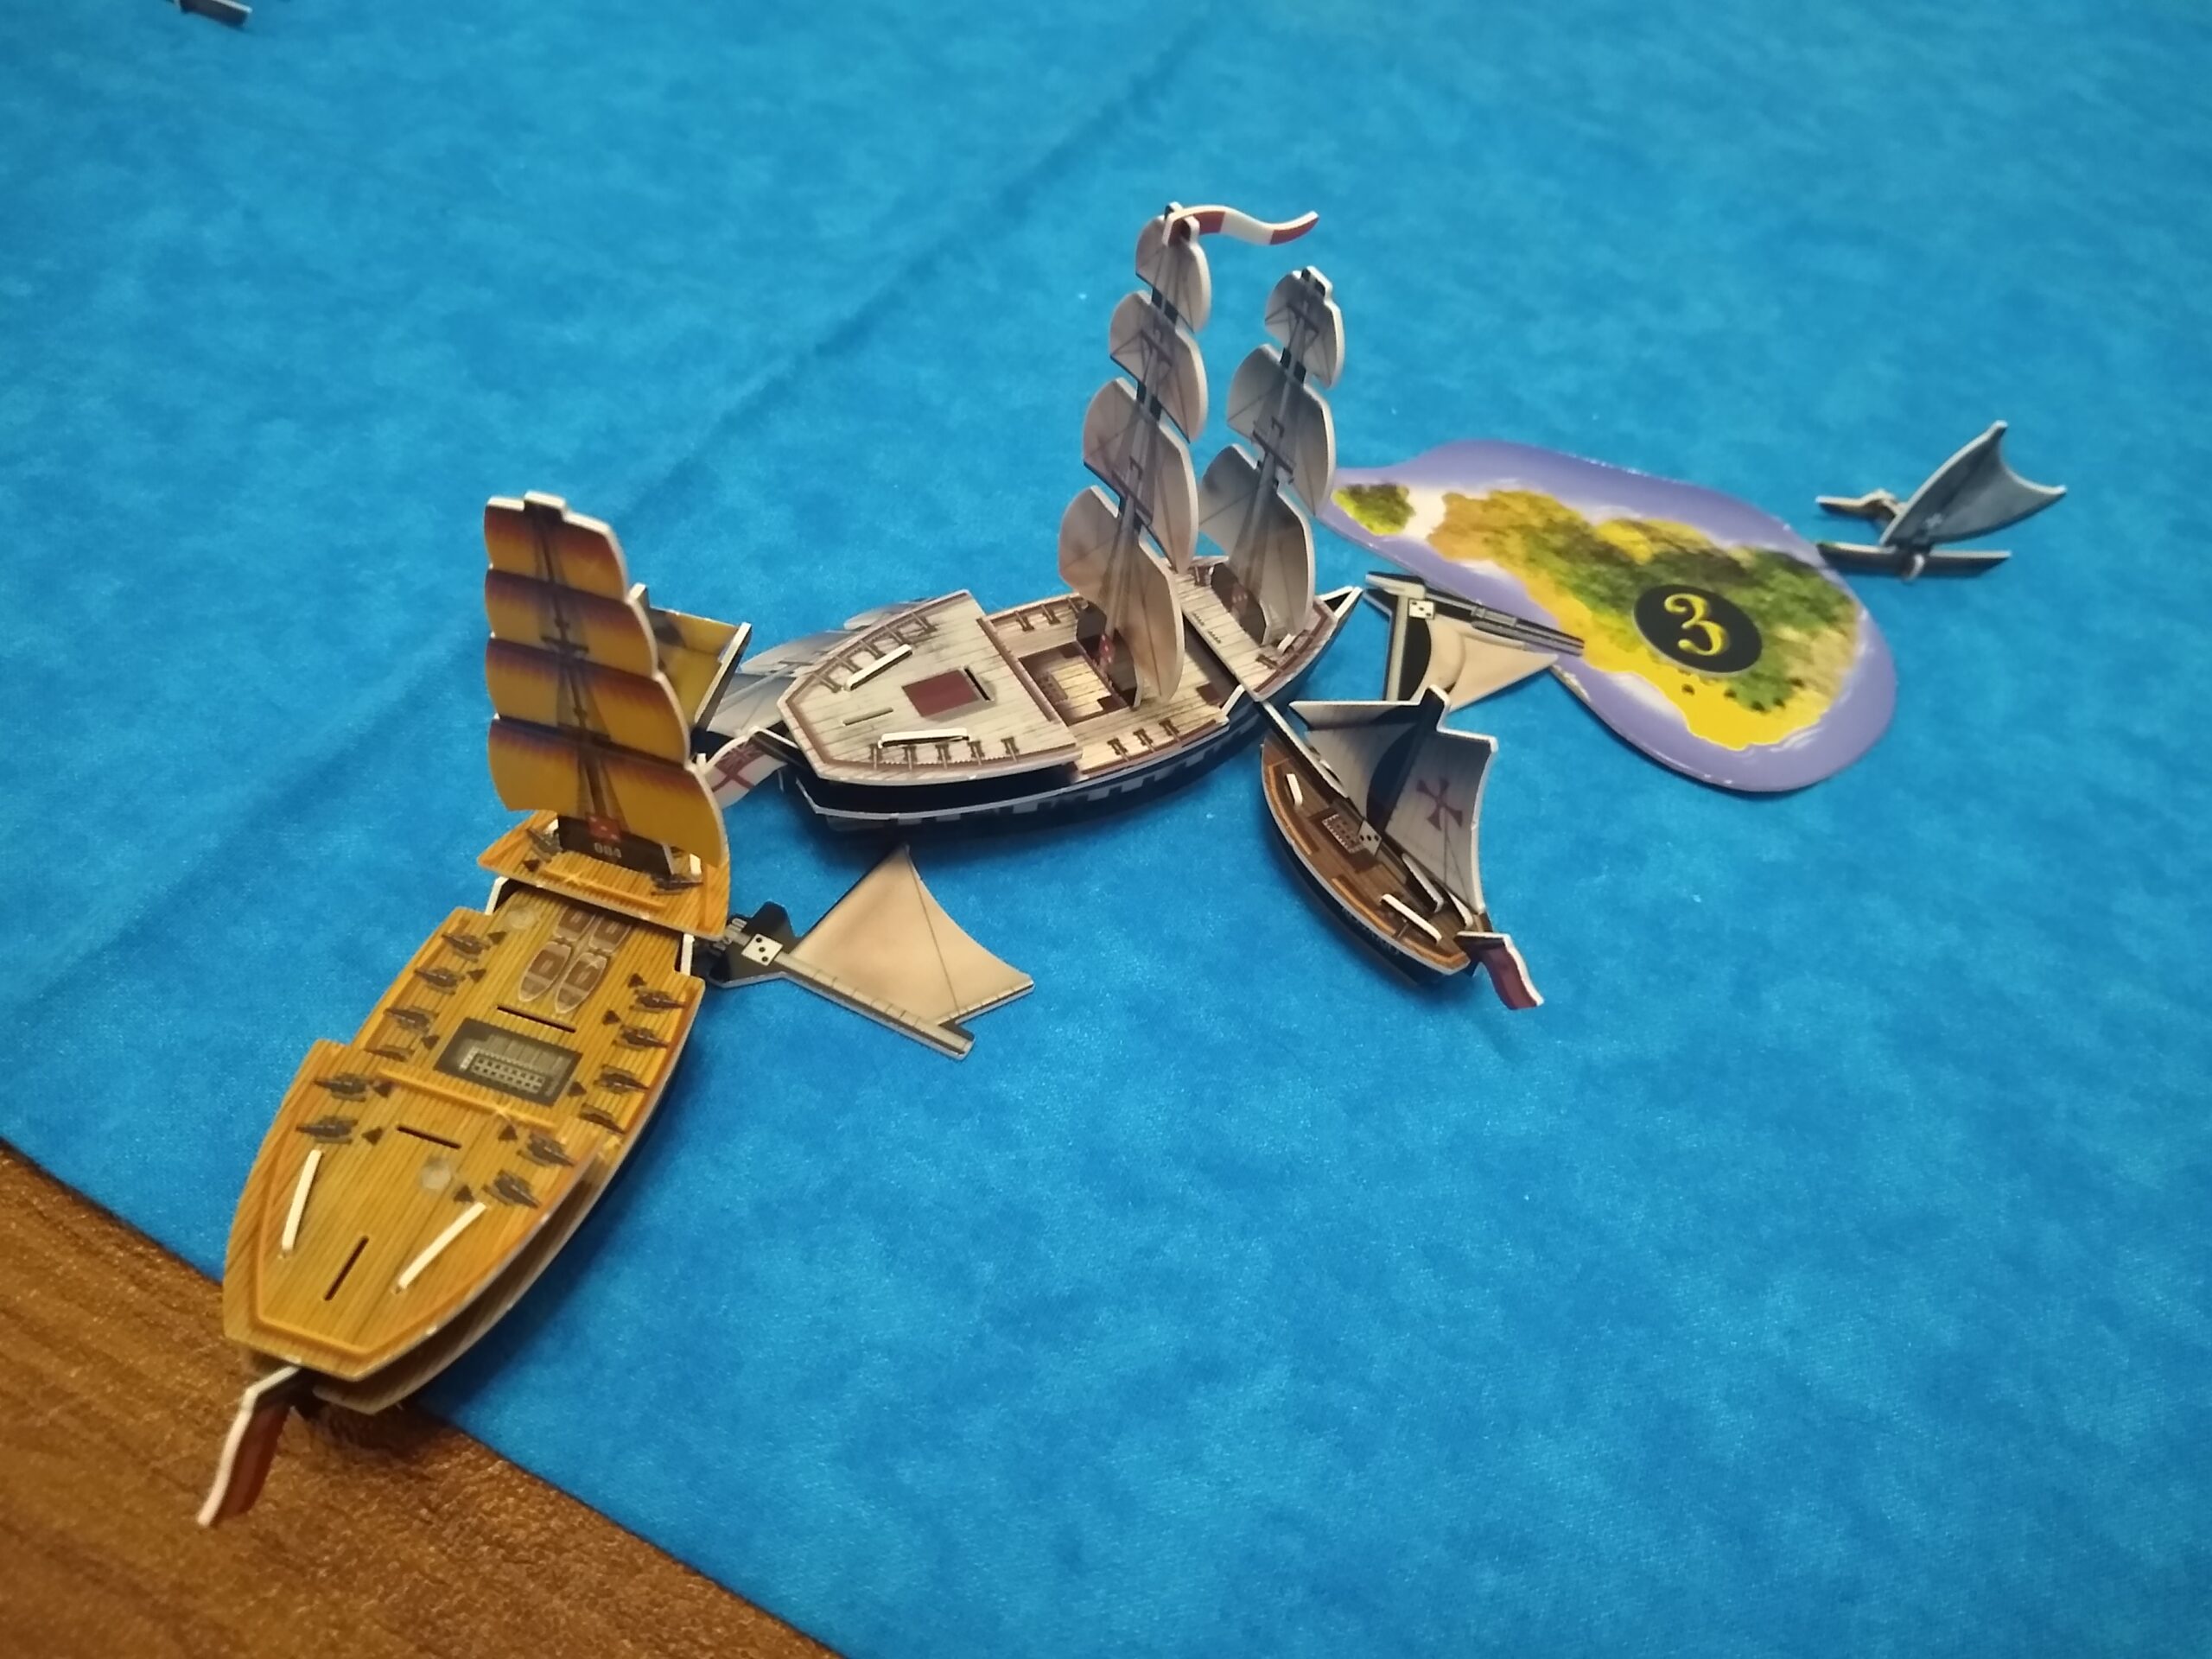
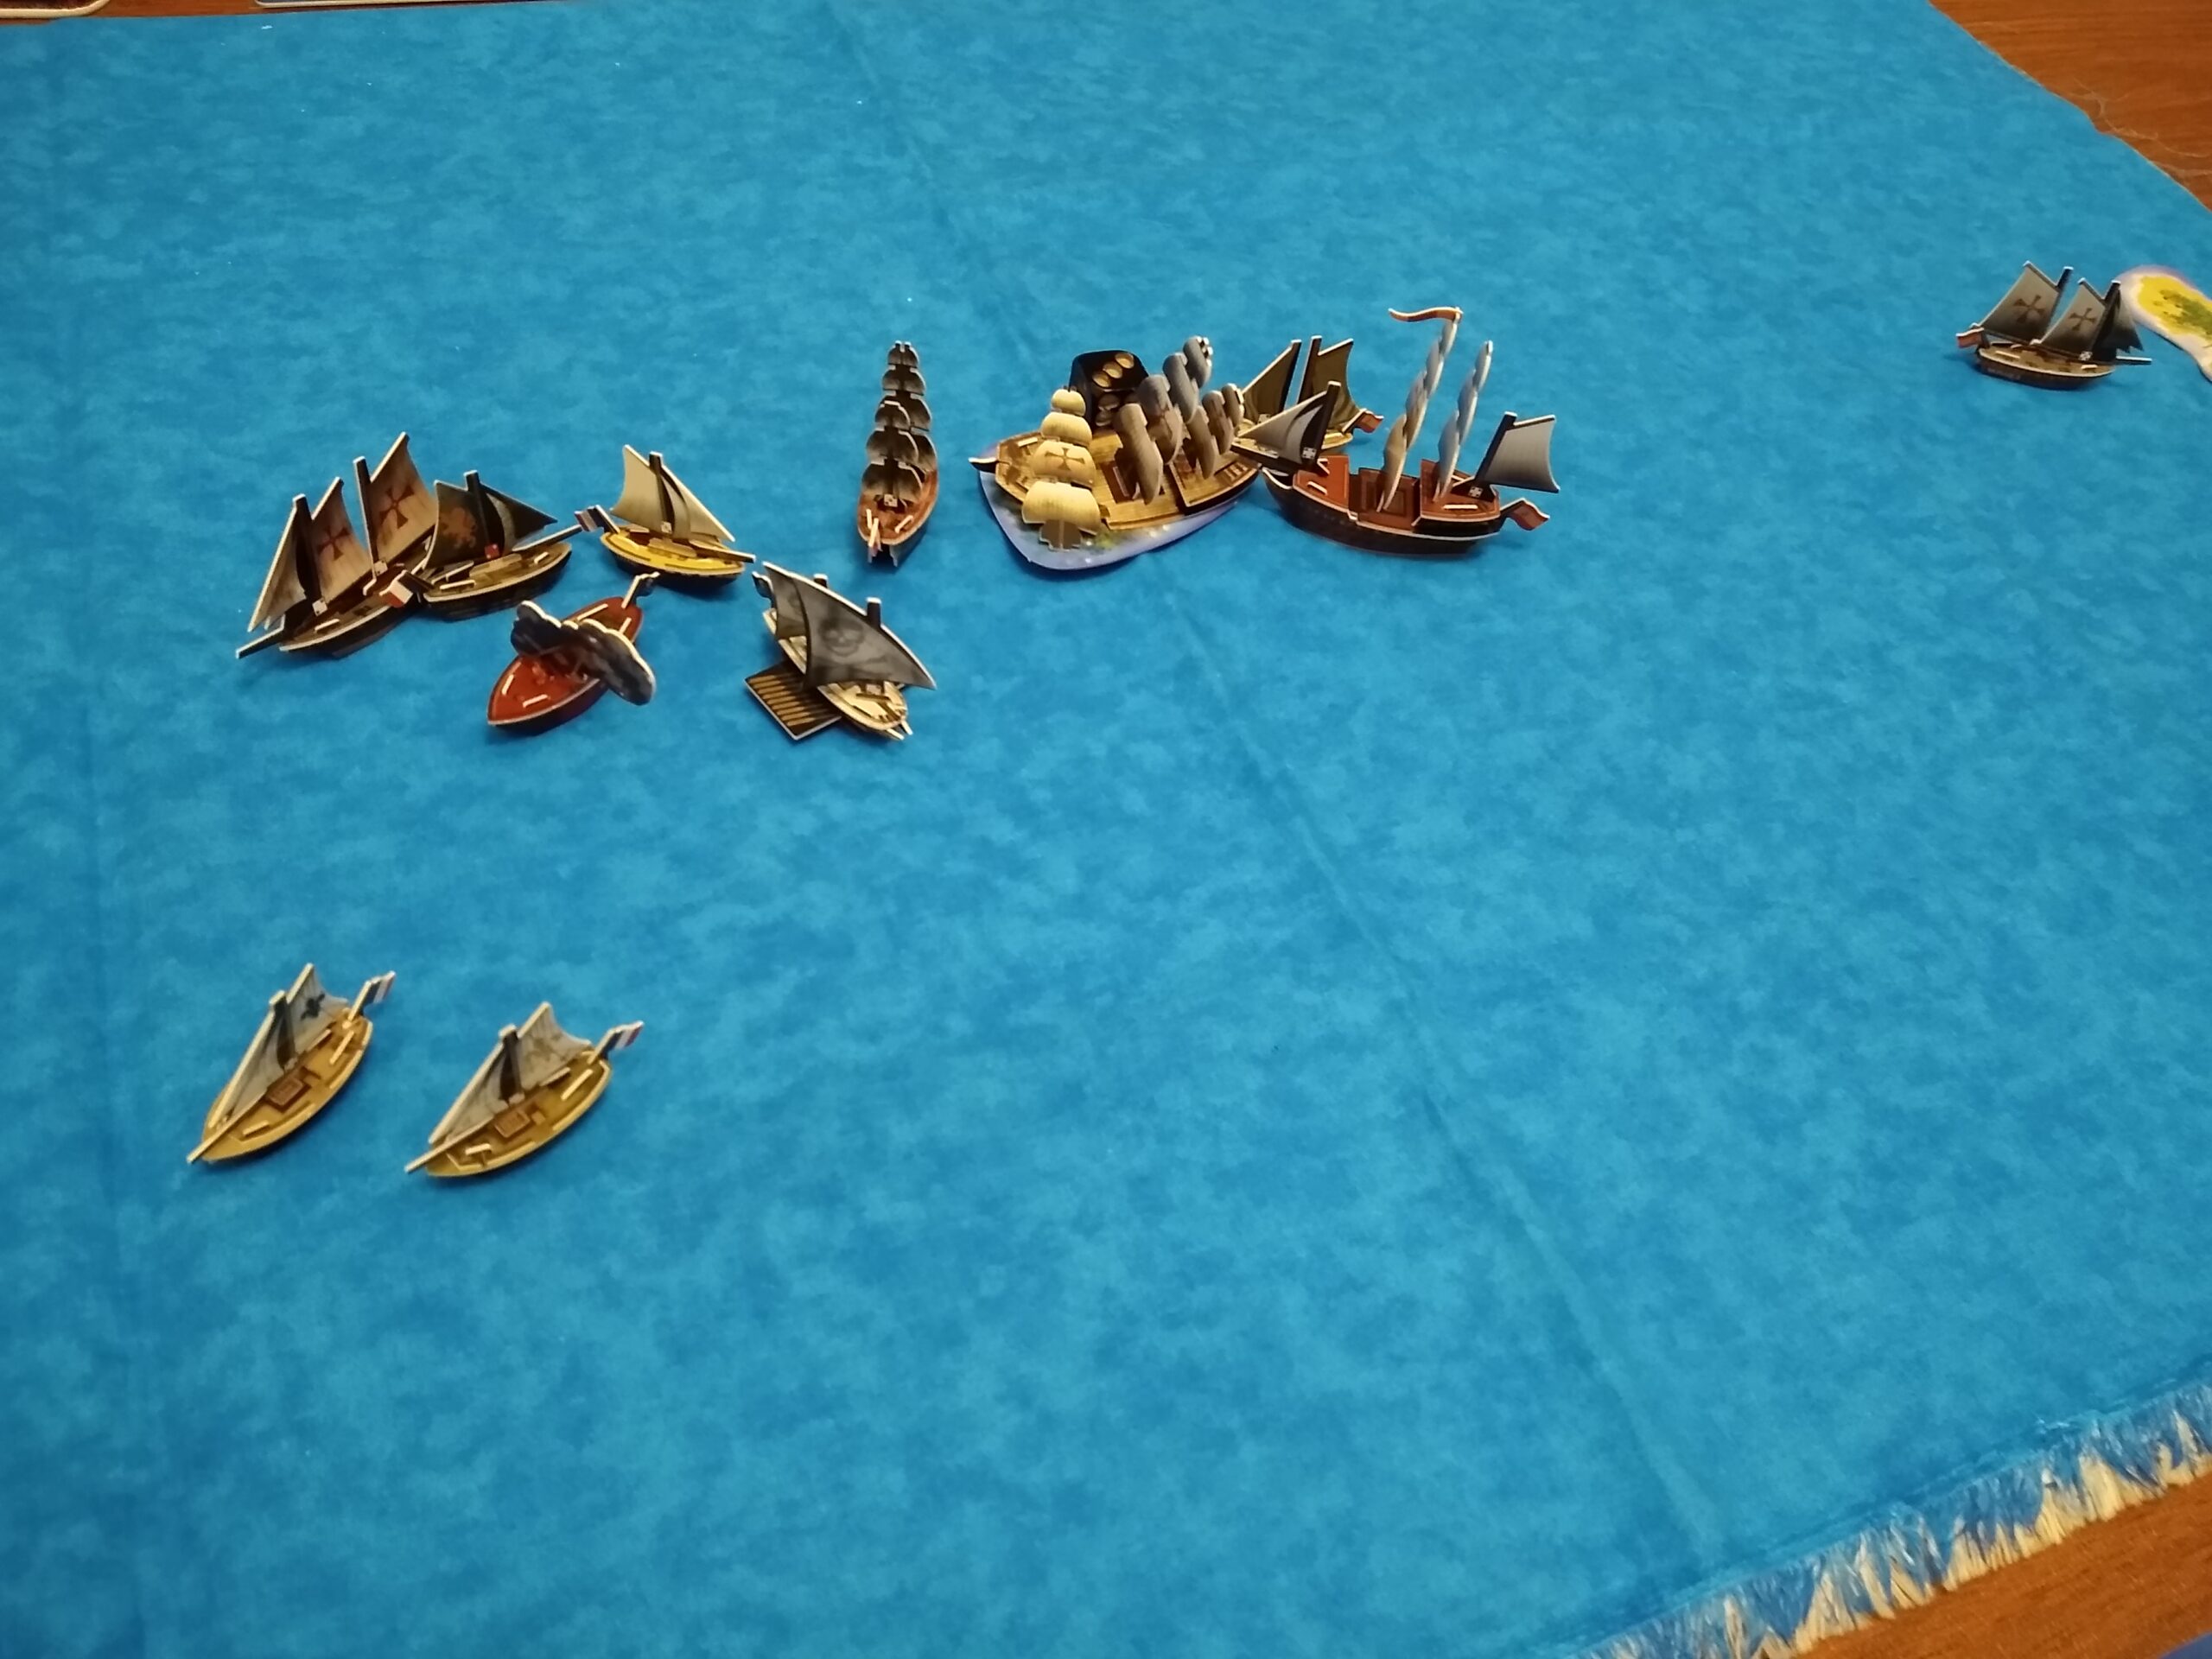
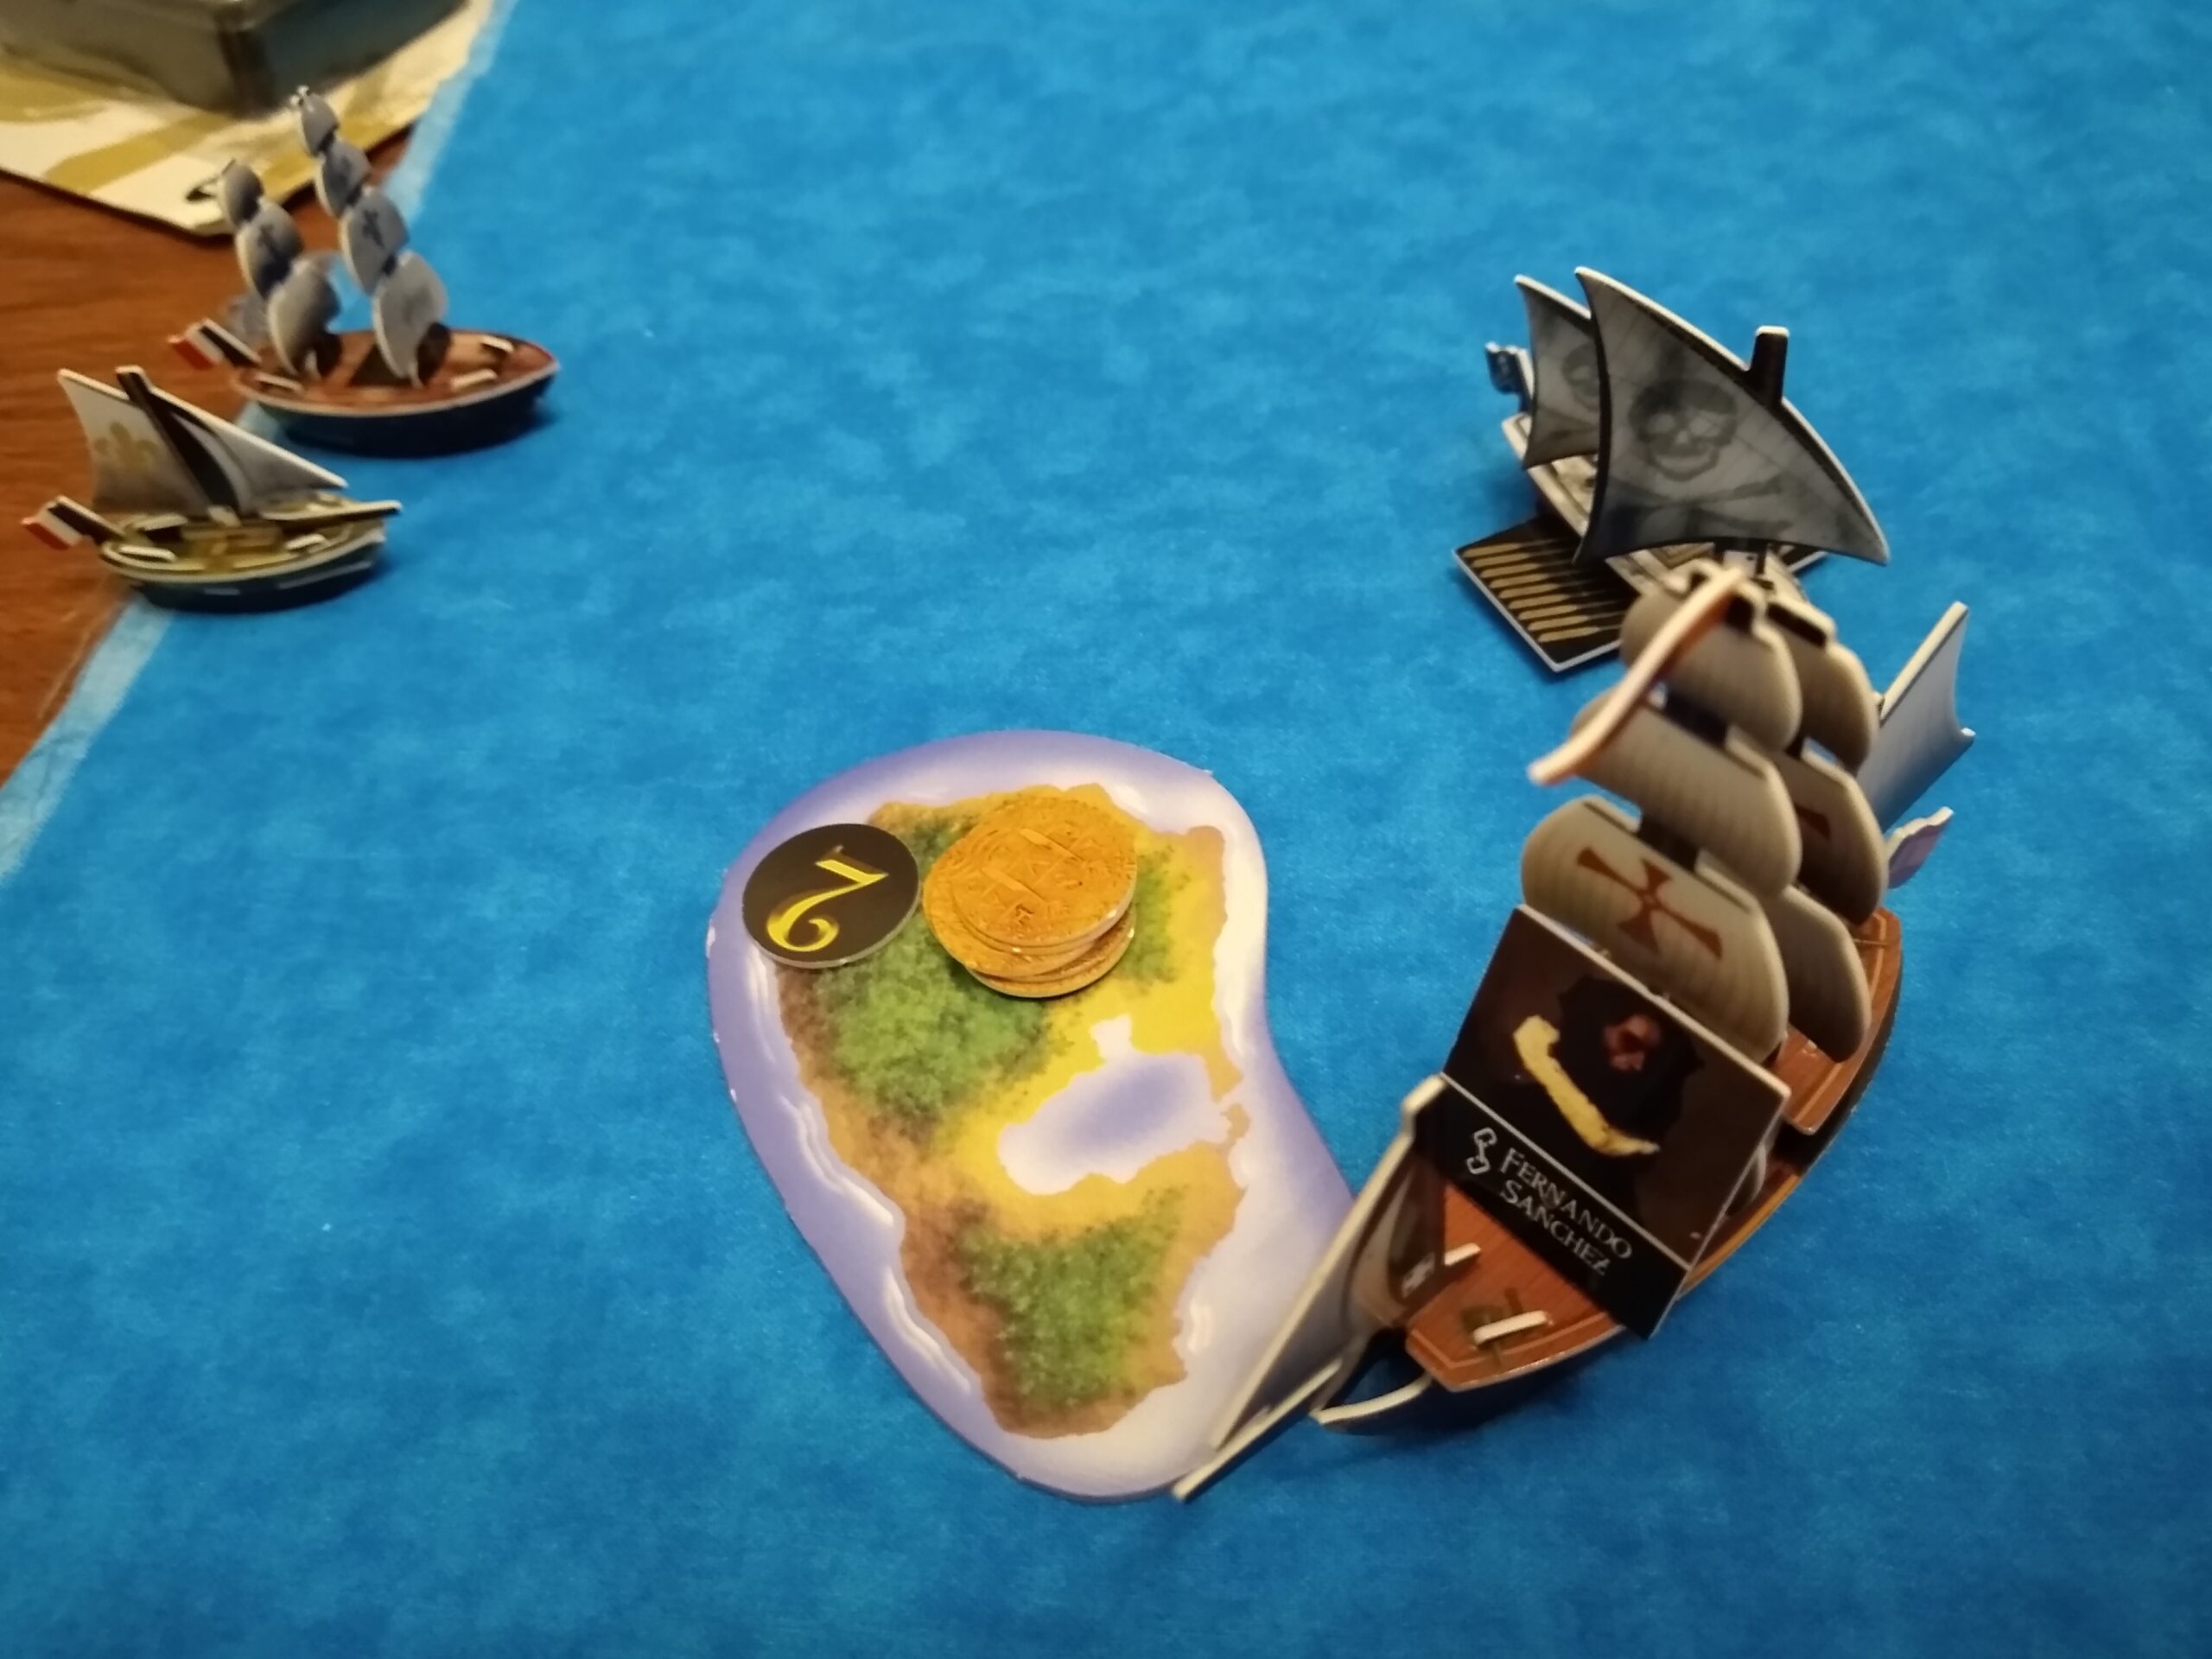
I was seated in the east, so most of the pictures will be from that perspective. Intrepid got a second action, whirling “backwards” after one move action to slam the Oxford! She took the English schooner down to 1 mast, but they were quickly ambushed by Le Gaule, who received an assist from Calypso to whirl into the combat area. OE Jordan Dumas was aboard to let Bonny Peel captain the ship, and she was ready for action. With the help of Lord Mycron and S-boarding, Bonny Peel managed to nab both 7 point crew from the two ships – Hermione Gold from Oxford and Montana Mays from the Intrepid! We were in for a swashbuckling adventure, with things just getting started. At the right, Queen of Sheba has explored another island and exchanged her lowest value coin from the previous island for the best coin of that island. Wicked Kareen has emerged from fog, not getting the 50% chance roll that she would end up on the wrong side of the fog bank and therefore “stuck” in the fog bank with no way to sail against the strong counterclockwise current. However, Kyle was making some good points about intentionally staying in fog until the coast was clear, since there was a lot less freedom of movement emerging from fog banks than usual.

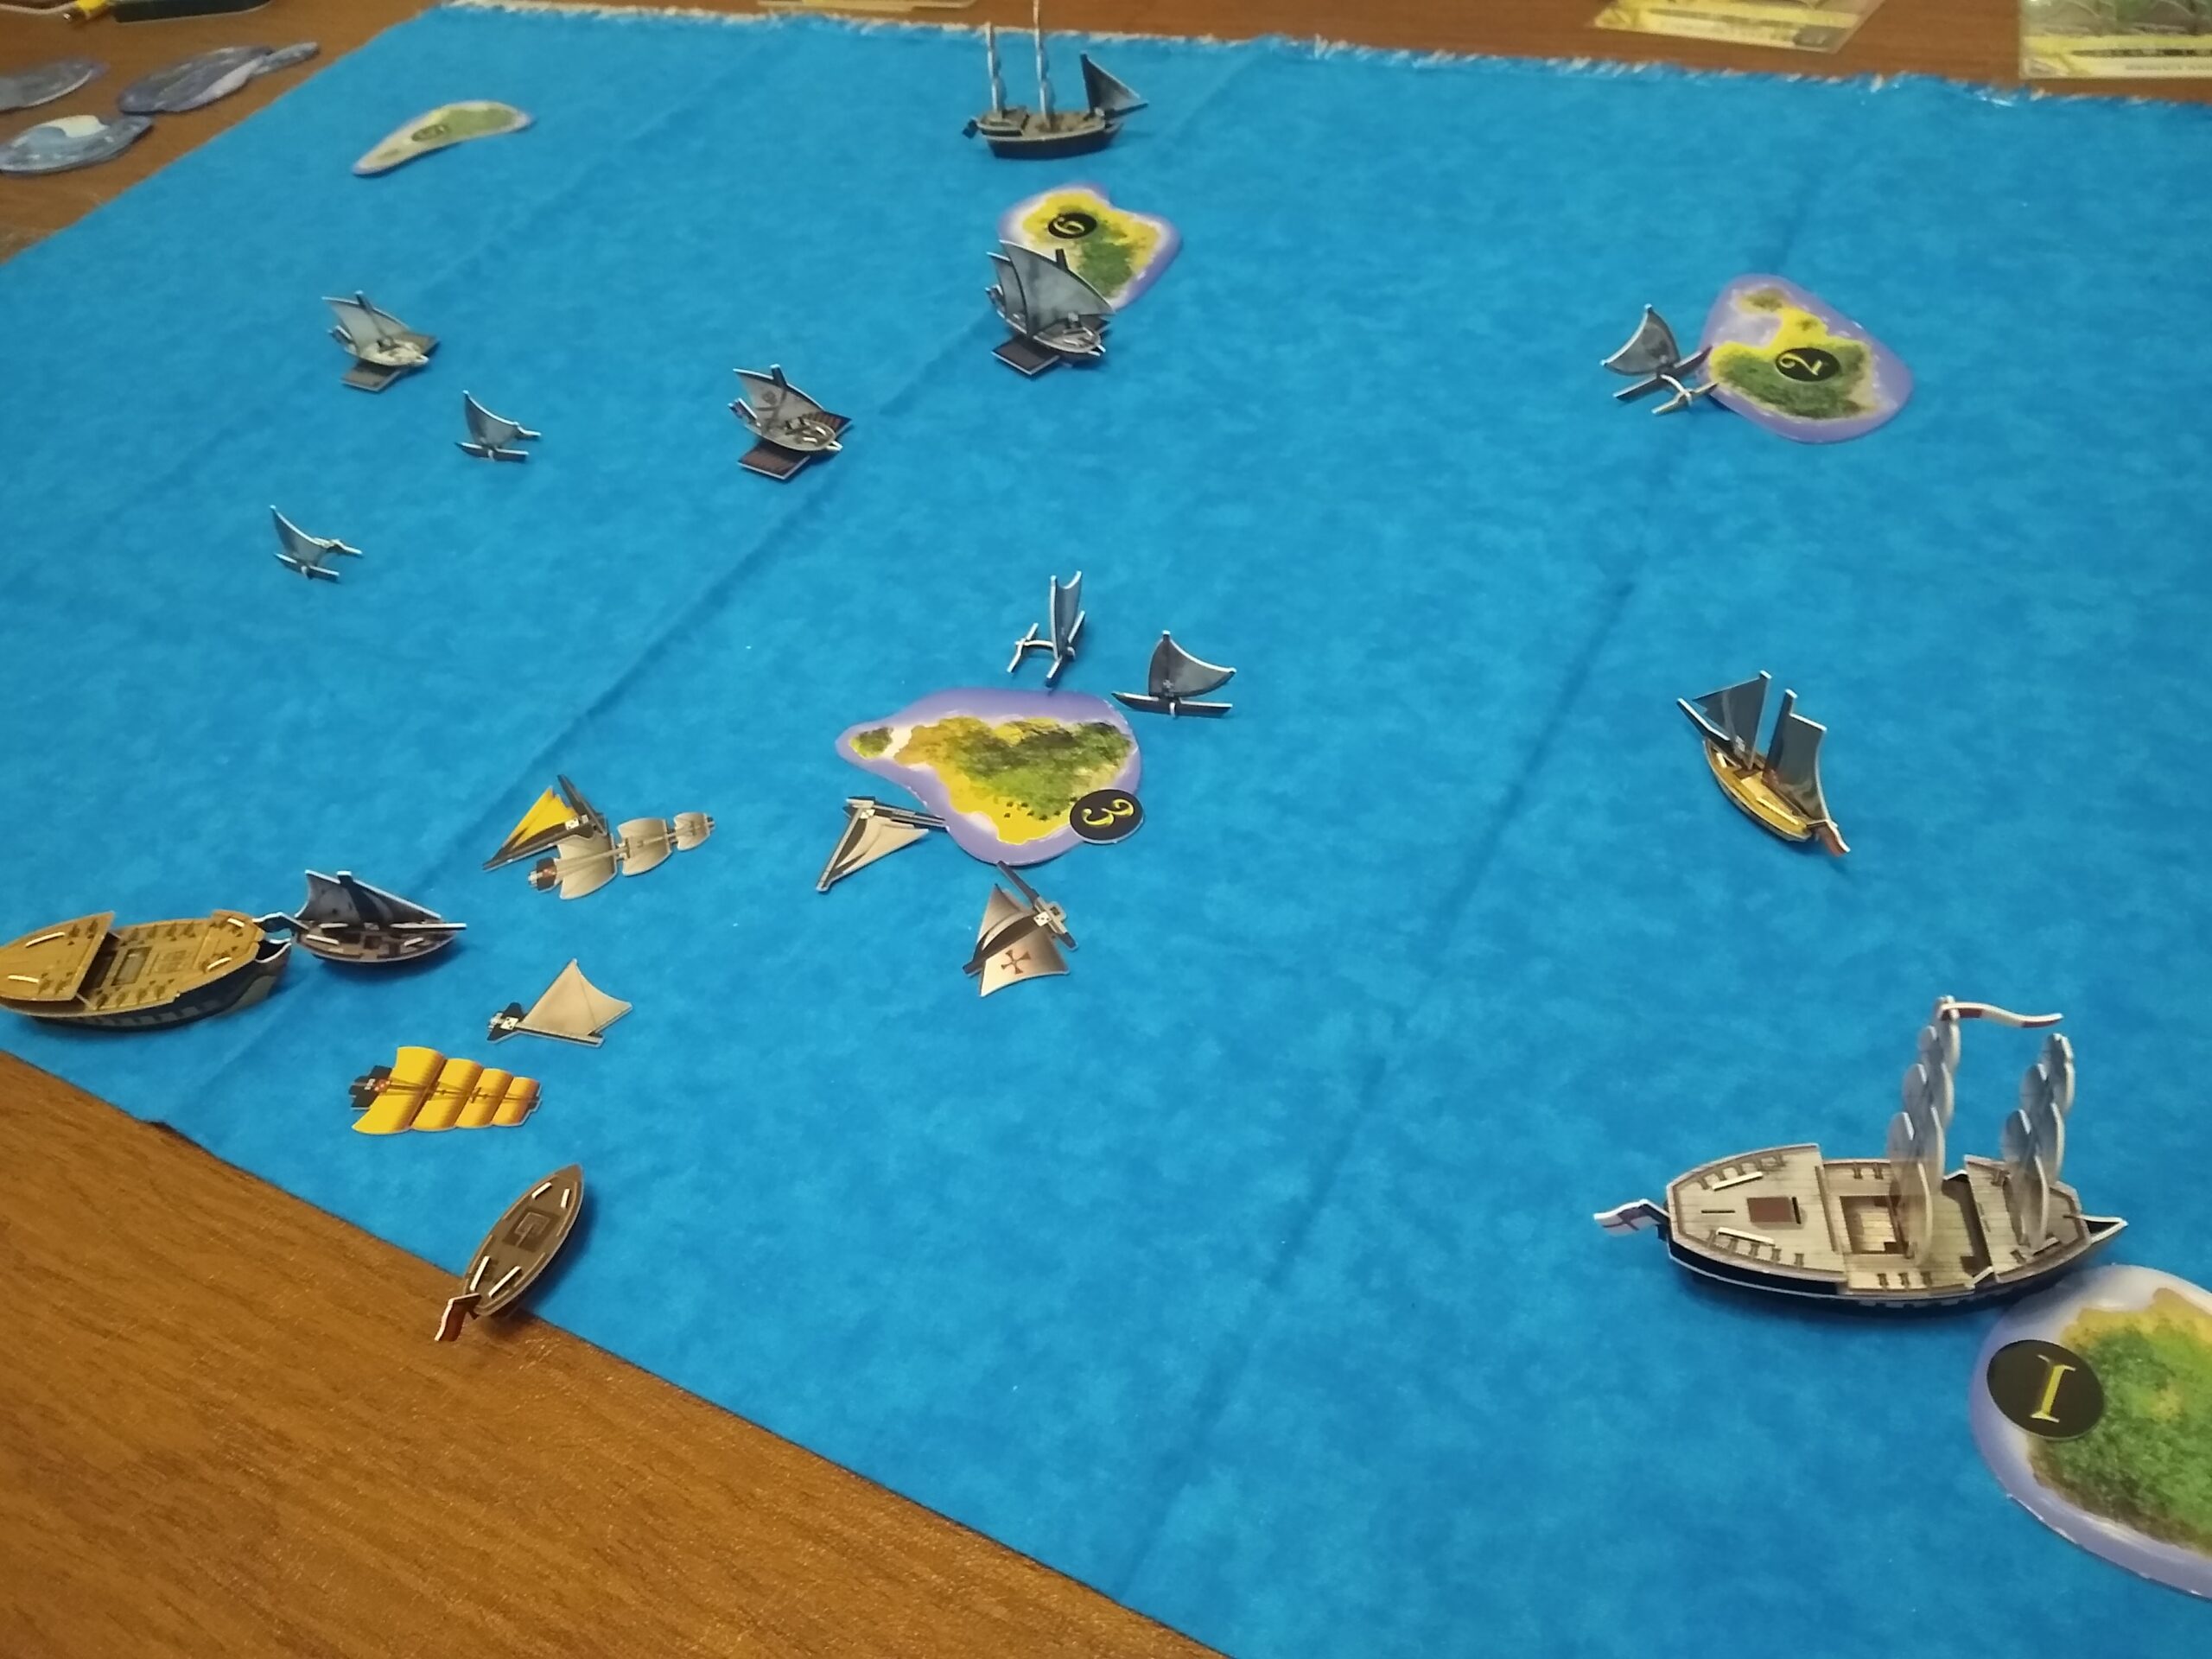
The Americans have explored two islands. Intrepid returns home for repairs, while Le Gaule returns home for repairs and to unload Bonny Peel’s valuable hostages.

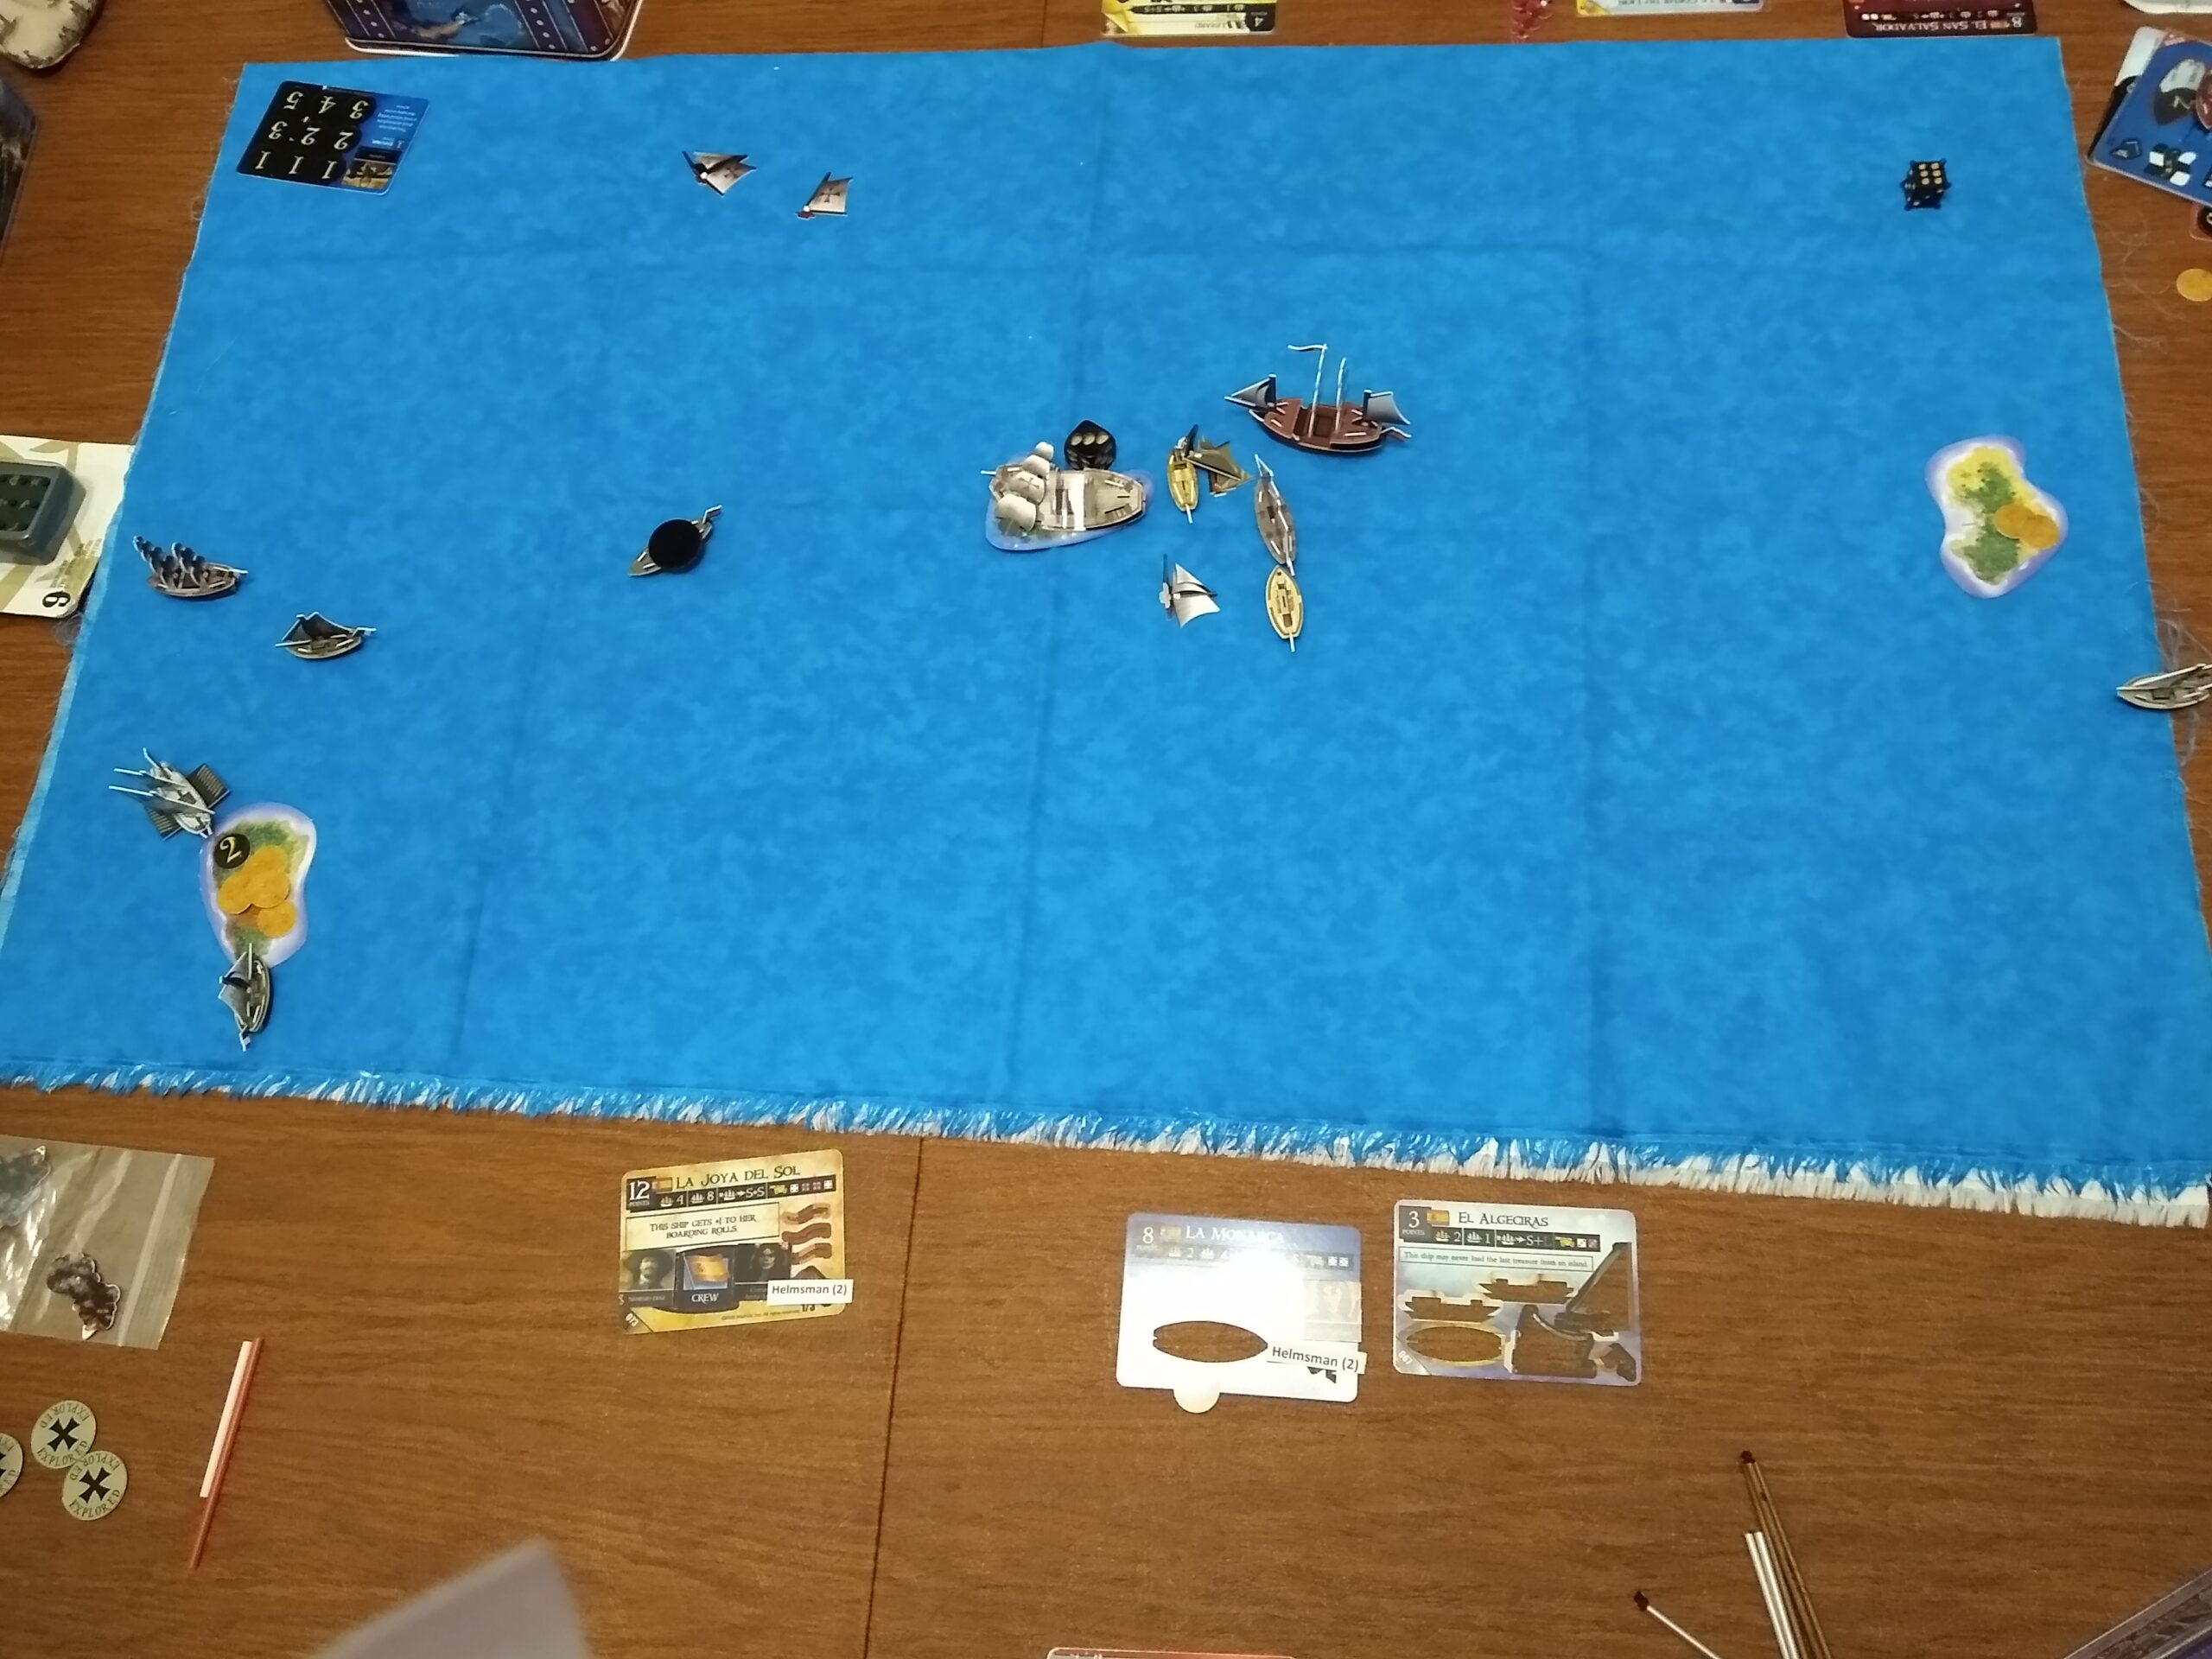
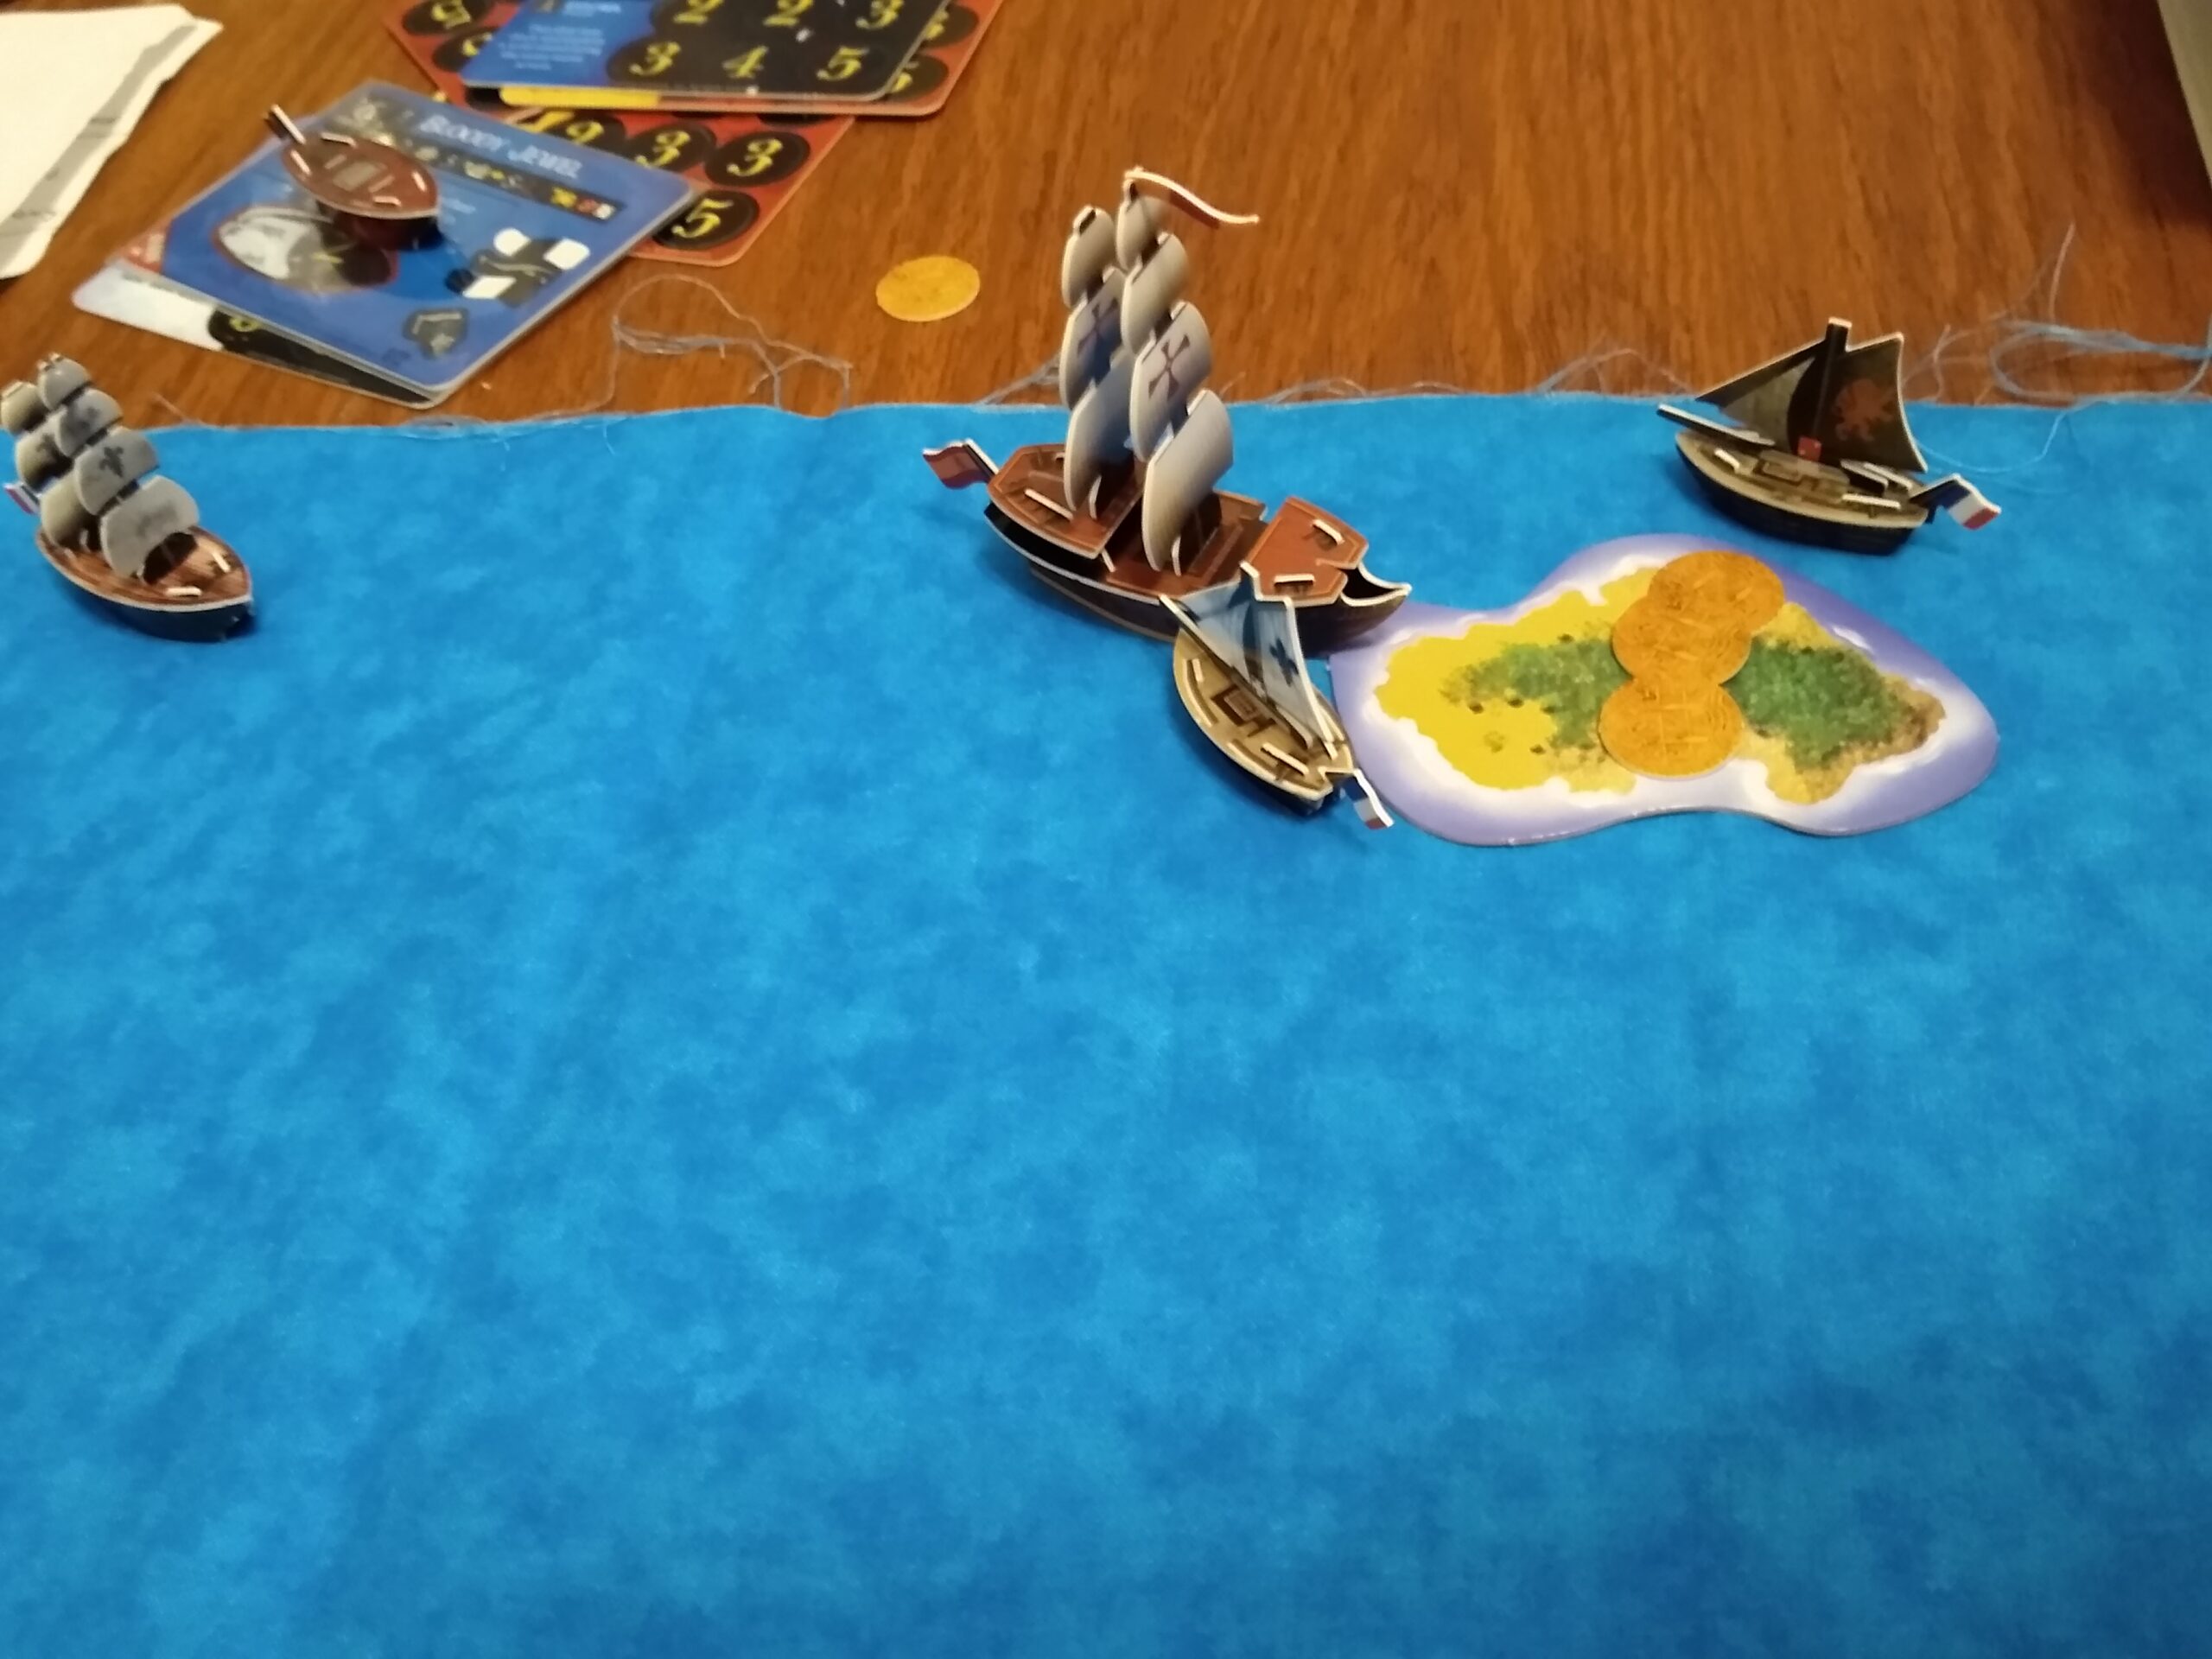
With two 7’s aboard, I was desperate to get the Wicked Kareen home (especially with no visible HI raiders present). She emerged from the fog bank and took a whirlpool shortcut into home waters, losing a mast in transit. In the northeast (far right), Tasmanian Devil and Shaihulud take up escort positions surrounding the Queen of Sheba. I believe the galley had even more gold on her than Wicked Kareen (I think 7,6,4). Intrepid and Gaule repair, while Kyle continues playing a very patient game.

Minuteman shot a mast off Wicked Kareen on Luke’s turn. He tried to position Rattlesnake to block incoming shots from hitting the Carolina/Minuteman.

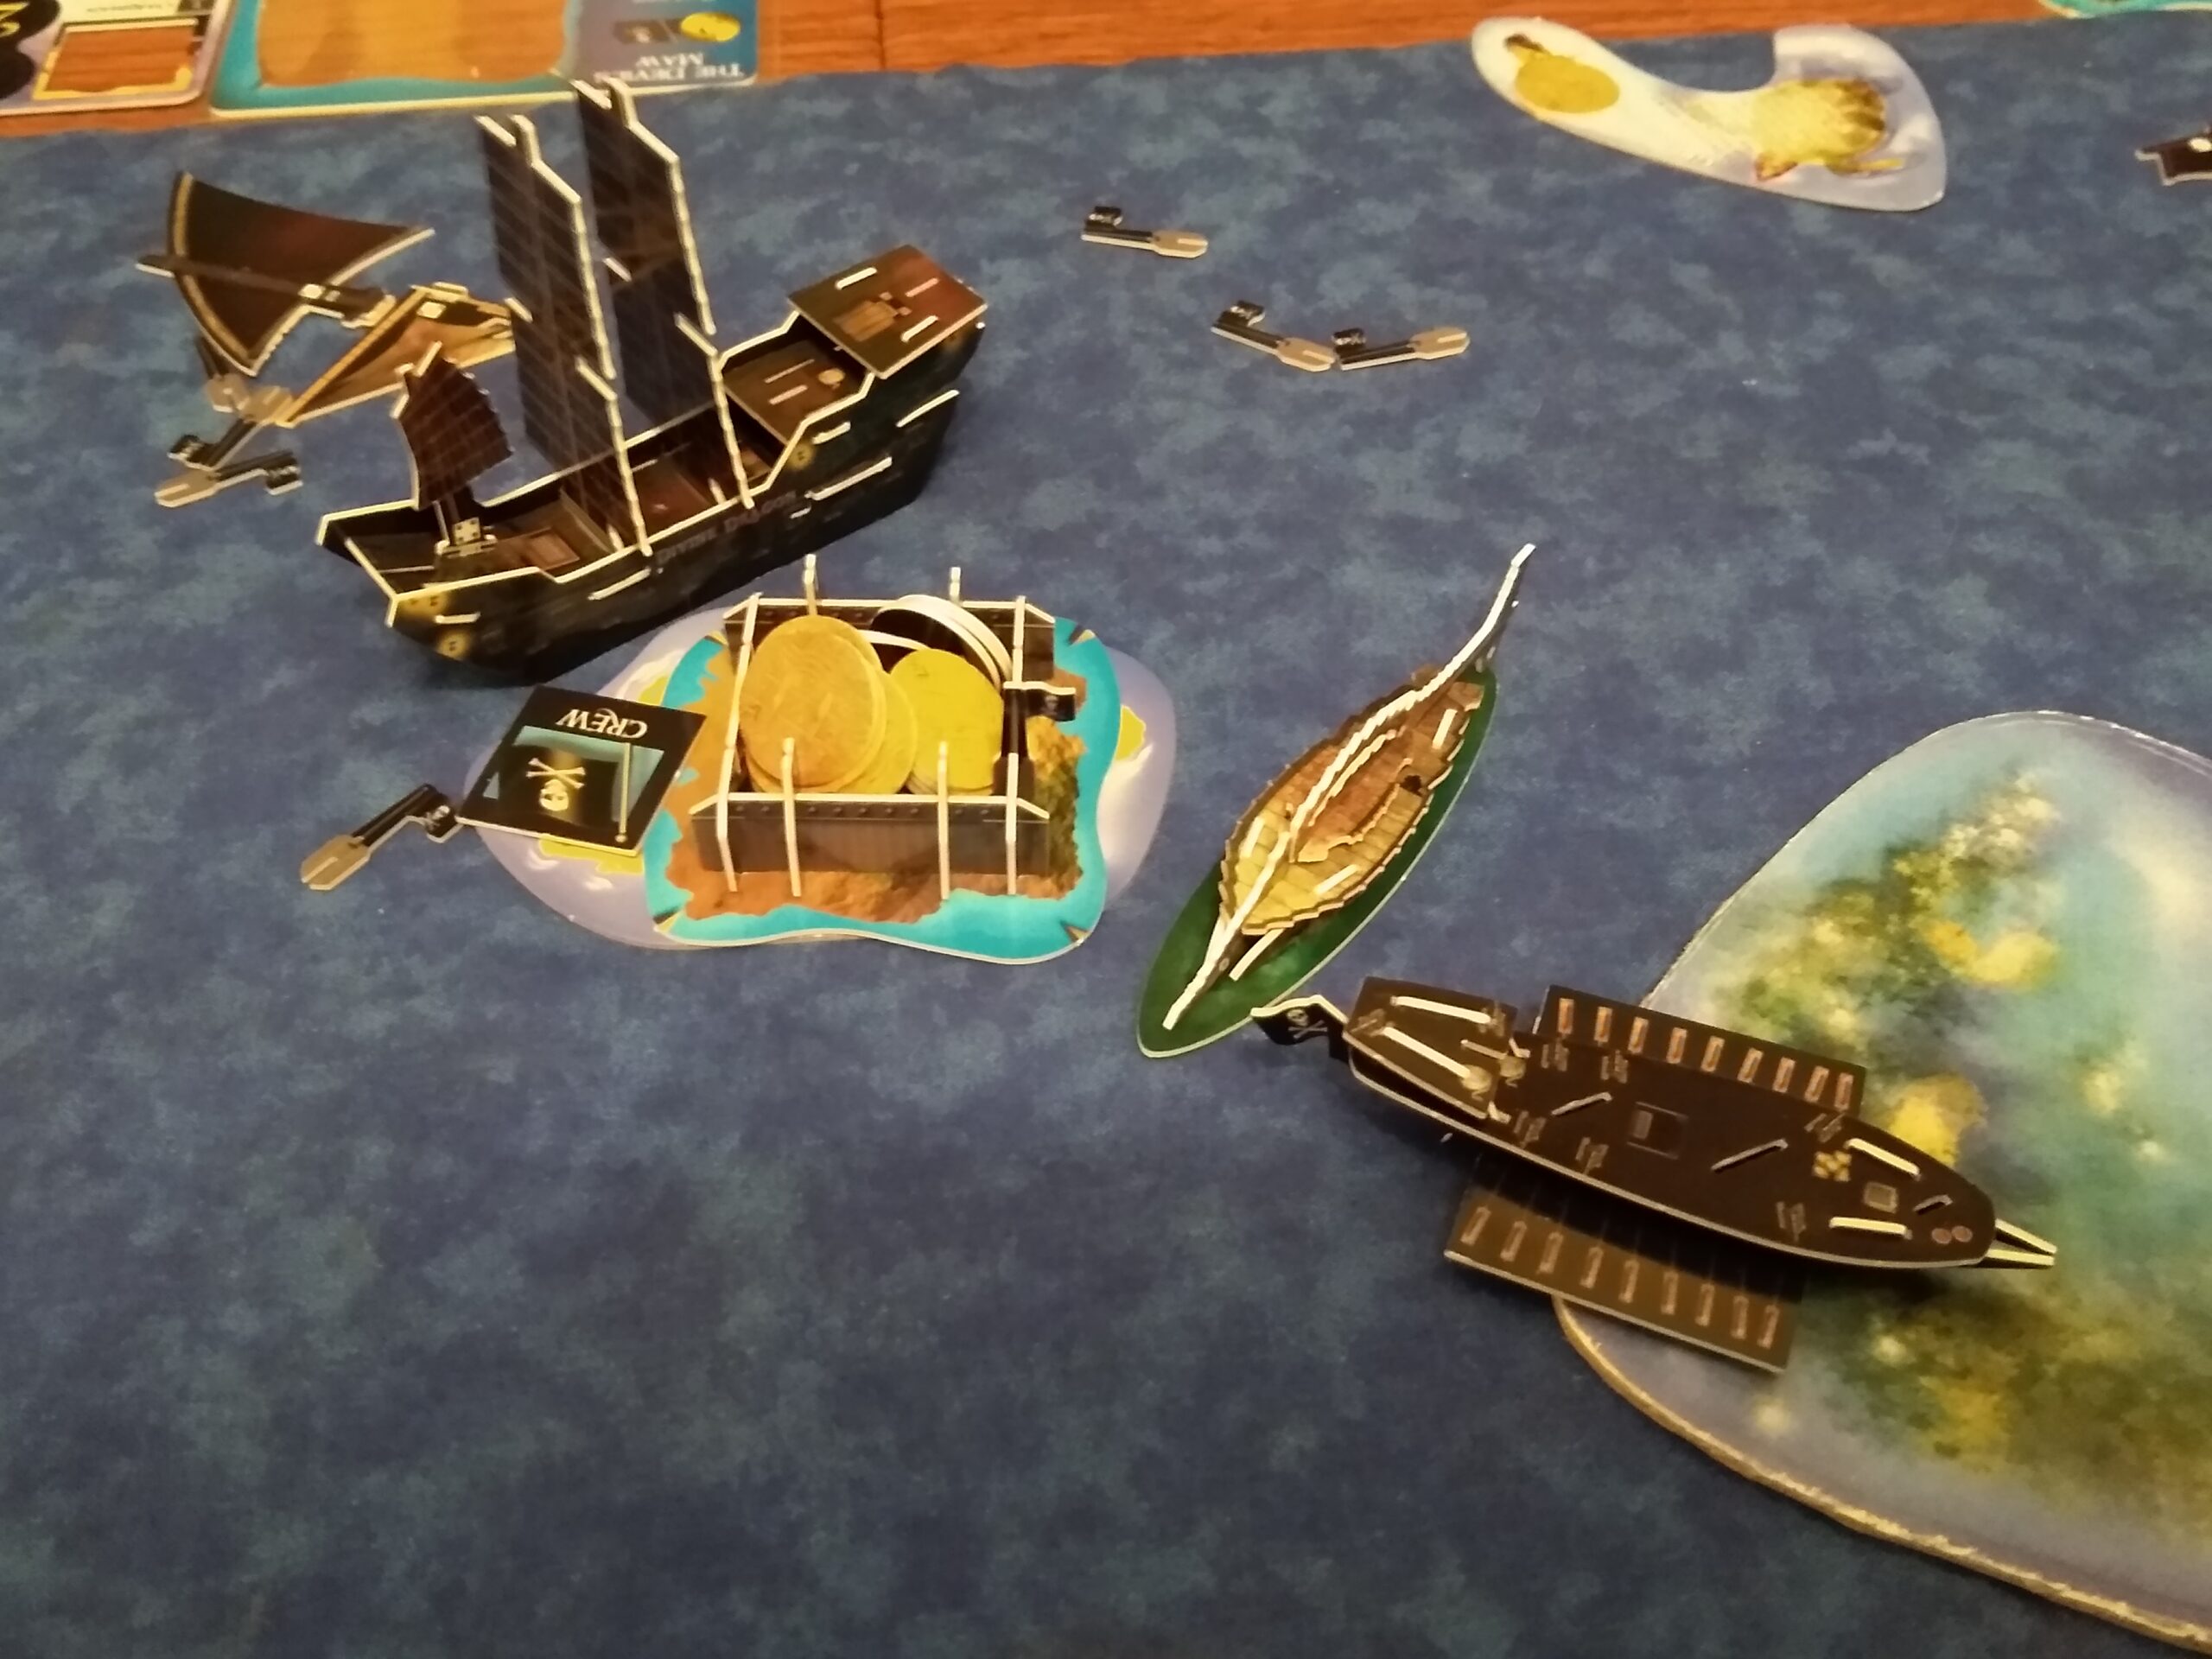
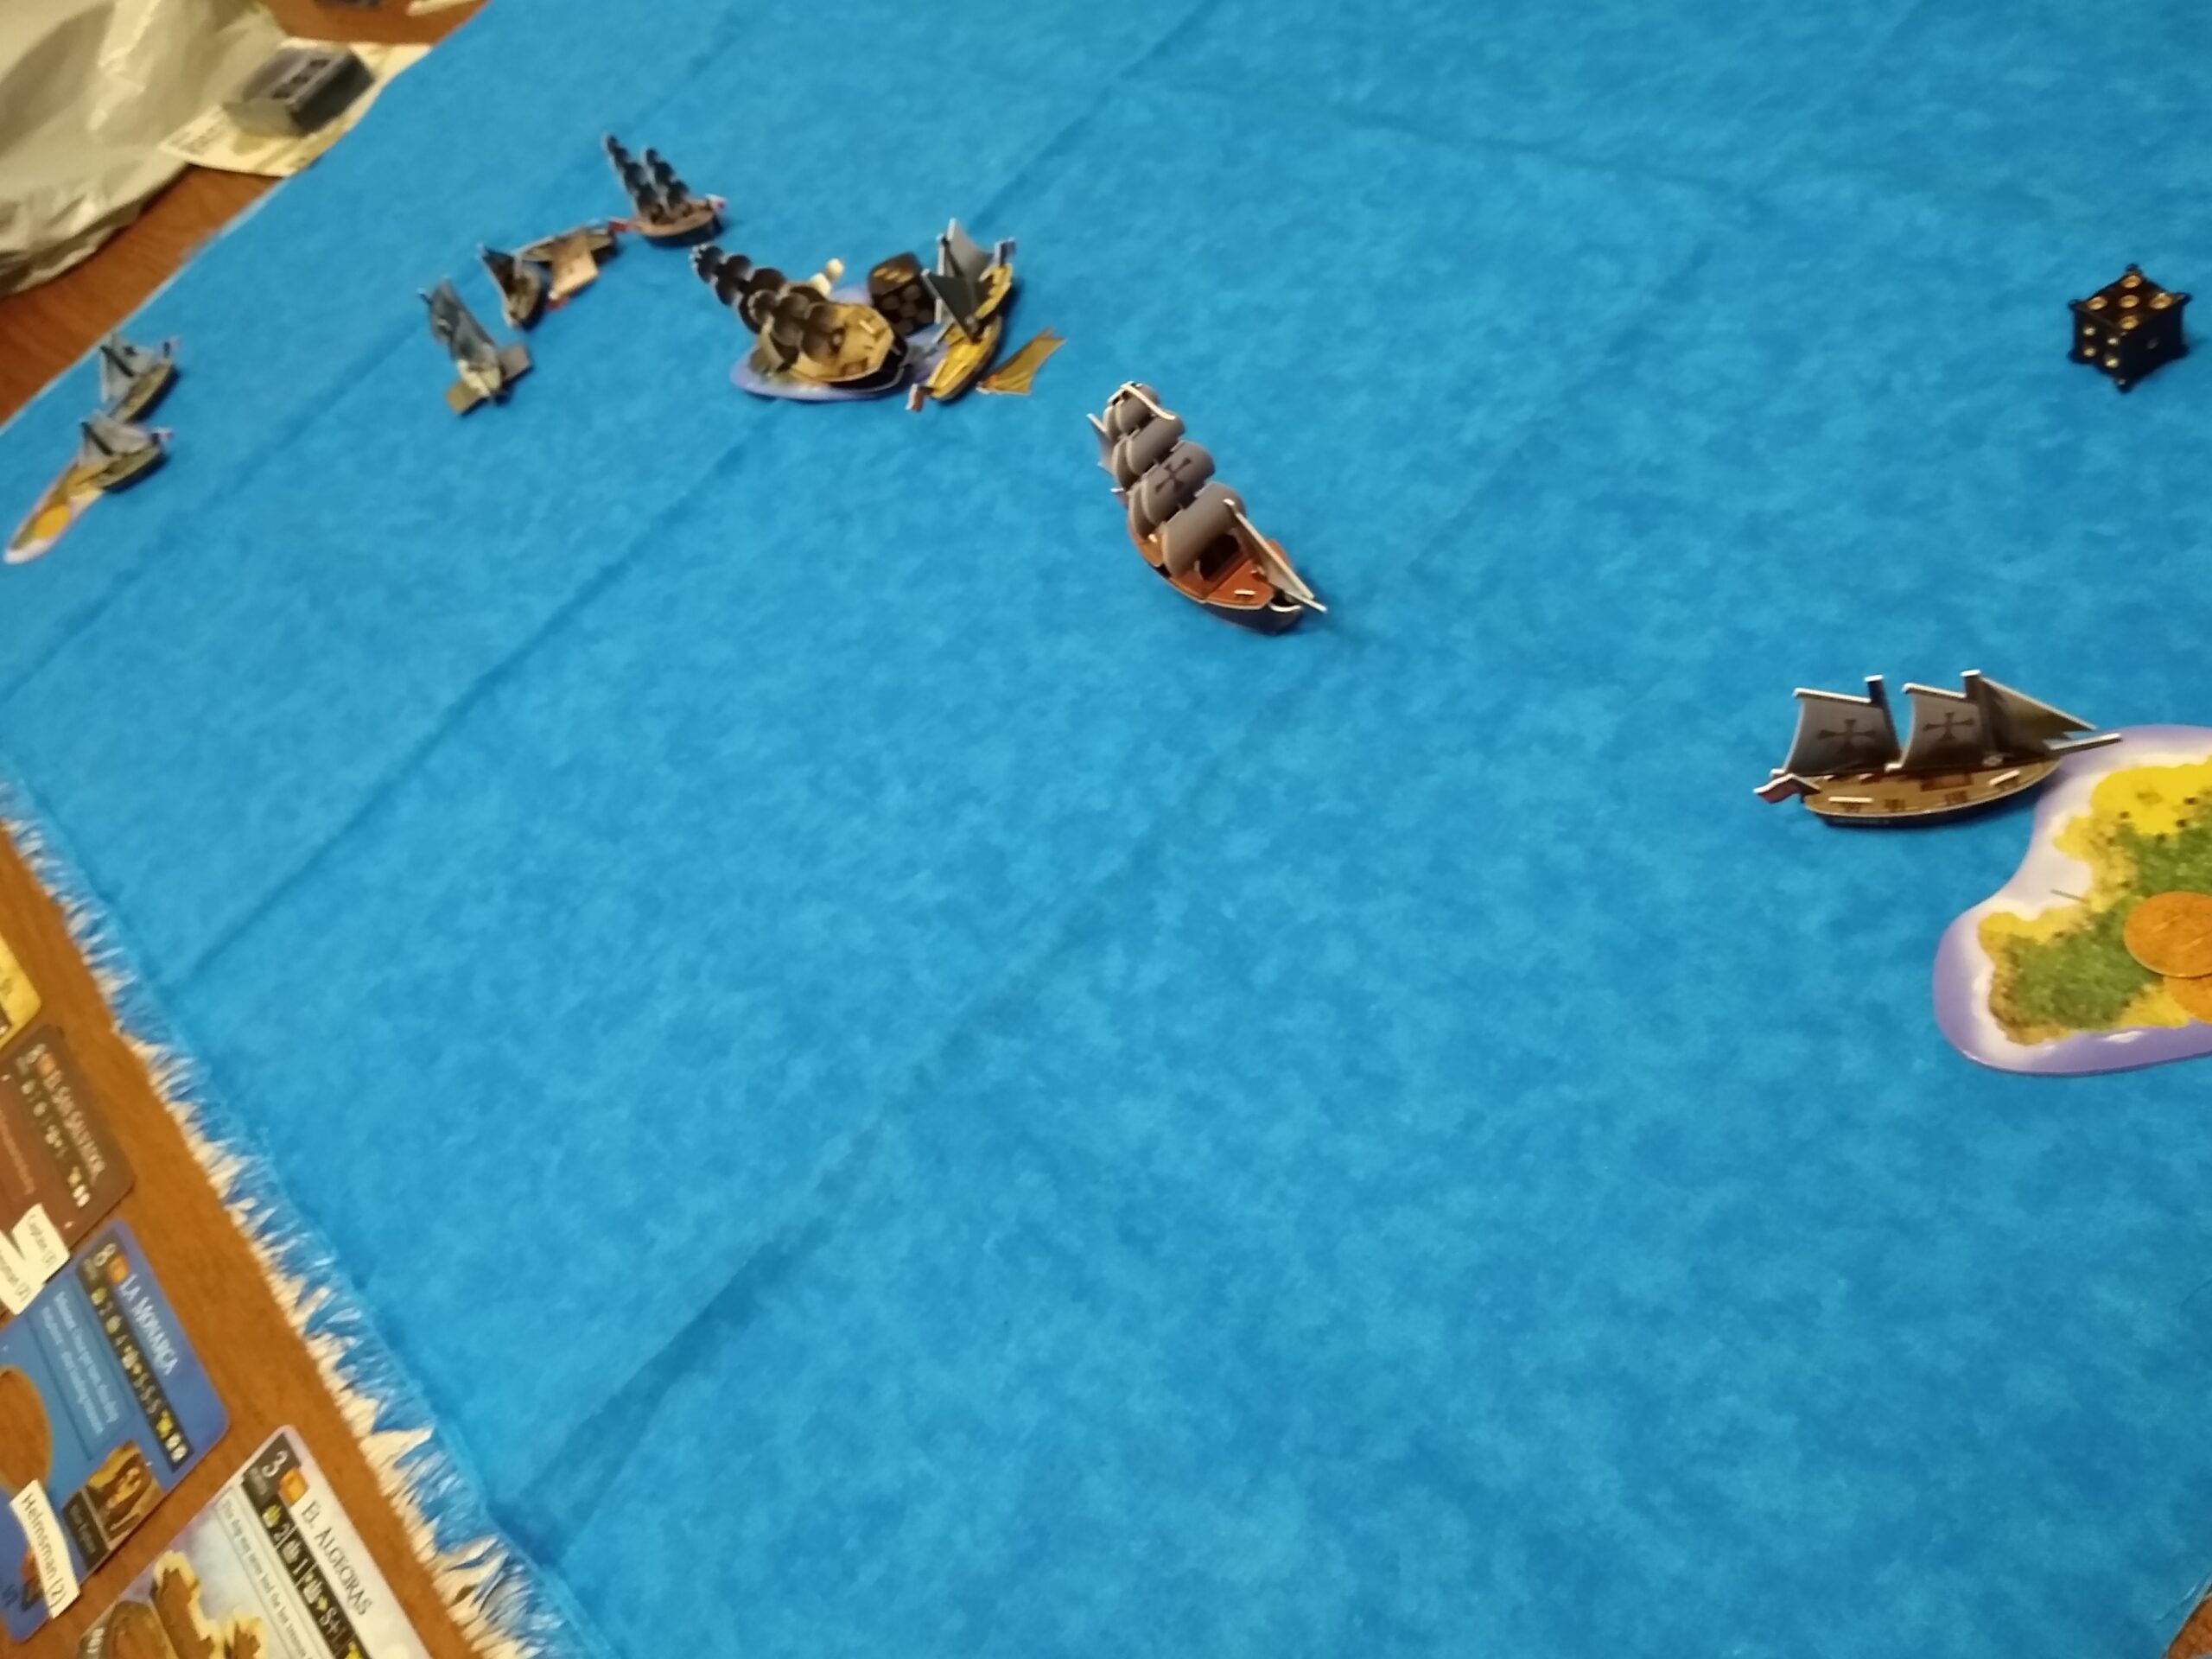
Le Gaule takes center stage once again! She whirls into action, dismasting the Wicked Kareen and capturing her captain! Wicked Kareen rows S+S towards home but cannot reach it. HMS Durham got an extra action from Admiral Morgan and has switched fog banks, sinking the Rattlesnake on her way there.

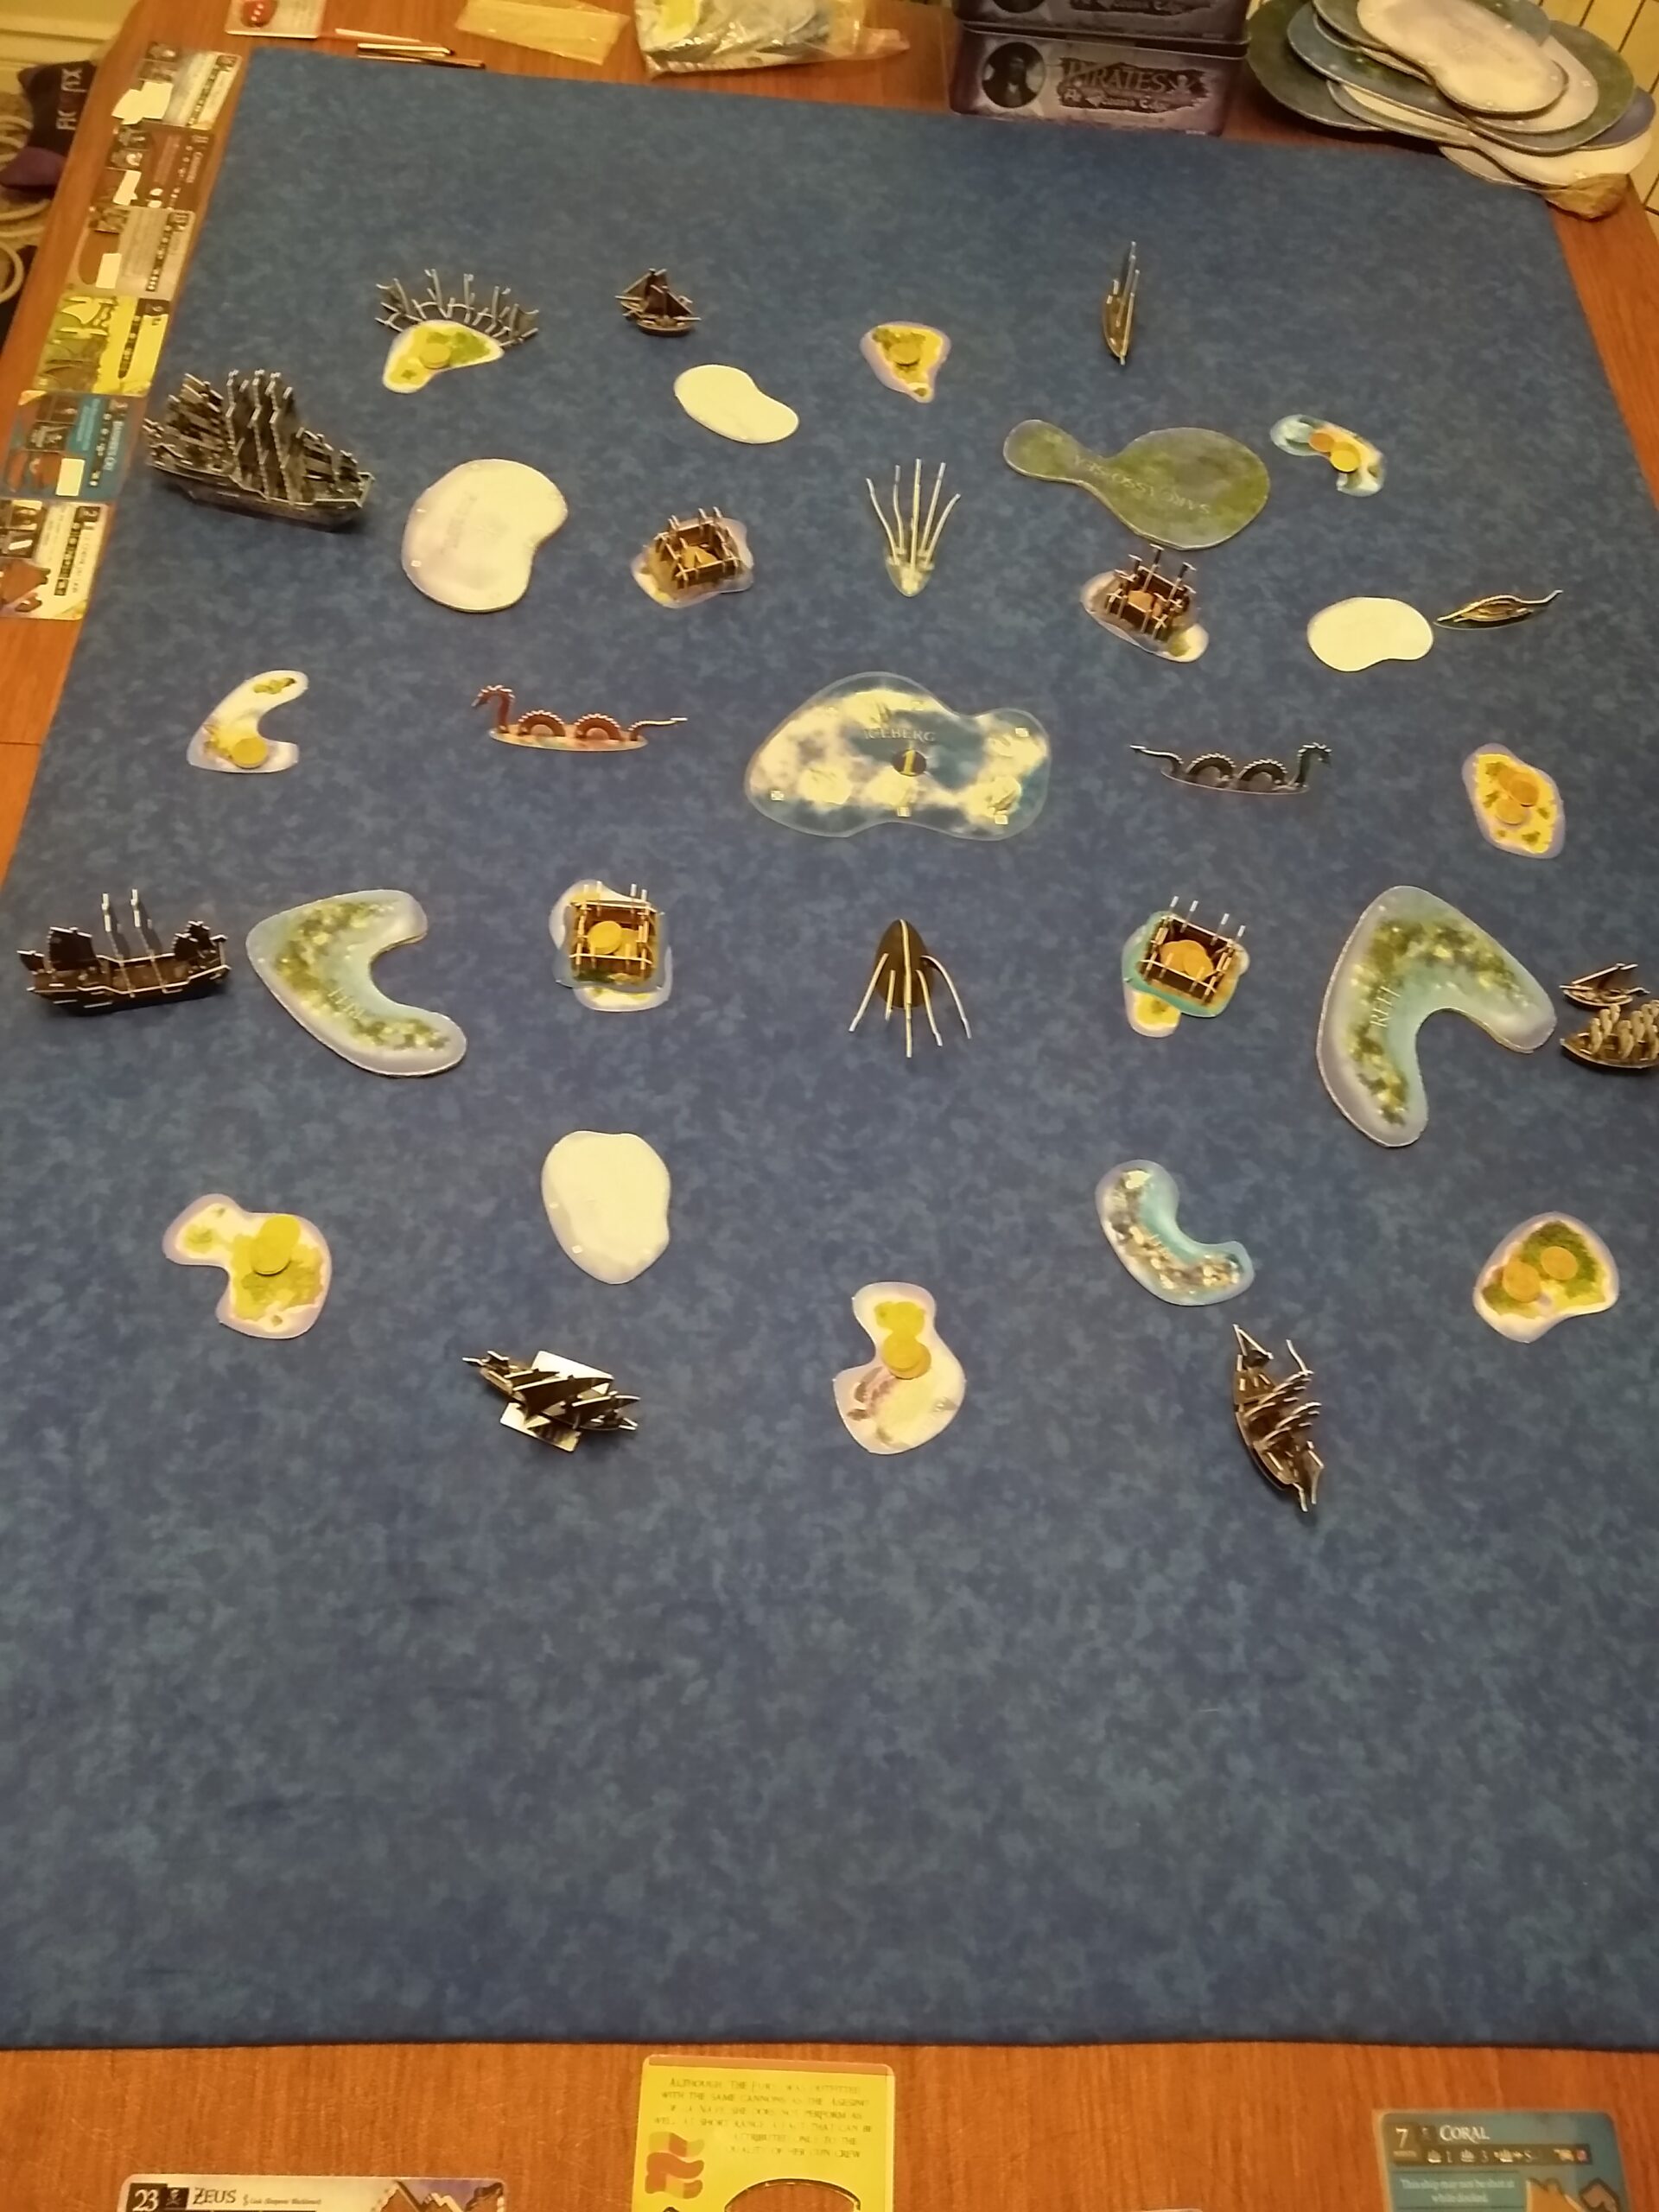
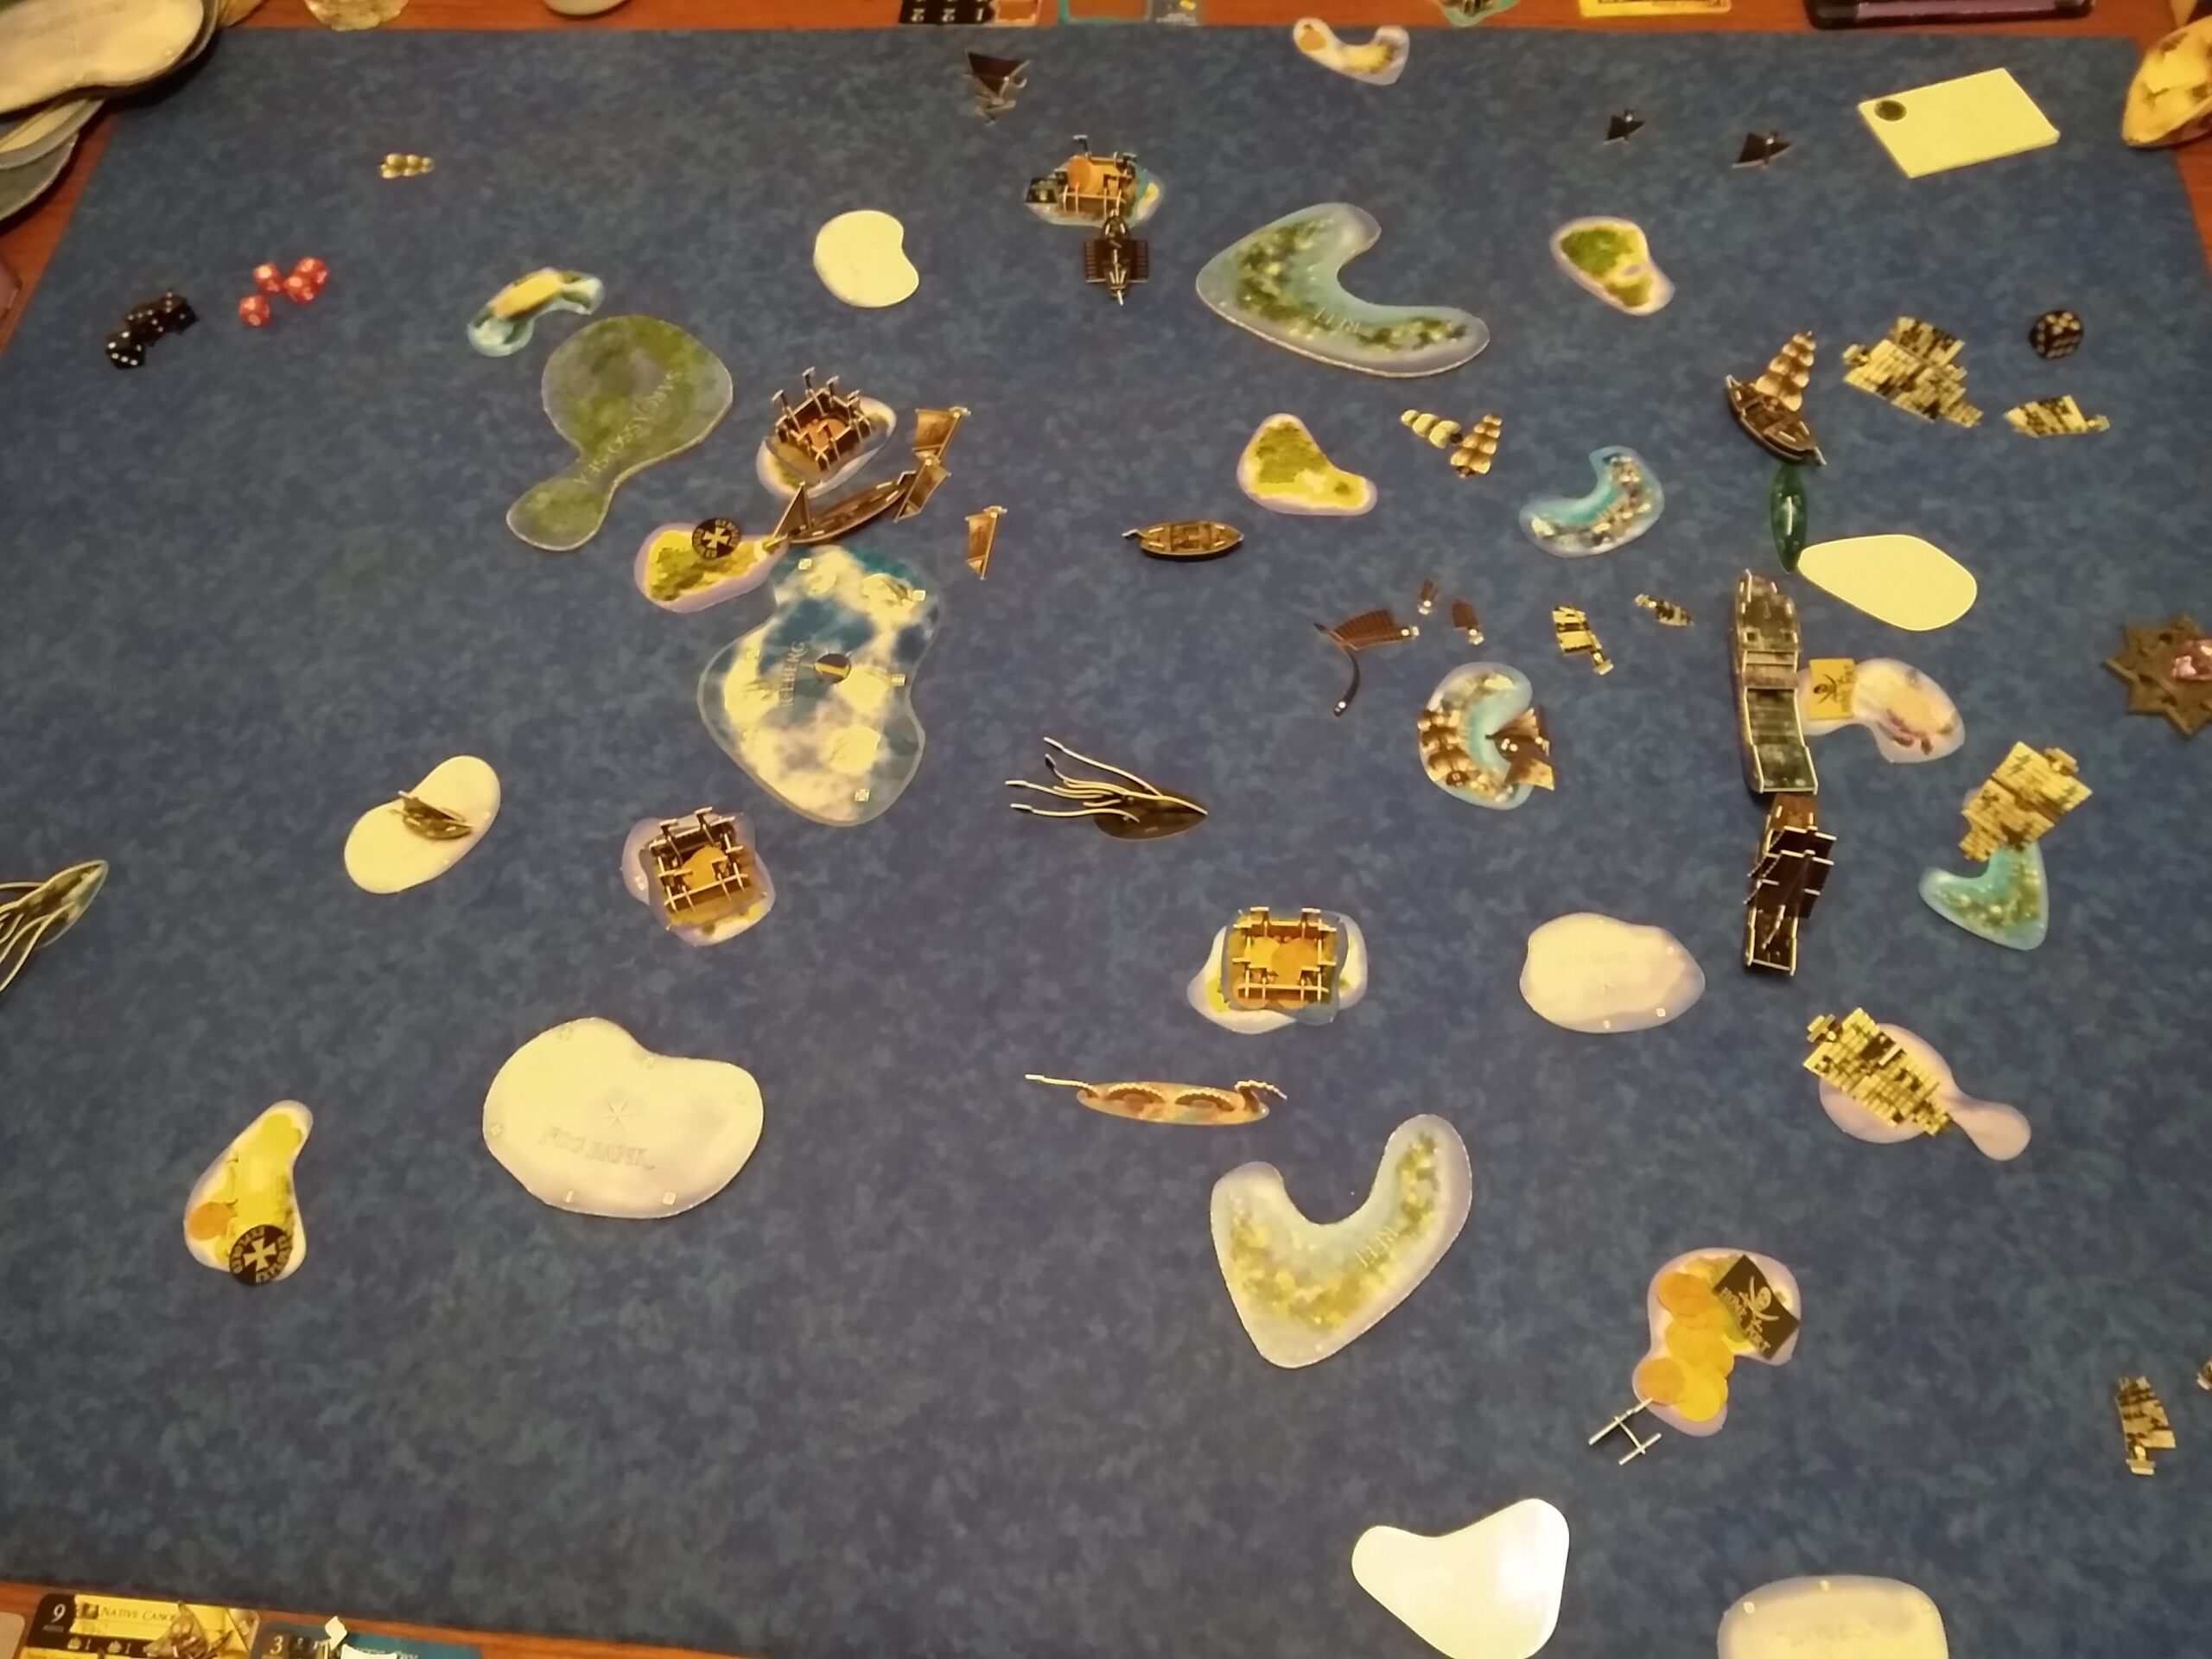
Carolina ditched Minuteman to whirl home, with the flotilla shooting masts off Le Gaule. HMS Durham sank the Wicked Kareen! Intrepid is now fully repaired, but Le Gaule will have to pull into port for another repairing session. At the top, my close trio is making full sail towards the whirlpool in the northwest.

I was being way too aggressive with the setup, sending my trio of ships through the whirlpool towards home in an eager attempt to get Queen of Sheba’s gold unloaded safely. However, Kyle used HMS Durham coming out the back end (normally suboptimal) of a nearby fog bank to shoot and sink the galley! At this point I knew I was out of it, with only a loaded Mercenary ship and a 0-cargo sea monster in my fleet.
Luke was using the Intrepid to look for gold, using his amazing “schooner swing” tactic to move pseudo-backwards in a clockwise direction.

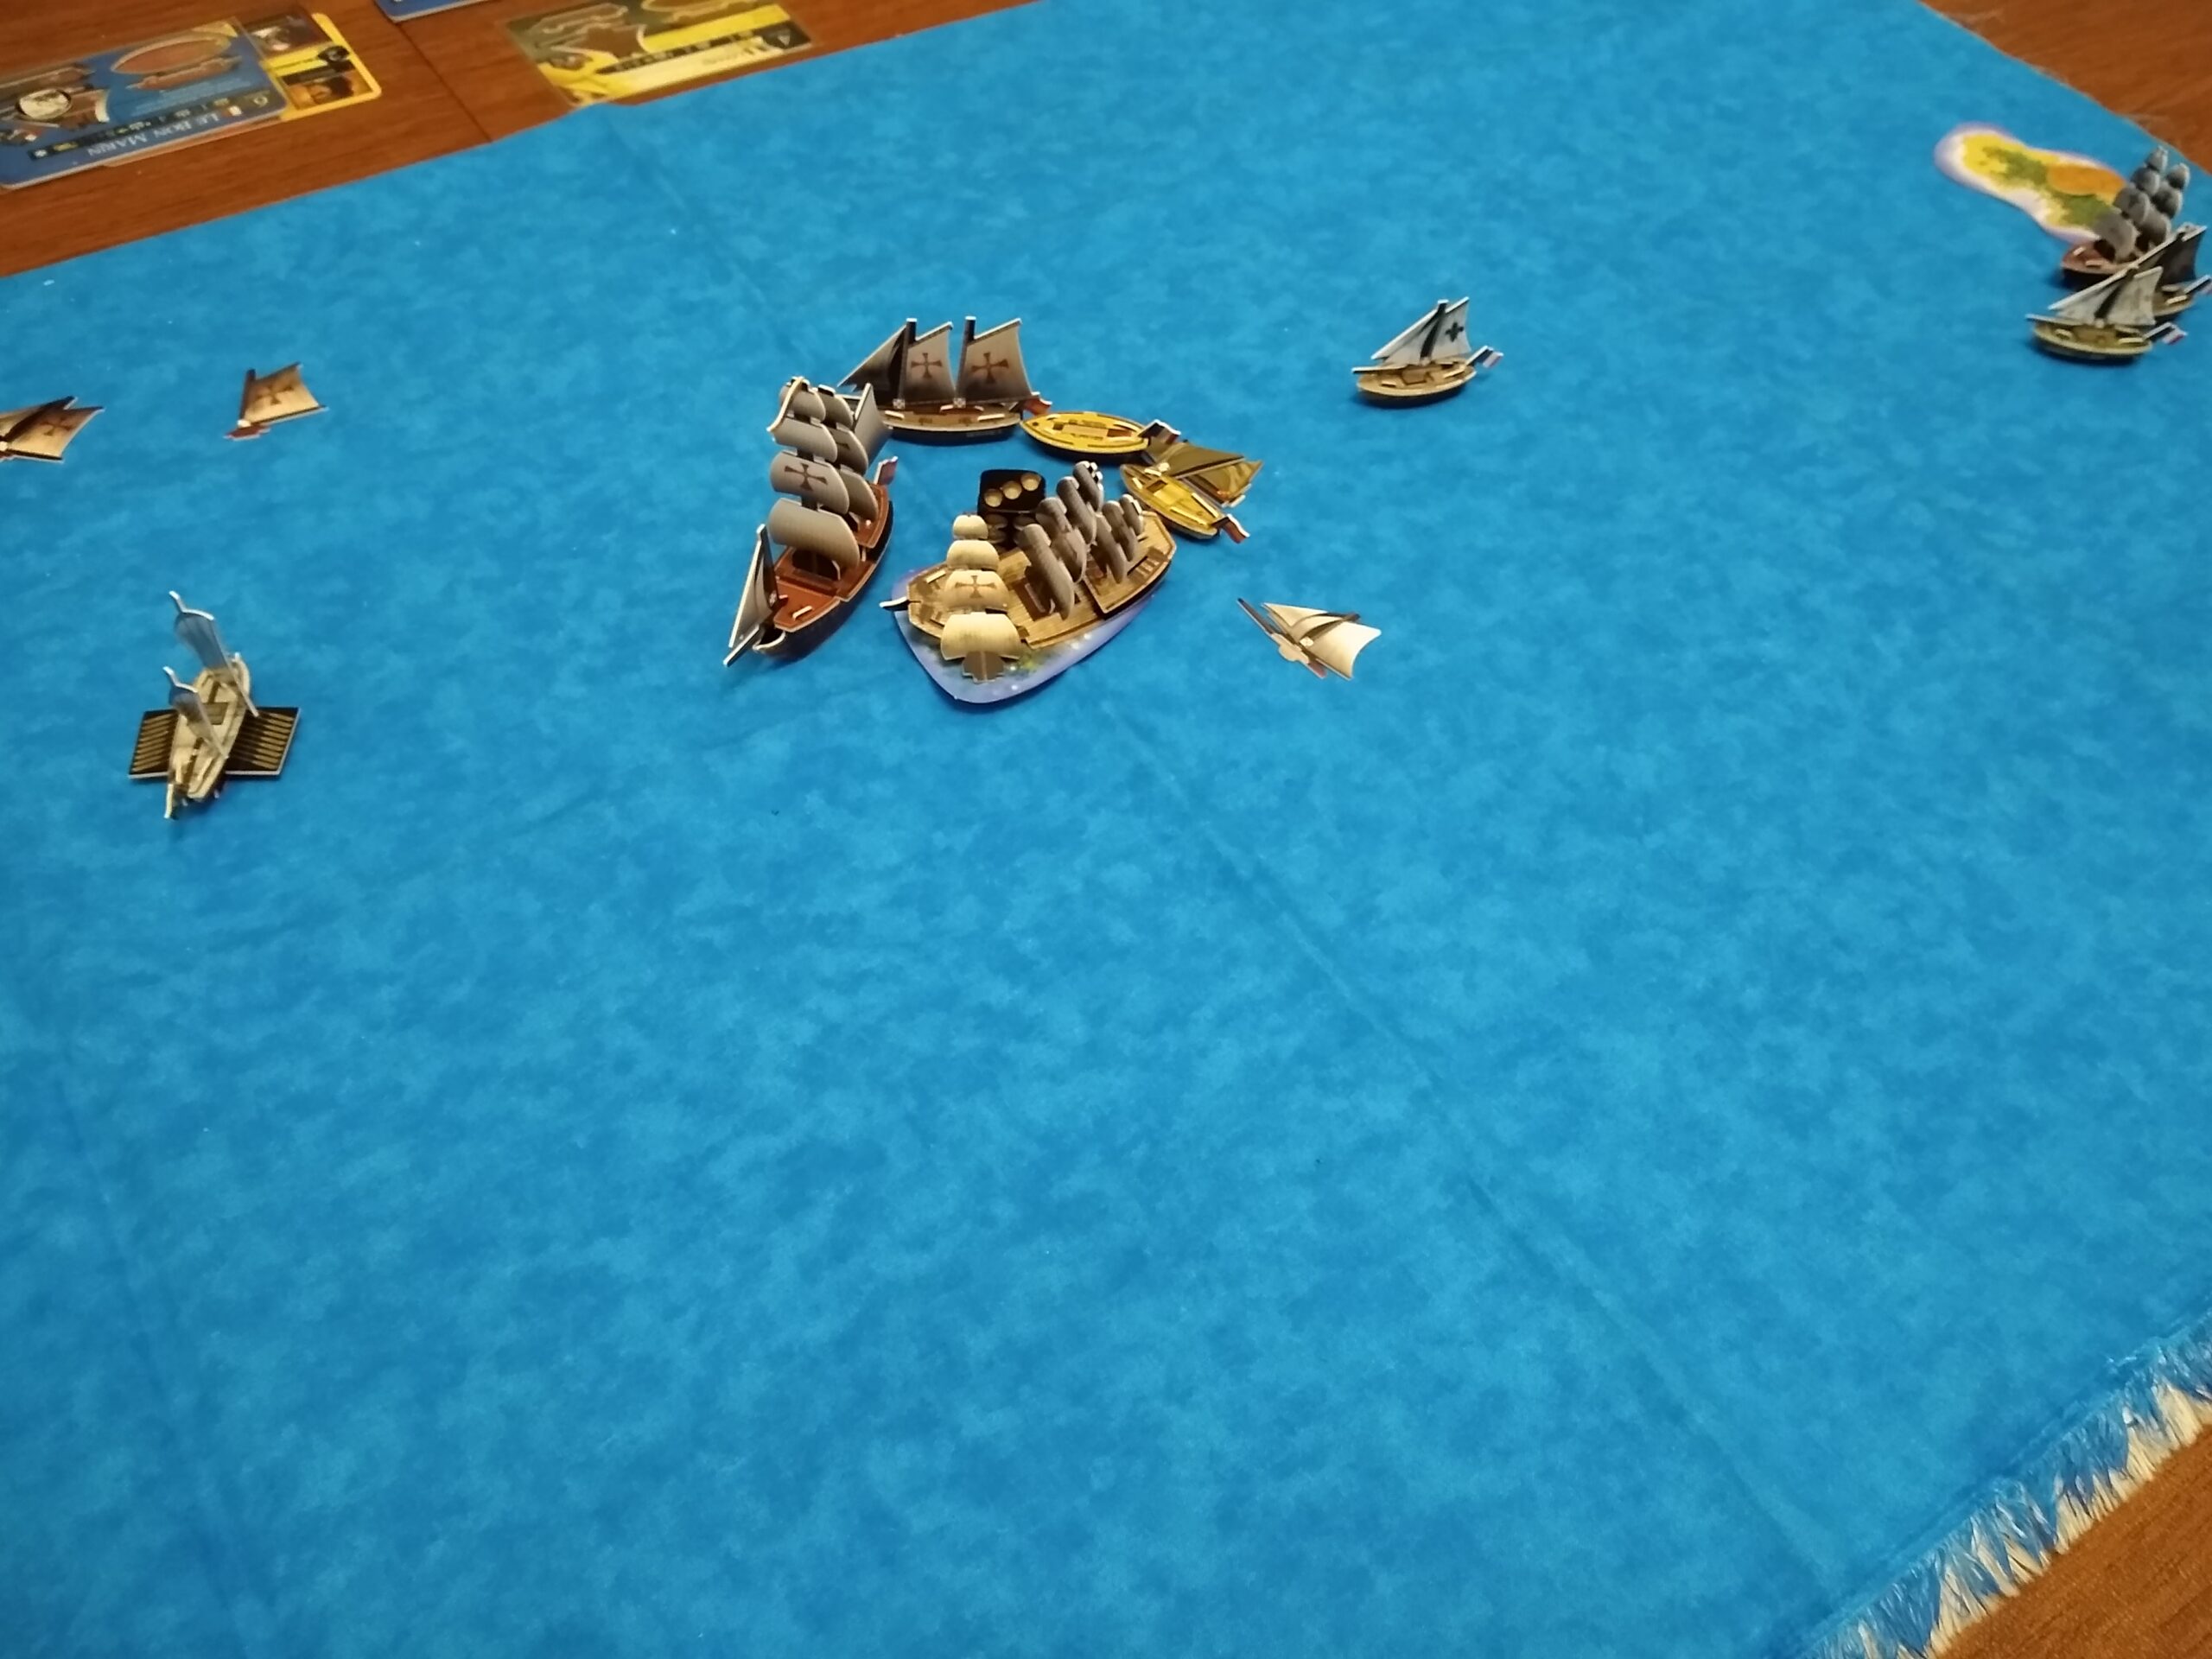
Le Gaule ended up aflame from a brutal engagement near the center, but Xerecs managed to come away with the Intrepid from it!

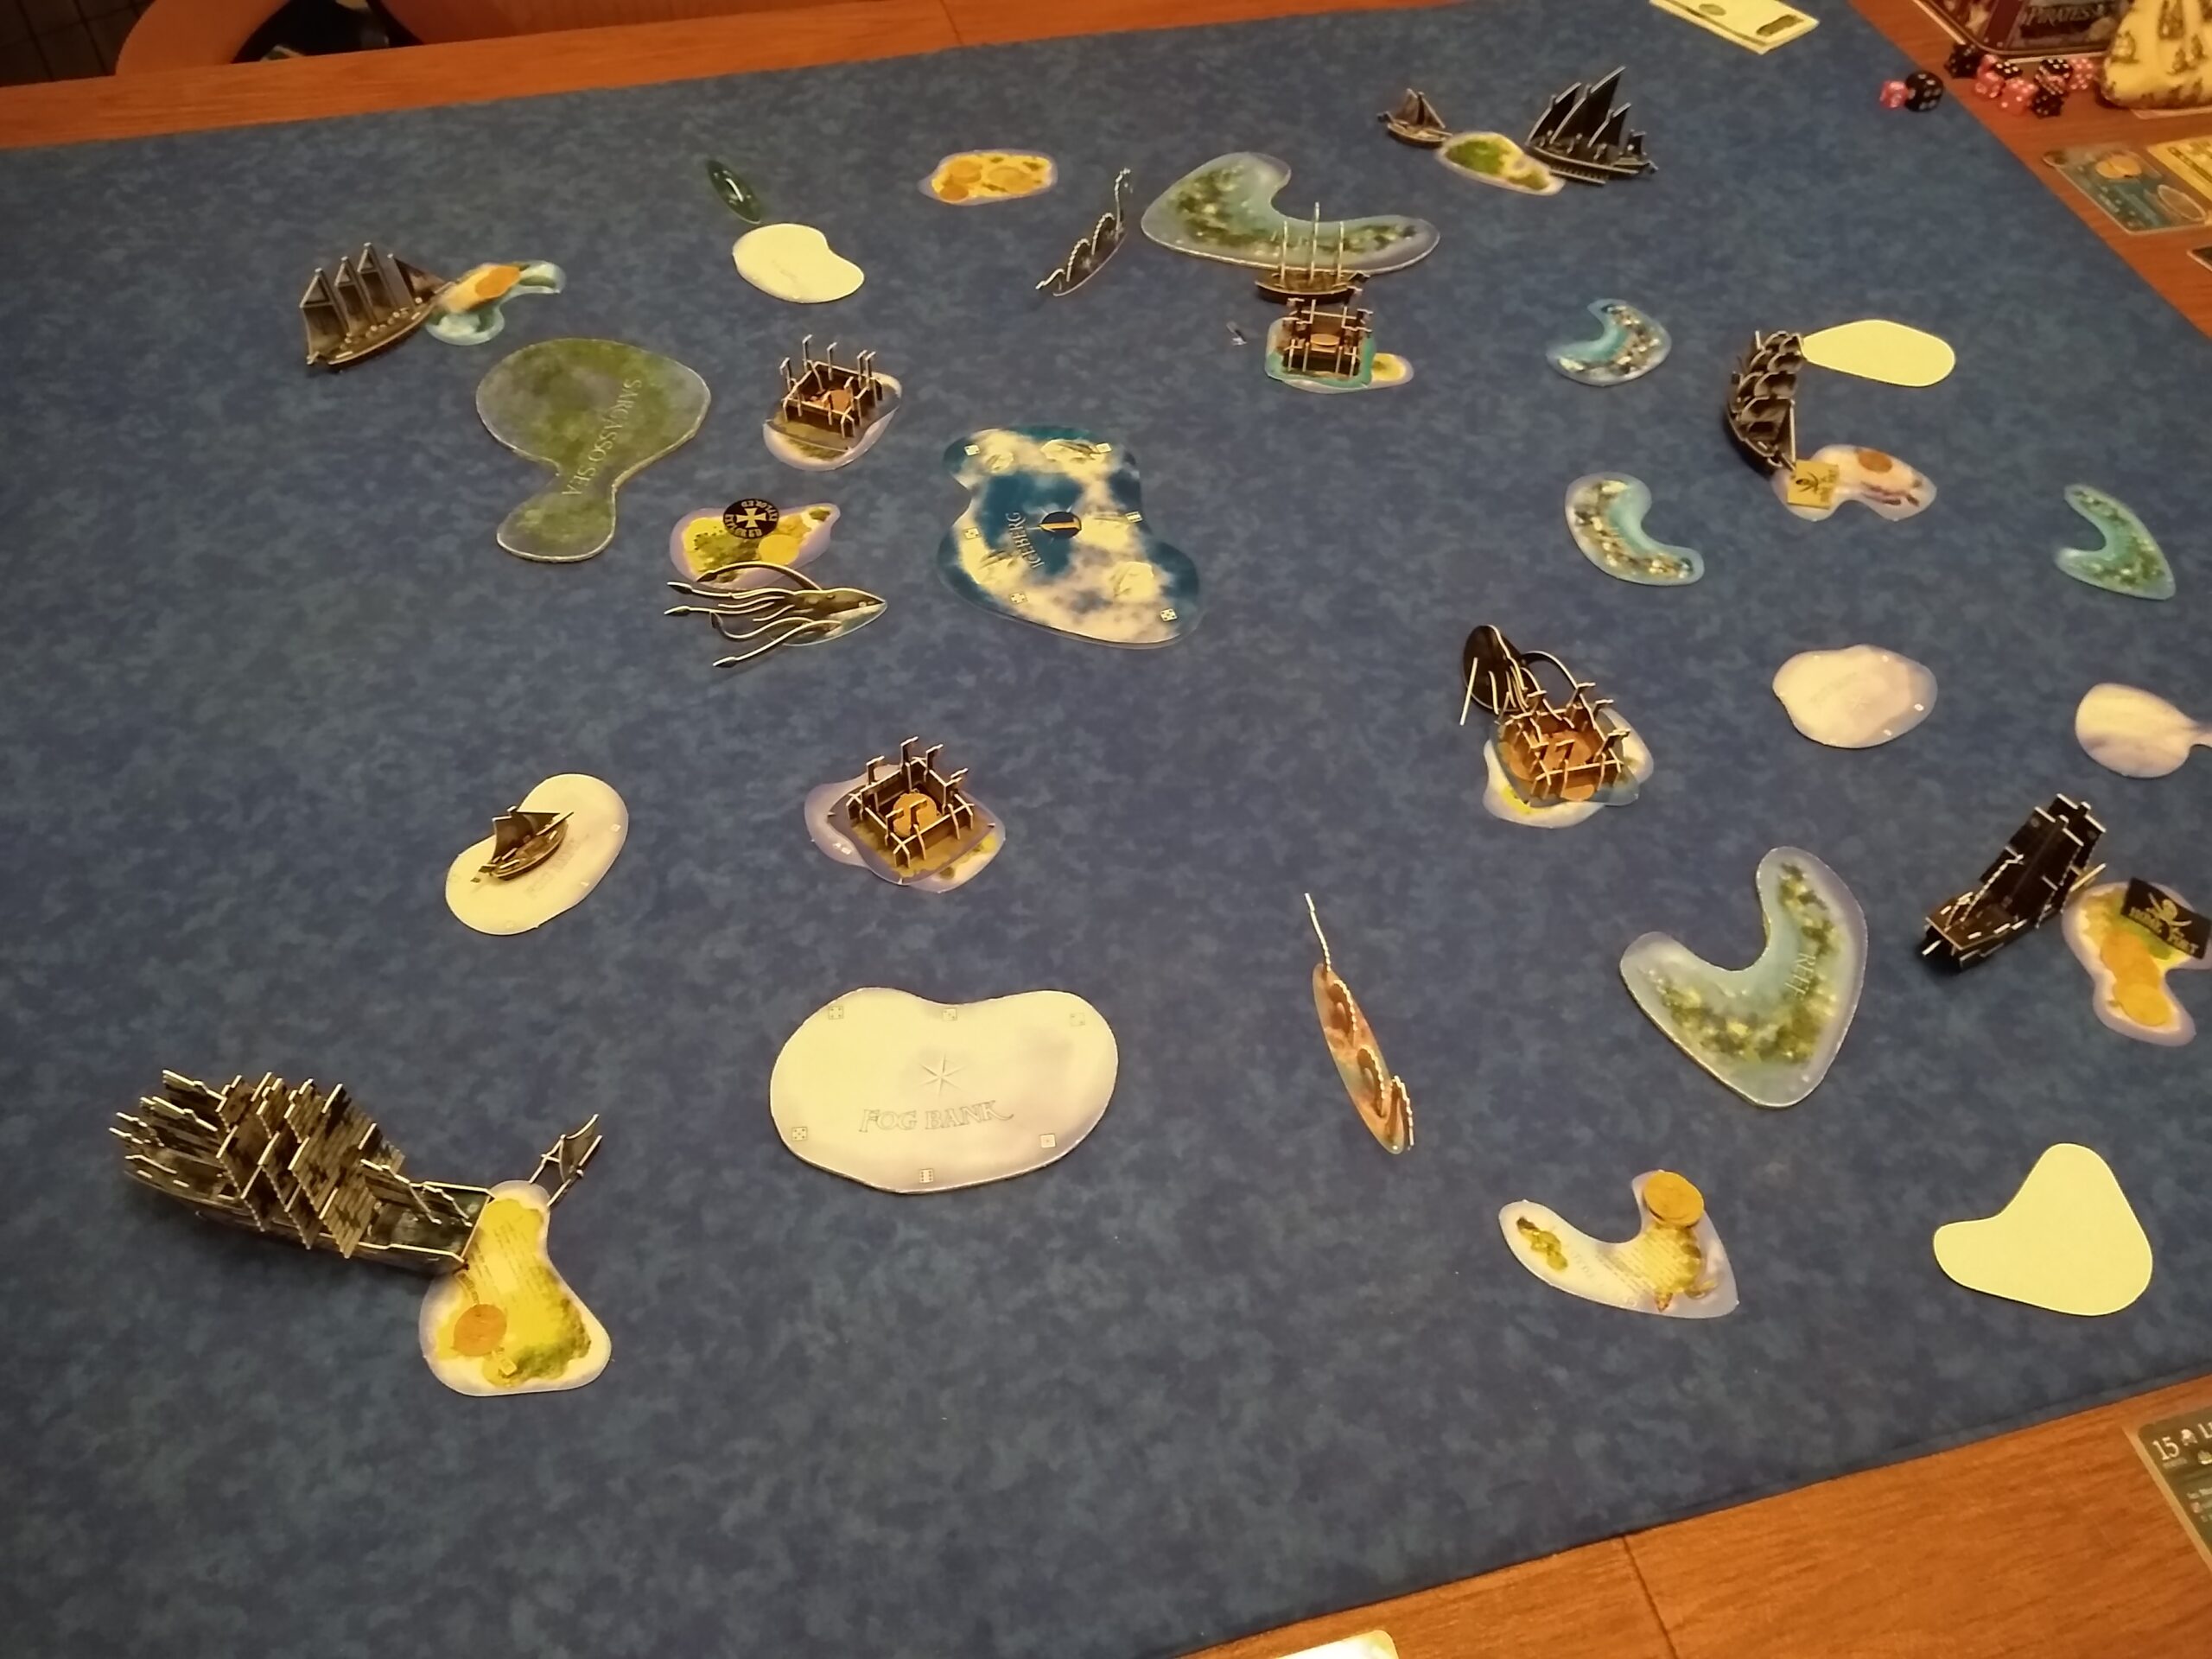
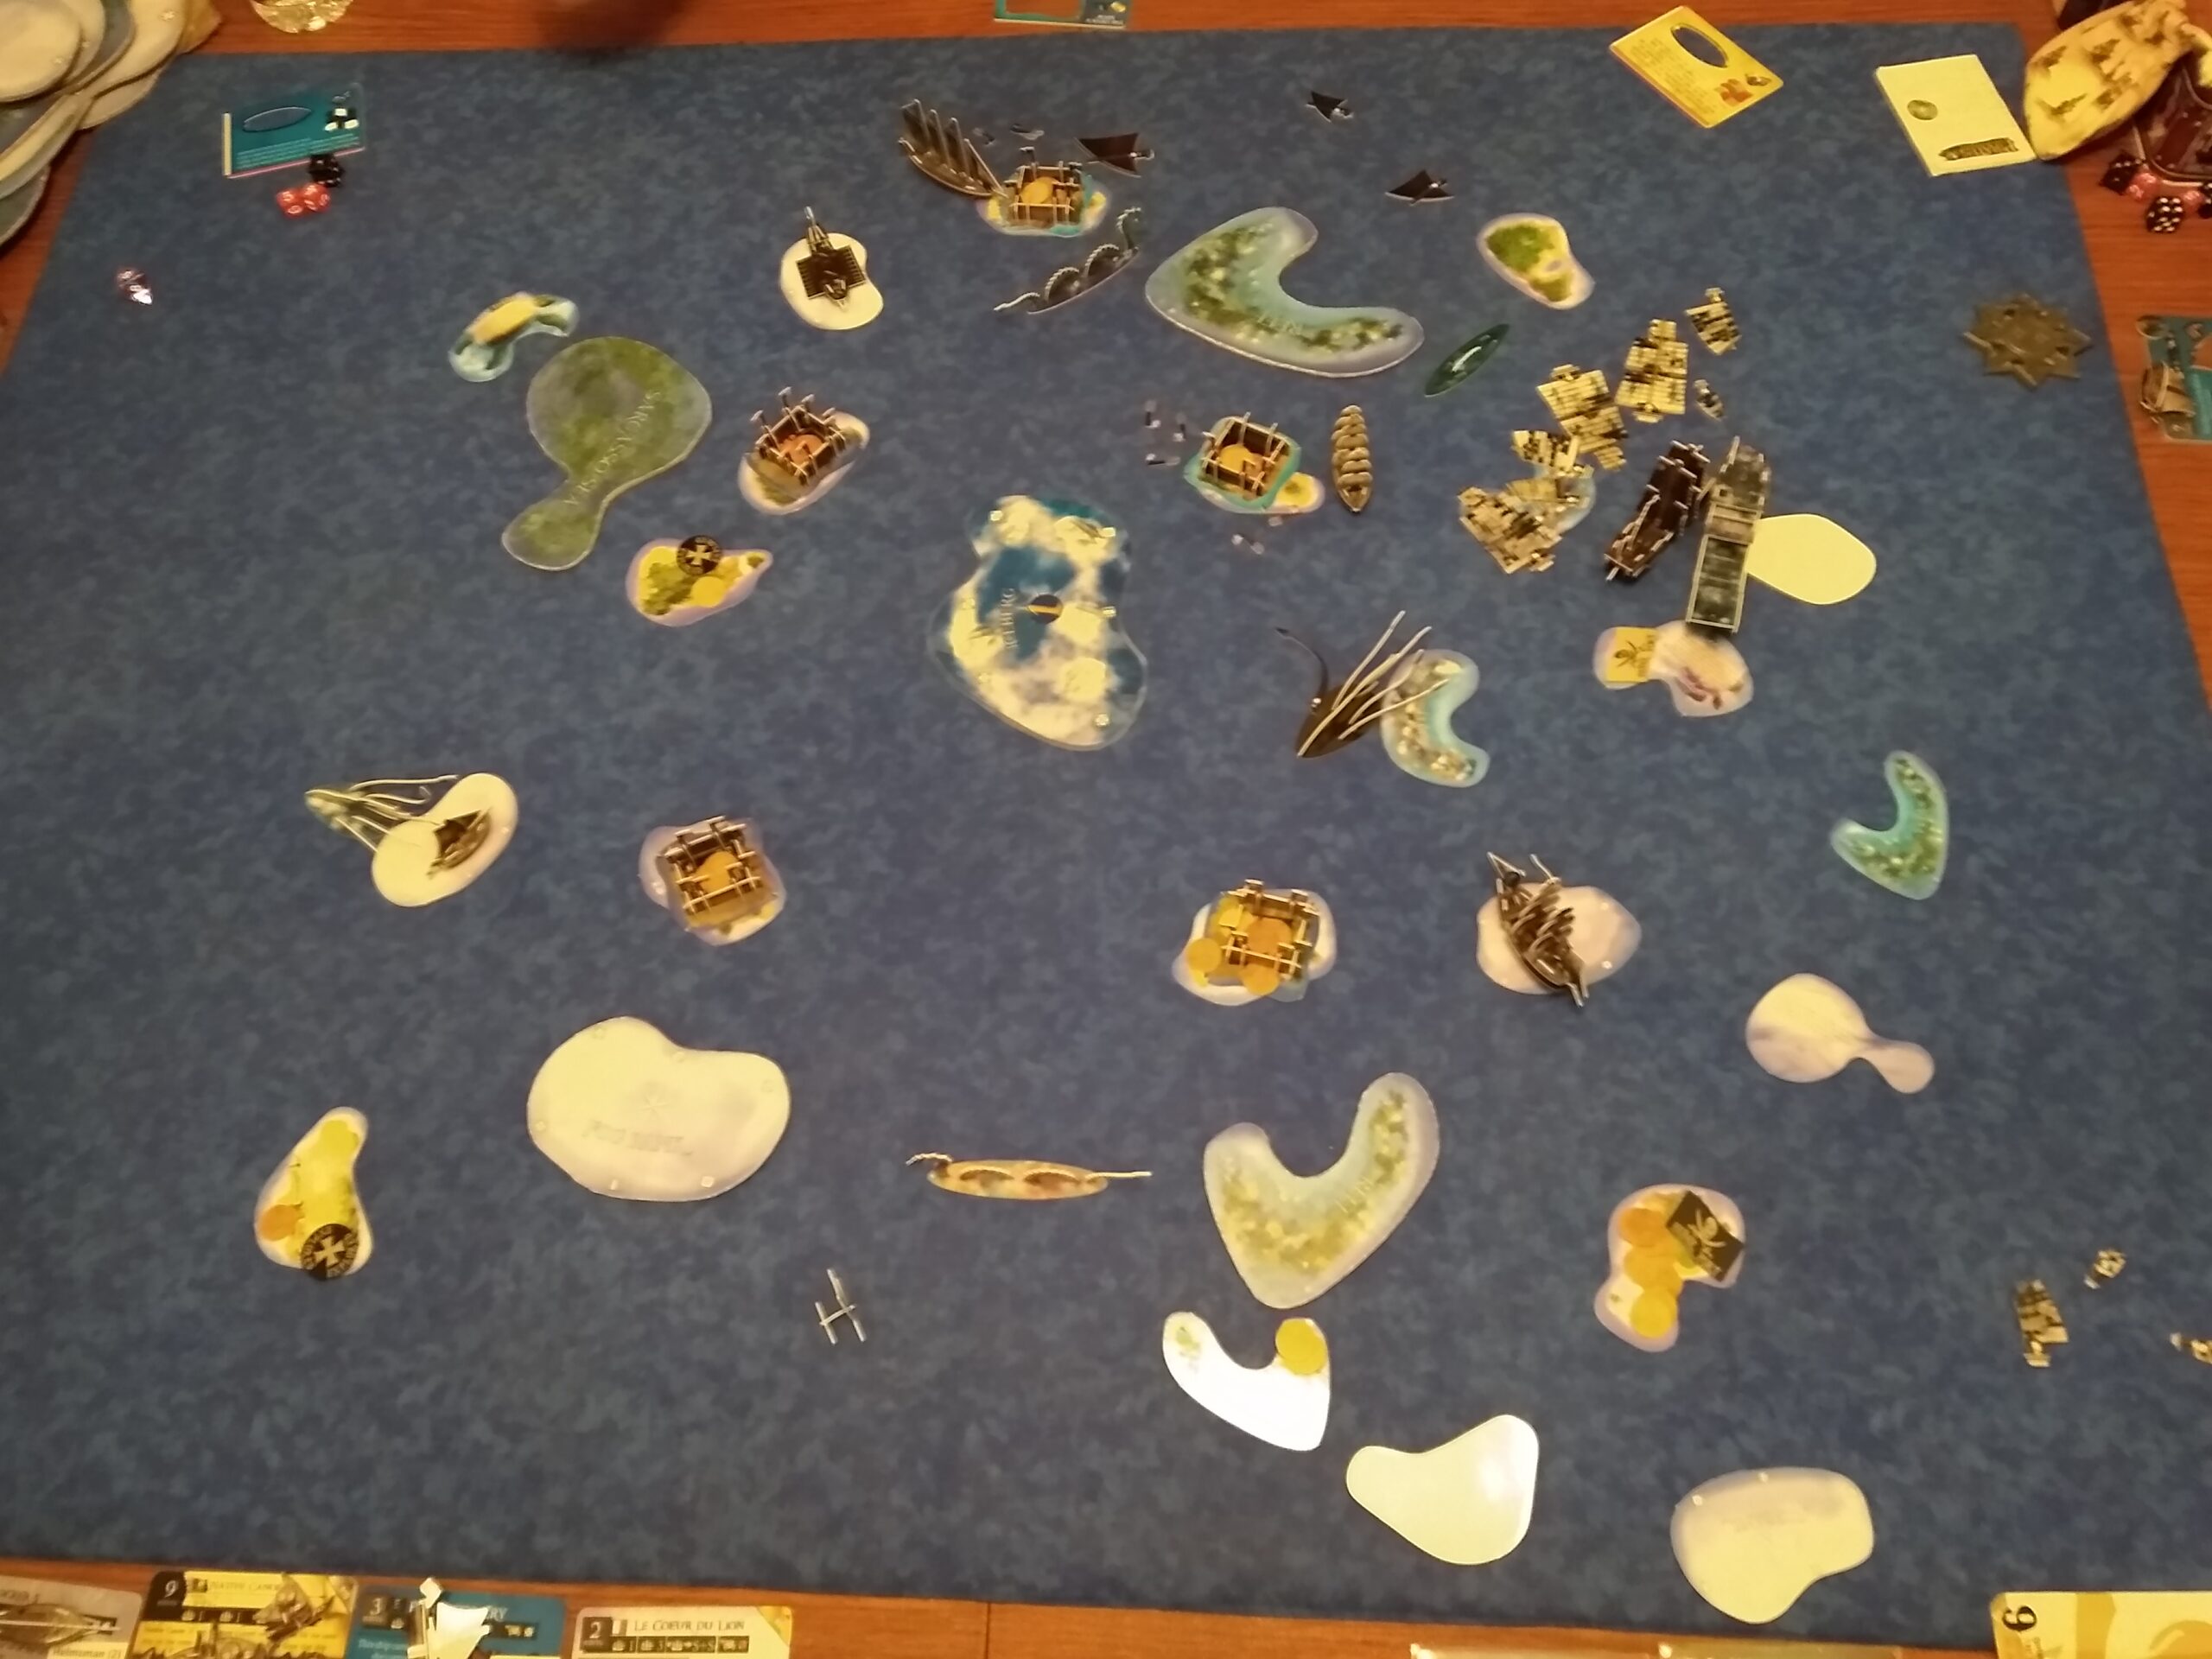
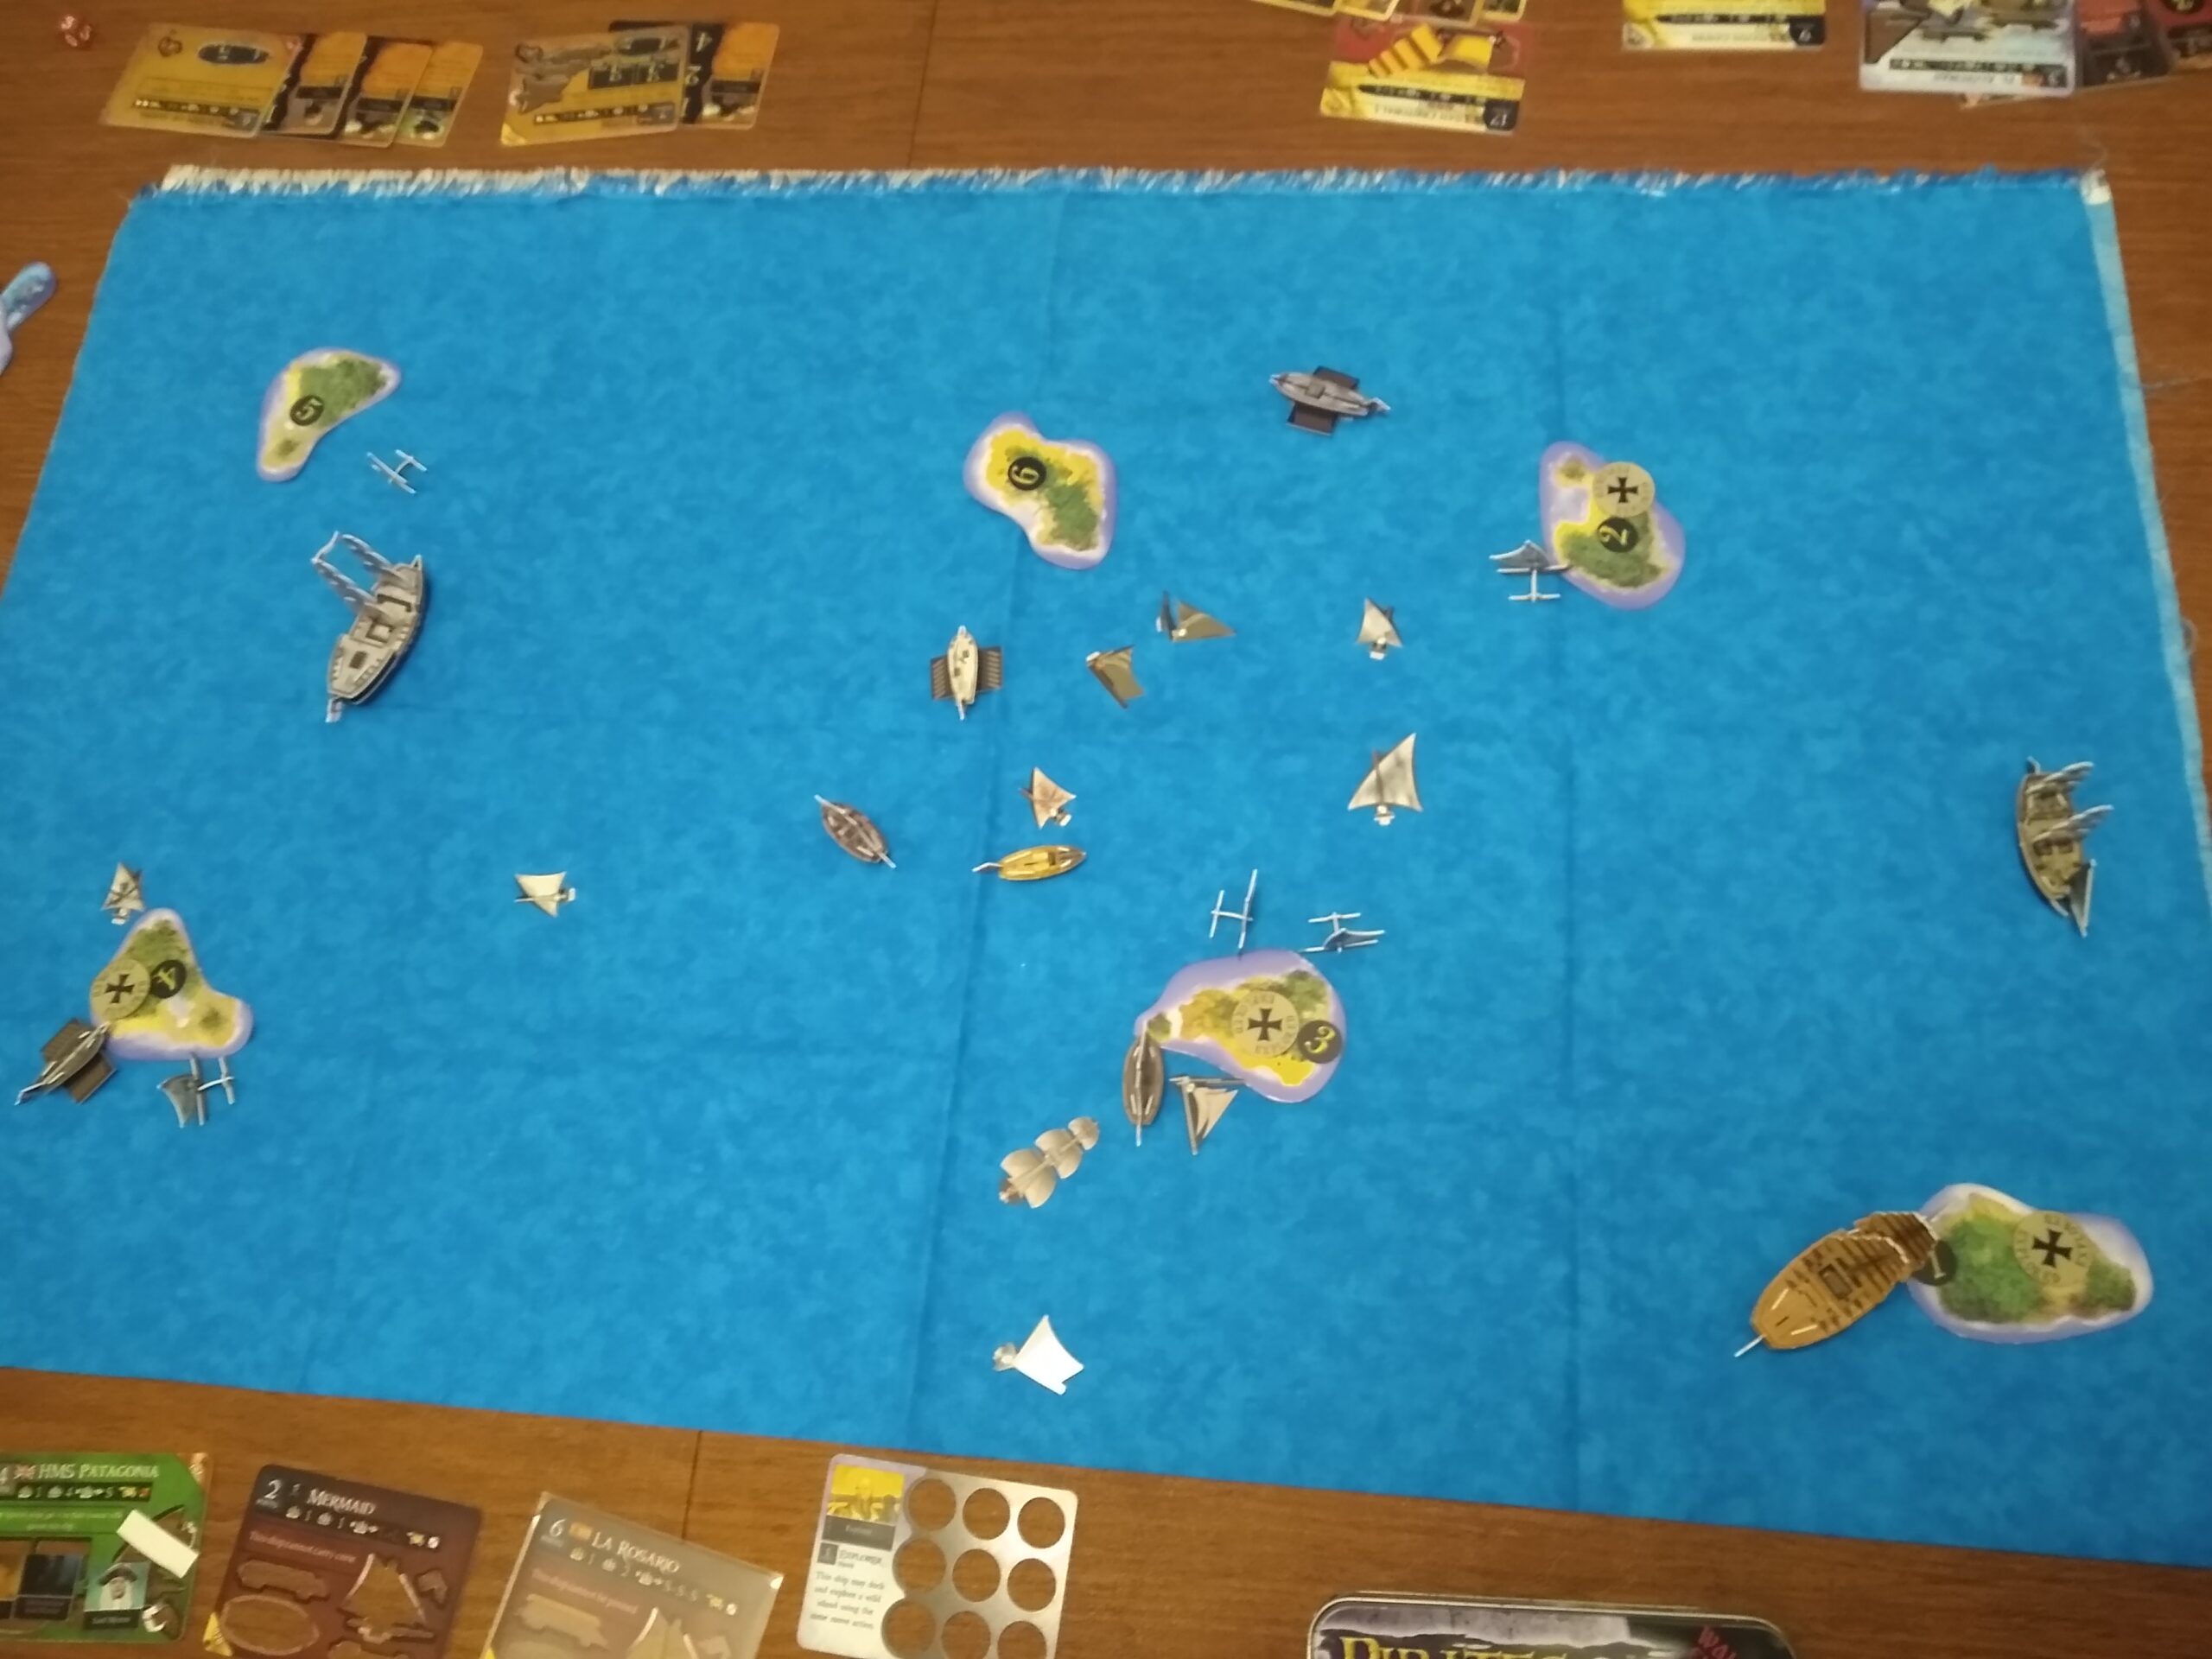
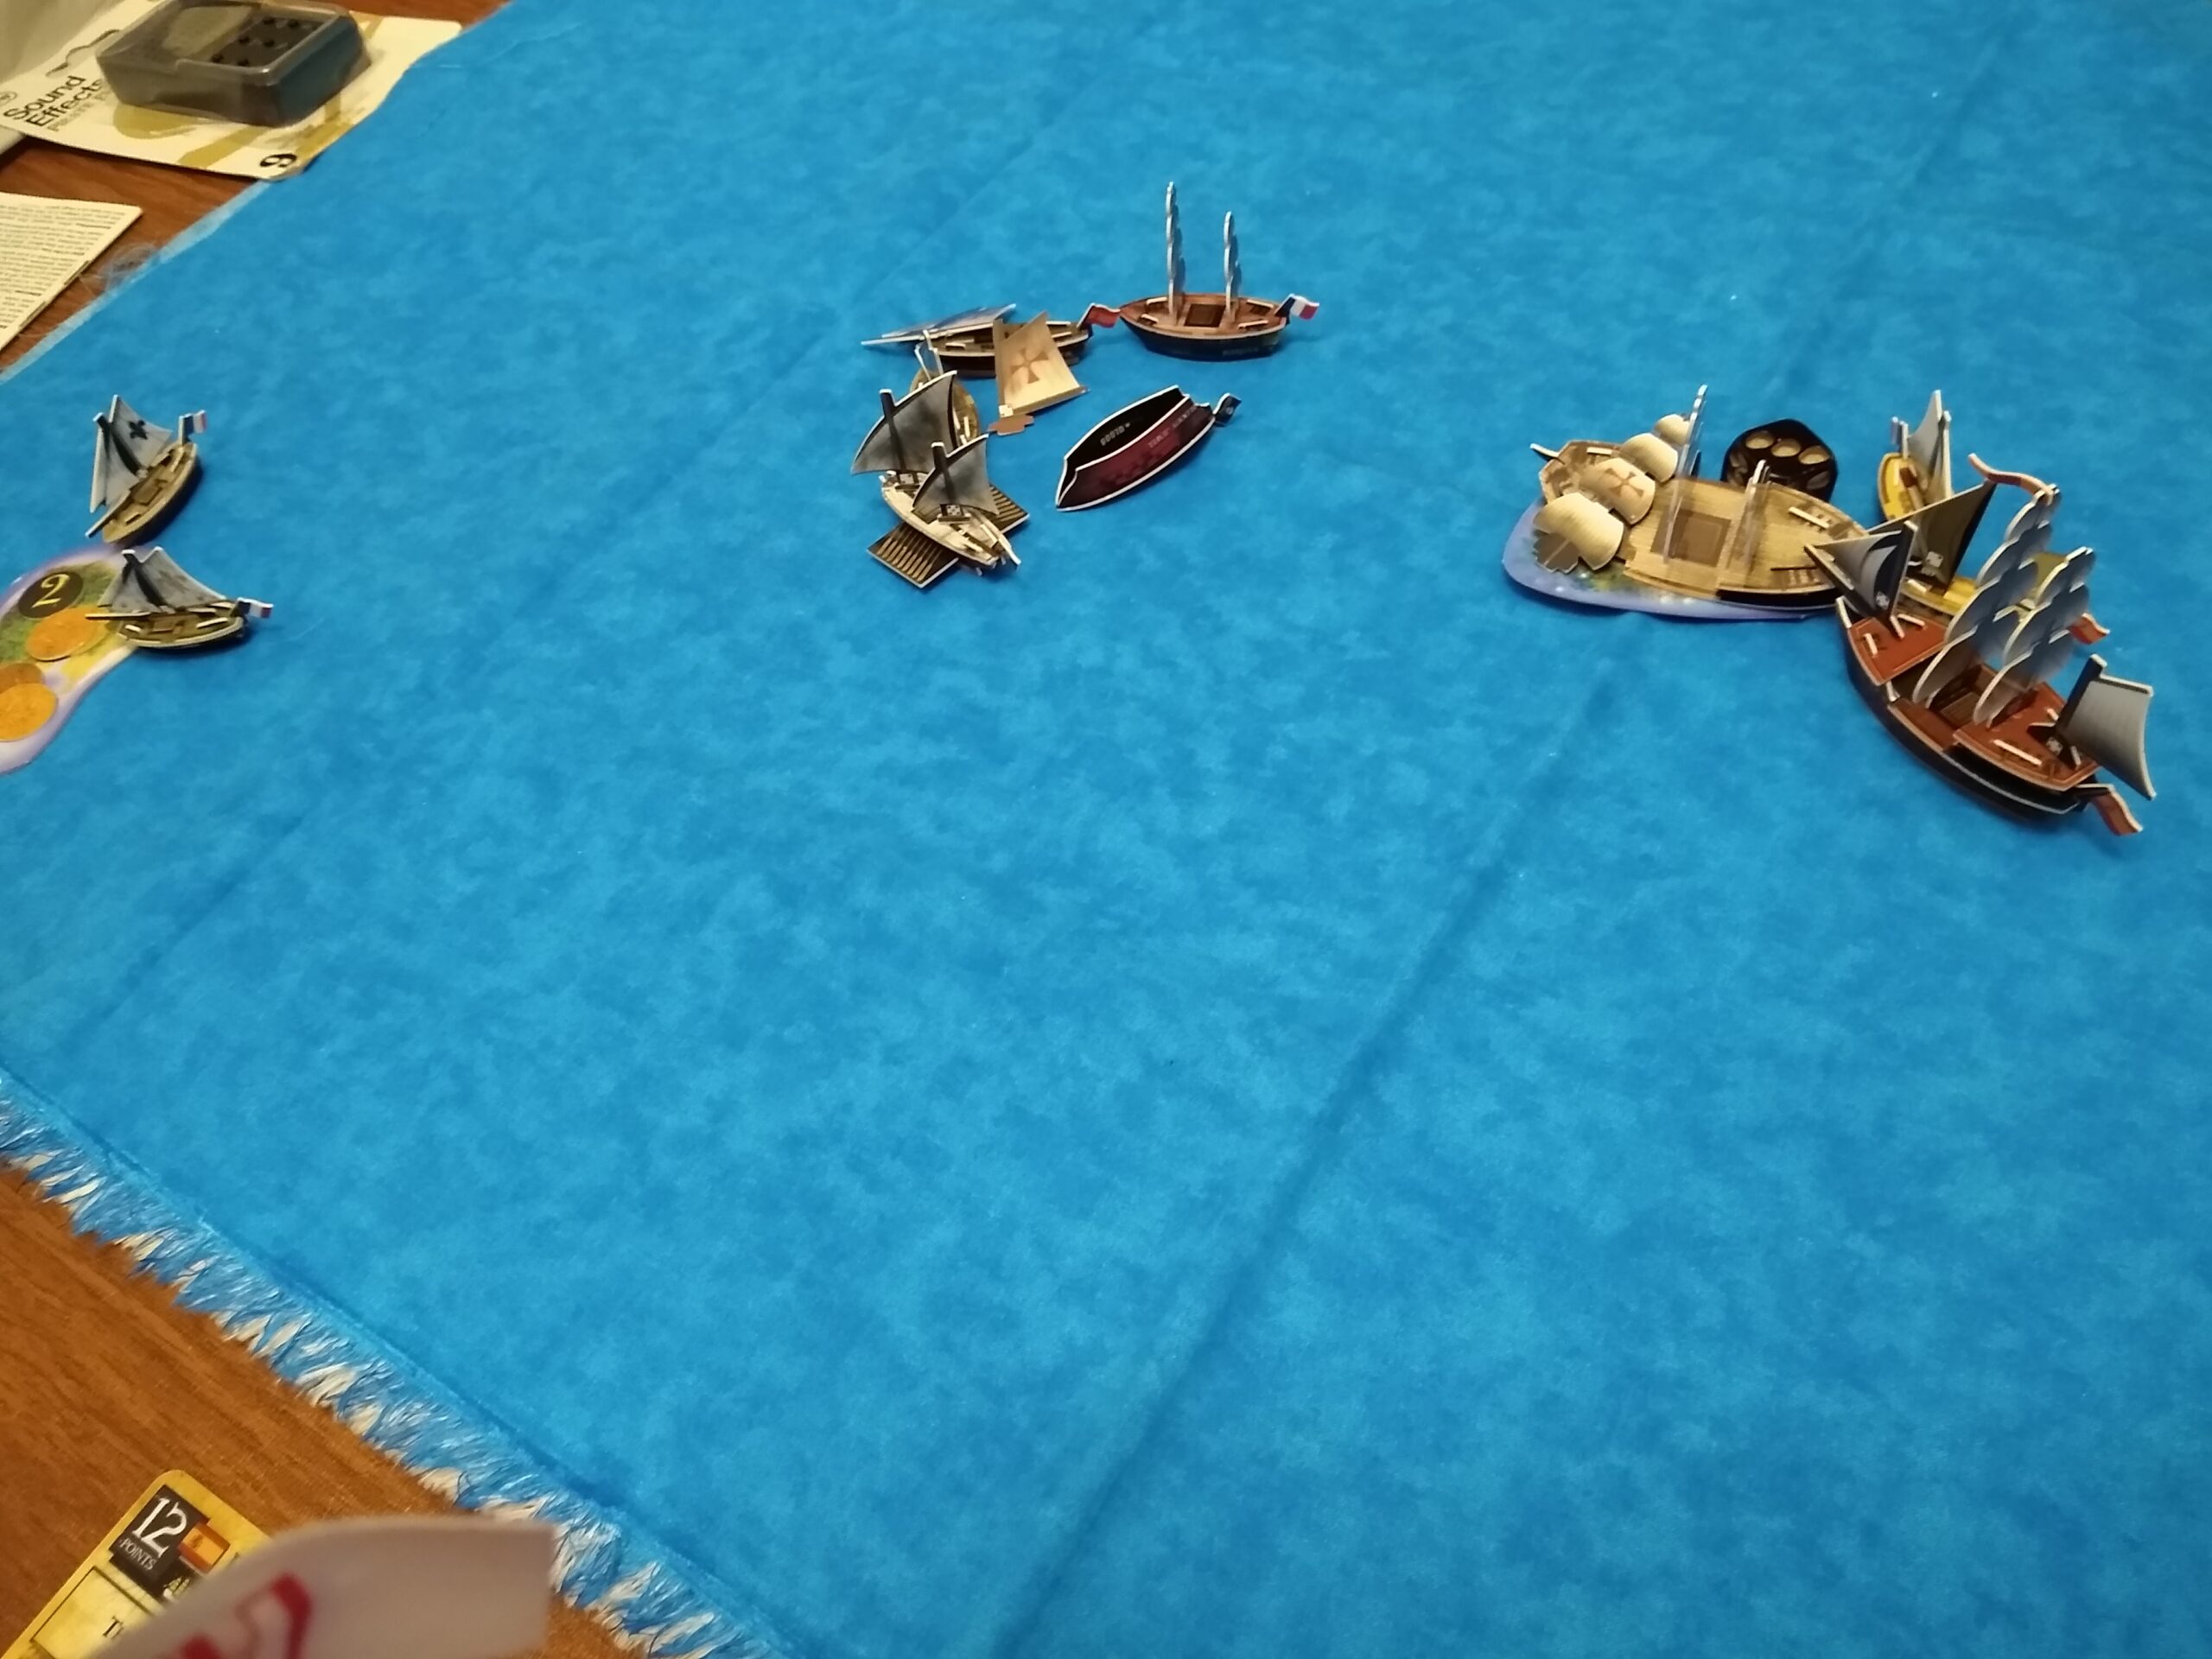
In the background, HMS Oxford is home repairing, the Longshanks has sailed out on her own, the English 3 masters have returned to a familiar fog haunt, and my Mercenary pieces are now out to hunt rather than escort.

Le Gaule became a full inferno, but the Longshanks managed to save her with the help of Lord Mycron giving an action to allow Longshanks to tow the Frenchman home. HMS Durham has captured the Carolina, while the Tasmanian Devil engages the Granville.

By this point, Luke was out of the game. Kyle (and the rest of us) wanted to get the second game in (we were approaching less than 45 minutes until the store closed), and sent his final ship through the center of the Maelstrom to become the second player out and end the game!

Scores:
- Luke: 21 gold
- Xerecs: 17
- Kyle: 5
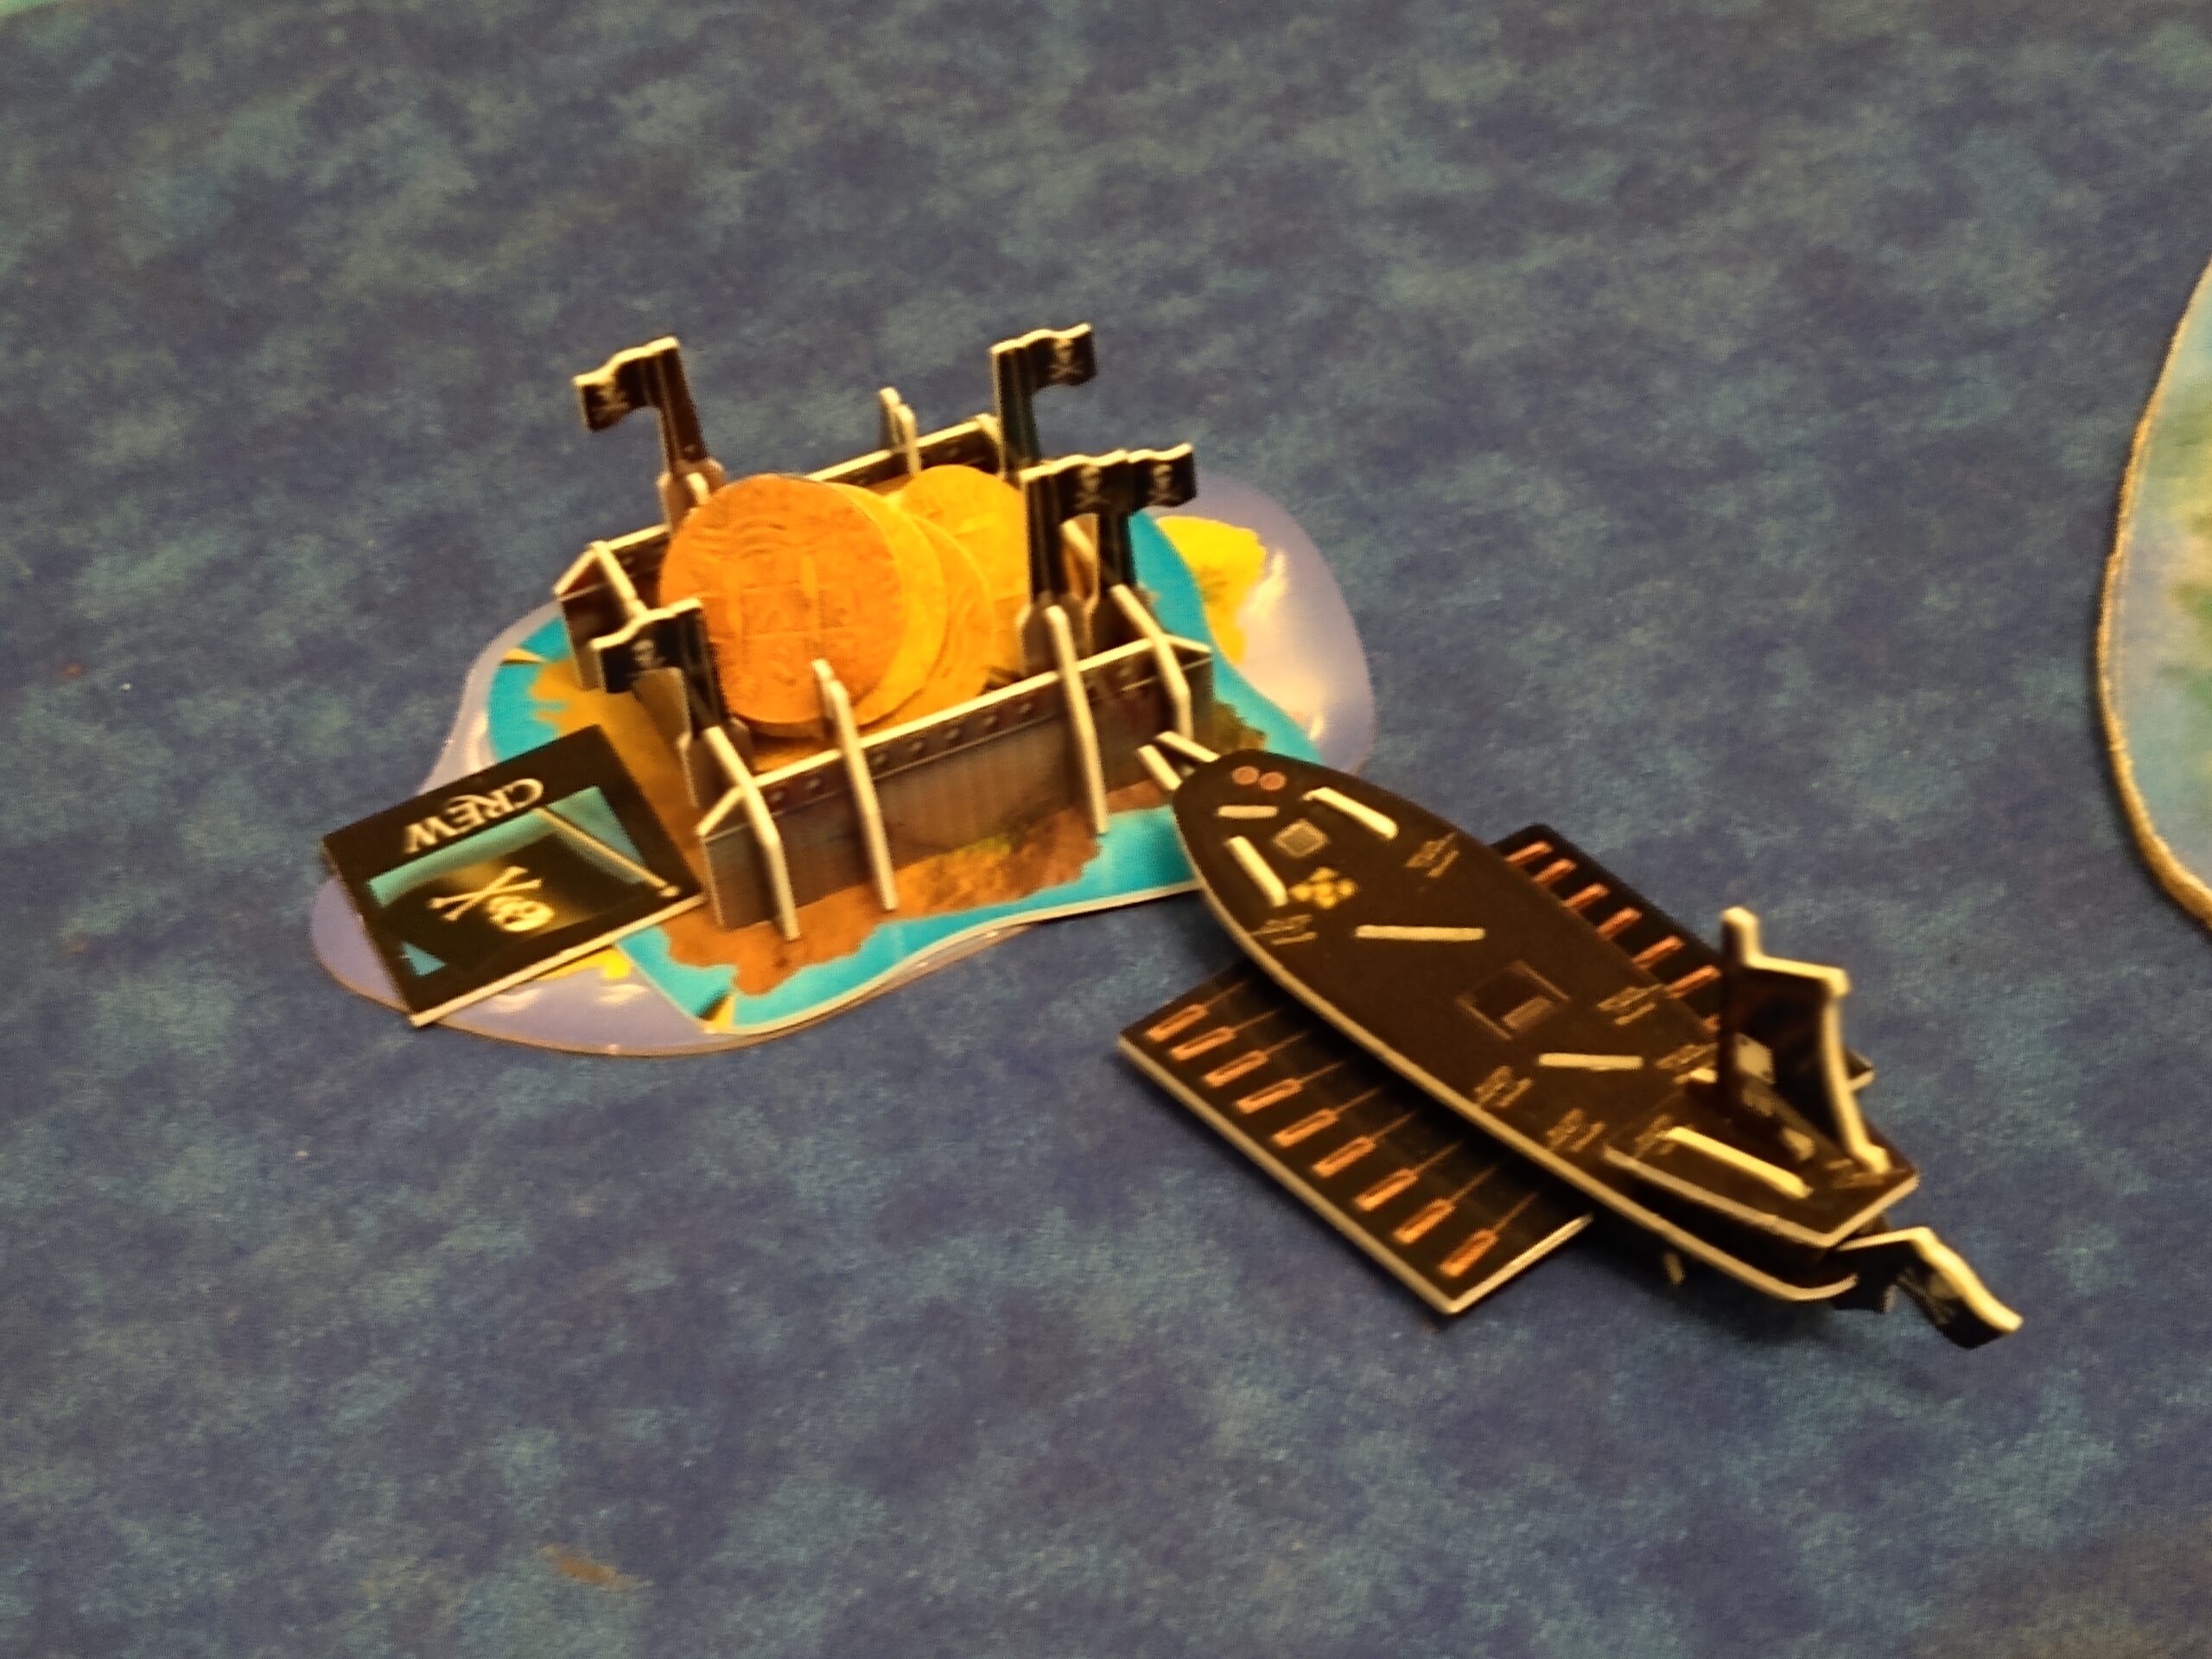
- Ben: 1 (from taking out a Ransom crew)
Congrats to Luke on an interesting victory! Xerecs had a gold capture worth 5 gold on Le Gaule when the game ended, so he would have won if the game had gone on much longer. However, this was Luke’s first game in a while and possibly the last game I’ll play with him that I’ll be able to document, so it was somewhat fitting.
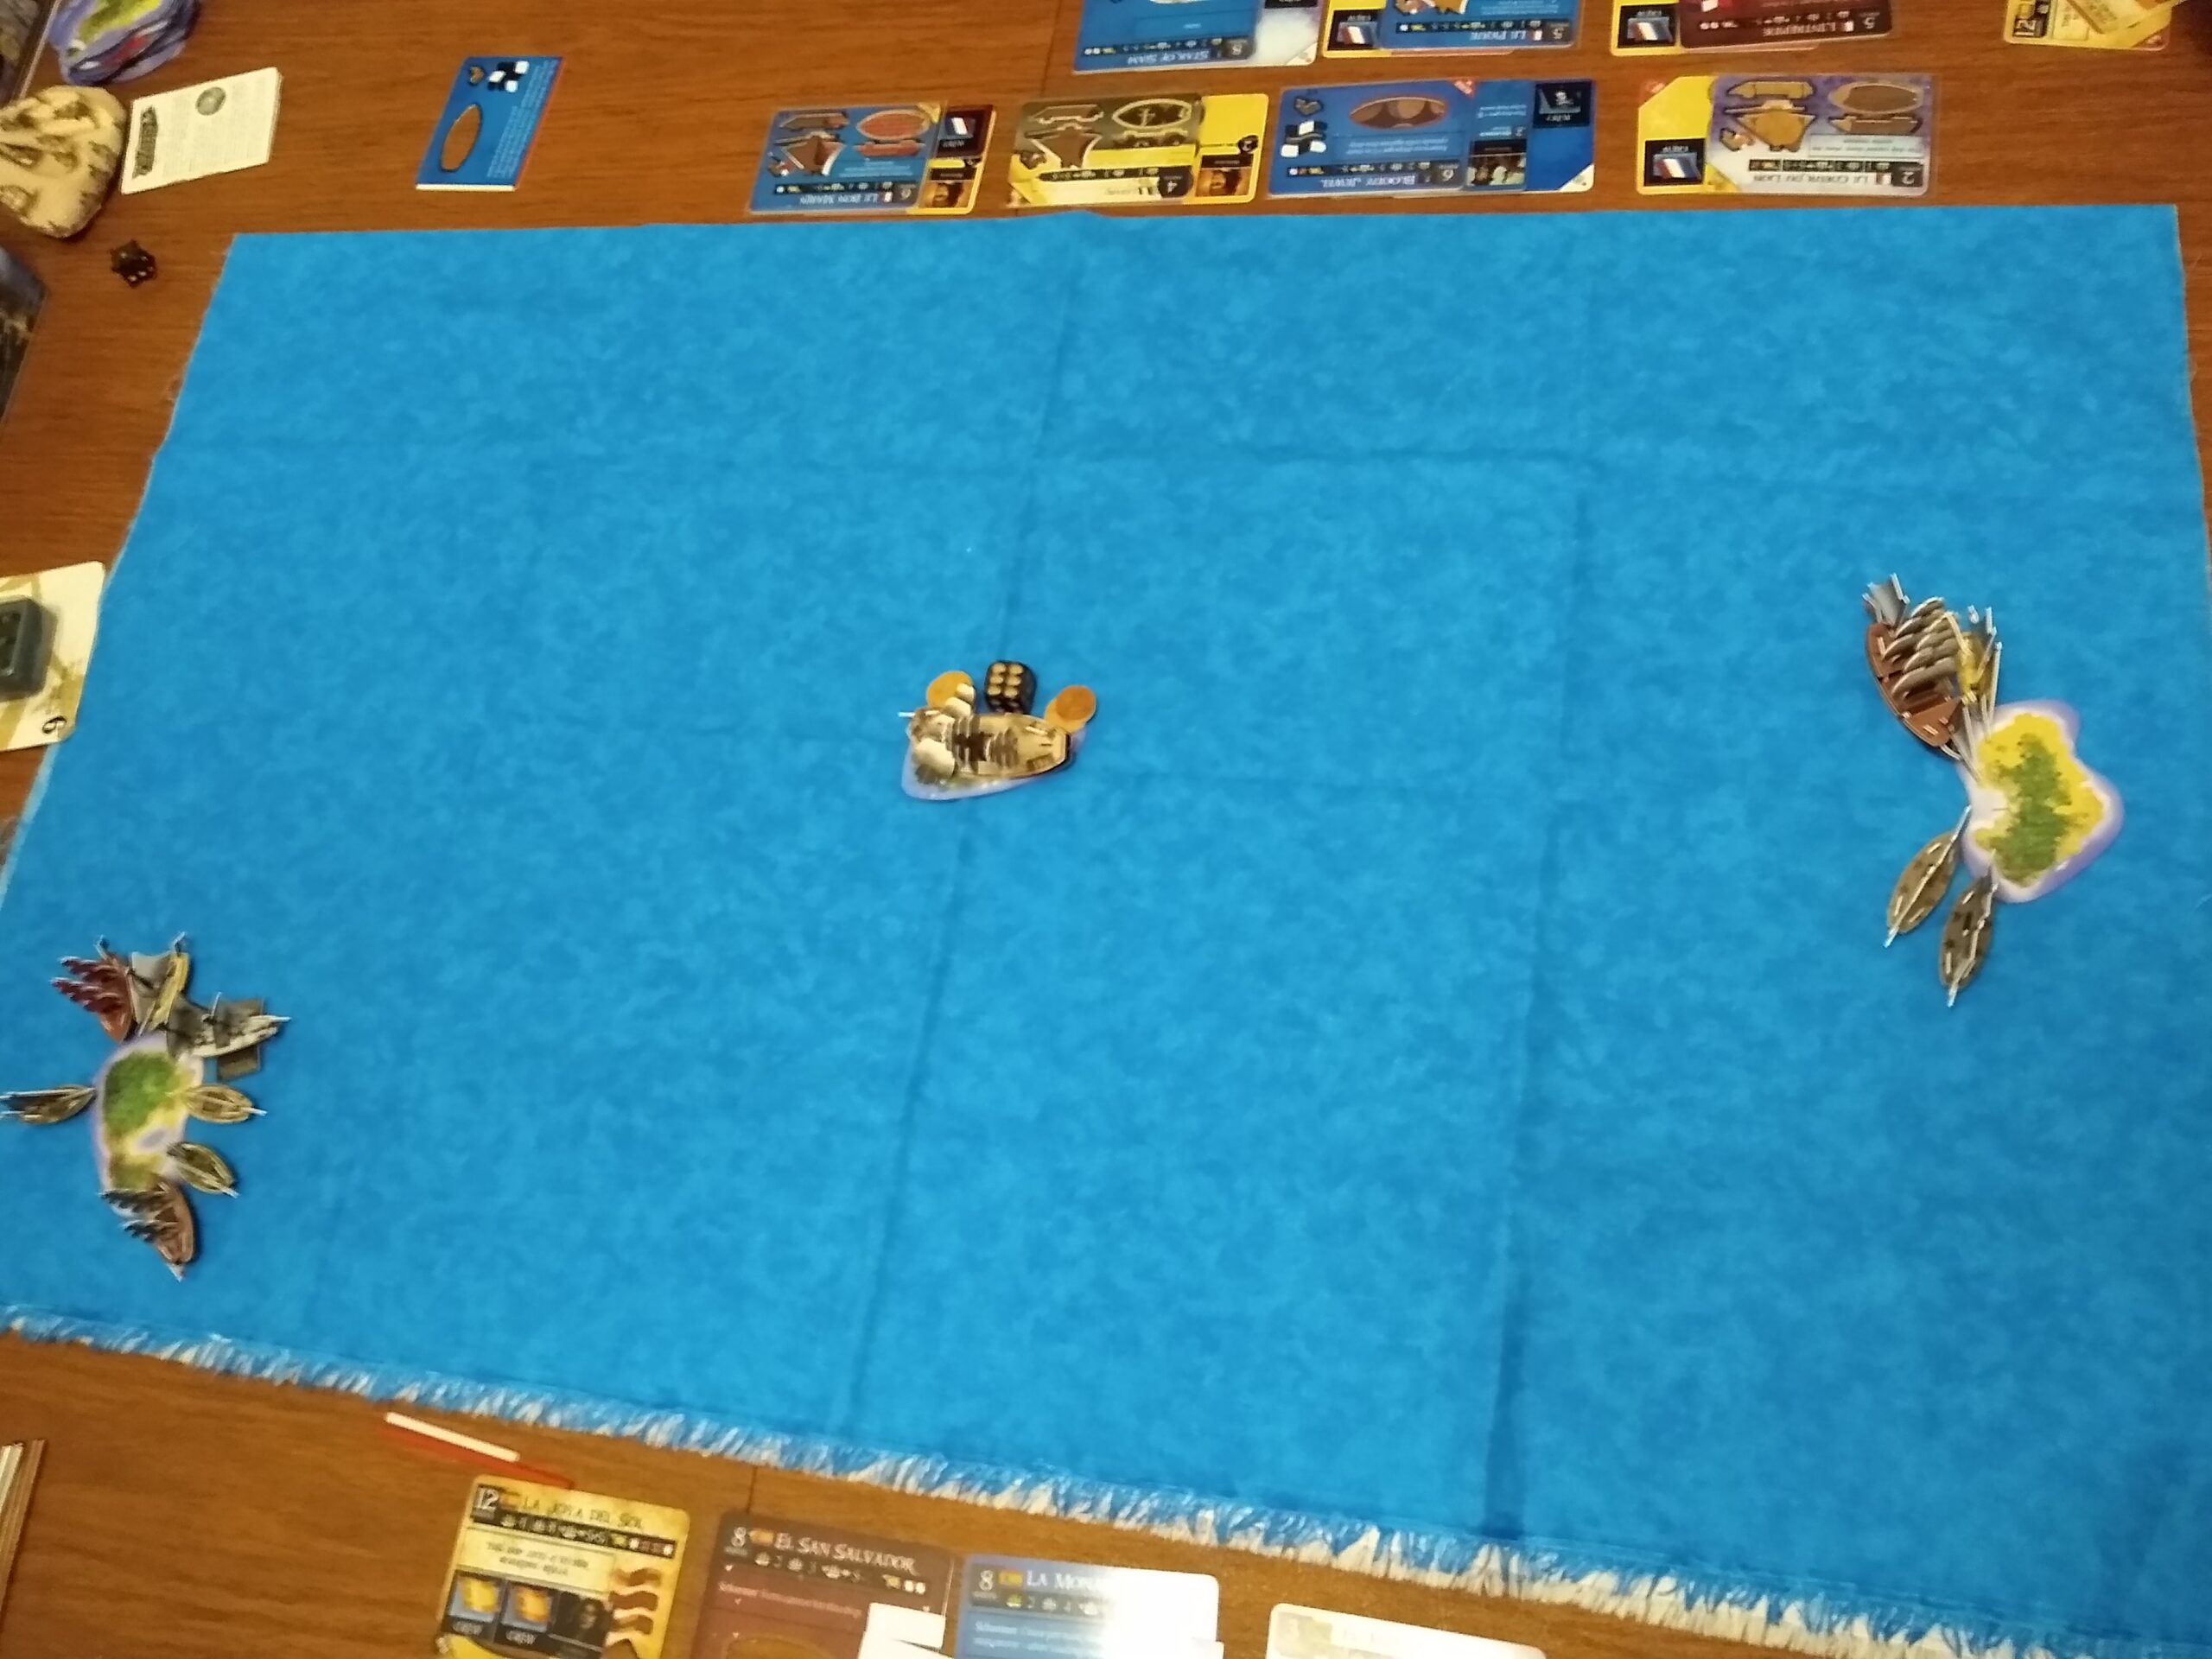
The second game had to be played at absolute mach speed, with players picking up their area in between turns. The Maelstrom of Death awaited!
Luke went first in this deathmatch, with some proxies in his fleet. The flotilla represents Death’s Anchor, while the other 1 master is the Lizard’s Sting.
I couldn’t resist using one of the ships involved in the movie battle. 🙂
Golden Medusa + Hammersmith, Anamaria, Eternal Gus Schultz, F&S Lenoir, oarsman (30)
Black Pearl + captain, helmsman, firepot specialist, stinkpot shot, oarsman (22)
Fancy + captain (8)
Kyle went with the same 60 point fleet from the last game. Xerecs went with HMS Grand Temple and the SCS Santa Ana, both with large crew complements of course.

The fleets began the process of circling each other, with Kyle and I not getting closer to the center except for the mandatory 1 ring closer at the end of each of our turns.

Xerecs caught Luke and crushed his main ship. My Fancy was sunk by Luke’s Fallen Angel/flotilla combo, but the others were fast enough to stay out of range.

Once the ships entered the center 3 rings, the game quickly devolved into an abrupt shooting match. Various ships were sunk, with the Black Pearl doing heavy damage to Kyle’s fleet once she caught up. Gus Schultz’s Eternal triggered on the Golden Medusa, sending the ship to the outer ring. The problem was, nobody else had Eternal, so it was kind of hard for me not to win. :/ (I figured at least one other person would bring something with Eternal, and didn’t realize it would be such an auto-win if they didn’t, due to the “countdown” nature of the maelstrom sucking ships towards the middle) We didn’t really have time to play the rest properly but I won since I had a fresh ship that would take many turns to “re-sink”.

I’ll rework at least one of the deathmatch rules, namely Eternal. Perhaps the ability gets “transformed” into something else that costs a similar amount of points, such as +1 or +2 to boarding rolls. In addition, there is a pretty severe incentive in the deathmatch rules to stay on the outside and avoid conflict as long as possible, letting aggressive players burn out and hit the center before you do. It would lead to everyone just biding their time and never approaching the center on purpose. Perhaps a more free deathmatch scenario would work better, where ships are not forced towards the middle and certain death every turn.
In addition, I’d like to experiment with opening up the movement around the maelstrom to go in either direction, especially for a regular game with gold. However, I’d say that the house rules generally worked pretty well, especially in the first game. Thanks again to Gino for the map, and thank you for reading!
Xerecs was in town for BrickCon, which is where he got the hat from!

Lastly, please consider supporting my efforts with this game by buying through my eBay affiliate links whenever you would normally buy Pirates CSG stuff from eBay. Purchases made through the links will give me a small commission which helps out the website and the things I do to help keep this game alive. Thank you!