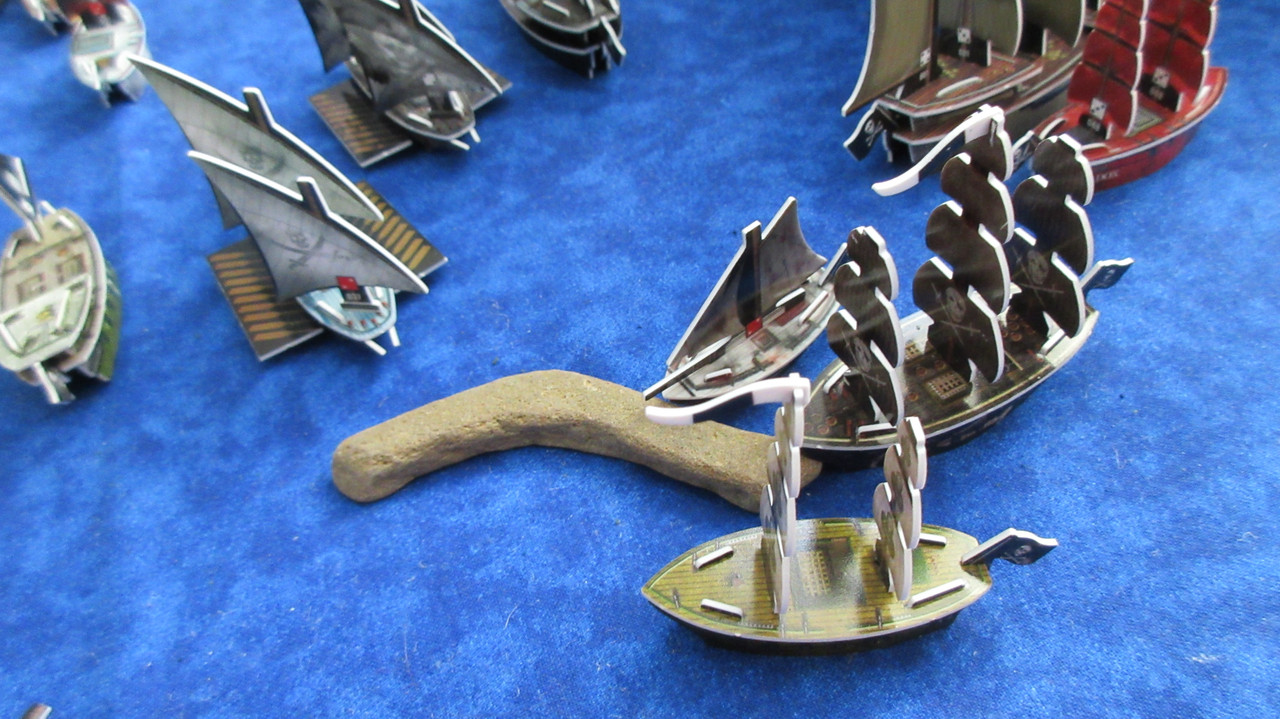
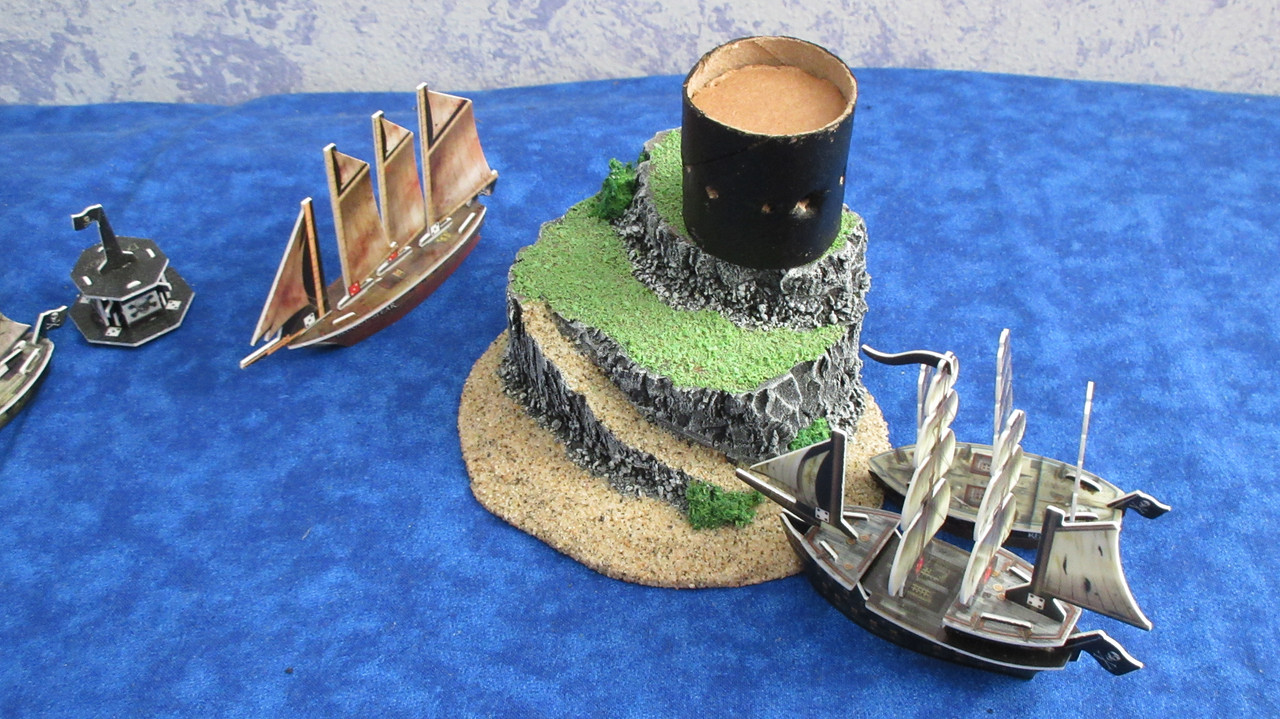
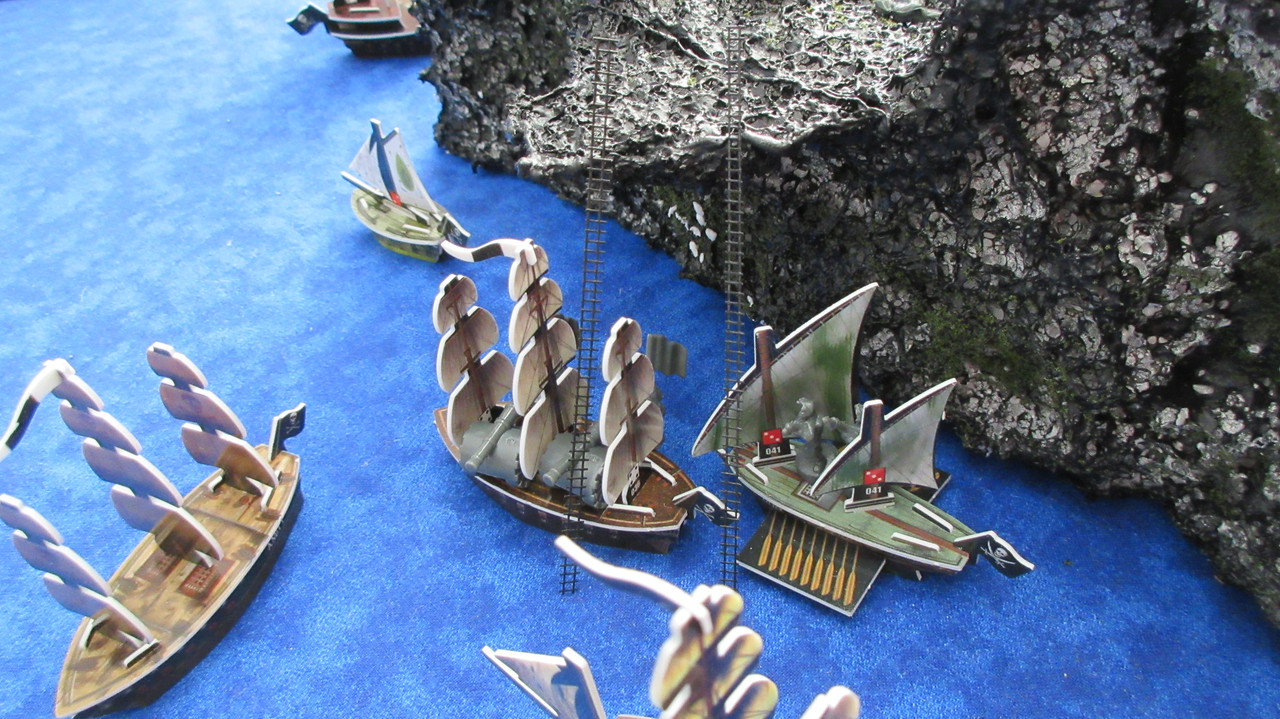
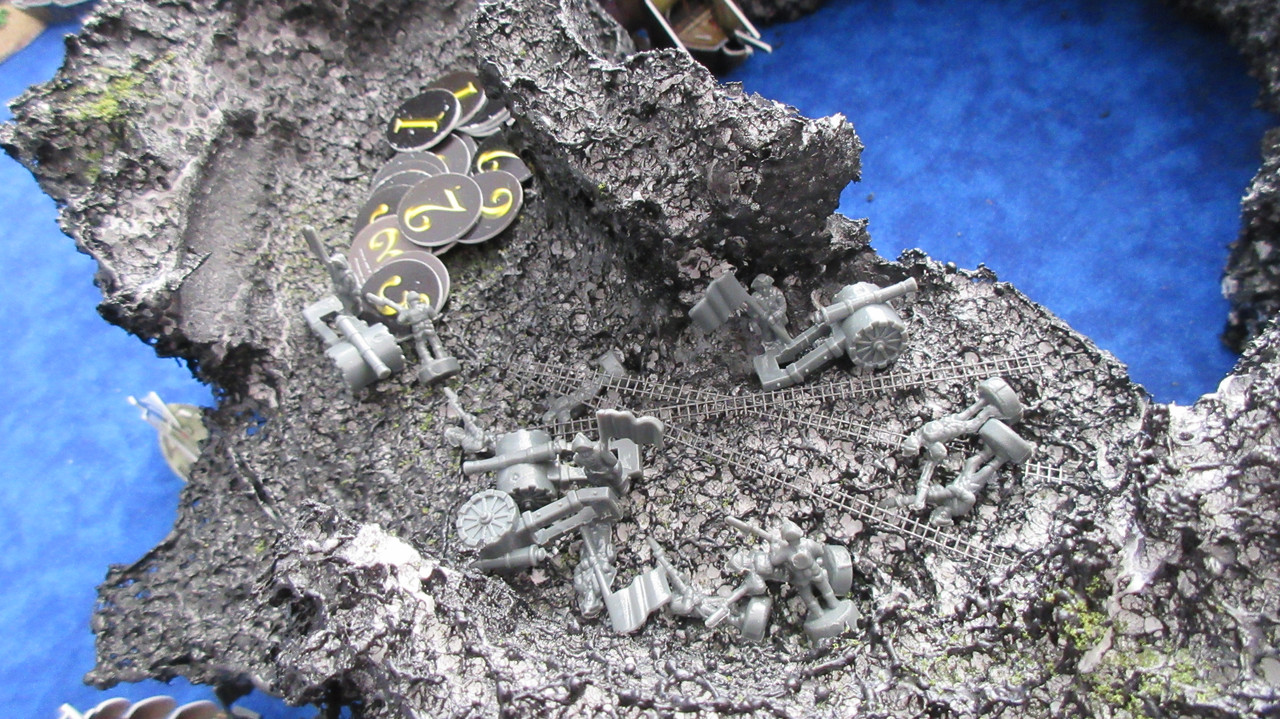
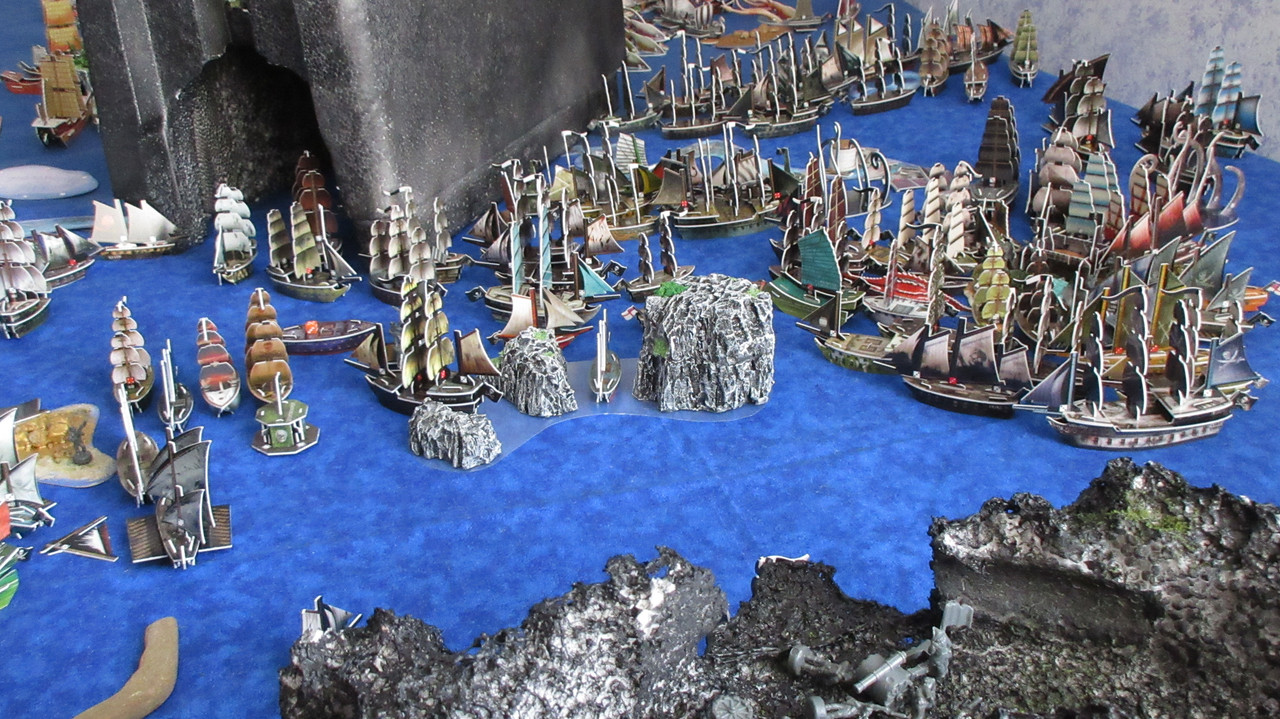
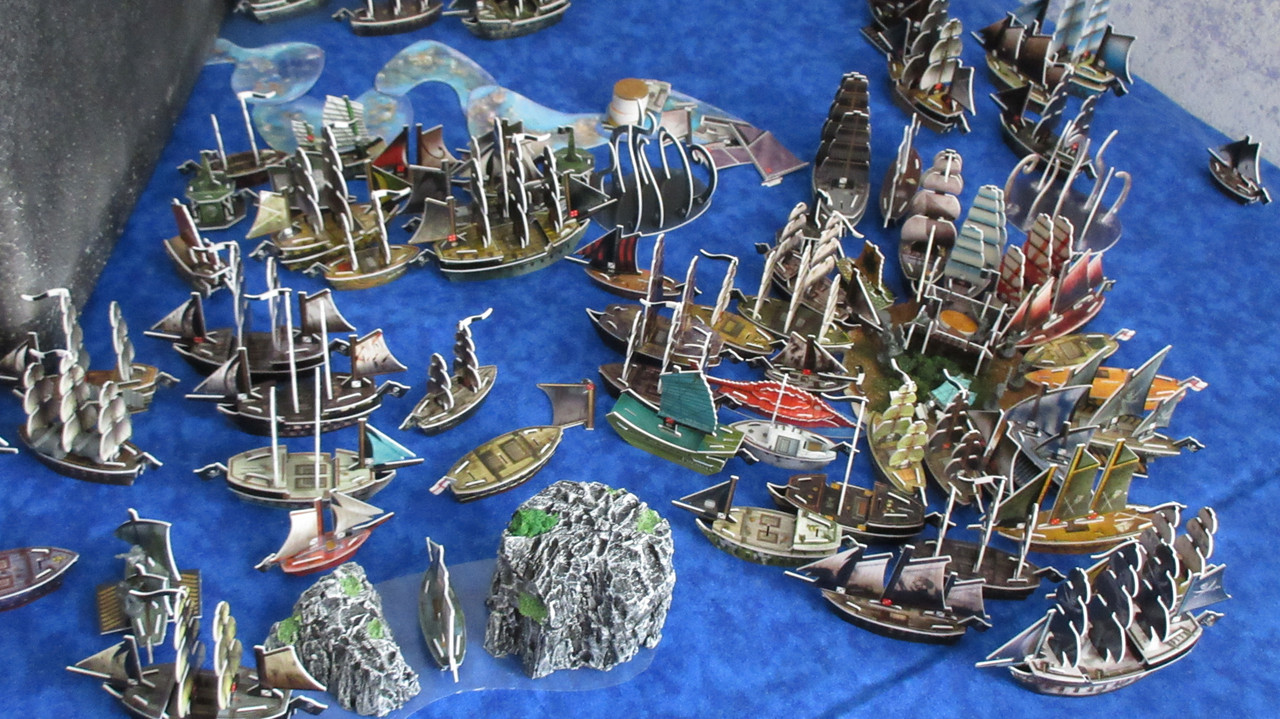
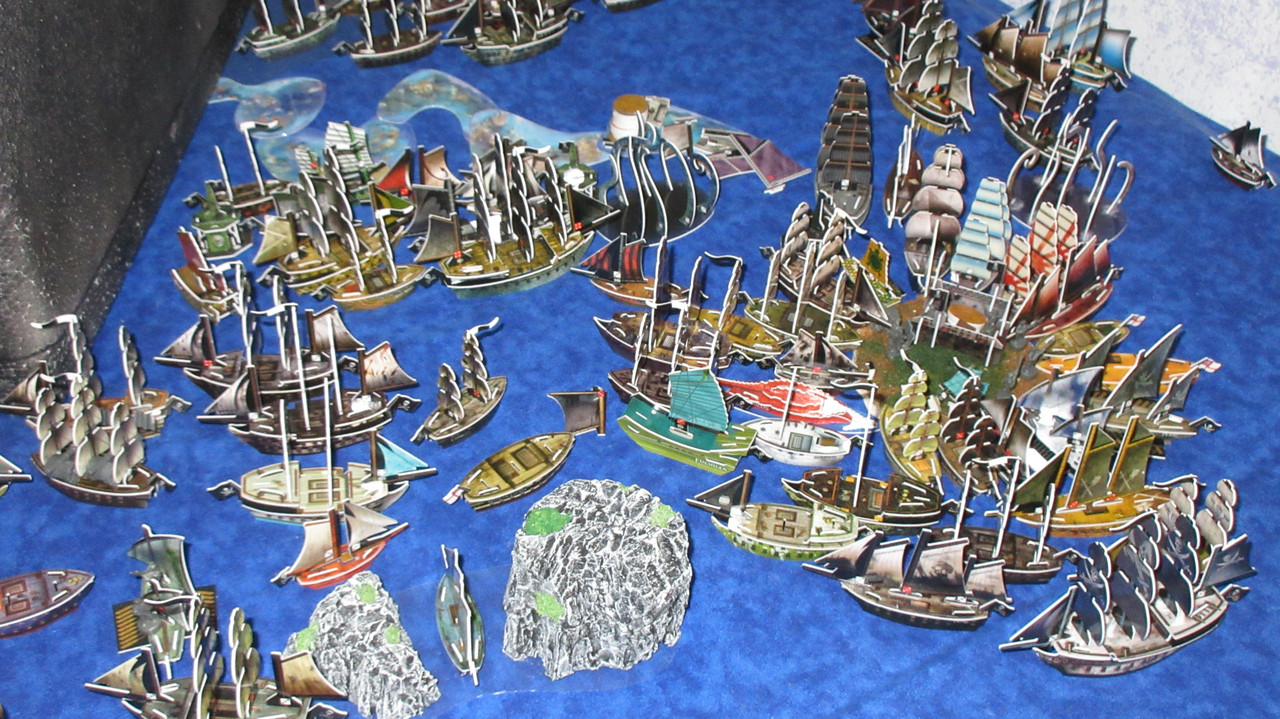
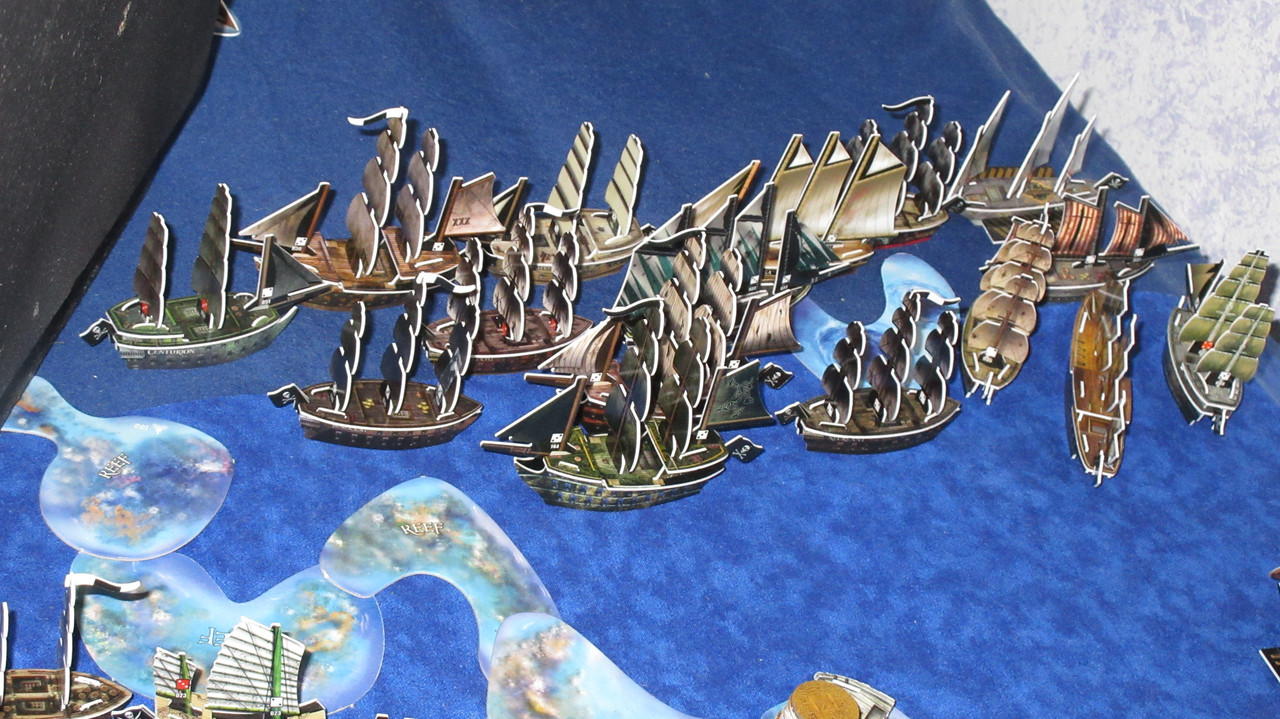
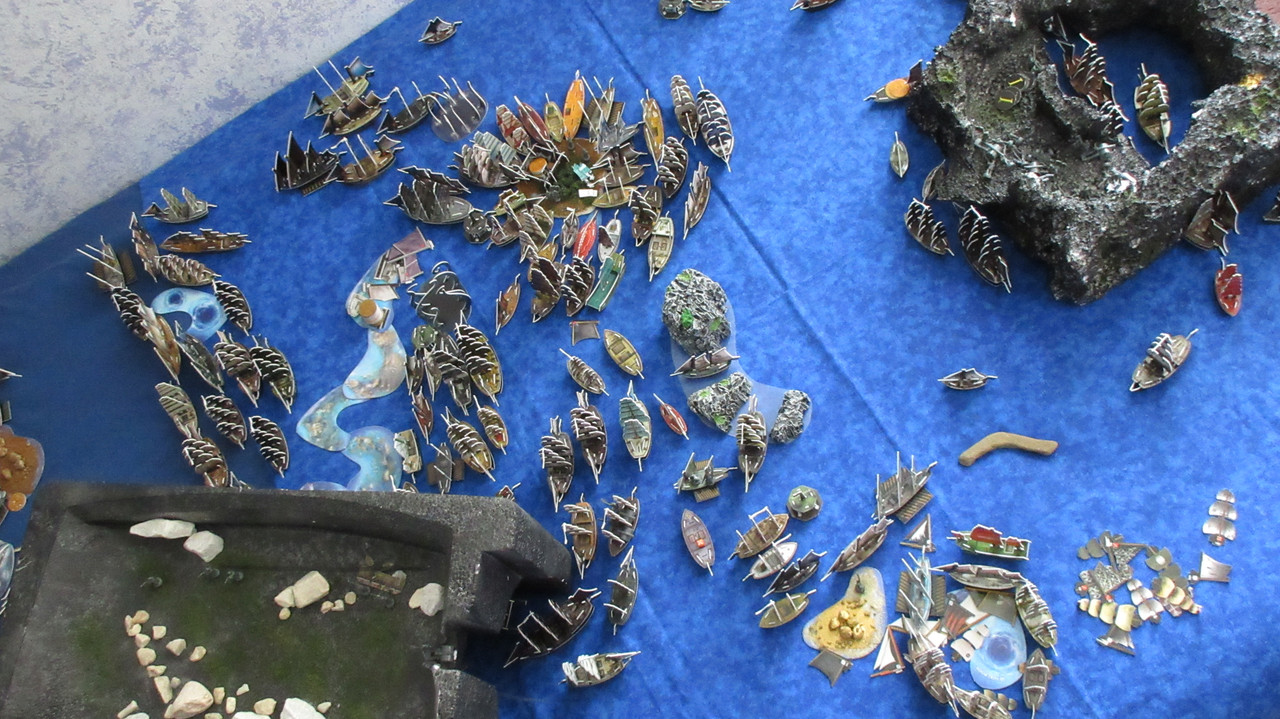
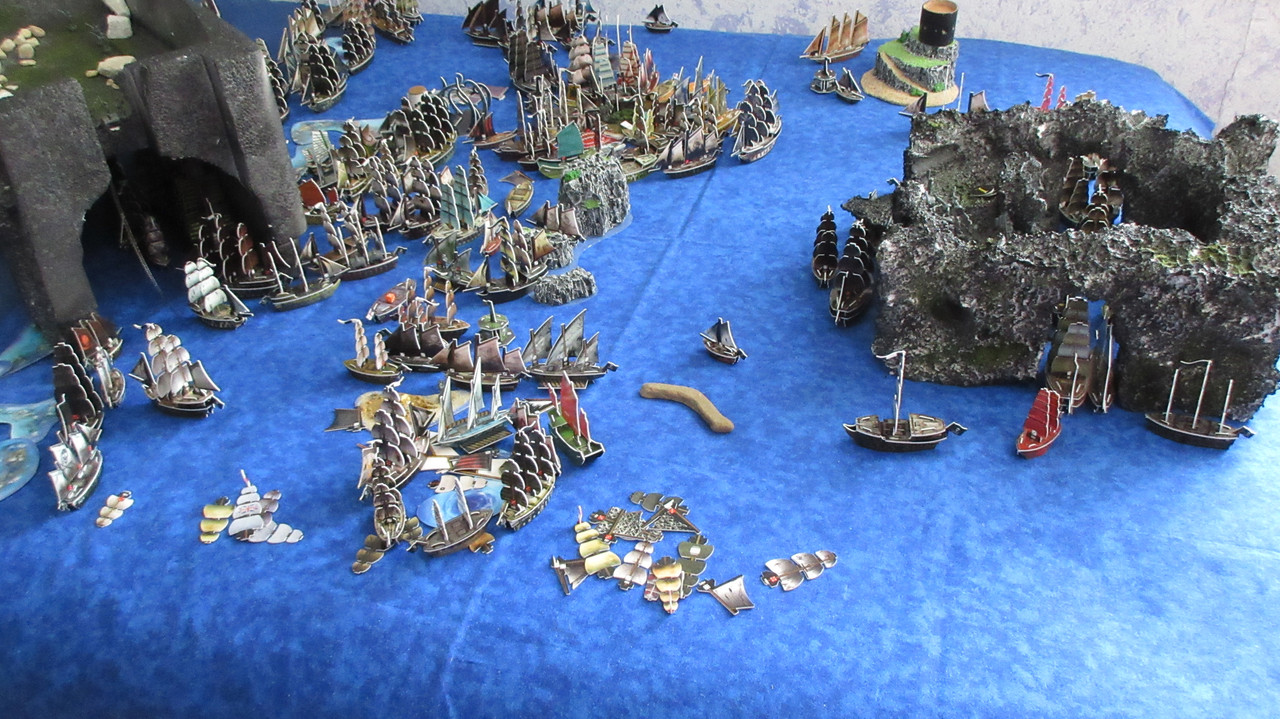
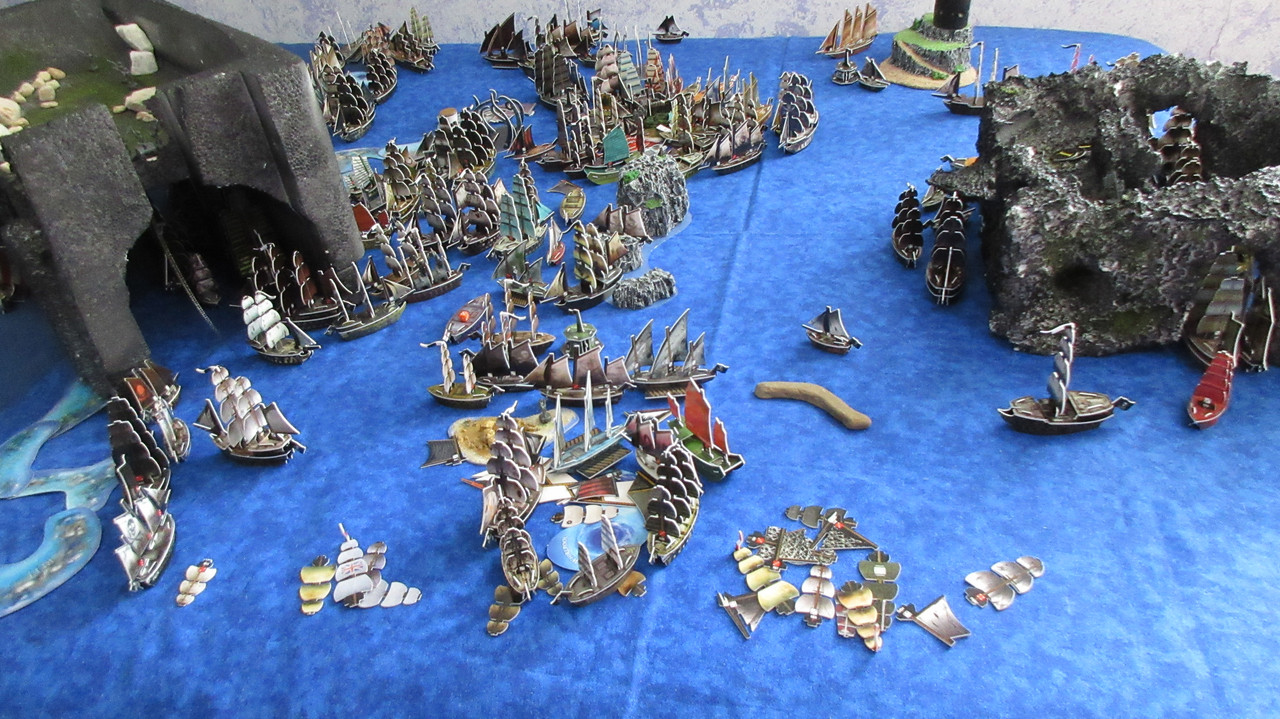
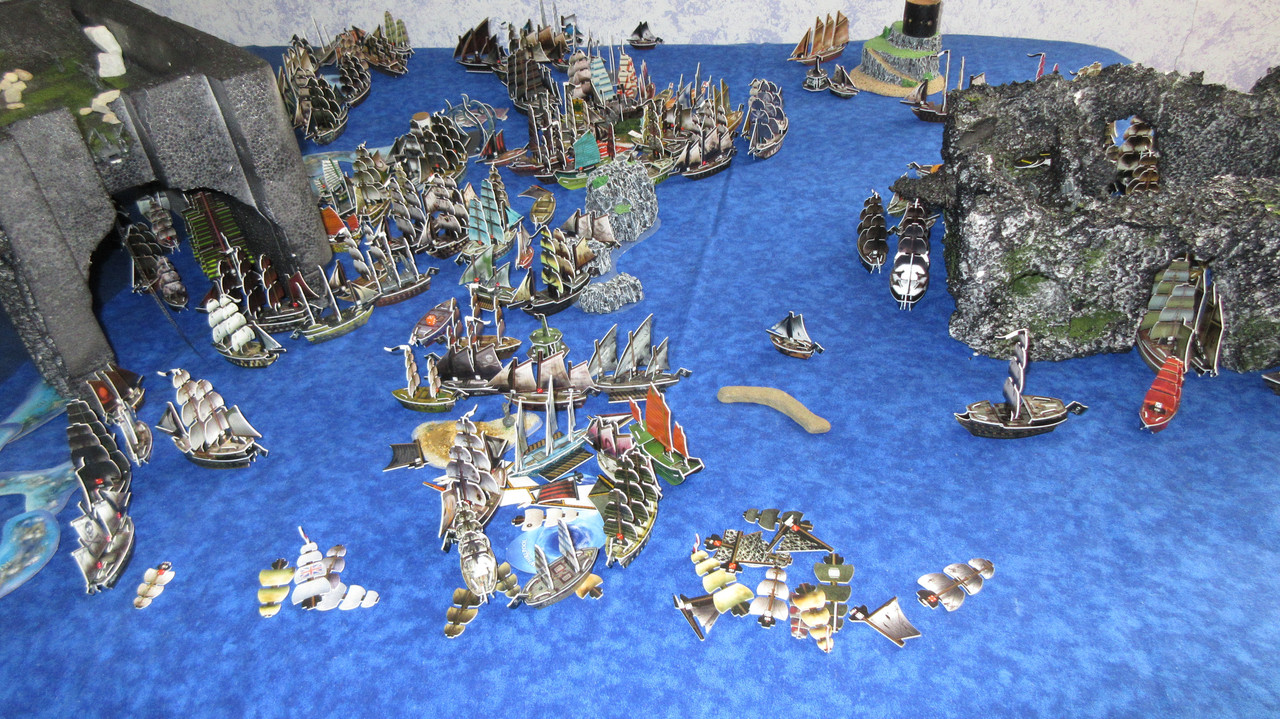
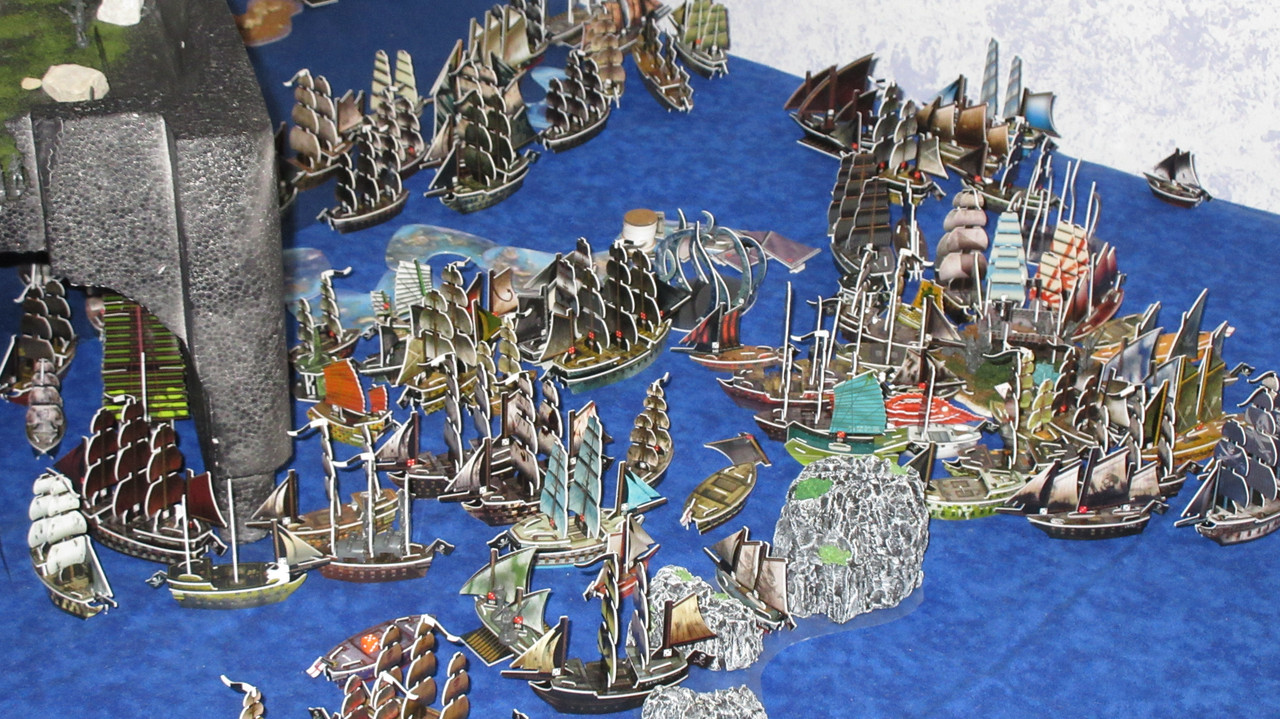
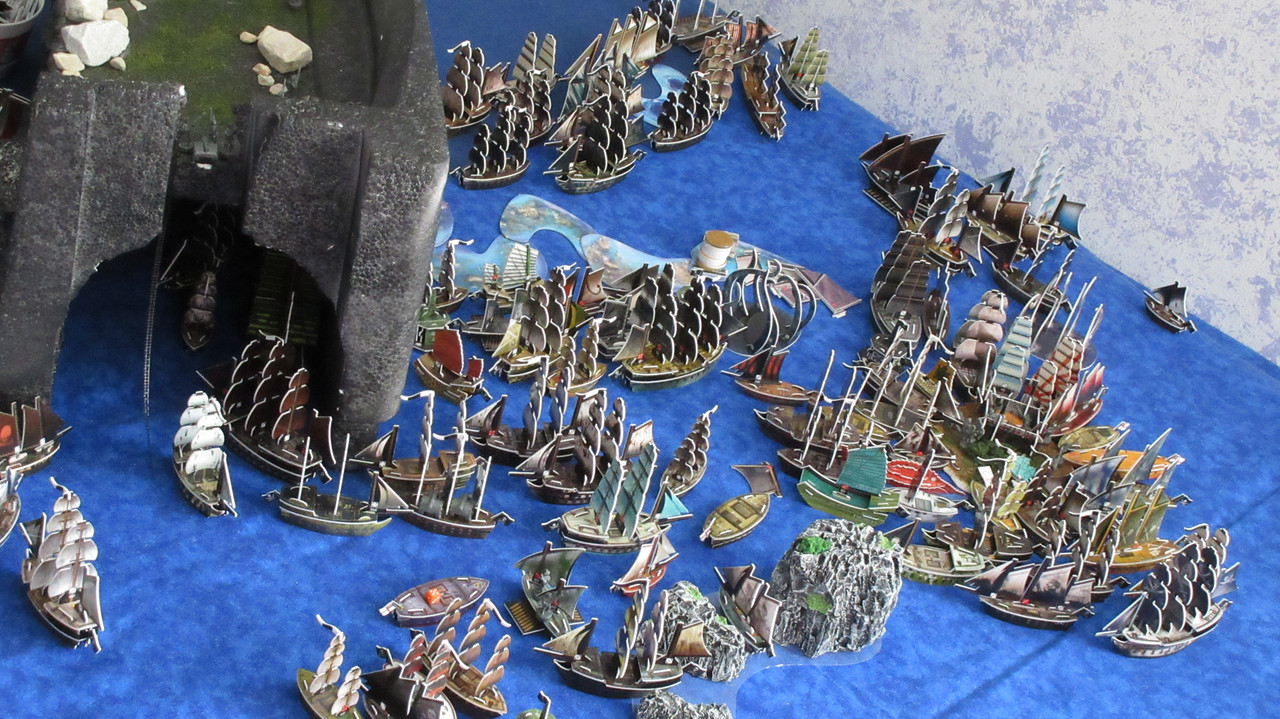
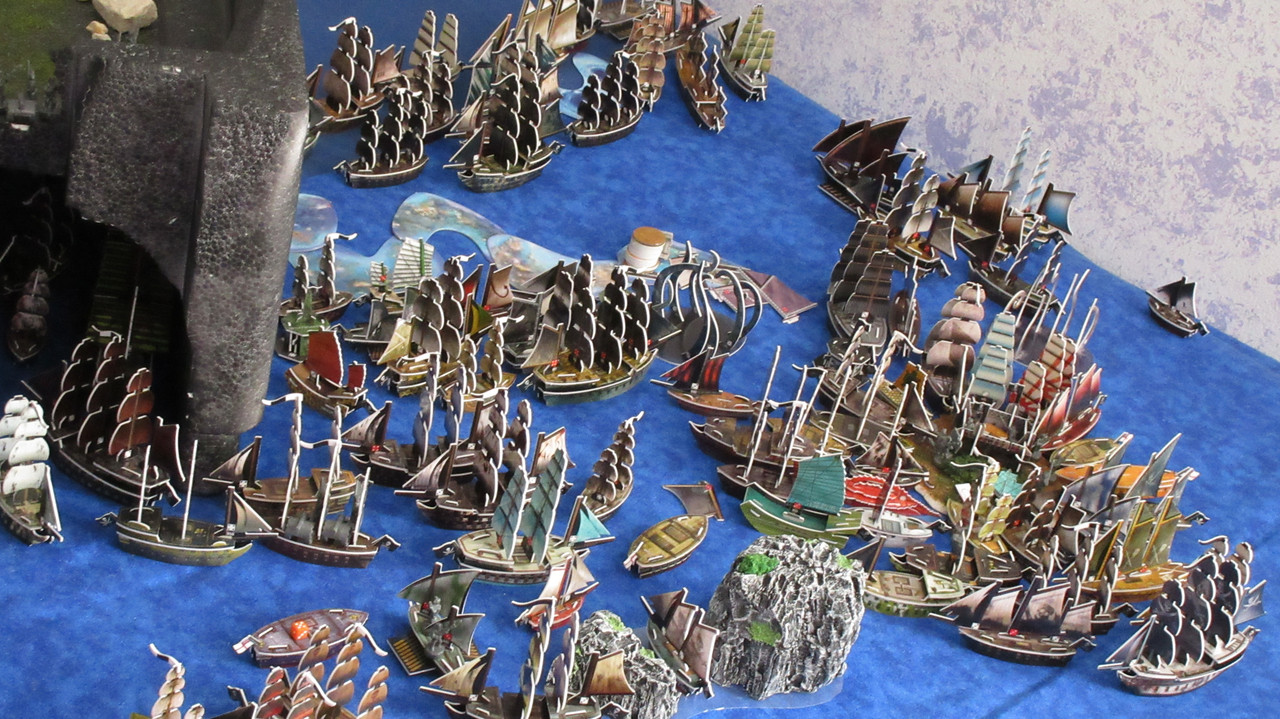
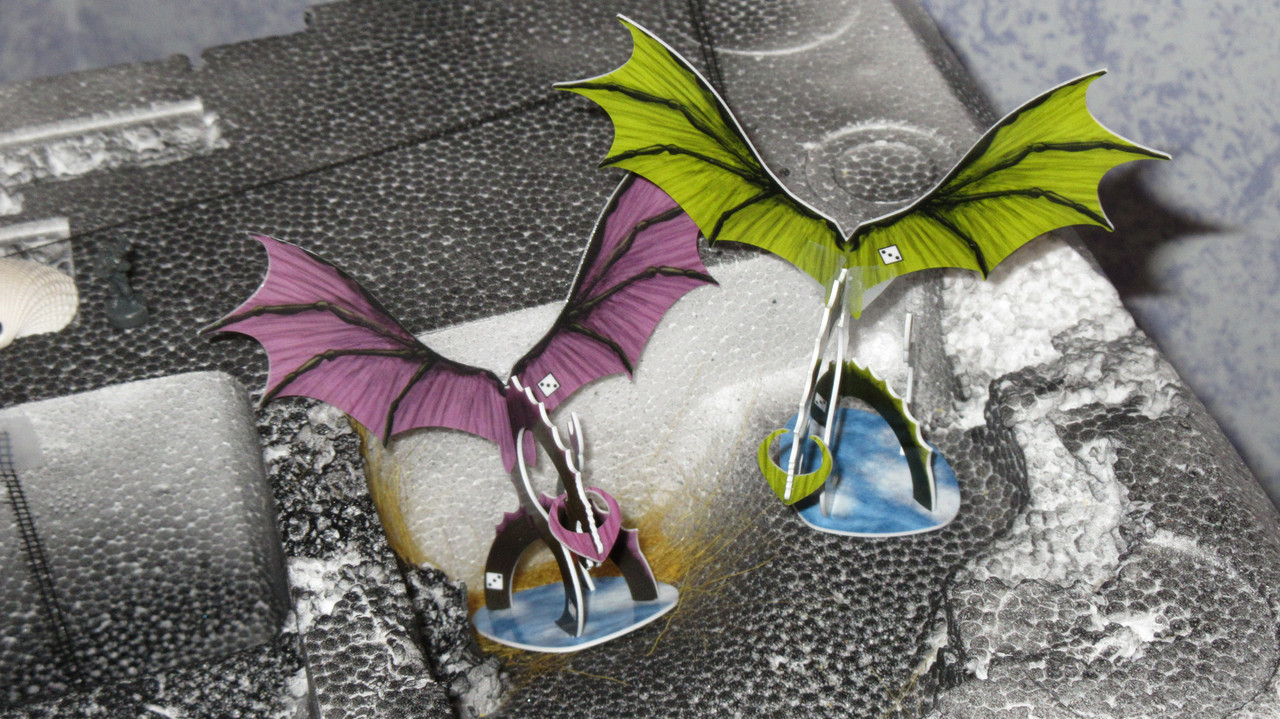
Command the Oceans – Just masts, everywhere (11/18/2017)

The Carnage Continues to Mount

(literally)

This report is for the rest of Turn 73 and all of Turn 74!

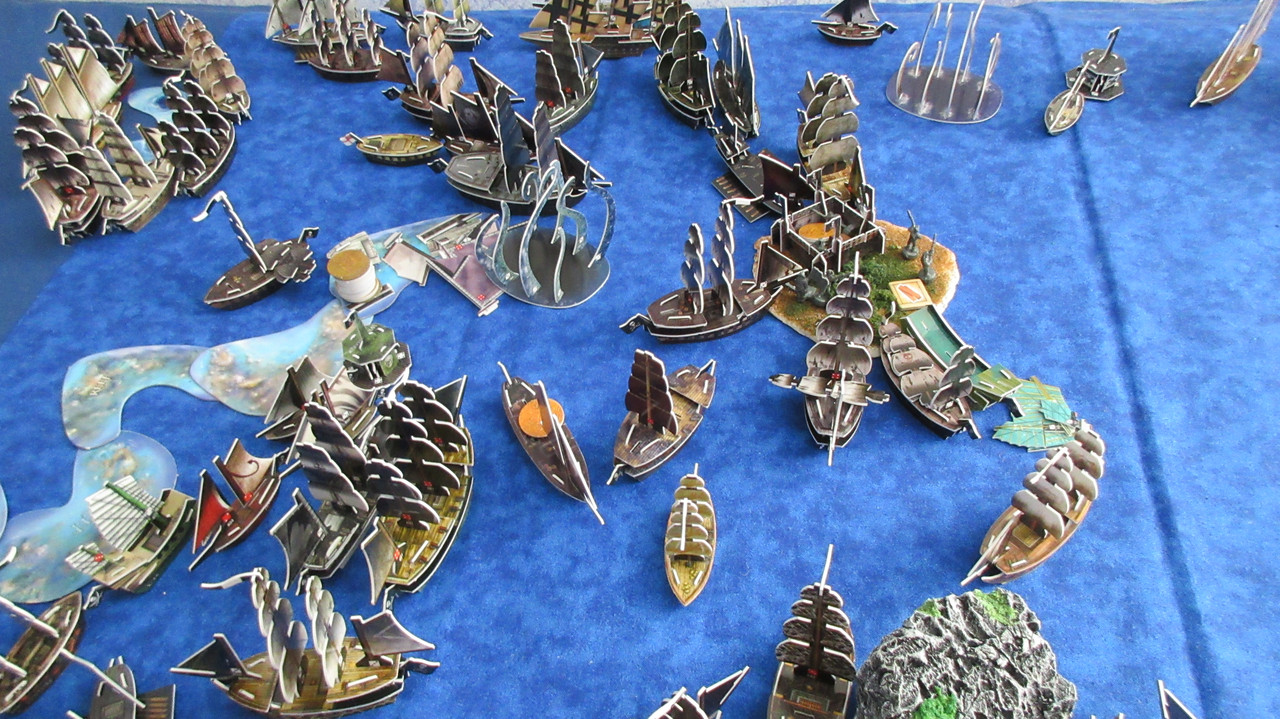
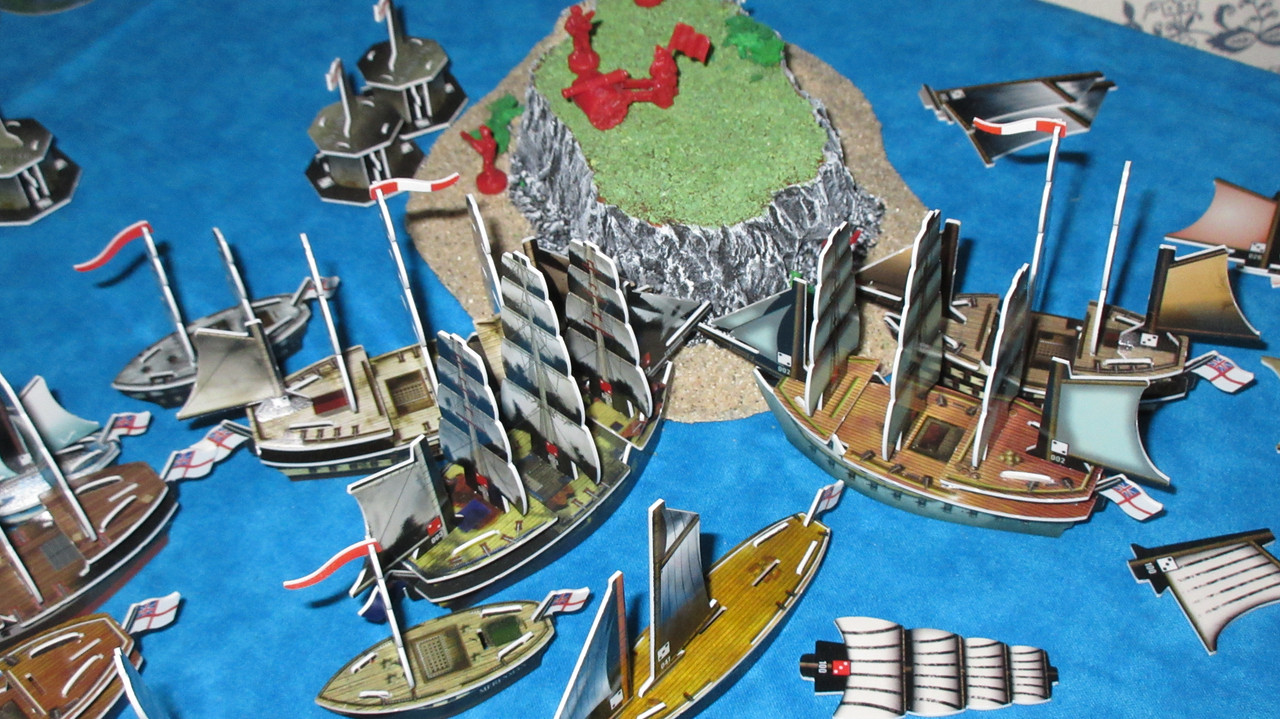
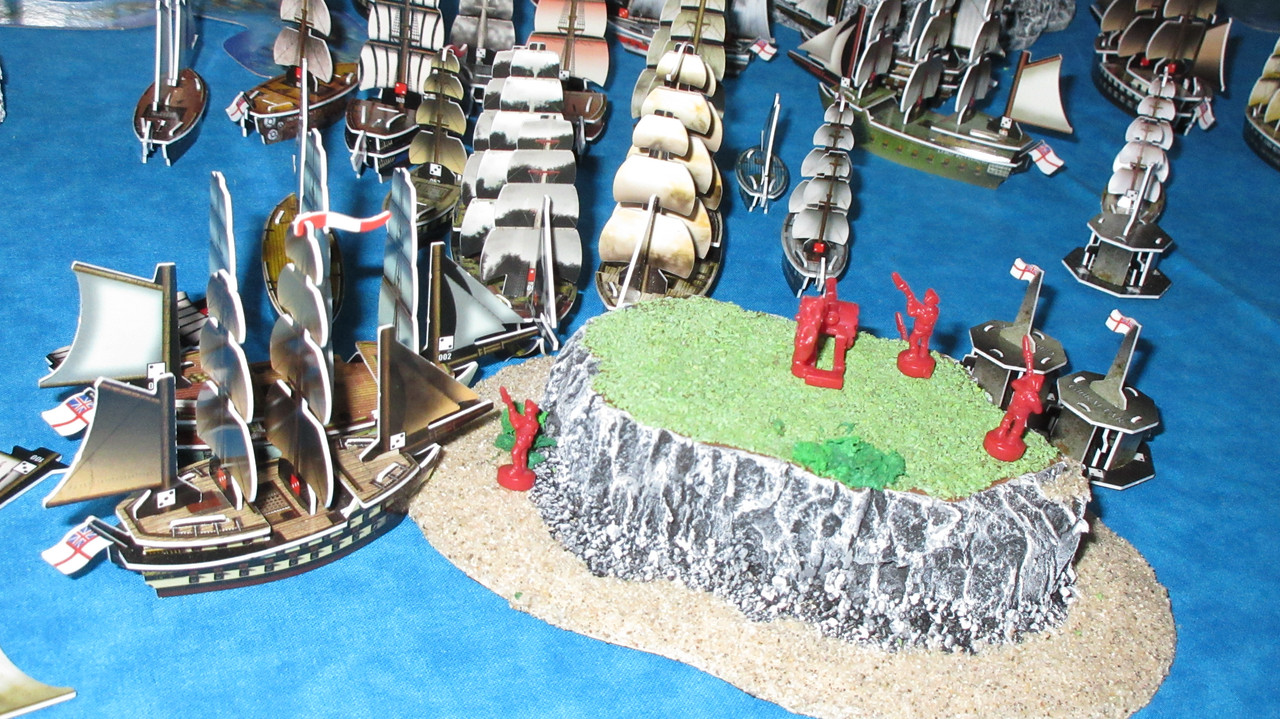
The resource on Diamond Rock has changed back to spices! This would seem to benefit the English greatly, but it might not when the resources change again in a few turns….

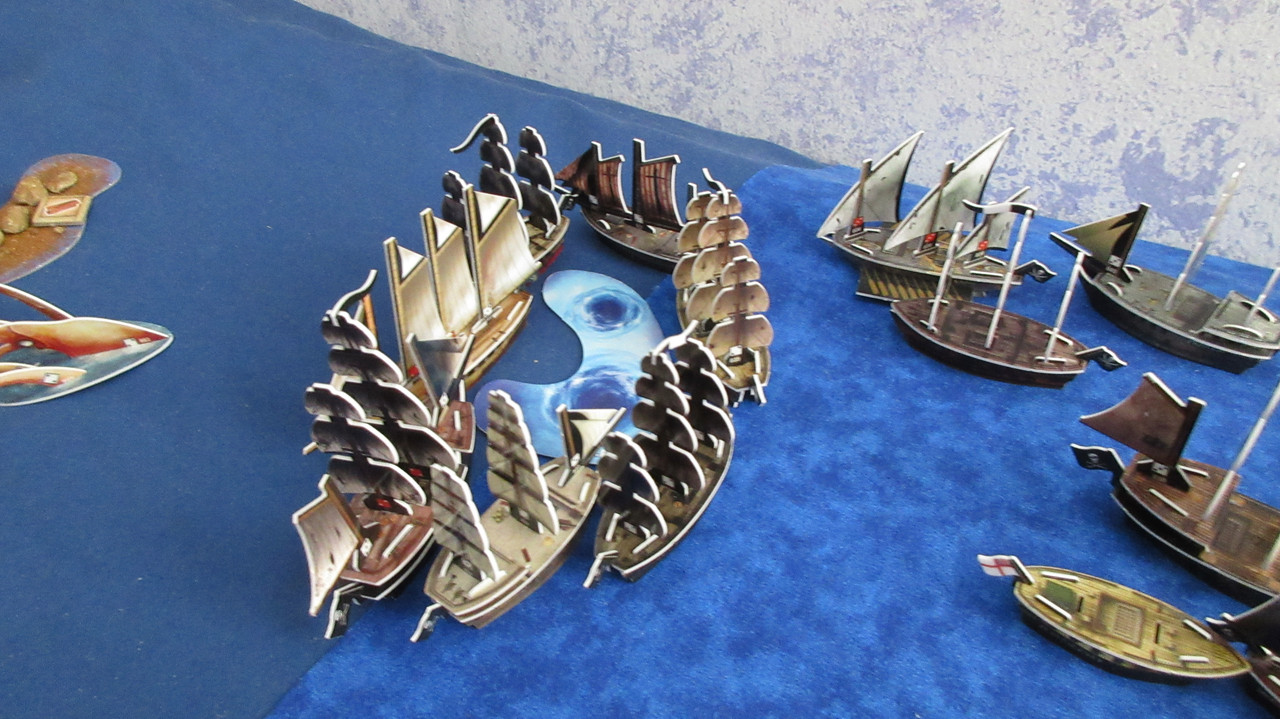
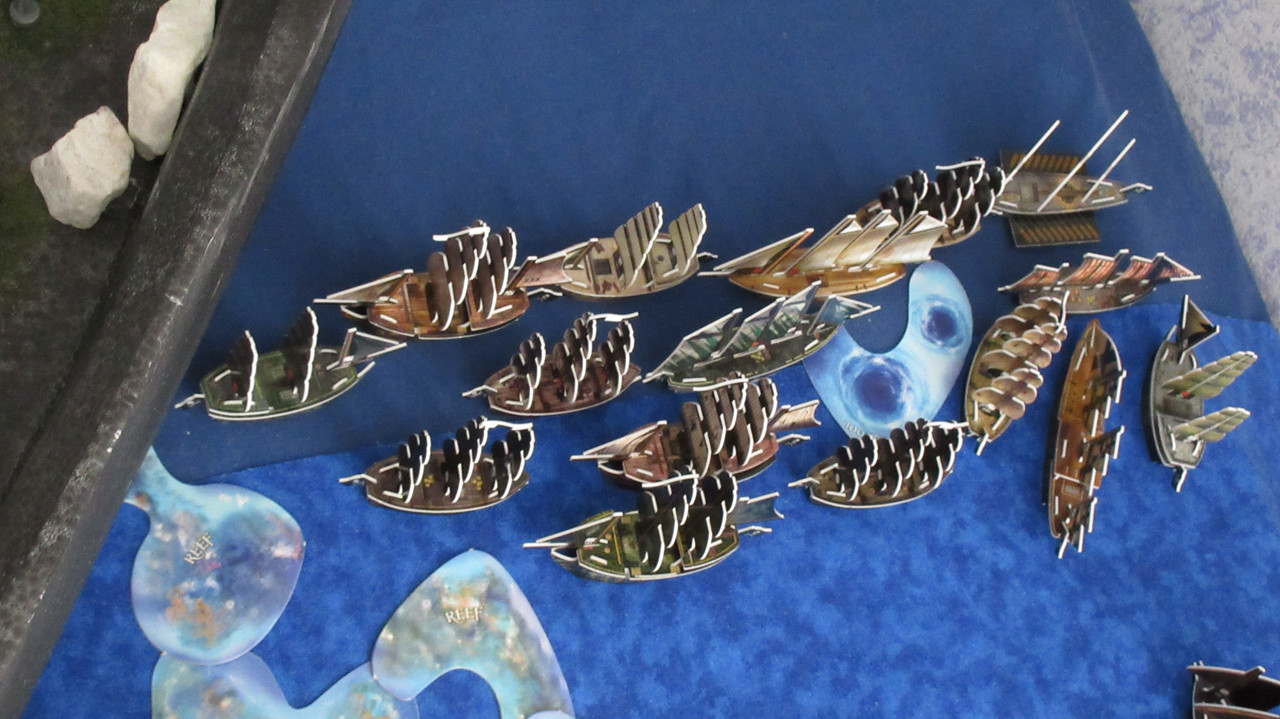
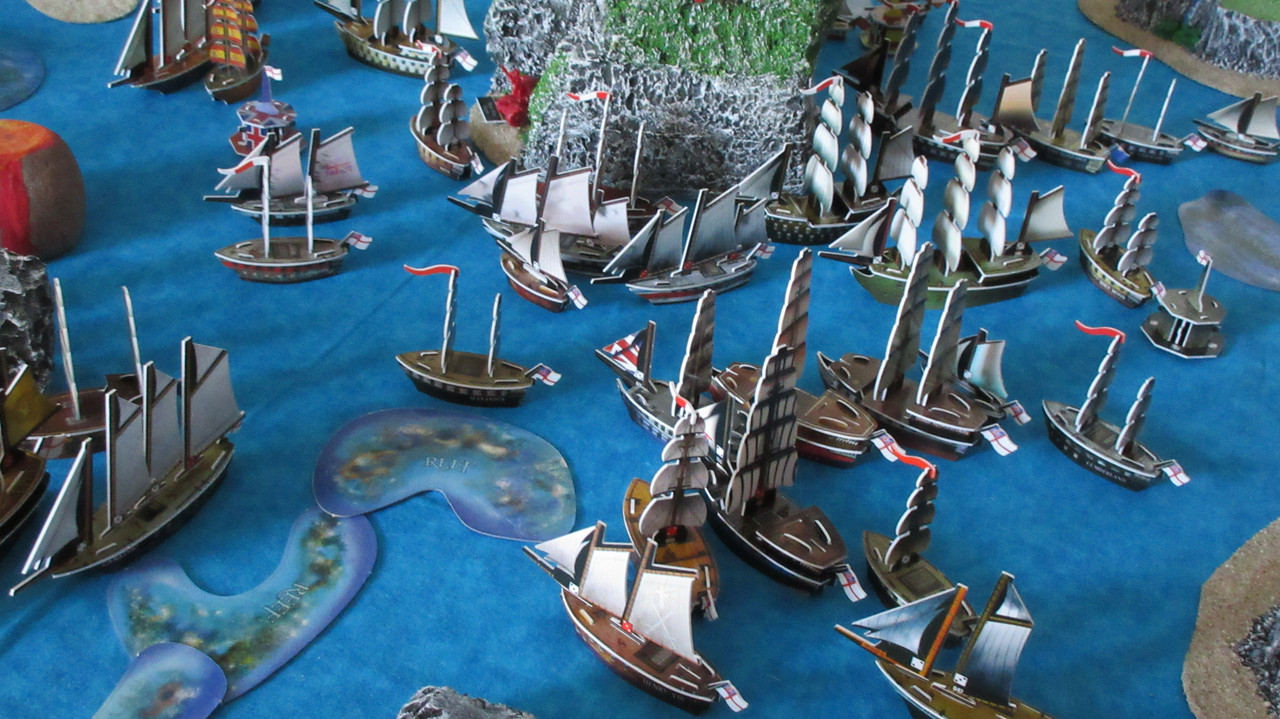
Gunships are making way for the damaged ships from the Sea of Allost:

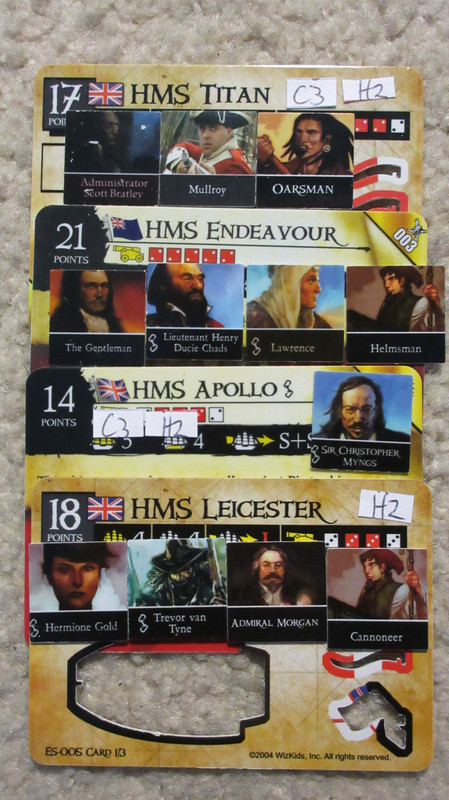
The English begin a major regroup and repair effort, and similar to the Pirates (who they just lost to), they will likely be very hesitant to launch whirlpool attacks going forward.

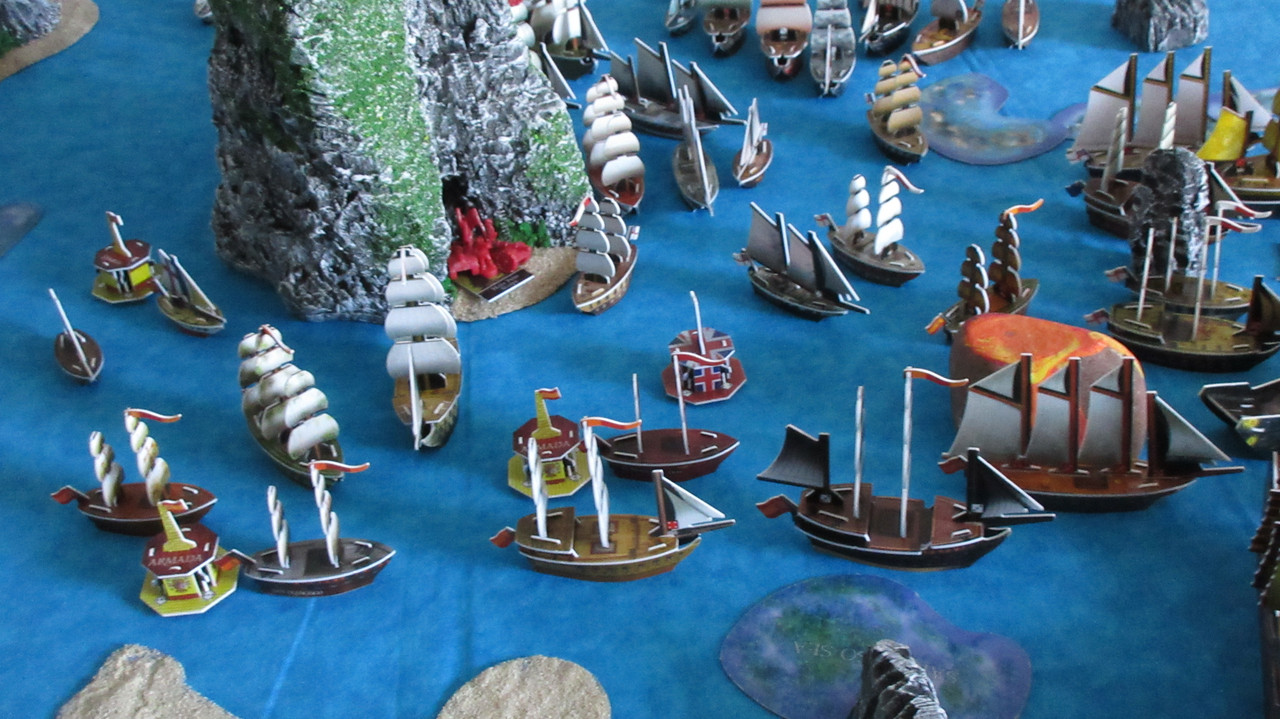
The Spanish follow through on their plan to launch one of their best ships!

The San Cristobal is here!

She will head straight for the whirlpool and into the Sea of Karkuda. You may have noticed that the Cristal del Obispo loaded Alejandro Malaspina and both Spanish infantry units, though the Cristal has been used as a cargo ship in this game….

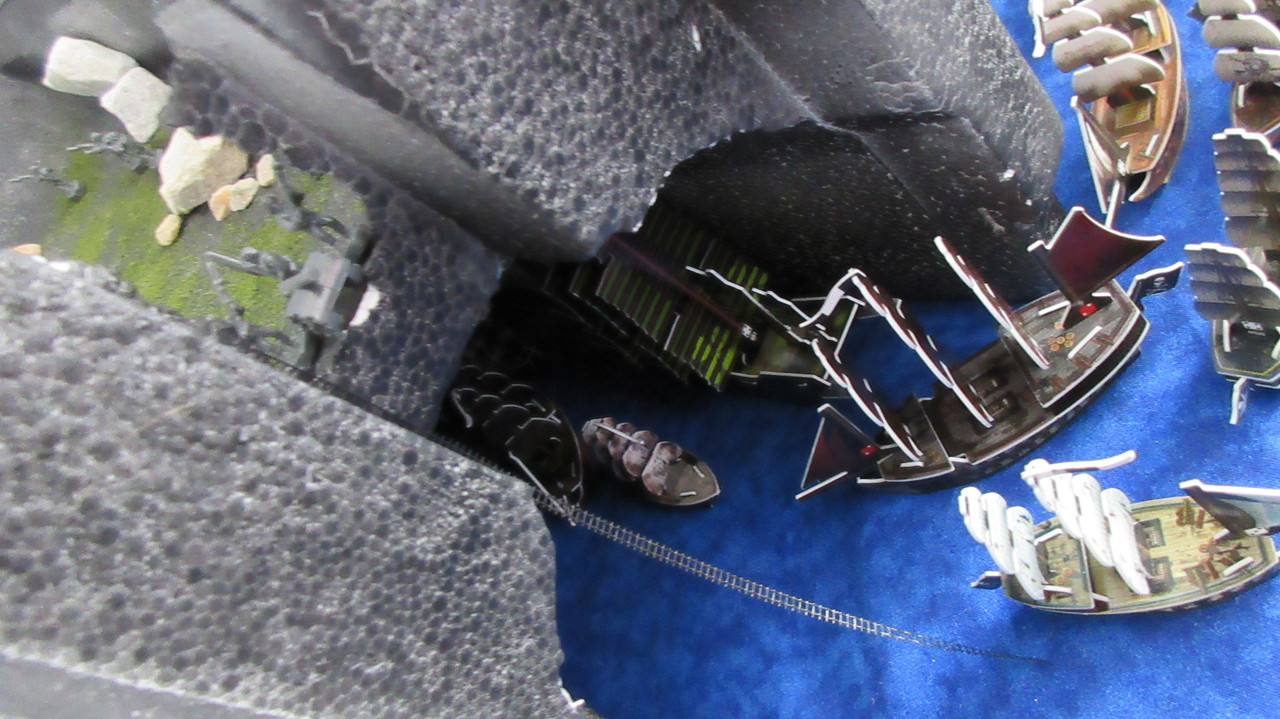
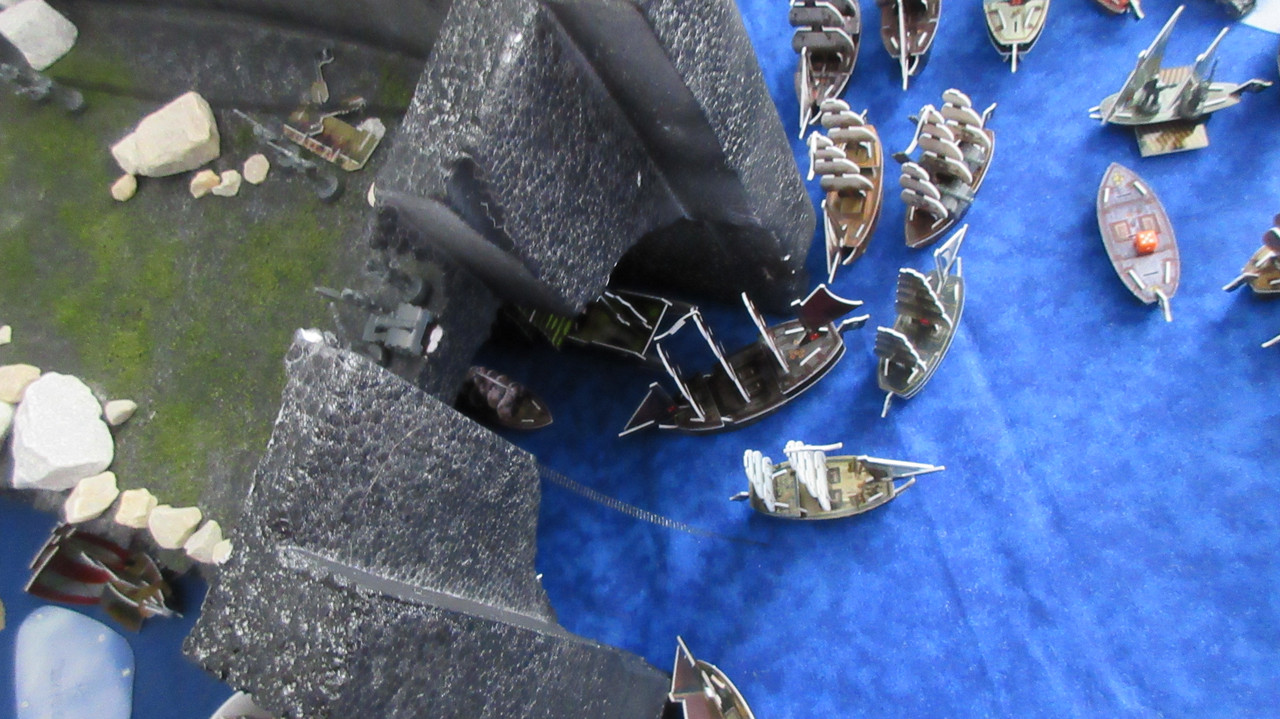
The doors to the sub hideout close after Nemo’s Nautilus goes inside!

Inside the sub hideout, Nemo unloads food and looks to repair the Nautilus in safety.

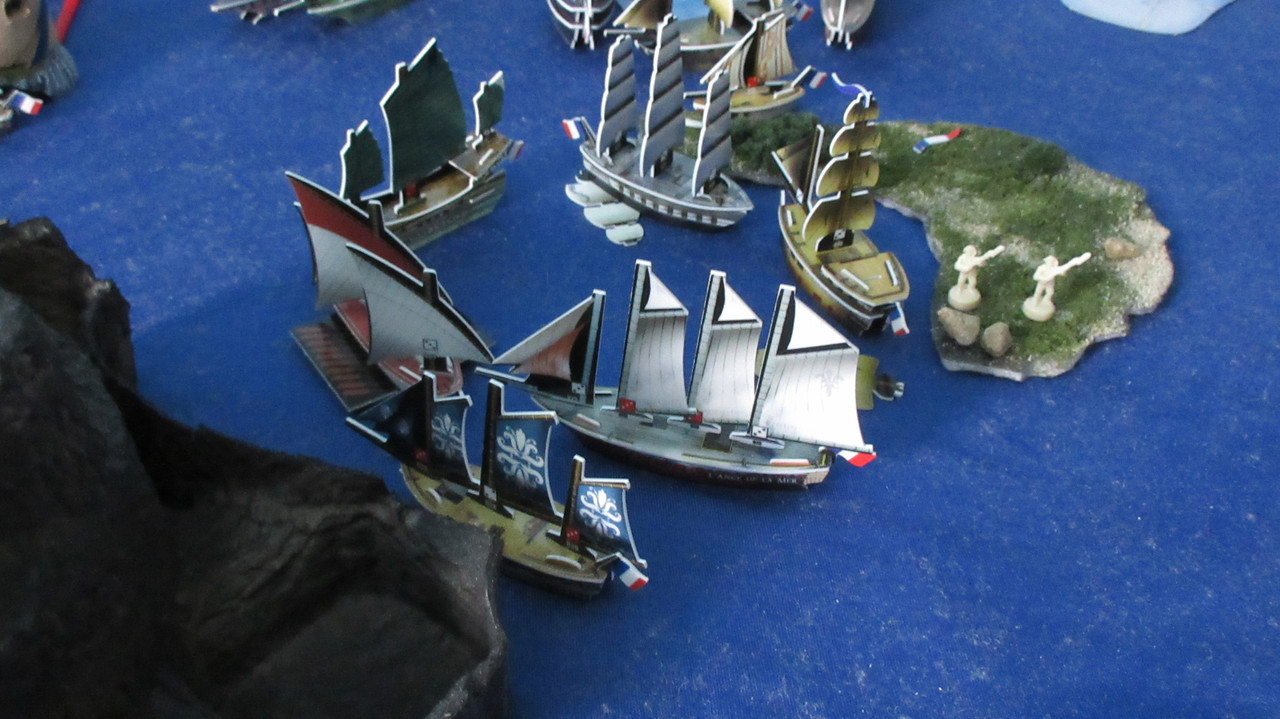
The French see the Sunrise Fire out of the fog, and immediately load their cannons and sail after her.

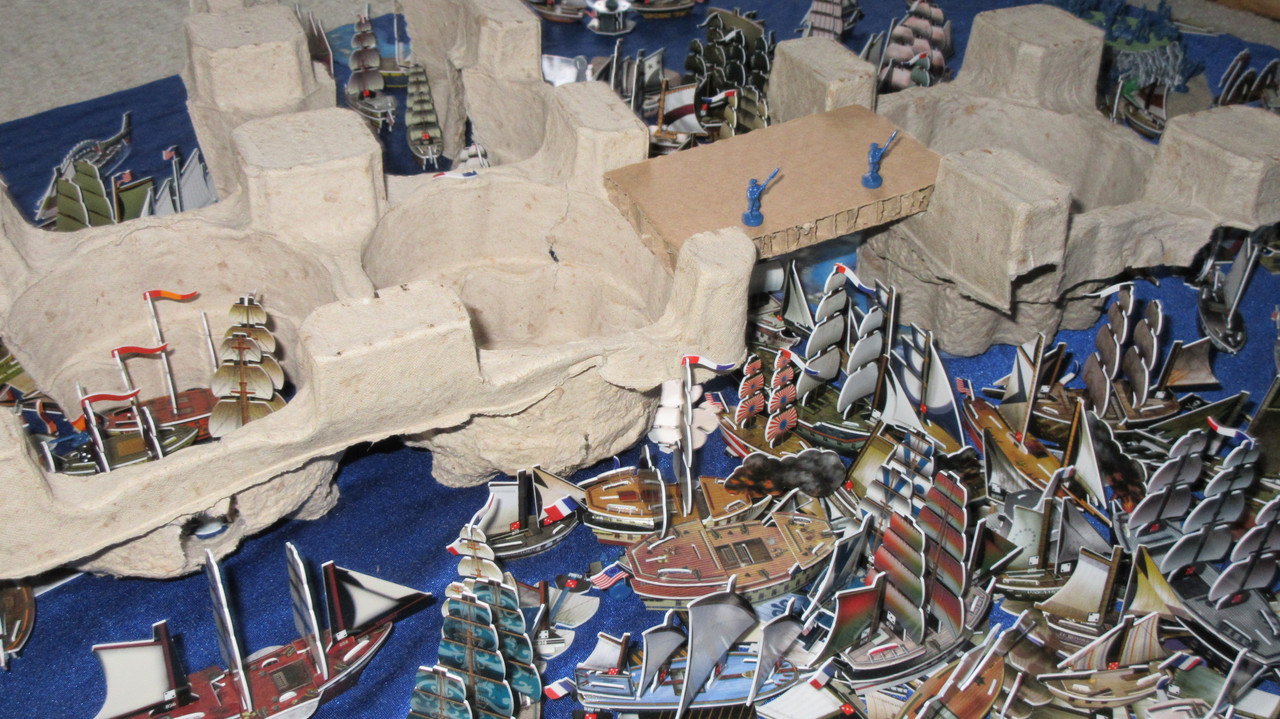
At the Battle for the Castle, various damaged gunships hide in the fog and wait for suitable exit rolls.

The Santo Columba sets the Gold Eagle aflame once more, and the Serpiente dismasts the Harlequin!

The Santo Columba also used S-boarding to win a boarding party, with her crew victorious in a short skirmish against American infantry.

With an SAT, the Corazon Dorado emerges from the fog to capture the Harlequin!

And immediately tows the new prize into a different fog bank for safety! The Monte Cristo’s gunners are lining up some shots at the pesky American artillery unit on the rampart:
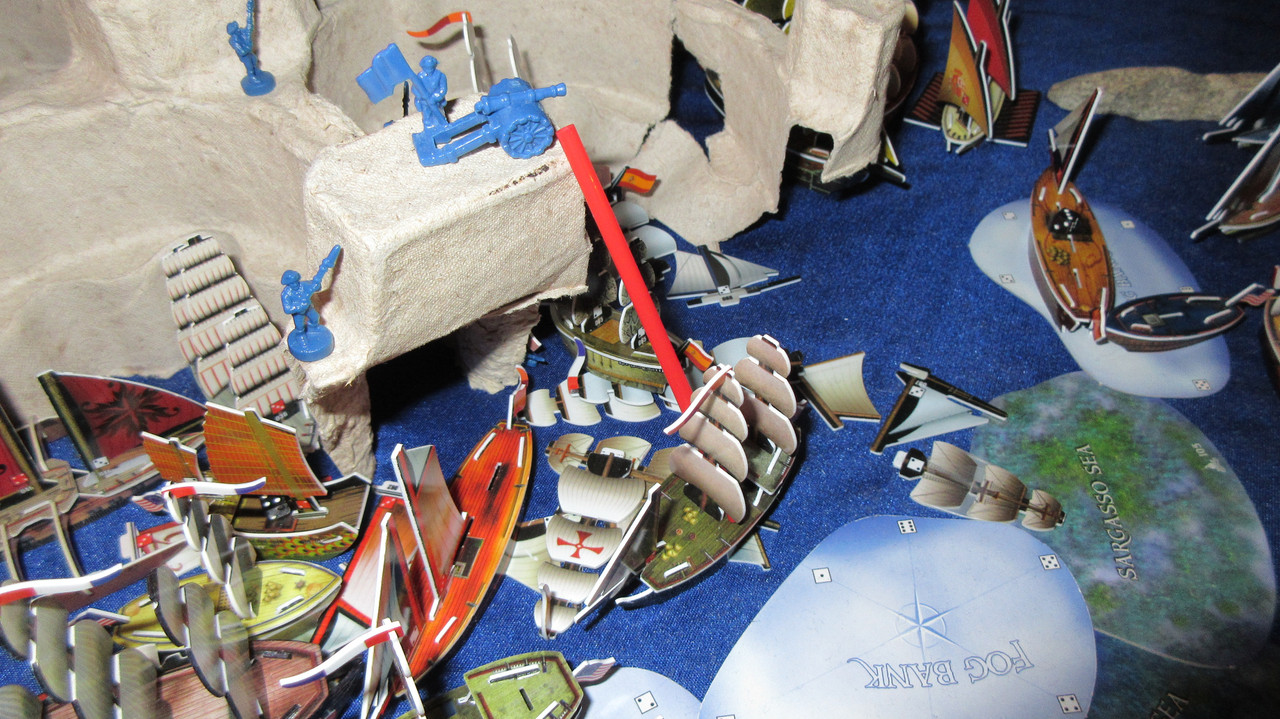
Down it goes with a splash! With that, the Spanish have established a true foothold in the northeastern corner of the Castle. They have surprised everyone in play by their courage and determination, and if the Americans cannot hold the other parts of the Castle, they may actually lose the battle!

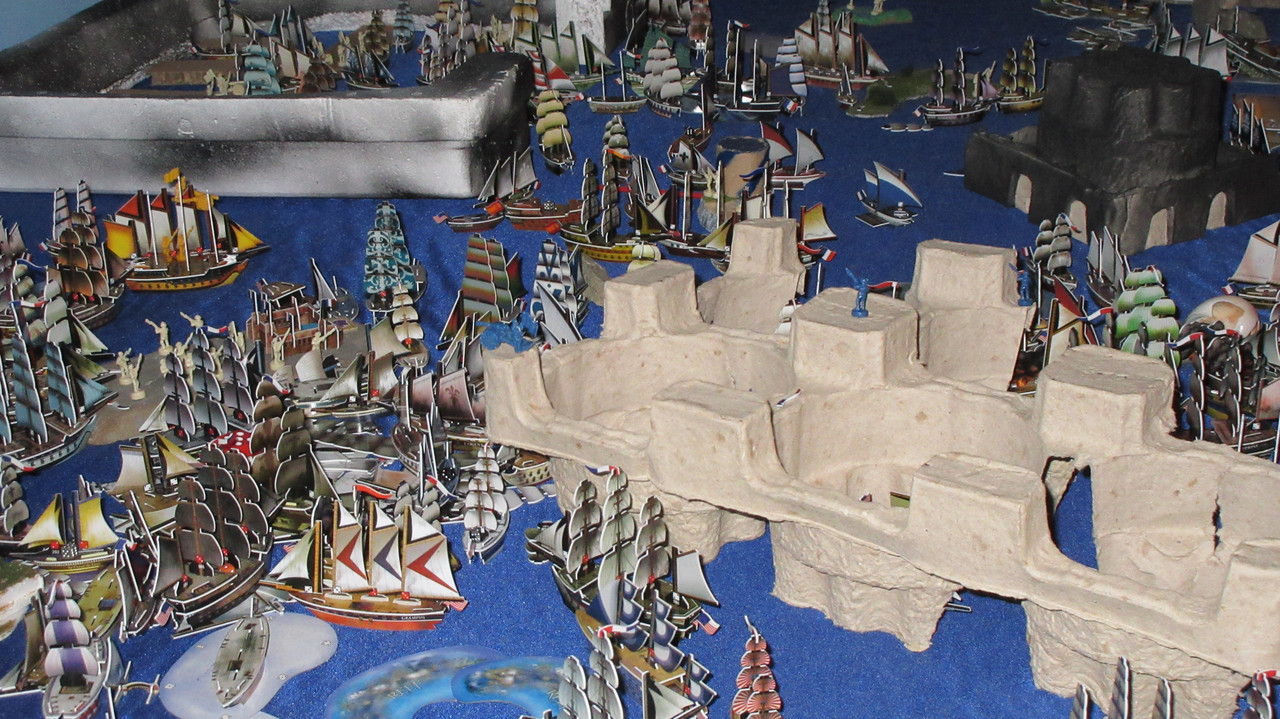
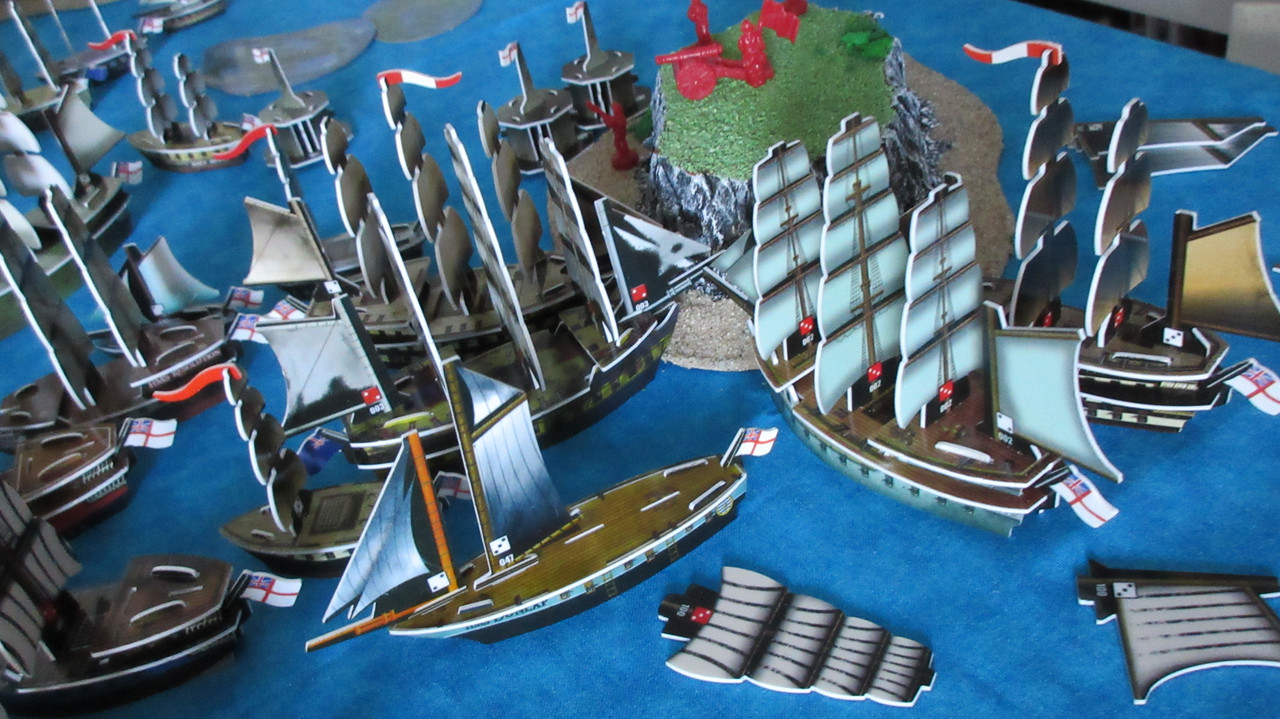
Just to show some of the wreckage at the French-American battle, though it will become even more dense by the end of this report.

The Intrepid is nearly dismasted by a team of French gunships!

The Neptune retreats as the Dauphin Royal fully enters the fray. You can see that the recently launched cohort of French blockade runners have reached the battle area, and they make an immediate impact. Right now the American strategy is to get Lenoir within cancelling range of the Concordia, either to cancel the ship’s ability (cannons cannot be eliminated) or Gus Schultz’s Eternal if the French can land a final hit on the ship.

The Neptune is likely to be saved by her proximity to Paradis de la Mer at The Flat.

Looking from the northeast at the line of French gunships protecting the Neptune, Martinique, and Concord from further harm:

In the far northwest part of the battle, the French put some hurt on the Americans! The Nene-nui and Kettering are hit three times each.

The Kettering cancelled the Gaule’s captain. However, Deleflote countered by giving the Gaule a shoot action, which ripped through the Kettering and set the valuable longship aflame!

The French put forth two new gunships at the end of their turn. The Descharges is loaded with great crew, while the Intrepide will tow a new Mont Blanc flotilla.

A few French reinforcements: both ships were launched from The Flat, while the Bonaparte heads west after being ordered to break off from whirlpool blockade duty. The Atalante adds a fourth ship to the fresh French vessels.

Just like they are up north, the French are blockading the whirlpool the Cursed created to ensure no hostile ships emerge from it.

The ever-busy Harbor:

The American turn begins with utter failure! The 1 is just a reminder for me to mention how many bad rolls the Americans got in the southern part of the battle. The Mohican and Atlanta were horribly ineffective.

The Americans managed a little better near the Castle itself, setting the Granada on fire.

The Soleil Royal and Belois lose masts due to the French counterattack:

The Intrepid will try to flee for repairs, while the Julius Caesar sets the Republicain on fire.

Lenoir cancelled the Saratoga’s captain, so the Hudson shot at the Dauphin Royal instead. Unfortunately Phillipe Amqui was killed by a musket ball!

The Americans don’t have enough backup ships coming up in reserve to properly support resistance in the northwest area. The Nene-nui tries to block and save the Americans time, while the Swamp Fox misses a Broadsides Attack with a 1. Reinforcements are coming, as you can see the Blackwatch, Adventurous, and Jackson. The Kettering puts out her fire but Commander Steven Decatur retreats for repairs, knowing the extreme value of his ship.

Preble on the run! The President scurries home to put out her fires, while a few more American gunships are headed to beef up the offensive near The Flat.

A very crowded American HI, with most of the space taken up by repairing ships. In the middle-right, three more American gunships are headed north towards the battle, but they are a few turns away.

Including the canoes, I count 21 ships docked at the American HI. As hoped for, the Albany has been saved!

Some Pirate captures are still being towed home. After a LONG delay due to the huge battle against the Pirates, the James Madison and Louisiana are finally able to load spices!

The French threaten to break through in the northwestern area, which would put them pretty close to the American HI.

Smoke rises in the distance:

The well-positioned artillery and infantry atop the northwestern wall of the Castle have found their mark a few times against the French:

Here is the majority of the battle area, with fresh gunships sailing in for both sides.

One of my favorites of the day:

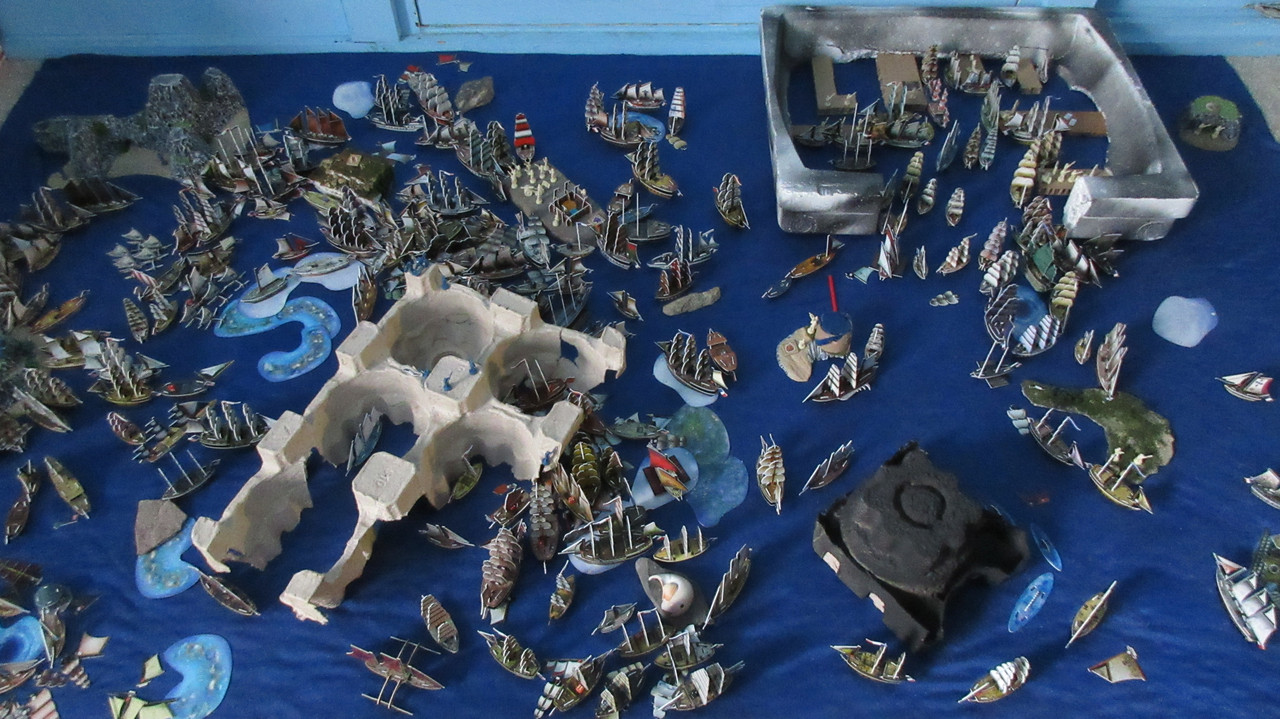
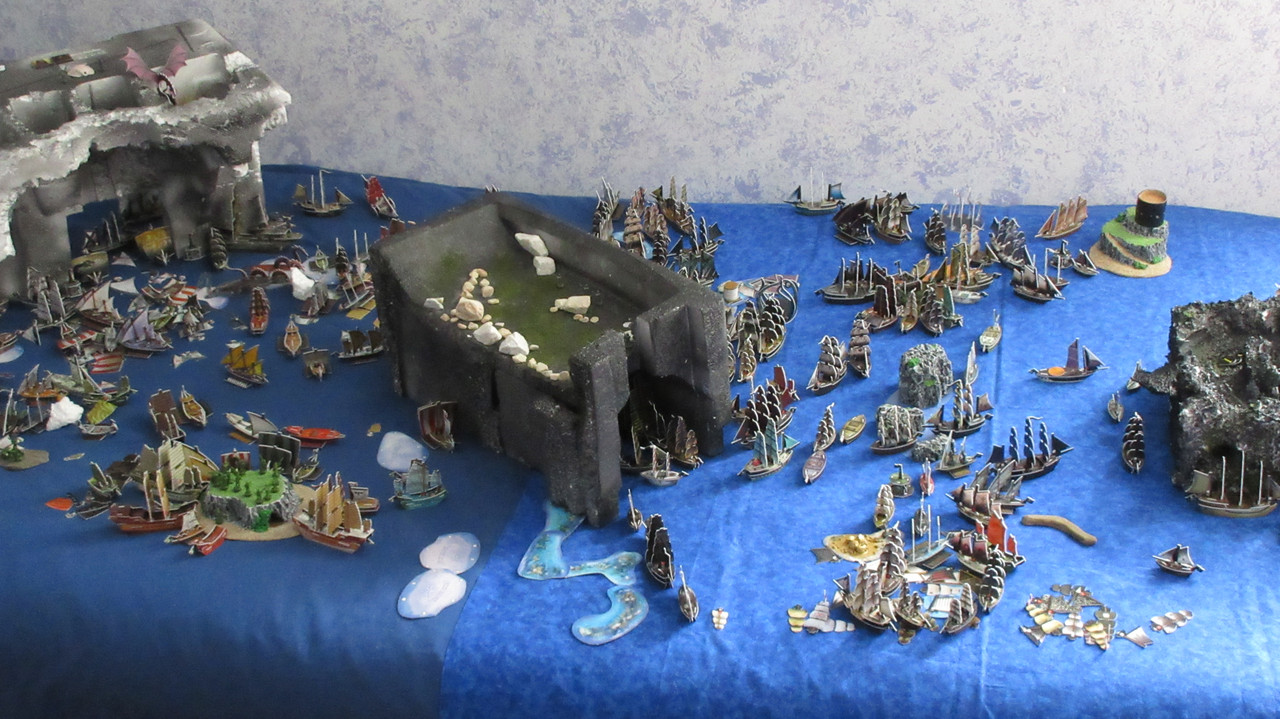
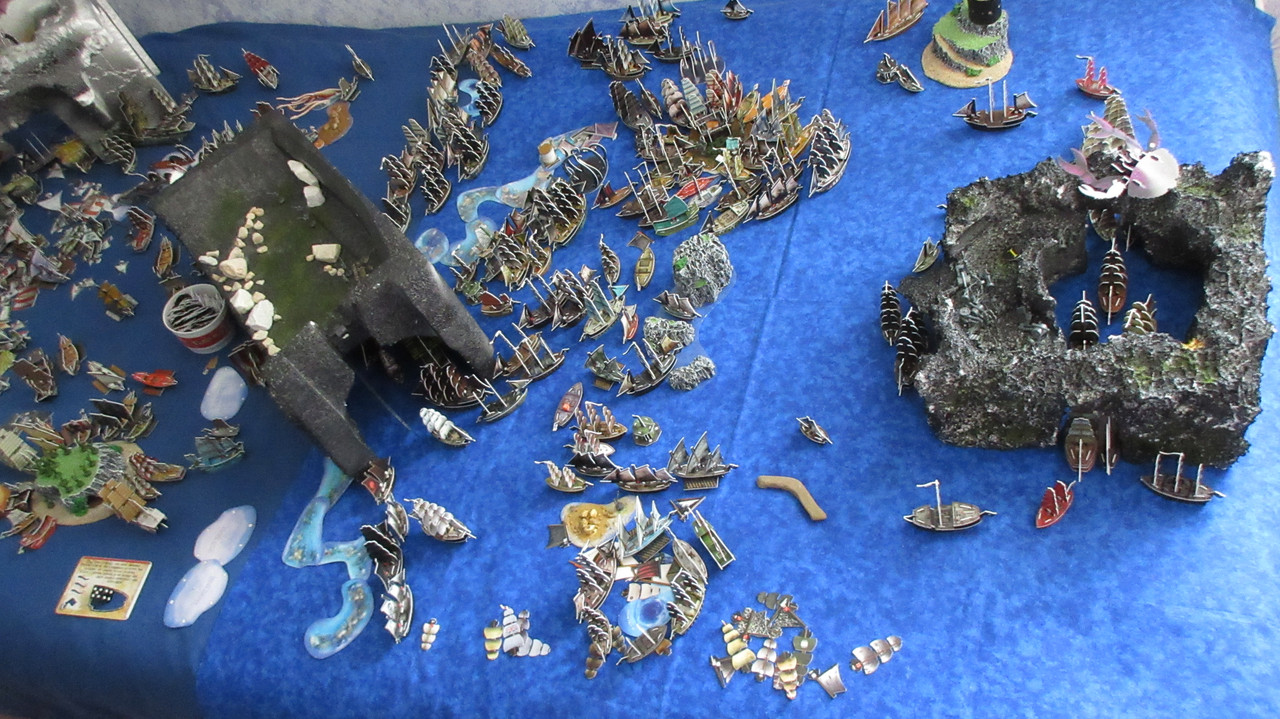
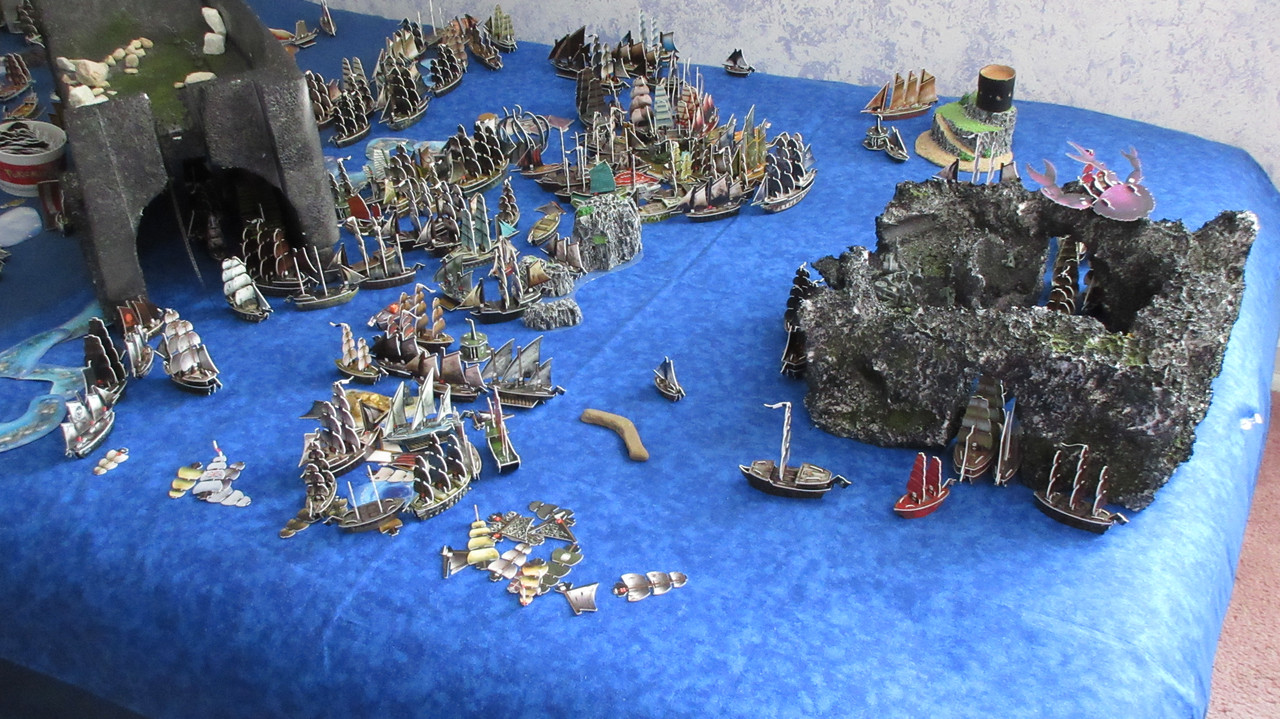
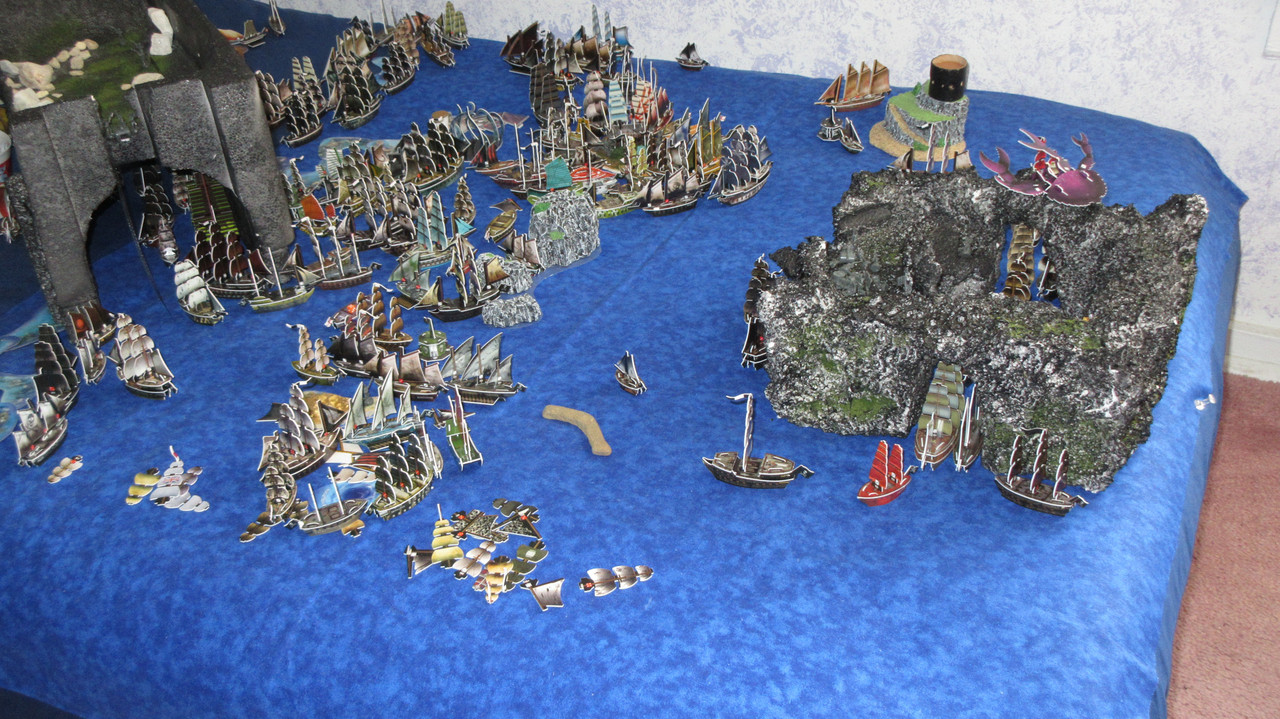
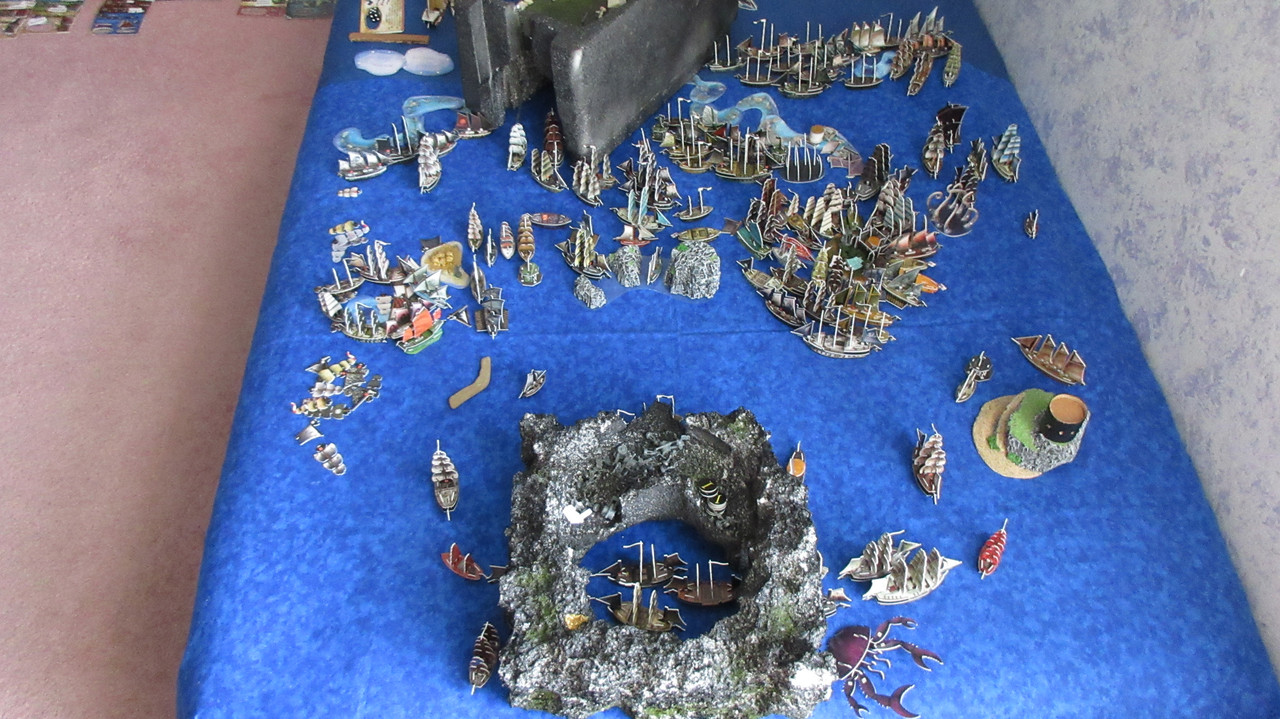
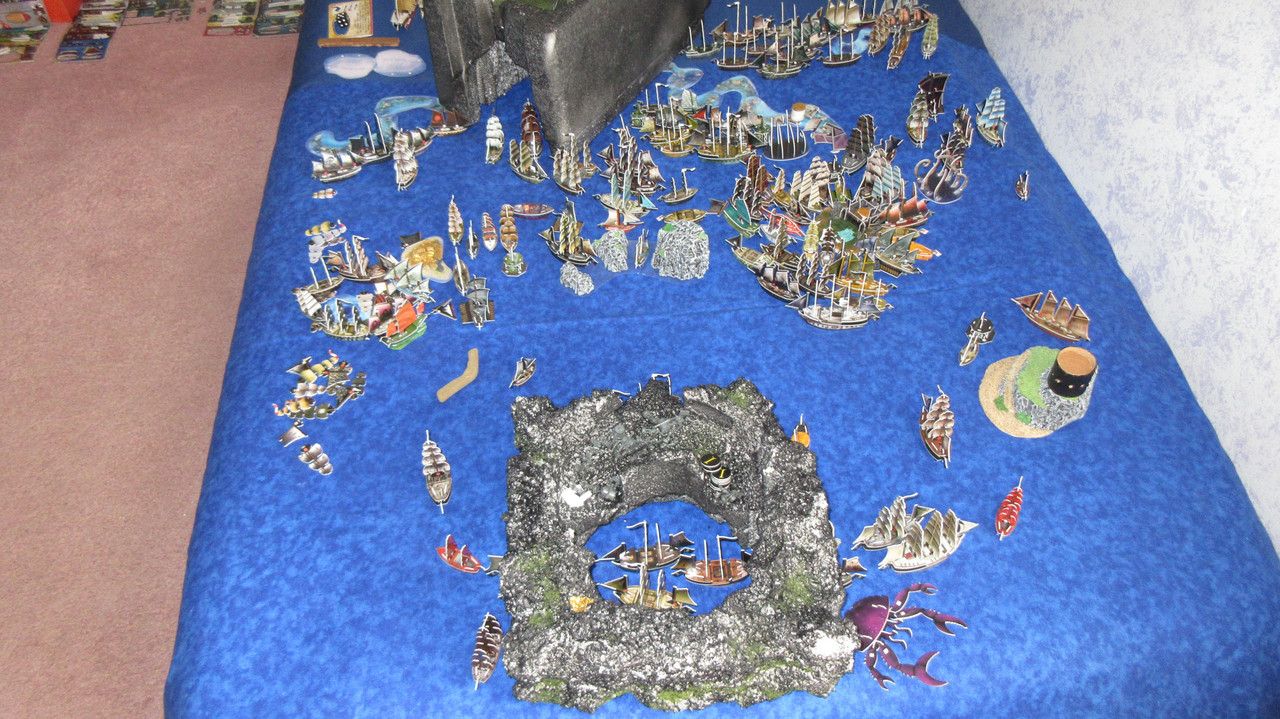
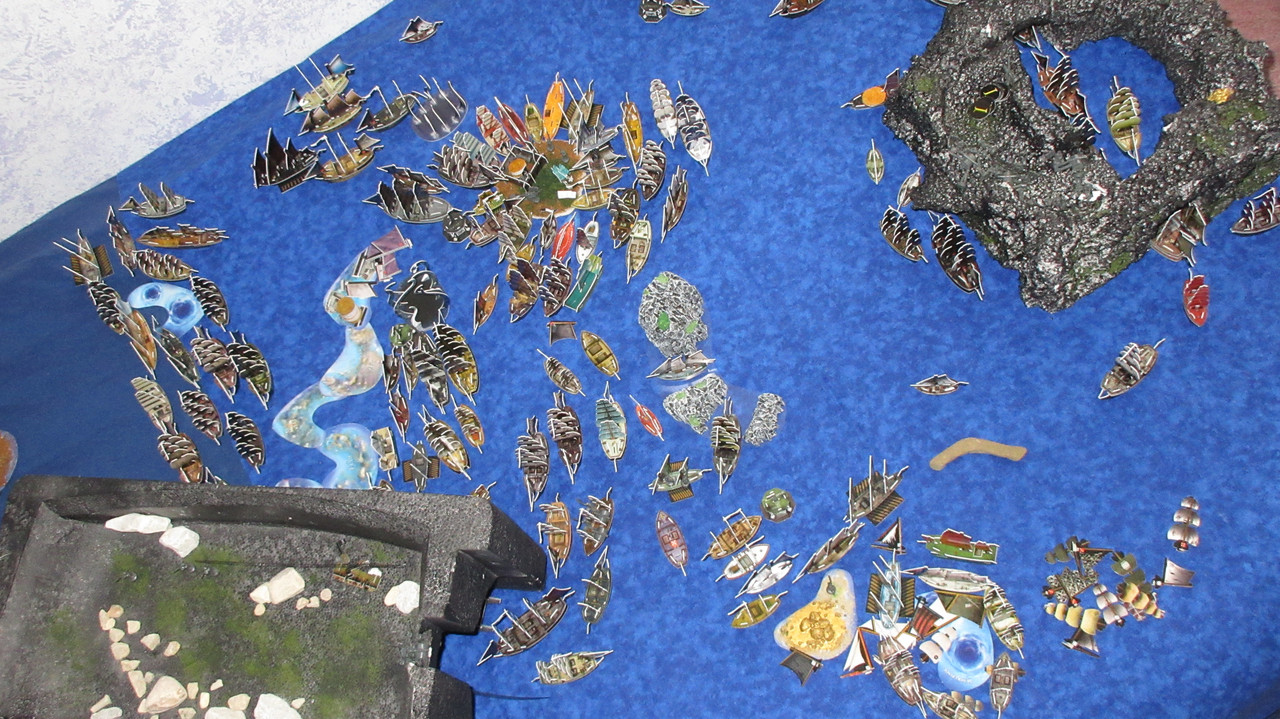
Just a partial glimpse at the scope of this campaign game:

A close-quarters engagement characterized by sudden dismastings and various burning ships:

The French have at least 4 gunships headed to reinforce each section of the battle (far south, Castle/Flat, and northwest), but the Americans have no reinforcements going to the Castle right now. They can launch there, but the Pirates and Spanish are the only factions with current high-value resource flow.

Amqui “died”, but little do they know, he was reanimated by the spectral Wraith and will now fight for the hated Cursed!

Turn 74

The Sunrise Fire explores and finds luxuries on Pearl Island! This was a preset resource; the island is full of valuable pearls, so luxuries are the only resource this island will produce.

The Pirates have done it!!!!!

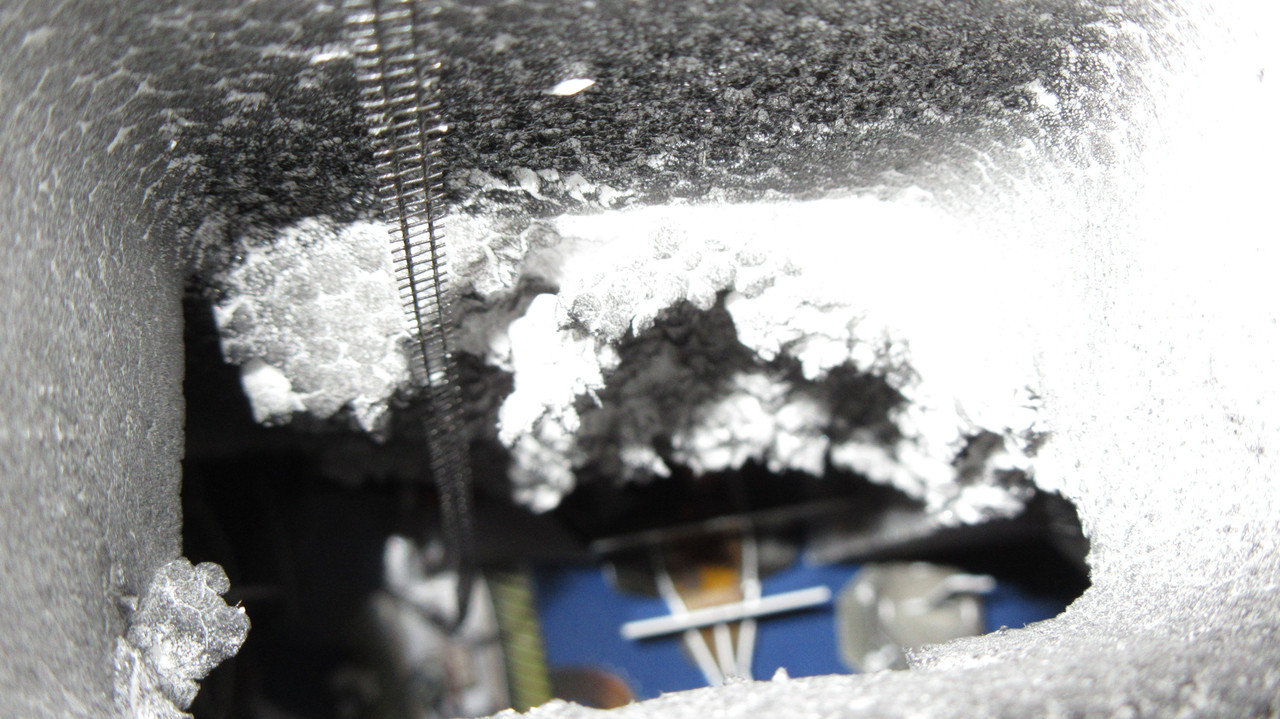
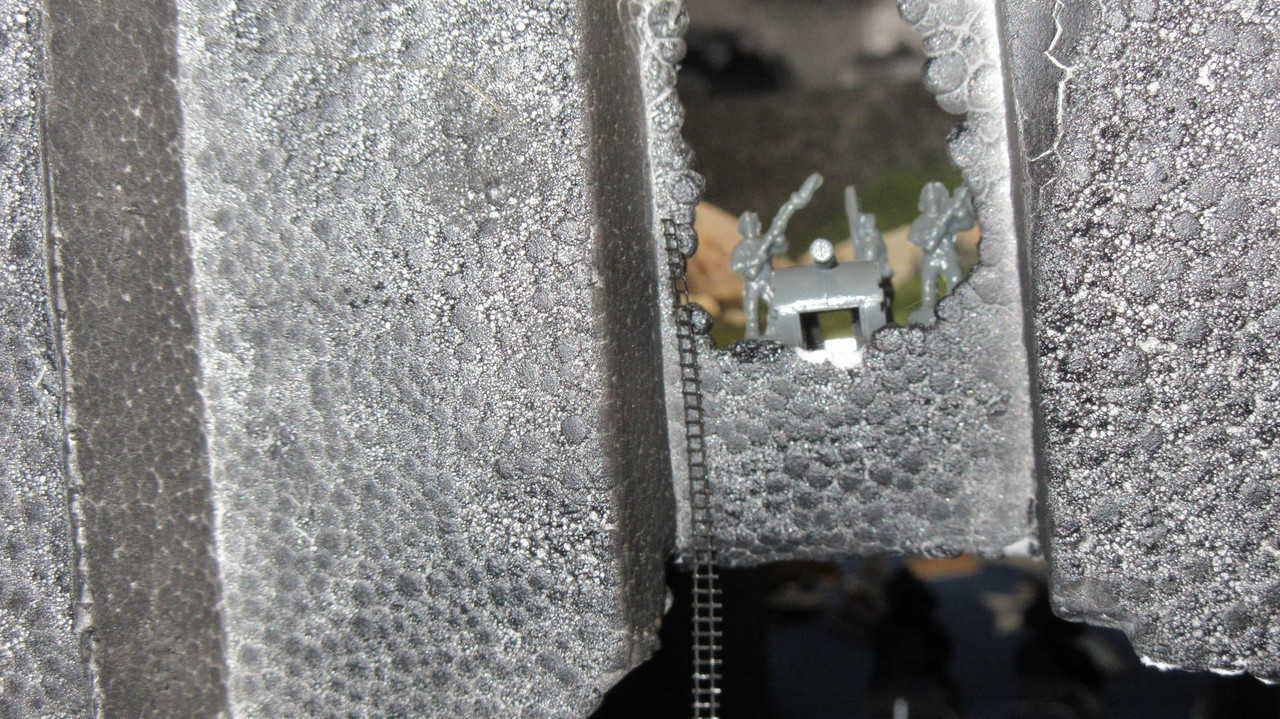
The Pirates have tunneled all the way to the top of the Tunnel!!

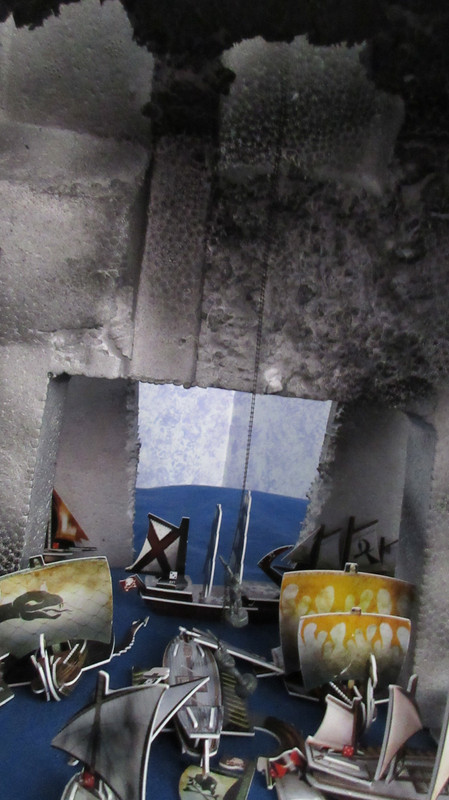
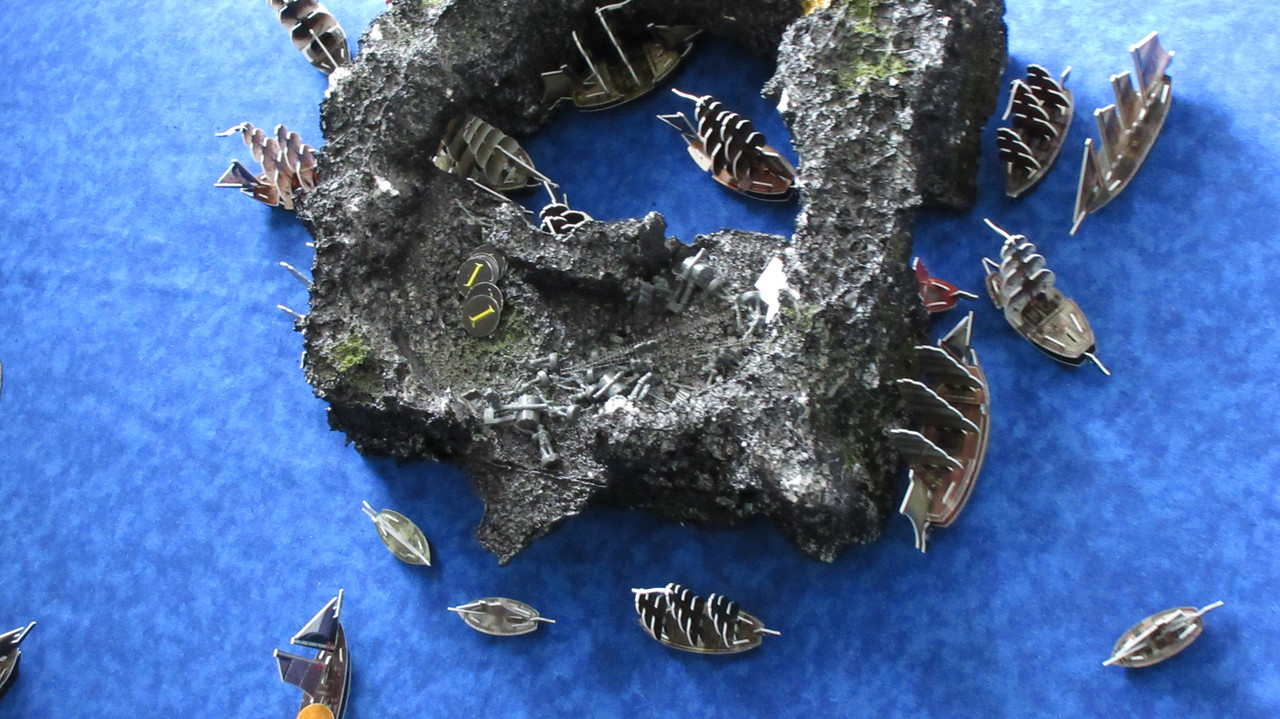
The hole is near the eastern entrance:

Cleaning up now that the English have gone. In a very timely effort, the Black Pearl had Tia Dalma aboard to cancel the oarsman aboard the Belle of Exeter, allowing the Cutlass to capture her! If this hadn’t happened, the Pirates would have had to sink the Belle (requiring considerable effort at 6 hits total), eliminate her crew one by one via boarding parties to capture her (likely losing some of their own crew in the process), or let her escape and get shot at by 4 cannons (musketeer aboard) in the meantime. With Tia Dalma’s arrival, the Pirates snag a nice prize and deny her further usage to the English.

The Guy Fawkes is also captured, but the Wycliffe will burn.

The Revenge manages to keep the fires at bay (barely), and she should be able to put them out next turn! However, she could easily roll a 1 or 2 before moving, which could require a Pirate rescue attempt.

With an EA, Calico Cat pilots the Revenant out of the Tunnel and towards Dead Man’s Point for minor repairs. In this picture alone you can also see about 8 other ships headed there…

… with more arriving from the northern area. The Rum Runner returns to the Sultan shipwreck to load gold, though the Pirates should really send a smaller ship out there due to the reef damage to larger ships.

A regrouping Pirate Kingdom:

It was an odd Pirate launch: the Amity gets a helmsman while docked in the kingdom, but also takes aboard some supplies….

WHOAH!! In a huge group effort, the Jades hit the Guichuan 17 times, ONE HIT away from dismasting her!! O_O

This was the risk the Cursed were willing to take on: sending any ship deep into enemy territory runs the risk of that ship getting completely annihilated by the counterattack. No less than eight JR ships fired upon the Guichuan this turn, with the Grand Wind getting 7 shots in (between her SAT and reroll). The Virtuous Wind, Sea Wind (2’s hit with 3 friendly ships within S!), and Majestic (cheerleader ability) were quite useful, but despite rolling well the Jades couldn’t get that final cannon in range (Silent Death was close but not quite there) to dismast the ship. Of course, as we’ll see, the Guichuan wasn’t in that much danger anyway….

It was a bit of a morale victory for the Jades, as the Cursed flagship gets soundly beaten and will take FOREVER to repair. XD

The Jades didn’t do so well in the other theaters of the battle, missing the Pyre completely and failing to dismast the weakened Pale Moon. The Whydah is set aflame, but it will be difficult for the Jades to extract the captured/recaptured ships (Hrothgar, Executioner, Scorpion).

The Tiger’s Eye shoots off the tail of Leviathan, while the Donar repairs and the Ivory Star knocks a mast off the Spilled Salt.

Various Jade and Corsair ships turn around: between the ice, fog, and general stalemate situation, the Jade Rebels have not been able to penetrate the Roost as they had hoped to by now. Some progress has been made in the west and northeast areas of the battle, but it has been incredibly slow and bloody progress.

Case in point: the Meshud manages to set the Knight’s Errant aflame, but the Grand Mountain and Sultan’s Sword go about 1/5 combined. Those two are pinned by the sea monsters, who could completely stop the Jade advance in its tracks.

The Beowulf, Golden Peacock, and Naegling all repair as the Jade Rebellion home island sees its biggest threat since Shal-Bala swooped in so long ago:

The Jade turn begins with the Guichuan predictably escaping! After the ship turned ghostly, Davy Jones copied the sac ability and killed his explorer, allowing the Guichuan to move into a fog bank. From there DJ can copy the fog hopper ability again to get home. Although the trip was actually kind of a failure (the Jades didn’t lose any ships or crew, while the Cursed flagship will be out of action for 9+ turns), the Cursed were happy to only use one of their two “secret weapon” UT’s… Davy Jones had been prepared to use Necklace of the Sky in an emergency to get out of the predicament, but still has it at his disposal for a future opportune moment….

You probably noticed Shal-Bala’s successful swoop attack, one of the dragon’s only attacks to follow the standard rules.

One of the Guichuan’s biggest masts fell atop the quarterdecks of the Jade cargo ships, with it balancing in most improbable fashion! XD The Guichuan did roll for Fear on the way out, with the terror affecting three Jade ships.

Almost every Cursed ship in the western battle area has been utterly shot to pieces. The Pyre is the healthiest thing they’ve got over there, with the Poor Adams and Whydah (both with just one mast remaining lol) covering the retreats of the Hrothgar, Executioner, Flying Dutchman, Fallen Angel, and Jikininki. That’s right, two severely damaged ships trying to form a line of battle so the numerous mastless ships beyond cannot be captured or sunk on the next Jade turn. XD Indeed, the western part of this giant battle has been one of the most intense exchanges of cannon shots in naval history. As is usual for this war, neither side has really gained the advantage. The factions have simply blasted each other to pieces.

If you stared at the last picture long enough, you may have noticed the submerged Locker making her way underneath the wreckage:

LOL! The sub can barely make it through the dense forest of masts and spars, which have been cut down by cannon balls and shrapnel.

Burning wildly, the Flying Dutchman struggles to make it home. The Fire Djinn lived up to her namesake in this battle, though she has now joined the Hrunting hiding in the fog. The (nearly dismasted) Pale Moon is towing the Executioner, while the Hrothgar and Fallen Angel (towing the Jikininki) attempt to reach the Roost on oar power. The Spilled Salt has fled into the fog, and while the Monkey’s Paw is still healthy, she rolls a silly four 1’s in a row to miss all Jade/Corsair ships in range. XD

You may be wondering why Brachyura is just sitting there. Well, the Donar and Ivory Star are immune to L-range guns (and therefore crab claws XD), so the Grim Reaper and Death’s Anchor are called upon to do the job instead. The Grim Reaper has a great debut broadside, setting the IS aflame. 4 ships repair at the Roost, while Namazu’s wave attack is delayed by the partial retreat of the Jade ships the beast was targeting.

The Knight’s Errant burns to the waterline, opening up a hole in the Cursed defense. However, the Grand Mountain and Sultan’s Sword lose 3 masts between them to the sea monsters, with Calim and Calypsos not even in action yet.

Cursed trade could be hit for the first time next turn, though the Jades will likely only be able to put a few shots on the cargo ships.

The Monkey’s Paw is continuing to prove herself… as one of the worst ships I’ve ever owned. On all 3L guns, her shooting percentage in this game may be under 33%, and I wouldn’t be surprised if it was just a paltry ~20%. Like I said, on this turn she rolled four 1’s in a row to miss all her shots.

It’s not as dense as “the spot” in the French-American battle, but the wreckage accumulating in the western Sea of Allost is considerable indeed.

The English have a weird turn, advancing some of their gunships into “Spanish” waters just to make room for the plethora of ships moving from the whirlpool towards the English HI:

Considerable Spanish reinforcements are coming to the Sea of Karkuda…

… as the Principe, Cristobal, and Cristal make their way towards the whirlpool.

The Monte Cristo dismasts the New Orleans, while the Santo Columba captures the Gold Eagle!

With no other targets to attack, the SC also used her cannons and S-boarding to eliminate no less than 3 American infantry units!

A fruitful alliance: the Corazon Dorado tows the Harlequin to the Harbor, where the French have invited the Spanish to repair. The Santa Ana rows there, while the Profeta makes her way to the Castle battle. I really like how this picture shows the different hull colorings and artwork, particularly in the top/top left areas of the photo.

Paradis is in range! The French cannoneers in the fort can finally shoot again, and smash some lumber off the Concordia.

The French do fantastic in the northwest once again, hitting the Nene-nui and Swamp Fox three times apiece!

A devastating French attack! The Dauphin Royal gets Gaston’s AA, dismasting the Hudson. The Coeur de Lion knocks the final mast off the Intrepid, while at least three ships get in shots against the Concordia. The Mercure dealt the firepot hit, while the Soleil Royal landed about 3 hits of her own (Montana Mays prevented crew elimination however).

The French blockade runners have done well so far, but of course the 5 masters are the ones doing the really heavy lifting. The “Royal” ships (Dauphin and Soleil) really pulverized the Hudson and Concordia. However, the Julius Caesar and chaos of battle prevented Lenoir from getting in range of the Concordia.

With unspeakable carnage, I had to take some extra pictures. Here the Lamon is partially obscured due to the Hudson’s masts suddenly falling overboard everywhere:

Splintered wood and shredded sails surround the stunned sailors, who have never seen such an intense fight. (and neither have I, at least I don’t think in a regular game (aka non-HFS))Check out the Moulin Rouge coming out of the water – she’s just trying to sail over debris and her bow is struggling to keep pace! XD

At the left, the Mont Blanc is lucky to escape with her oars, while the Scipion shoots at the Horizon and Concordia. I took this shot specifically to show the Scipion and Horizon – they’re at such an angle that you could completely miss them in the other pictures! Both are just underneath the northwestern corner of the Castle, and it’s quite difficult to give them actions on the turns.

Unable to sail in the right direction just yet, the Descharges, Intrepide, and Atalante simply scatter, desperate to make room for the Neptune (saved from the fires!), Hercule, and Congress (captured). The Republicain also saved herself from being burnt, while the Superbe slowly makes her way to The Flat with the captured Buffalo. The Ville de Paris is fully repaired, while Le Bonaparte makes her way to the northwestern area.

The French also launched two of their worst “gunships” this turn, showing that they’ve nearly “completed the fleet” as far as my collection goes.

At the left, French reinforcements have nearly reached the battle. From left to right is an unintentional line of battle: the Cleopatre, Orient, Courageux, Versailles, Vercingetorix, Grand Vainqueur (triple V! XD), and Saber make their way to the battle! The steady stream of fresh gunships is exactly what France needs to hold strong near The Flat and prevent American gunships from rounding the Castle (the reason the French restarted this war in the first place, remember) and attacking the Spanish from the north. Near the lighthouse is an impressive group of vessels and characters: Amiral Cartier and Jordan Dumas make the Delacroix one of the most feared ships on the sea, while the Santa Ana carries Duque Vaccaro, the Spanish admiral. The GV and Saber combine with the Aube to make a truly impressive presence near the island, even if it’s not in danger and some of the ships are damaged.

Following in American footsteps, the French shoot horribly at the southern edge of the ocean! This area seems to be the opposite of “the spot”; cannons continually miss, and perhaps Fish Island is just bad luck for gunners. XD On this particular turn the French went 1/5. With that battle almost completely devoid of “progress” (a side gaining territory or at least ships on both sides getting damaged to force replacements to come in), the Marie Antoinette and La Gaule have gone into the fog.

2 on 2 right now, with almost no damage dealt for a whole round.

After spending a whole turn just to load one batch of pearls, the Sunrise Fire gets a mast shot off by the Lache du Calvados. L’Ange de la Mer is ready to intercept the Sunrise Fire on the other side of shipwreck cove if the Pirates try to escape. Other French gunships are technically stationed in the area (to blockade the Mercs, patrol the waterways, and watch for further Cursed whirlpool incursions), but you can see some of them slowly sailing towards the Battle for the Castle. The French are indeed quite mighty in this game, capable of sustaining a huge battle area that stretches almost the entire length (not “width”) of the ocean while still keeping up considerable ships in reserve to patrol their home waters. Oh, and their Harbor is getting back in the swing of things and valuable luxuries are being unloaded.

Could a French-submarine showdown be imminent?? The Rocher Noir and Espadon make their way towards the sub hideout. However, the stalemate between these two factions is likely to continue, since the Mobilis can cancel the Rocher Noir’s sub-hunting ability. Oh well! XD

At the top of the picture, the Duc d’Enghien is taken off whirlpool blockade duty due to her speed that she can use to reach the battle area faster. Slower and less accurate ships can blockade the whirlpool; more valuable ships are sent to expand French territory and win the War against America.

The Harbor is finally getting more and more cleared out; most of the gunships launched a while ago have departed or will be departing the Harbor next turn.

Cargo ships are not able to dock in their normal places, but within 3-5 more turns the French Harbor will be just about back to normal. Of course, it will never be the same again, since the French will now have a permanent guard fleet on duty. They learned their lesson after the Cursed attack. It remains to be seen if the French plan to rebuild the destroyed dock. They probably will, but the Harbor will have to get a lot less crowded for that to even be possible logistically. It’s not just about the battles! XD Winning this historically large game is going to take serious logistical and administrative expertise!

(earlier) Case in point: two ships you’d probably NEVER use as gunships, here launched at The Flat with full crew complements. The French have a few more gunships left, but may save them a bit unless a more serious need arises. With 5 cannons, the French are just hoping the St. Denis can land a hit or two per turn, with S-boarding a solid option with so many non-vital crew on board. The Colibri may just guard The Flat, but it could just so happen that the most unlikeliest of ships could land a key firepot hit… you never know! Smile

The American turn begins with Preble sailing desperately for home! The President is nearly engulfed by the flames!

I like how the flash reflects off the final fire mast, making it almost look like a minor explosion or something.

In case you forgot about the title of this report… more on that soon.

Similar to the Pirates and French, the Americans have established a close blockade around their whirlpool to prevent hostile invasions.

Preble barely reaches home safely! It’s a dual meaning here: the President barely had enough wind in her sails (aka move segment distance) to get home, AND there was barely enough space to dock! The American HI is overly crowded right now, with a ton of ships repairing or about to start repairing. The Roanoke couldn’t dock, and the James Madison or Louisiana may be delayed next turn. The Americans may have to compromise between unloading resources and repairing their gunships: there is a need for gunships in the battle, but it would take a few turns for a gunship to move away from the HI for a cargo ship to dock and then to move back to repair. However, the resources could provide a more immediate boost than the long-term repair efforts, especially if the Americans launch a few gunships at the Castle.

The Philadelphia has warped the Jarvis home, but a more interesting development is clearly present: the Pirate captures have begun sailing out! With some of them fully repaired, the Americans have assigned the Pirate gunships to the War on France. With only a handful of useful American gunships left in my collection, there’s not much reason to trade the ships in for American counterparts. As the game has ballooned to a previously unimaginable size, the Americans, French, Jades, and Cursed have all depleted most of their roster of ships to use. This is something I almost never expected to see in a physical game, but it’s really cool to see and experience. Just WOW! XD Anyway, the trade-in rule was almost mandatory earlier in the game, as it was a mark of “good sportsmanship” between the factions. However, with tons of bad blood pouring into the seas from the wounds of battle, and with multiple factions literally running out of ships to launch (and with the game’s end still about a month off!), trading in has become not only impractical, but nearly impossible for certain factions. The Americans will deny the Pirates further usage of the captured ships, though trade-ins may still occur of course.

Utter. American. Futility. The Swamp Fox misses another Broadsides Attack (with a 1 again I believe), while the Jackson goes 0/4 against the Gaule. O_O

The Kettering tows the Nene-nui, and although the American “line” of two ships is quite fragile right now, 5+ American gunships are coming up from the south.

Needed in both areas, the captain of the Blackwatch has chosen to take his ship east towards the hottest action in the entire game right now. You read that right: the action around “the spot” has definitely become the most intense area of warfare in the whole game, with the previous high being the western area of the JR-Cursed battle.

With the Julius Caesar fleeing into a fog bank, the Americans temporarily struggle to fill her spot in the battle area. The Lamon does her best, with the Saratoga and Septem Maria firing off some shots.

The Americans do about average here, but leave the French in a good position for next turn: you can see damage counters on the French 2 masters, which means they were one hit away from losing a mast, but will return fire with both cannons next turn.

The Springfield has towed the Hudson, while the Belois and Soleil Royal lose a mast each. The Concordia puts out her fire, but is struggling to essentially carry the American hopes in the area by herself. This picture really shows the wreckage, with more pictures coming later. XD

It just keeps going and going! The Carolina unloads infantry units, replacing those unloaded by the Colonial Trader not long ago. The Montezuma looks to take the Carolina’s shortcut underneath the Castle ramparts, where her ability (shoot through ships) could be great in the very tight eastern area of the battle.

The Bartlett tows the Sioux. In the background, the Overton, Boston, Intrepid and Julius Caesar are all in various states of severe damage, trying to find their way home through the reefs and fog. American cargo ships are flocking south, due to the lack of textiles on the SW beach of the big island and the battle nearly spilling over deep into American waters.

The Mohican goes 2/3 to finally knock a mast off the Toulouse, while the American guard at the Castle sees significant turnover for the first time in many turns. The New Orleans has rowed to the Castle for repairs, while the Speedy Return and Saratoga depart, having finished repairs.

Thus is the cycle of war in this game: fight, get replaced, repair, fight again, and repeat. When will it end?

The Monte Cristo is set aflame by the Sea Serpent, with the Enterprise inching closer to her long-awaited battle debut.

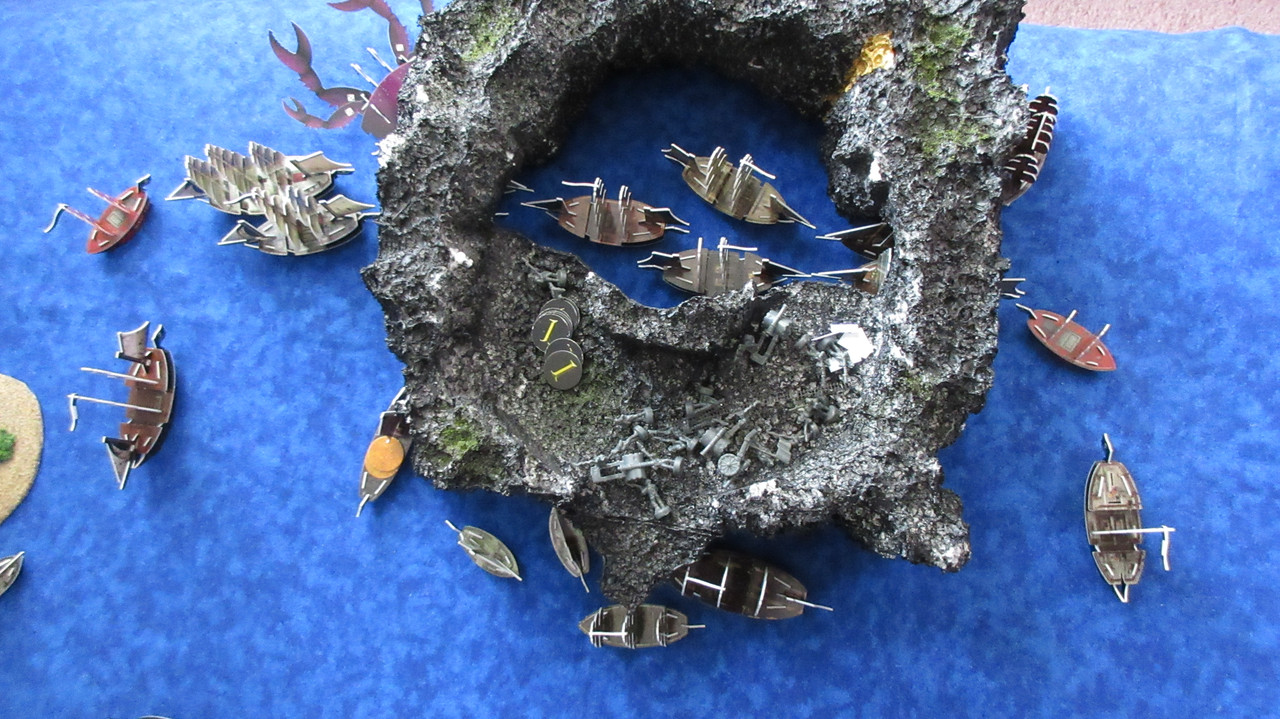
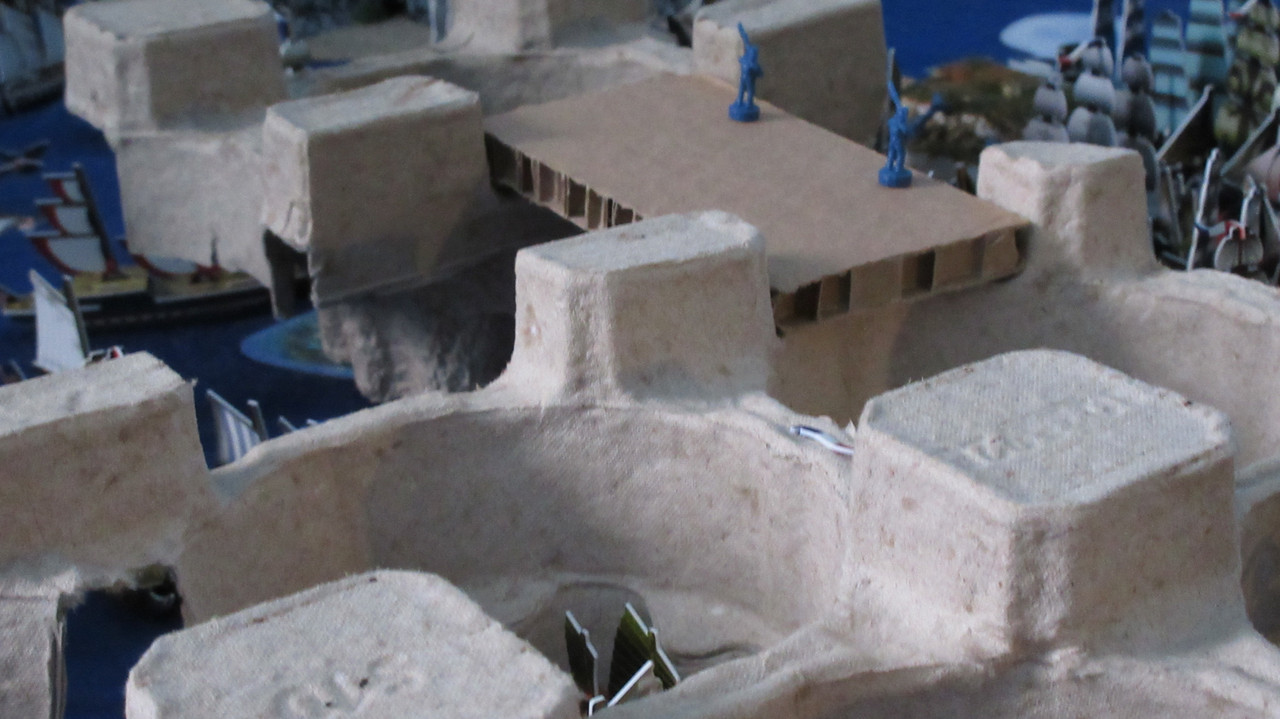
A somewhat new view from directly above the Castle looking west, showing the absurd intensity around “the spot”.

American operations in the Sea of Karkuda. They have really been struggling lately, losing ground at the Castle to the Spanish and barely hitting anything at the extremes of the battlefield (deep south and far northwest). Their best bet right now is the middle area, but that’s mainly due to the sheer intensity of the epic stalemate and some timely fire hits.

And now for the sheer destruction that is probably unrivaled in ANY game ever of Pirates CSG…

THE CARNAGE CONTINUES TO MOUNT!

The Lamon goes over various spars and masts on her way to shoot at the French. The Septem Maria and Concordia are partially heeled over. These aren’t stormy waters! The vast amount of debris has simply led to some ships being tipped to the side as they struggle to sail in a straight line amid the devastation:

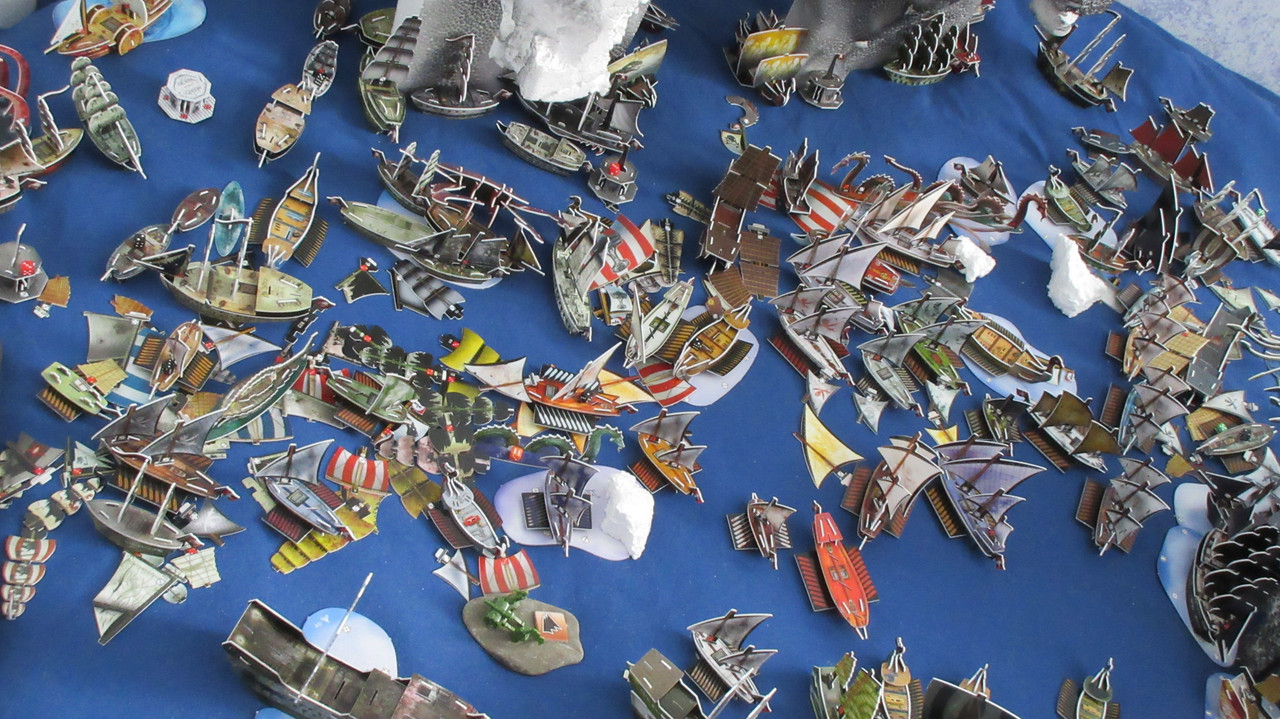
In the most dense area, the sea is hardly visible. O_O

Masts on top of masts. With some of the ships that are repairing, I cannot retrieve their masts due to them being buried. O_O XD As a result, for a few ships (like the Charlemagne already) I will do a “reverse damage counter” system, where a tiny die represents how many masts that ship has repaired in addition to what is actually standing. Of course, once the ships are ready to sail out again, this will result in a “doomsday” scenario (I’m being very melodramatic here XD) where I have to remove most of the ships from the area just to get at the piles of masts below. XD

Complicating matters is the fact that most American and French masts/sails are clean shades of white/blue, so it’s just a wasteland of lumber floating in the ocean.

I truly believe that these pictures cannot do the situation full justice. The carnage is just insane. Even crazier, there is almost no end in sight. O_O Both sides have considerable reinforcements arriving shortly, not to mention future launches. The mountain of debris at “the spot” will have to be cleaned up eventually, but it will grow to even larger sizes before this battle finally ends….

The graveyard for Turn 74, though the Hastings was technically sunk earlier. It was one of the bloodiest turns yet, and the Granada, Wycliffe, and Wiglaf are some of my favorite ships from those factions. I was especially sad to see the Granada go, after her remarkable performances in the Experimental cumulative game, VASSAL Campaign Game 1, and now here in Command the Oceans.

A few stats from today:
-I counted 33 deckplates of sunken ships so far, but the number is actually higher. Lately I’ve been putting the deckplates in a tin instead of back in the binders – this is because there are so many launches that the binders have been considerably thinned out, so I don’t know where each deckplate goes! XD The game’s size will require me to redo the binders after the game, but I don’t mind that since I had just enough “new” ship deckplates to integrate anyway.
-I counted around 32 ships in the current Franco-Spanish vs. American battle, but that is for ships currently involved. Combined with ships that are repairing, fleeing, or sunk, and the number would easily exceed 50.

Of those two MASSIVE wars/battles going on right now, I would say the Cursed and the Franco-Spanish have slight advantages. The Cursed are especially fragile, and with serious American reinforcements steadily arriving through repaired ships, either battle could certainly turn the other way.

With those days of destruction behind me, I look forward to the (somewhat minor) milestone Turn 75! Of course, more destruction is imminent.
Command the Oceans – Pirate Turn 75 (11/27/2017)

Play has resumed! Only one faction turn so far, but with more in the coming days.

The game needs to end by around December 20th. With around 9,000 points still in play, this means I need to do some drastic changes to the game in order to have a reasonable conclusion. As you will soon see, Turn 75 marks the beginning of the endgame.

The Pirates have done it!!!! After MANY turns of work, they have put a hole in the Tunnel ceiling and now the first troops are arriving at the top!!!!

At long last, humans are atop the Tunnel!!!

Now the question becomes: what will they do next?

Operations in the Tunnel are going smoothly, with the Bonny Liz and Hades’ Flame about to arrive with additional supplies and equipment.

The Pirates clean up from their battle against the English:

The Revenge is towed home (illegal in a regular game but docked inside the unique kingdom structure here) by the Darkhawk II.

However, for the first time all game, Pistol Island is not producing metals!!

Disaster for the Pirates!! Their lighthouse island up north has run out of spices!! For now, the Pirates will have to live with what they have on ships and saved up at the kingdom.

The Madagascar loads artillery, while the Otter loads infantry. Both types of army units descend from ladders at the kingdom. It looks like the Pirates’ isolationist strategy has even extended to their whirlpool squadron.

It’s disorganized, but the Pirates have plenty more land-based firepower and ladders.

The northern whirlpool of Karkuda is completely encircled by Pirate ships:

Ships repair at Dead Man’s Point, with more damaged vessels arriving soon.

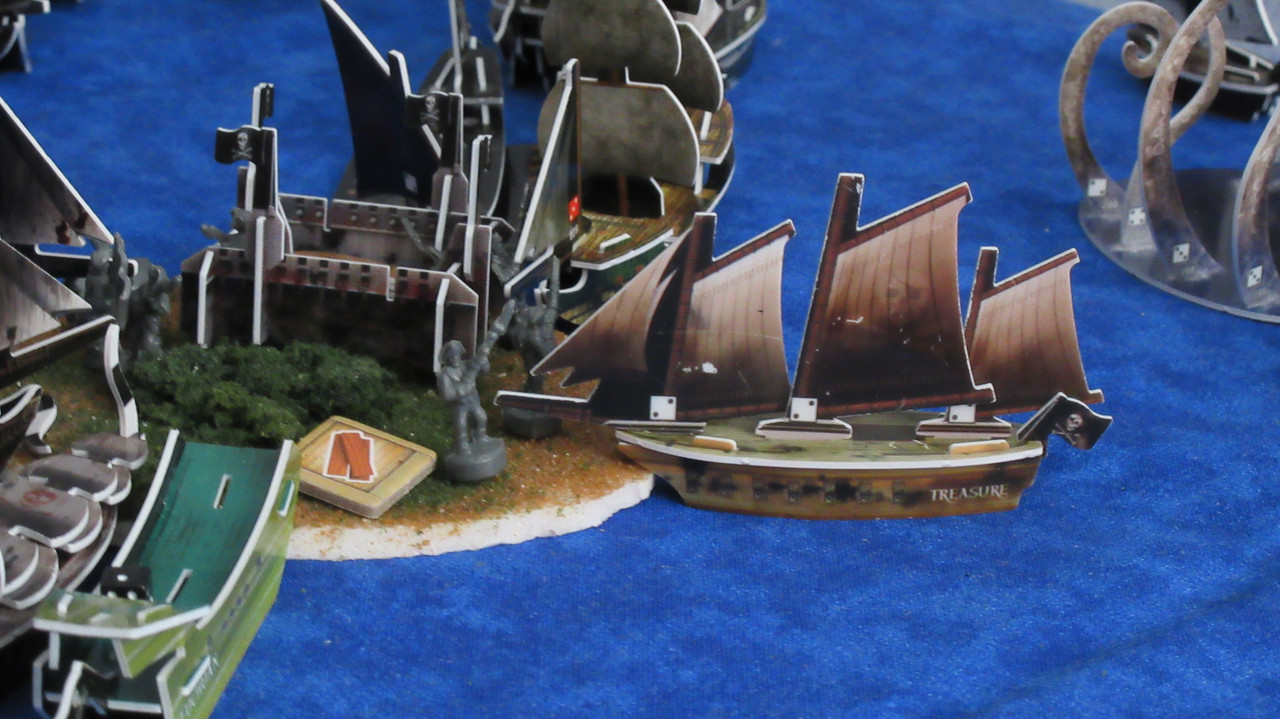
At the end of their turn, the Pirates launched the Treasure with crew. They are sitting on a huge stockpile of metals, so they’re hoping they increase in value when the next resource change occurs next turn.

As I enter the final stage of the game with less than 4 weeks to go, I have a LOT left to do. There are certain things that I really want to happen, but the finite nature of the game will require me to “force” a few things unfortunately. I don’t think it will affect the final standings of where factions finish, but I’m pretty sure I will have regrets if I don’t do a few things I’ve been looking to since September (and even August in a few cases).


Command the Oceans – Turn 75 continues (11/28/2017)

The Jade turn begins at their home island. Ships are repairing, arriving home to repair, and regrouping after the sudden attack and departure of the Guichuan. The Virtuous Wind knocks a segment off Shal-Bala, while the Janissaries’ Blood tows home the Grendel, now a two+ time veteran of combat. The Sea Snake is towing the derelict Sea Tiger, while the Grand River misses the dragon. The Grand Wind looks like she’s in the same spot as last turn, but that’s because Warlord Cavendish gave her the SAT to replace the textiles stolen by the Headhunter and start the short journey back home.
The Beowulf got a good fog roll to return home for additional repairs, but the Grand Temple was no so lucky. In a weird stroke of luck, Tsai got his SAT, but both attempts to exit the fog were 4’s. This slammed the Grand Temple into the wall of the Tunnel twice, knocking off a mast from the impacts and sending the ship back into the fog. XD

At last, Jade trade has been hit again, and this time quite hard.

The Jades clean up against fleeing Cursed ships! The Whydah is dismasted, but has a helmsman and oarsman aboard. The Pyre is set aflame, which might be the first time I’ve had a burning submarine in a game.

The Gallows takes a mast off the Monkey’s Paw, but the Tiger’s Eye cannot damage Leviathan.

A typical sight lately: more carnage on the battlefield, with a new fire starting up even after the most intense action is over.

A tale of two gun crews: the Donar goes 0/4 against the Grim Reaper, but the Grand Path goes 4/4 to take off two masts!

The Ivory Star puts out her fire and ducks into a fog bank, as the Polaris eliminates another iceberg beyond the Grand Path. To the right, the Asgard finally got a good fog roll and should be able to return home for repairs.

For the first time all game, Cursed trade is hit!! The Celestine is dismasted. The Hlidskjalf has S-immunity, so she may even have some staying power in the area.

The Grand Mountain and Sultan’s Sword are weakened, but have held their line against the creatures. This opens a lane for additional Corsair galleys to come through, with the Bey’s Revenge and Desert Wind the next to arrive.

The 4th major battle of this long war:

I nearly forgot to use Kheir’s AA! The Grand Path received it and didn’t disappoint, going a whopping 5/6 to dismast the Grim Reaper and nearly take out the flotilla’s flag! This means that the Grand Path shot 9/10 this turn, one of the single best shooting performances in any turn of any game.

The Cursed turn began with the Headhunter getting a 6, allowing the Cursed a very useful AA of their own. Shal-Bala has flown to its nest atop the Roost, where the dragon will recover.

The Pyre has extinguished her flames, submerged, and fled. The Locker rises to take her place! The sub and the Hangman’s Joke (back in action!) team up to take a mast off the Wicked Kareen. With some nifty flotilla management, the Cursed get all 8 flotilla shots in range here, doing damage to the Scorpion and Dragon’s Talon (dismasted at the left). The Monkey’s Paw had an odd but decent turn, rolling three 1’s for Fear but hitting 2/3 (far better than her gun crew usually performs, as noted earlier).

The Poor Adams and Whydah reach the safety of the fog, where the Hangman’s Joke and Spilled Salt have just departed from. However, the repaired Needle and Madness have also entered the fog, and are joined by Brachyura, making for a crowded party! XD

Flotilla revenge! With a little help from the Sea Hag, the two Death’s Anchor flotillas on either side of the Sickle eliminate 4 masts between the Donar and Grand Path.

It was time for another tidal wave attack!! In a time of need, Namazu was brought back to the surface! With a bunch of Jade ships threatening the security of the Roost itself, it was time for some “offense as defense”. I have instituted the rule for Namazu’s ability, where each affected ship is “hit” twice rather than have 2 masts eliminated outright (unless the Cursed roll a 5 or 6).

A 2 was rolled, but the damage is still quite severe. 6 ships lose a mast. This is the equivalent of 12 hits in a turn, which is like having a 10 master move and shoot with a second action. Two masts outright from each of the 6 ships would be equivalent to 24 hits from a sea monster with just 3 segments left (maximum of 3 hits total without the ability, and Namazu is only 15 points), which is why I made the change.

Slarg Gubbit and Gog-Clocthoth continue the rampant success of Cursed sea monster shoot actions in this game, going 8/9 (I think) to dismast both the Grand Mountain and Sultan’s Sword!!

The Celestine is towed out of the situation, but the Cursed don’t have any proper gunships to defend their lumber island with.

At the lower left, a cautious but smart move by the Cursed: Namazu has entered the safety of the fog with the AA and the bonus from the Serpent’s Fang, saving the creature from possible death on the next JR turn.

The inside of the Roost is very crowded, with various ships repairing, including the (safely extinguished) Flying Dutchman. At the far end, the Soul Crusher has arrived…

… and unloads most of Wraith’s captured crew!! As noted earlier, these crew now function as basic Cursed crew, so they can use their abilities on any of their ships and have been unloaded to the Roost here for safekeeping.

Wraith kept 4 of his possessed for himself:

Normally a cargo ship but now converted into a full-time warship, the Guinee receives some of the possessed souls! With her cancelling ability, she will be able to help out the Cursed near their lumber island.

Namazu’s departure has left the Roost somewhat wide open to attack, as the Demon Gate can’t defend her namesake by herself.

The Loki’s Revenge is (finally) here!! She is crewed with a captain, helmsman, and three oarsmen for her sac ability.

Phillipe Amqui joins Devereaux atop the Roost, where they watch the carnage ensue below. The Eye has seen the Pirate infantry emerge on top of the Tunnel, which is giving the Cursed major concern. Notice the new Cursed infantry units, as well as some HUGE ladders – the first 3L ladders of the game!

The Guichuan used her action to repair, while Davy Jones unsuccessfully copied Captain Mission’s EA ability.

The battle is about as random as ever, with two huge fleets just slogging it out through the gunsmoke:

The English are aghast to find no resource at Diamond Rock!!

The Spanish continue to block the Americans off from their foothold at the Castle, with the Serpiente backing up the Acorazado:

The Santo Columba continues to be the bane of American infantry, sending more units to the death in the waters below the Castle walls.

La Resolucion sails down from the north, while the Corazon Dorado tows the captured Harlequin to the Harbor.

The Principe and San Cristobal will arrive in Karkuda next turn. The English are regrouping, repairing, and trying to figure out what to do next. Their main adversary (the Pirates) has soundly crushed them in battle.

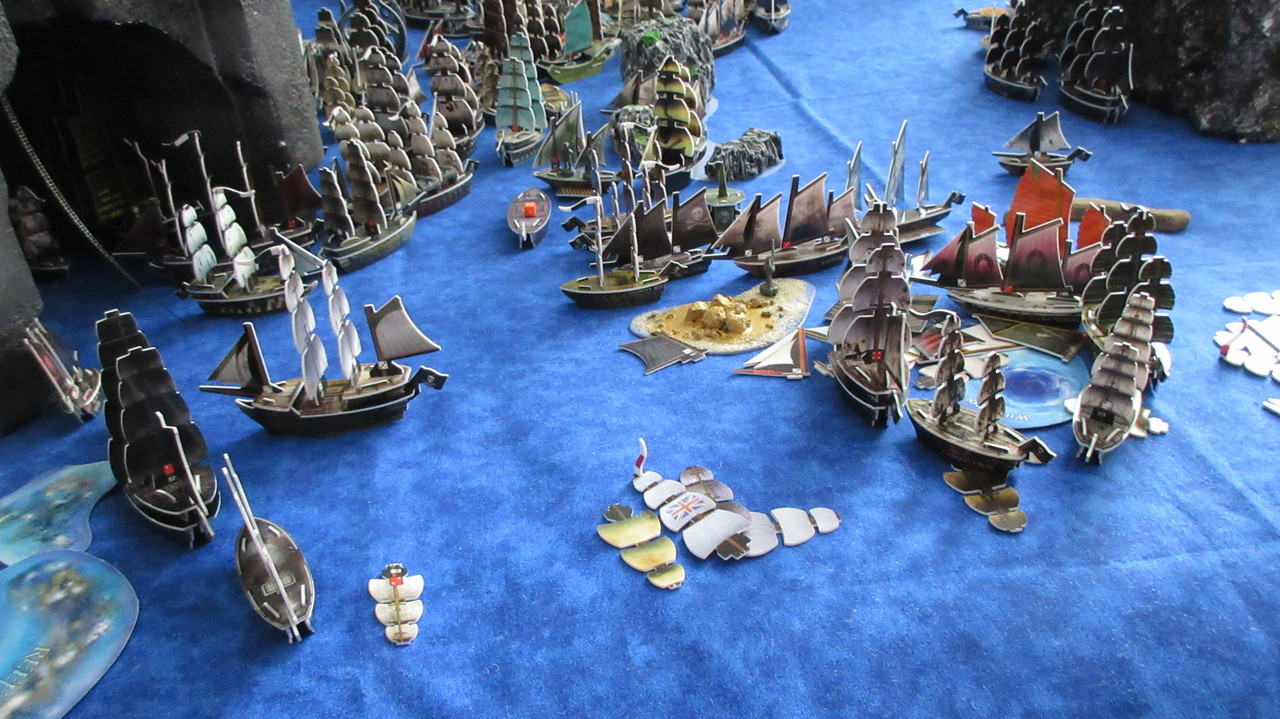
A few more high shots of the Caribbean:

The Dauntless and Gargantuan are ready to defend English waters:


Command the Oceans – Reaching the endgame (11/30/2017)

I finished Turn 75 and ALL of Turn 76!!

The French defend their food island from the Mercenaries, but the Lyon docks to find that no more bananas are around!

The Marie Antoinette is the latest ship to block off the Americans from retaking the northeastern corner of the Castle. The Flamberge docks at Fish Island, but no textiles are found!

The fog banks along the eastern wall of the Castle have made the battle very cramped and almost akin to a stalemate between small squadrons of ships.

However, the most intense battle in the game continues as usual! The Concordia is dismasted, while the Saratoga and Springfield also suffer heavy damage.

The Blackwatch has almost arrived, but the Ville de Paris and Dauphin Royal are both pretty healthy.

Seven French ships repair at The Flat, with more joining them soon.

Many French ships have yet to enter the battle; here you can see the Saber among others making their way west. La Gaule and L’Aube are still in fog banks near the Castle.

Le Gaule sets the Jackson on fire, while the Auguste continues to surprise with solid accuracy, doing further damage to the Swamp Fox. Le Bonaparte and La Toussaint L’Ouverture are ready to back up when needed.

Three gunships make their way west, while three more head to The Flat for repairs.

The Harbor is now as orderly and organized as it was before the Cursed attack:

Now showing the American turn, La Toulouse is set aflame. The Battle for the Castle is still going as slow as ever.

Ruby Island and Luck Island run out of resources at the same time!!

A busy American HI situation, with many ships coming and going every turn.

The Jackson extinguishes her fire but cannot do damage to the Gaule. The Swamp Fox hits a Broadsides Attack on the Auguste, but the Americans get even better news: reinforcements are coming! The Seminole has brought 5 gunships with her, and captured Pirate ships will also arrive soon.

A grim picture of the war, as the Lamon burns:

The Ville de Paris is surrounded on all sides by carnage and death. The Lamon is putting up a ton of smoke, while the Concordia hits a whopping 6 for 6 (with a musketeer) to dismast the Mercure. The Ville herself is hit a handful of times, losing two masts.

The Concordia hit the Soleil Royal 3 times, taking that ship down to 2 masts.

The hulks of the Concordia, Lamon, and Mercure are partially obscured by smoke and wreckage:

The Blackwatch and Grampus have not been able to make an impact yet.

The Sea of Karkuda. Crazy enough, not even this gigantic 3-faction battle is taking up all the resources of the two major factions (yet). The French and Americans have about 15 combined gunships blockading the whirlpools, and the French have additional gunships that are patrolling the southeast part of the ocean.

Turn 76 marks a resource change! After a huge 8-turn wait that saw no random changes throughout, it was time for a regularly scheduled change. The result was truly momentous. A 5 for value meant that food and metals were the top two resources, with luxuries and spices crashing hard. Even more important was the duration: a whopping 10 turns, the longest of the game so far! With each turn taking about a full day to complete, this change was a big deal to all of the factions. Many factions have been sitting on considerable stores of resources during the last 8 turns, so this turn would undoubtedly see some major cashing in.

The Fleur de la Mort may literally be the highlight of this picture, but the Celtic Fury is busy getting more Pirate infantry to the top of the Tunnel.

Three more units arrive, with the first two from last turn making their way around the island.

Ahoy!

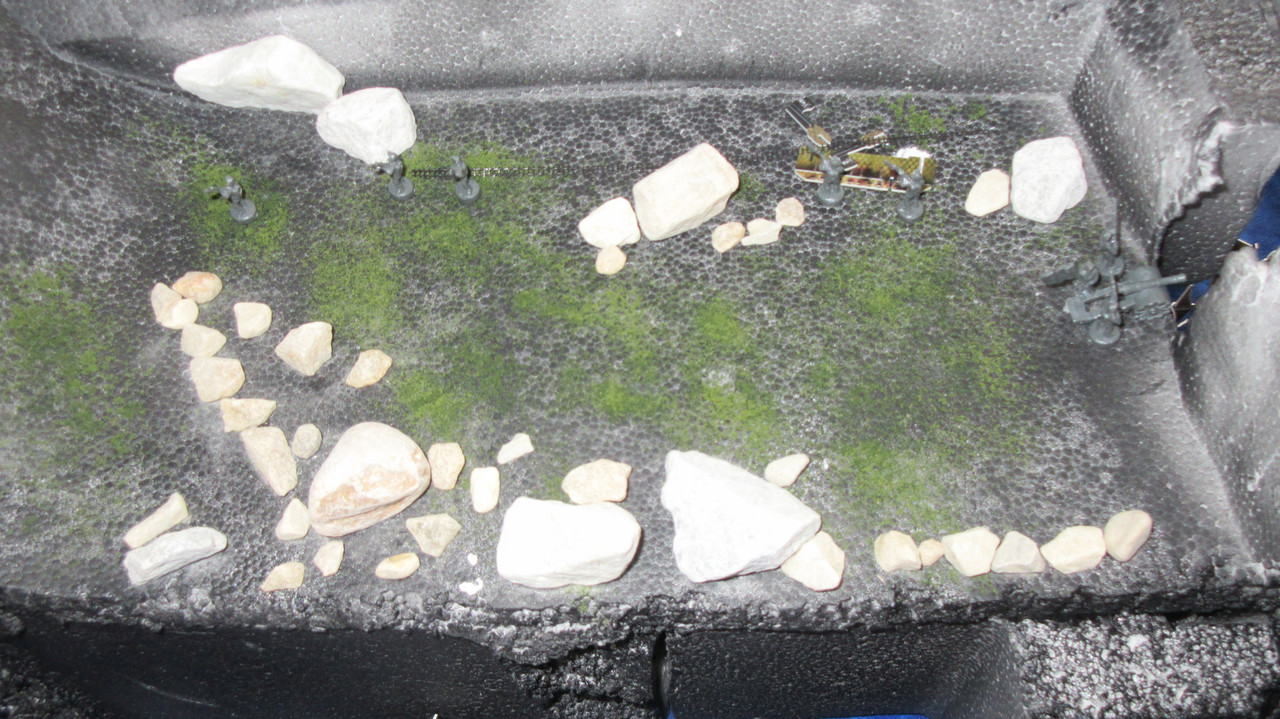
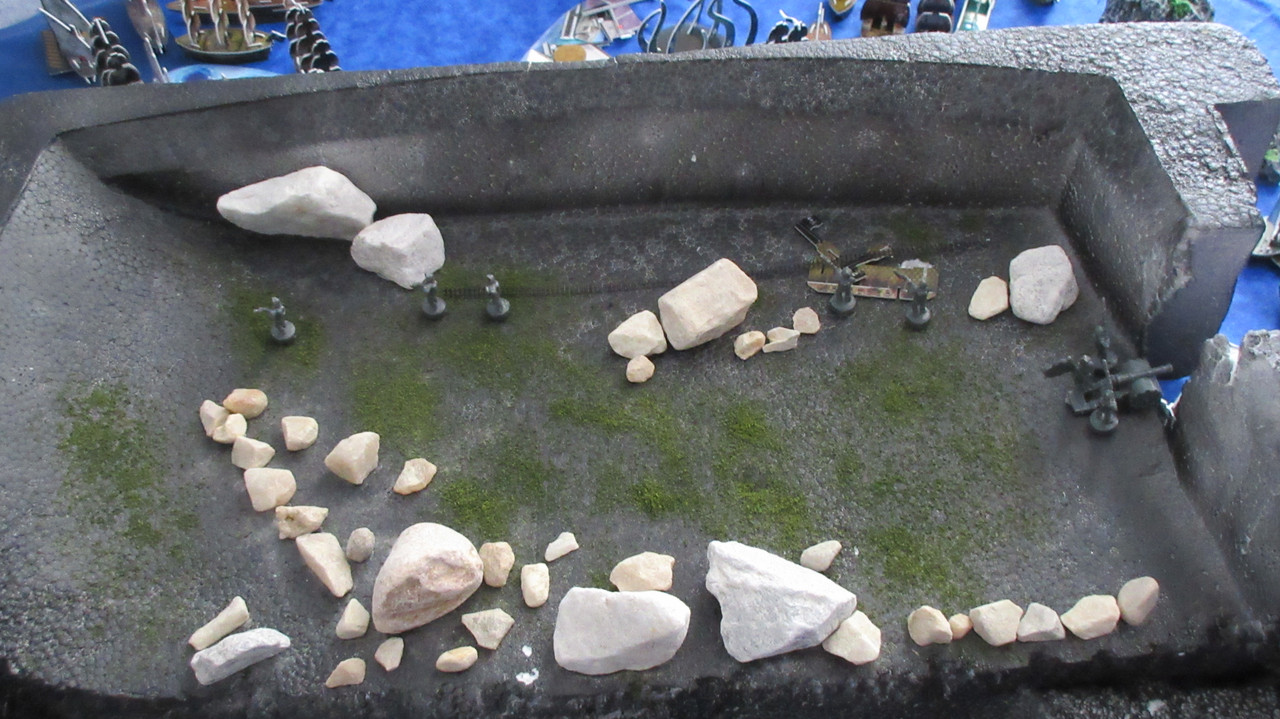
An closeup shot of the Tunnel’s top, showing the grassy areas and the huge boulders lying around.

In the background, the Roost and Shal-Bala’s wingspan make for an intimidating sight.

After the Victoire and Harbinger roll for exit locations, the fog at the western end of the Tunnel lifts! This is an intriguing development, as it makes the Tunnel more obvious and inviting for the Jades and Cursed….

Cashing in metals for around 275 gold, the Pirates spend a chunk of it on some gunships they’ve been waiting to launch for a while. The Black Swan may be their final 5 master launched, while those three in the middle are three of my favorite Pirate ships. In fact, I like all 5 of these quite a bit. Smile

Dead Man’s Point is even more crowded than usual, with ships repairing from the brief fights against the English and Jades and 5 new ships entering the game.

Jade ships repair and regroup.

You may have noticed that more fog has lifted! When the Grand Temple used her SAT to emerge from two different fog banks (separate move actions), the fog disappeared when she departed the bank! We’ll see if this weather change has any implications for the future gameplay.

The Hangman’s Joke is shot at by the Wicked Kareen, but avoids taking damage with another Cursed UT weapon: Relics!

The Monkey’s Paw and Locker take slight damage, but the Jade Corsairs have almost no firepower left in this area of the battle (5-6 total masts standing).

The Leviathan gets hit with a triple-team, but some Cursed help will be coming soon….

The Virtuous Wind docks at the wild island, but it has no more resources left to give! With the Silent Death leaving a fog bank, more fog is gone. As of now there is a surprisingly large amount of empty ocean space between the front line and the Jade HI.

In possibly a surprise to both you and the Cursed, the Jades press their attack!! Despite Namazu’s presence and the launching of the Loki’s Revenge, the Jades advance essentially into the Roost! The Jackal’s Teeth has knocked a mast off the LR before the latter can even take an action in the game.

The Death’s Anchor is set aflame by the Divan’s Punishment! I know this is illegal, but flotillas have been a bit OP in this game (my own fault, especially since I’m allowing duplicates) so flotillas can be set on fire.

The Terror of Gibraltar finally gets in action. She has terrible cannons, but manages a hit on the Loki’s Revenge.

Flooding the area! The Donar repairs, while the Griffin, Splendor, and Nubian Prince all arrive on the scene. It seems unlikely that the Jades will be able to win this Battle for the Roost (a sub-battle of the current one) with the ships pictured here, but they’ve been waiting and wanting to do this for a long time. Ever since the captain of the Divine Wind told the story of that fateful expedition, the Jade Rebels have wanted to exterminate the Cursed.

The beauty of a campaign game – two months later, the Jades get some revenge!

An incredible effort by the allies in the northern part of the battle! The three Corsair/Viking ships on the right went 5/5 against the Sea Monkey, setting her on fire. The Desert Wind got in action, knocking a mast off the Rook’s Folly. At this point the Cursed have officially lost control of their lumber island.

More empty ocean in the western half of Allost than we’ve seen in a LONG time. A strong Jade push northwards and lifting fog has left a gap…

… but the battle rages on.

An extreme rarity because you have to house rule it to even make it work.

A burning pillar of fire!

The Cursed wanted to be able to use Relics again, so they shot at the Wicked Kareen with the Locker before shooting with the Death’s Anchor flotilla in the background. In the foreground, the Needle has fog hopped back into the fray. The Monkey’s Paw continues to increase her shooting percentage to a more reasonable level, dismasting the Scorpion and Queen of Sheba.

The Madness sets fire to the Tiger’s Eye, possibly dooming the great Corsair ship!

I like how these low-level shots really show the destruction:

The Banshee’s Wail dismasted the Gallows, with the Poor Adams coming out of the fog to capture the ship. Top right: the Whydah looks to repair at a super-crowded Roost. Top left: Terrox is looming, though there aren’t many Corsair ships left in the area that are worth attacking.

Talk about crowded! The Pale Moon will have trouble repairing herself and her towed ally, the Executioner. Making matters worse for the Cursed, they may now have more gunships needing repairs than healthy ones.

Here you can see seven Cursed ships repairing:

A really cool view of the Roost, showing a “cutaway” of the structure. Things are busy but peaceful on the west side, but you can see the first Corsair ship penetrating the main gate.

The Sickle is fully repaired and back in action, dismasting the Donar (again) but losing her smokepot specialist in a failed switchblade attack.

One of the best pictures of a Switchblade in action!

Unsurprisingly, the Cursed were able to dismast the Jackal’s Teeth. However, it took a lot of shots to do it, with the Loki’s Revenge going 4/8 with a sac action and the Bloody Blade going 2/4 (with a cannoneer) to finish off the third mast.

The Cursed bought those 3L ladders and extra infantry for a reason!!

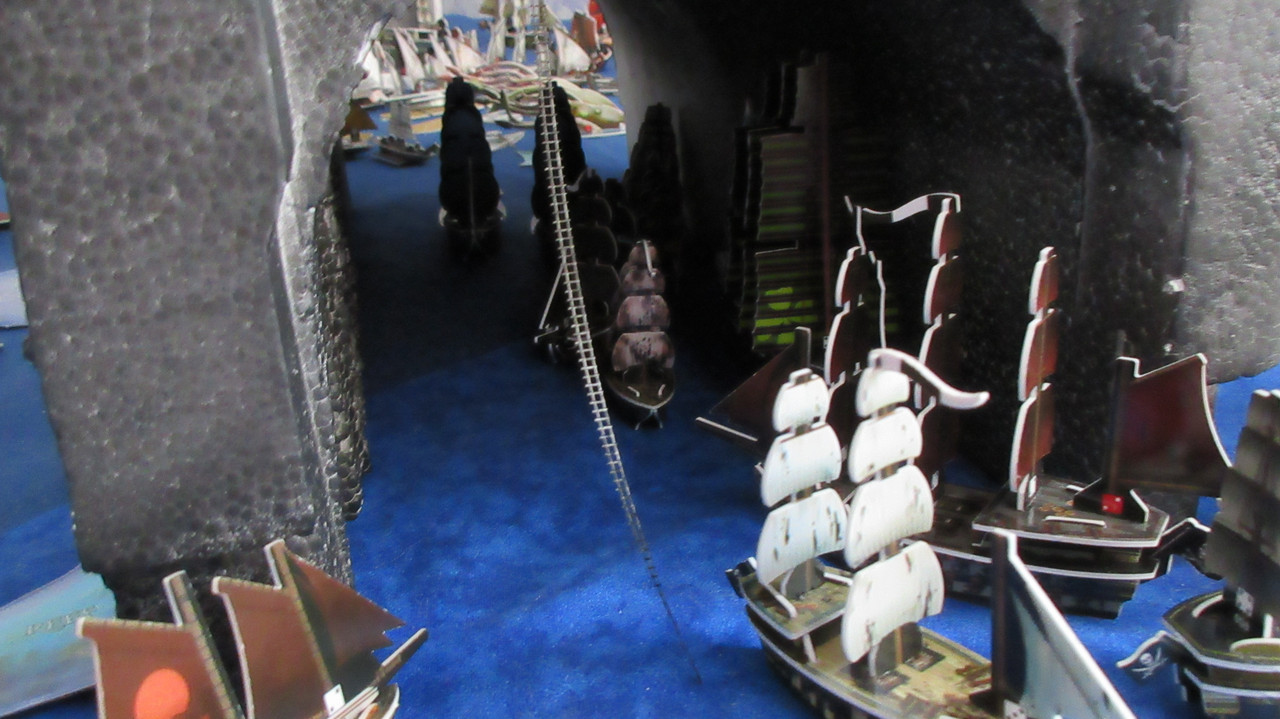
The ladder extends down through a little-shown (if shown at all) hole in the Roost:

What horrors await those willing to climb to the top… ?

Cursed troops descend from above!!

A long distance scaled by the giant ladder:

A long way down…

The infantry unit boarding follows the same rules from Shal-Bala’s earlier swooping strike. In this way the Jackal’s Teeth lost two of her four crew.

The Terror of Gibraltar was set aflame by the Guinee:

Calypsos pins the Meshud, while Fear affects the ships with green dice on them.

There are three distinct areas of this giant battle:

In the west, the Cursed have gained the upper hand and look to clean up the last pockets of Jade rebellion. (pun intended)

In the center, the Jades have caught the Cursed a little off guard, but the Cursed are finally getting some proper support by the main gate of the Roost. (LR, Guinee, Bloody Blade, and now three Death’s Anchor flotillas since the one that burned just got relaunched)

In the northeast, the Jade advance has actually smashed Cursed trade. However, the squids have limited how many ships can get through to the far north, while also dismasting their prey.

It’s official! The Spanish plan to leave the Caribbean for good!!! After sending most of their gunships to the Sea of Karkuda by whirlpool travel, this turn marks the total, absolute change of mindset for the Spanish in this game. They intend to vacate their home island and set up shop at the Castle, trusting that they will capture it by throwing their full might against it and combining their firepower with that of France to oust the hated Americans. It’s about as risky a move they could make, but perhaps a needed one since they’re by far the weakest of the main 7 factions. The San Francisco has loaded their two UT’s, and all Spanish ships are now making their way towards the whirlpool.

With Paradise Island not even producing luxuries, the Spanish don’t have much reason to stay in the Caribbean. Normally the cargo ships with luxuries aboard would at least cash them in at the HI and use the gold for a launch, but in this case luxuries have dropped to 2 gold apiece for the next 10 turns. By that time all of the ships can be in Karkuda, and the Spanish anticipate having full control of the Castle before then.

In the meantime, the captain of HMS Resistance has been meeting with Admiral Thomas Gunn on board the Lord Algernon to discuss the apparent Spanish exodus. If that becomes a reality, the English will have the Caribbean all to themselves! However, the War against Piracy is heavy on the minds of these Englishmen, with revenge as their motivation. The English are not currently in battle with any other faction, which is why I consider them the “dark horse” candidate once again… the Pirates are not in battle now either, but they have made themselves an enemy of literally every faction in the game besides the Spanish (who are allied with the French, who hate the Pirates).

Spanish activity in Karkuda. More fog has lifted near the Castle, while the Profeta and Resolucion will be the next ships to reach the battle area.

The Lache dismasts the Sunrise Fire again, with the Felicite landing an extra hit so the Pirates have to repair hull damage next turn and not just pop a mast back up, therefore allowing the French to capture the ship next turn.

A (finally) peaceful Harbor, with the French spending a bunch of gold on crew to outfit their cargo ships as gunships.

The French still have a bunch of gunships sailing around, but many of the patrol ships are slowly making their way towards the battle in case they are needed there.

If that final fog bank by the Castle disappears, it will allow the Franco-Spanish and the Americans to have a more all-out battle.

The battle from the northeast… you may have noticed a change…

The Concordia has been captured! Lenoir of the Dauphin Royal got close enough to cancel the ship’s oarsman, at which point the ship was truly a derelict and the Orient captured her. This is another momentum shift in this long and arduous battle, making up for the French loss of La Charlemagne.

The Saratoga and Minuteman take additional damage, but many of the capital ships are repairing (or in the case of Le Superbe, trying to repair) at The Flat.

A cool viewpoint showing that the French have more gunships near the battle area that aren’t engaged than the Americans.

A rather grand shot of the spectacle! XD

The Americans are still doing pretty well at the Castle, but more Spaniards are coming….

At the right I see 9 French gunships that are healthy and ready for battle. The French could loose the Concordia back on the Americans since she can fire when dismasted, but they will probably repair her at The Flat.

One of the best combat photos I’ll ever take. The damaged Ville de Paris is shrouded by smoke caused by her own firepot specialist, with friend (Mercure) and foe (Saratoga) alike dismasted around her. Masts and debris litter the battlefield to the point where only small patches of seawater can been seen. An American artillery cannon has been shooting for many turns now from the Castle ramparts, but winning this battle will require a herculean effort.

Truly awe-inspiring:

The Gaule blasts apart the Jackson and sends the ship to a fiery doom!

At the top, the Bonaparte and Descharges are going around the big island in an attempt to surprise the Americans from the northwest.

Once again the natural obstructions (in this case islands rather than fog) make for a severe bottleneck of the battle area. It just so happens this battle is being fought along a territorial border with many things in between, from the island at the left down to Fish Island.

The Auguste dismasted the Swamp Fox, so the Americans will need to find replacements for them to keep up the defensive front.

The Soleil Royal and Mercure will have a tough time even maneuvering to The Flat for repairs.

The War for Karkuda rages on:

The Atlanta and Mohican set the Montreal and Toulouse aflame! The DJC Saratoga adds to the fires on the Monte Cristo, who is now doomed!

Continuing the red-hot American resistance, the Marie Antoinette begins to burn.

With the Lamon gone, a gap opens up at the battle in the center. However, no American gunships are able to fill it yet, a testament to the very gradual French advance.

However, the Blackwatch is finally in action! She hits the Ville de Paris with stinkpot shot, denying her the use of many abilities next turn! (including EA and firepot specialist)

The Moulin Rouge finally lost a mast, as the Springfield tows the Hudson out of harm’s way. Kikowa (aboard the Philadelphia) hopes to warp the Hudson home next turn.

The Providence unloads her infantry at the lumber island, though it too has stopped producing resources. The troops will give the Americans a (likely temporary…) vantage point and platform from which to add musket volleys into the mix of chaos.

Continuing the American success this turn (especially with fire), the Adventurous and Paladin replace the American derelicts and turn the Gaule into a blaze!

The Jackson was scuttled due to her fire, while the Swamp Fox was towed out of the way by the Seminole, an American cheerleader like the Springfield and Hannah. The Lenox has replaced the Swamp Fox to fight the Auguste, backed up by the Niagara.

American logistics at this late stage of the game. With no more resources to gather, the Rattlesnake, Argo, Louisiana and James Madison head to the Castle for crew since the home island is too crowded for more ships to dock. The Constitution, Ghost Walker, Vermont, and Appalachian head north to inject life into the American resistance.

Between that picture and this one, you can see that the Americans still have a very real shot at winning this war. Four Pirate prizes look to back up the American line, showing that the conflict will not end anytime soon. Some canoes stay put to avoid getting in the way, while others head towards the hottest action.

The American home island, where 14 ships are in various stages of the repair process. The Bellevue carries the final metals from Luck Island, while you may have noticed a few new ships that were just launched…

The Americans have cashed in their metals and textiles for a big windfall! Spending 158 of 336 gold, they launch some ships they’ve been waiting on for quite some time. The Thomas Jefferson is one of my absolute favorite American ships, and you can probably guess that it’s the canceller version of DNT. The others are crewed great as well, with the Eagan and Mercury ready to dish out serious punishment. The Hessian is arguably the toughest little 1 master in the game from a combat standpoint: in a game with no ram damage, she becomes even more obnoxious. The canceller ability is key, but 4 cargo spaces and 9 points of cap space allows you to go crazy with crew and equipment. Here she has a captain, helmsman, shipwright, oarsman, and grape shot to be a little devil to the French.

The Hessian, Mercury, Cheyenne, and (relaunched) Minuteman are launched from the Castle, while the Carolina received a captain and oarsman while docked there.

Now for some grand pictures to show the Sea of Karkuda in its bloody glory.

Even from high above, notice the density of those battle areas! O_O

Five fires burn at the Spanish area of the battle… with none of them on American ships.

The lighthouse has gotten some French gunships to the battle area faster, but it was more useful when their resource system was still in full swing (aka before the Cursed attack).

The Americans didn’t really have room (anywhere) to launch much more stuff, but they wouldn’t have anyway. That’s because they’re saving some gold for an experimental purchase….

At the hottest battle area, I think there may be more masts floating in the water than there are masts standing on the ships that are engaged! O_O

A rare view above the western edge of the sea, showing American waters.

The Frontier has loaded infantry units and is likely taking them to the Castle.

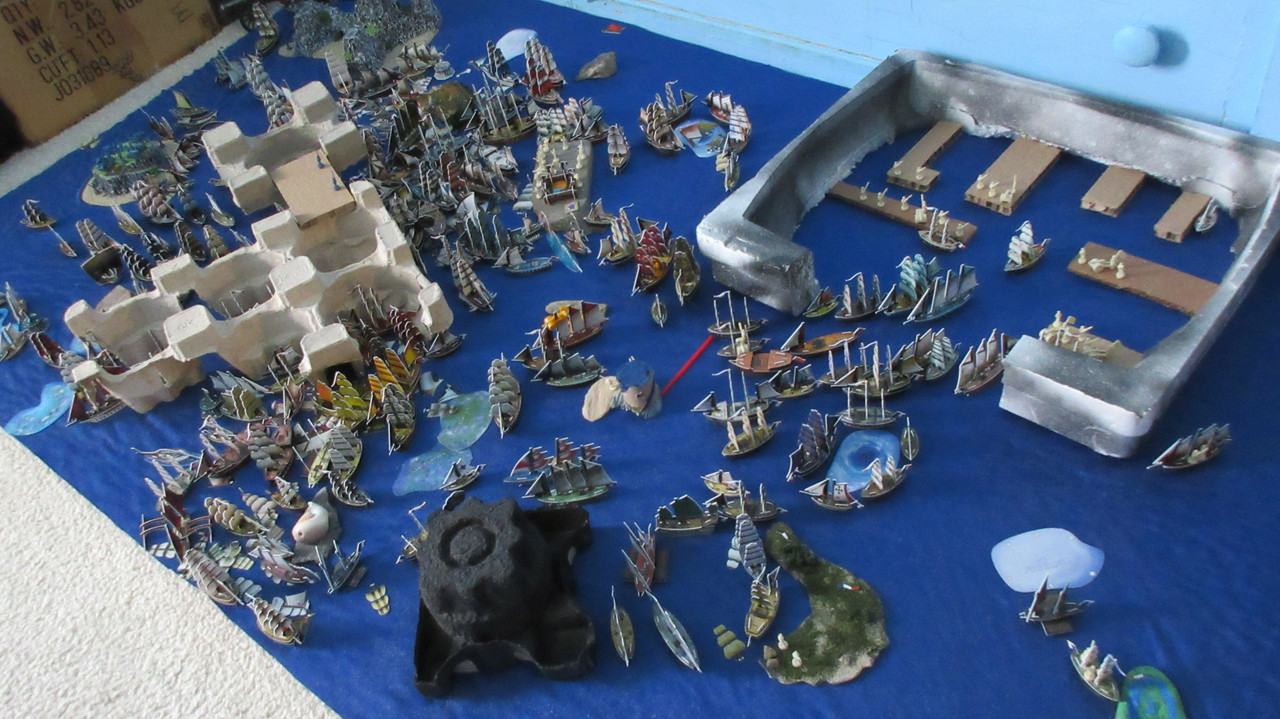
A very rare shot looking due east. I love how it shows the custom terrain and structures I’ve made, as well as the relationship between The Flat and the Castle: control one, and you’ll likely be brought into conflict with whoever controls the other.

The Sea of Karkuda:

With that, another report is finished. Soon, the game will be finished. However, that will not be the case unless I make some extreme changes. You have already seen the start of this, with most islands running out of resources when ships dock at them, and with fog lifting to reveal more of the ocean to all the factions. A change of season perhaps. XD

It was always my intent to play this game to true completion, which would mean that the last fleet afloat is the winner. With an ending date goal of 12/20 in mind, I clearly cannot make that happen at the current pace, with over 9,000 points in play and about 3 weeks to go. I didn’t want to change the rules, but I’d rather do that than finish the game with a point count and with a ton of stuff unresolved (wars, storylines, alliances, etc). The following changes will be instituted NOW, at the beginning of Turn 77:

-Back to regular combat rules. Ships do not have to be hit twice to lose a mast, and do not have to be hit twice as many times as they originally had masts to sink.

This will massively speed things up. Ships will sink left and right, at a frenetic pace that will likely far outstrip Economy Edition (when more than 10 ships would sometimes sink on a turn). The weeks-long battles that have been going on will finally be decided, and wars will be fought to a satisfying conclusion rather than stopped artificially when “time is up”.

I am still worried that I will not be able to truly finish the game by around December 20th, but I will do my best. More rules will likely be necessary. Here are the main ones I am thinking about:

-No more launches (likely to be instituted on Turn 80)
-No more repairing, in any way, ever. O_O

These are both likely to take effect, especially the first one (which I’m basically planning on at this point). Thus, this latest resource change will likely be the last outside of any random changes in the next few turns. It’s a fitting end though, since the change allowed most factions to cash in major stores of resources, and lasts for a long enough time (10 turns) that resources and launches will be irrelevant by the time the next change would occur.

As I said, I’m not happy to have to do this, but this thing has to stop at some point. XD I’d much rather have a real conclusion by changing all sorts of rules than have to suddenly stop when a ton of stuff is happening all around the oceans.

Thanks for reading!

Command the Oceans – Turn 77 (12/1/2017)

I played the first turn using the standard combat rules. The “endgame” process is officially in motion….

Pirate infantry move around the top of the Tunnel! 3 units make their way west, and two units go east.

The Celtic Fury’s explore action got some big 2L ladders to the summit. These were then thrown over the edge of the Tunnel by the troops working on the eastern area.

To the Hades’ Flame waiting below!

The HF was already in position from last turn, and troops clambered up the ladder to join their comrades!

Greetings are exchanged as yet more infantrymen become familiar with the Tunnel’s top.

The Hades’ Flame was also carrying something a bit heavier!

A cannon is hoisted to the top!

One of my favorite pictures so far of the Tunnel logistics:

Overall the Pirates have done quite well with their mission. They have explored the Tunnel at both ends, finally found a suitable spot where they can tunnel to the top, and now have both boots and artillery atop the summit. Quite the impressive show!

Captain Mission’s Pirate Kingdom, more well-defended than ever.

With all Pirate wild islands now out of resources, various Pirate cargo ships receive captains for the final stage of the game, which promises to be the bloodiest conclusion in CG history. The Pirates were already using some very good hybrids as resource ships (Eagle, Grand Barnacle, Darkhawk II, Foresight, etc), so making the change to full-time warship will go smoothly. Some of them even had captains already!

The northern whirlpool of Allost is swarming with Pirate gunships.

A triple line of gunships guards the reef barrier. Calypso now has about a dozen “bodyguards”. XD

Ready for anything, the Pirates will continue to optimize their defenses and wait for the best faction to come to them.

Many ships repair at Dead Man’s Point, as the newly launched ships join the newly repaired ships.

Still blocking both whirlpools, the Pirates are in a very good position.

The kingdom from above:

A few shots out of the east:


And now we move to the JR-Cursed War, where the normal combat rules are seeing their first action of the game.

Already a ton of progress is being made at the battlefield. The Monkey’s Paw is nowhere to be found, sunk by the Sahara and Virtuous Wind.

The Grand Path is going home for repairs, while the Poor Adams and Sea Hag lose masts.

The Grand Temple is finally able to emerge from the fog and return home! The fog bank she was in lifts, and more of the Tunnel is revealed to the Jade Rebels! The Naegling, Sea Wind, and Noble Swan are eager to explore what has been plaguing them for so long after rolling poorly in the fog banks.

The Nubian Prince gets into action with a bang! The Sickle loses two masts and her captain to Aruj Barbarossa. The Crescent Moon is one of two JR “medical barges” (the other being the Marrakesh), and prepares to give a shipwright to the Griffin.

The Splendor knocks a mast off the Demon Gate, but the galleys closest to the Roost cannot find their mark.

The Rook’s Folly sinks and a few squids lose segments, but the Sea Monkey escapes being derelict.

At this point I will try to do “graveyards” at the end of each round or even at the end of some notable faction turns. With regular combat rules in place, the game will now resemble my 2015 Economy Edition game with these massive graveyards. Here are the Cursed game pieces eliminated by the Jade Rebellion this turn, though they also lost the Tiger’s Eye to fire.

The Cursed show their dominance near Broken Horn Island. The Needle rolls badly for her fire mast and is doomed.

Terrox and Brachyura have not been in action here in this war, and now they strike hard on the same turn!!

The Sahara is suspended in the air, lifted out of the water by the strong tentacles:

Success and failure for the Cursed:

The Cursed will have a tough time with the Nubian Prince, but they (re) dismast the Donar and take out the Splendor.

The Terror of Gibraltar and Jackal’s Teeth were predictably sunk, and for now the Cursed have saved the Roost from direct invasion.

The creatures finished off the Grand Mountain (a true combat veteran of this game) and the Sultan’s Sword. Cursed cargo ships are being forced into the line of duty without captains, as the Cyclone and Sea Rat simply block the galleys’ advance to prevent them from sinking the Guichuan (suddenly vulnerable at the Roost with the change in combat rules) on the Jade turn.

Calim rises to the surface in a rage to pin the Sea Dragon:

Wow! The Cursed sink 6 JR ships, as compared to 3 Cursed ships on the JR turn. (that is just the Mermaid to the left, as I put the stuff in the southeastern corner of Allost during the play turn)

An ominous sight: Shal-Bala finishes repairing, and may return to the battle soon! At the left, notice that the Cursed troops scurried back up the ladder just before the Bloody Blade finished off the Jackal’s Teeth.

The Sea of Allost, 77 turns into the game:

The Pirates control the eastern half, and may control the entirety of this ocean if the Cursed and Jades continue to beat the cargo out of each other.

Flash:

No flash:

Already the battlefield looks more empty. Makes me sad, but of course the game must end at some point.

Pure dominance, with a single-fleet point count possibly coming soon for the sake of the record books….

A relatively crowded English HI:

Spaniards heading for the whirlpool and Karkuda…

With Rogelio Vazquez, the Acorazado manages to shoot above the Marie Antoinette and take out a pesky American infantry unit!

You may have wondered by now how the Spanish will retake the Castle. I have devised a custom ruling for it. Enemy ships can “dock” at the Castle and combine their boarding rolls (for example, a 3 master with a roll of 4 would contribute 7) together. If the total score is 25 or more, the Castle is captured and changes hands. Especially this late in the game, I am not interested in automatically destroying the fort upgrade inside used for launches, so when/if the Castle changes hands, so does the ability to launch ships from it.

On this turn the 4 Spanish ships at the right amassed a total score of 21, and failed to take the Castle. The Spanish will try again, and plan to retake the Castle and use it as their new “home island”!!

The slow but steady flow of incoming Spanish ships will continue next turn. The Cristal del Obispo is the latest ship to arrive.

Chaos reigns in the Sea of Karkuda as the Mercenaries all rise to the surface at once!! The Mobilis and Devil Ray don’t have captains, but the French sub hunters are attacked and lose 3 masts total. Nemo captures the captain of the Espadon.

French revenge is swift, and just like that the Mercenaries are almost out of the game. The Terror and Devil Ray are sunk, and only 5 hull segments remain in the Merc fleet.

At long last we get to see the French machine in action, with various gunships all over their home waters ready to assist combat operations at a moment’s notice. It reminds me of how fast and efficiently the Pirates took care of the English not too long ago.

At Pearl Island, the French 2 masters have teamed up to finally capture the Sunrise Fire:

The beauty of French power in this game: even with the Merc uprising (pun intended XD), they are able to maintain their close blockade of the Cursed whirlpool and calmly continue to sail gunships out west towards the real deal of warfare in this game.

As the action develops! The Montreal and Toulouse finally need replacing, and the Epee and Flamberge are happy to oblige. Their American counterparts will also need replacing. In yet another example of equipment backfiring on me, the Auguste rolls a 1 with fire shot.

The French press their advantage!!

You may have noticed some new space opening up: the Saratoga and Hudson were sank (both were already mastless hulks), while the Blackwatch was also sunk!

No less than 10 ships are in various stages of the repair process at The Flat:

About half of those are ready to return to action, while the crippled Soleil Royal will provide additional work for the island’s numerous troops.

The American line has gradually been thinned out, and now the Americans are being pushed back.

The Philadelphia will not be able to warp the Hudson home after all, and the French may finally be able to move into American waters soon.

The Paladin and Lenox lose masts, but the French crews aboard Le Gaule and L’Auguste are utterly spent and will need to be replaced soon.

From near the masts of the Gruesome, the Bonaparte and Descharges continue making their way around the big island.

Here you can see the supply line of fresh French gunships arriving near the battle.

Considerable firepower has yet to shoot, as the Tepant, Grand Vainqueur, Aube, and Saber attempt to find American targets.

The French position looks very strong, as the tide of battle begins to sway in their favor:

The French sunk 4 American ships this turn, including the mighty Blackwatch:

The Speedy Return replaces the Atlanta, and the Flamberge is set aflame by the Mohican:

A unique view of this area from the north:

The Marie Antoinette is doomed to burn. She rolled for a terrible fog exit location, placing her right between the American-Spanish crossfire. In fact, this area has now become “the spot” in the American-Spanish part of the battle ever since the Spanish established their foothold in the NE corner of the Castle.

6 ships are heading to the Castle for crew, while the Overton can finally repair somewhere.

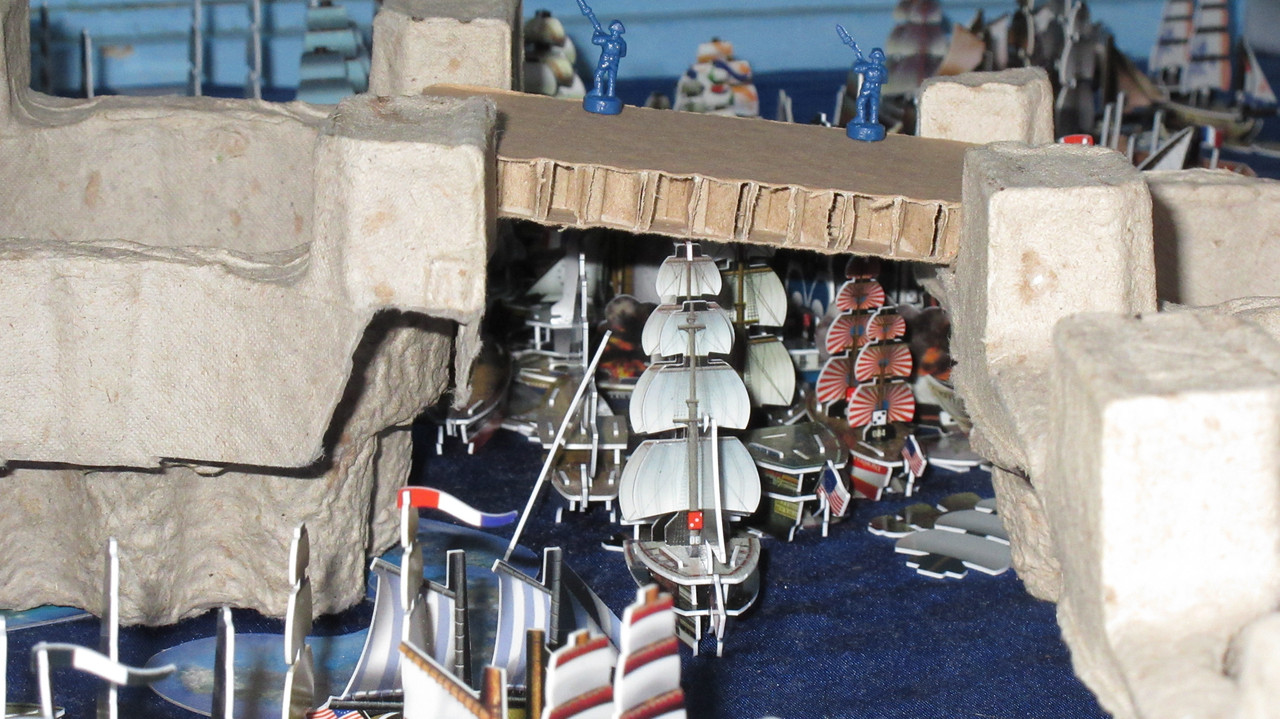
The Cheyenne tows the Minuteman flotilla under the Castle rampart – a nice shortcut for ships that can fit!

Of course, the Carolina has done this before:

The Americans fight back quite well! There’s so much carnage and debris that it’s hard to tell what’s going on, but at the left the Providence has dismasted the Moulin Rouge and Intrepide. The Ville de Paris has been dismasted and set aflame.

At the right, the Cleopatre is not even visible under the wreckage of her own masts:

The arrivals of the Constitution (with Ralph David aboard) and Ghost Walker mean that the French will not be able to advance unchecked into American waters.

Similar to the 2v2 situation near Fish Island, attrition finally favors the Americans! Le Gaule is sunk and the Auguste nearly dismasted, with a solid morale victory for the Americans. The Gaule has been a powerful force in this battle since the start. Her loss combined with that of the Ville de Paris (likely but not guaranteed due to chain towing rescue attempts and even a good fire roll XD) and captured Charlemagne means that the French fleet of capital ship 5 masters is not completely intact.

Here I count about a dozen “gunships” headed towards the battle areas, some more well-equipped than others.

The ones at the left are certainly ready to fight, among them the newly launched Thomas Jefferson and Eagan. The Charlemagne has actually repaired all of her masts, I just didn’t want to deconstruct almost the entire battle area by “the spot” just to find the masts. I’m probably just going to leave as many masts in the water as possible for the rest of the game for maximum carnage. XD

A dozen gunships here, a dozen gunships there – ’tis a HUGE GAME!! XD

Last report I hinted that the Americans were thinking about an “experimental purchase”… I now ask you to consider what that nice open space could be used for… now devoid of fog and without a lot of ships right there….

Hmmm what could it be……… ?

A CASTLE EXTENSION!!!!!

O_O

Spending 100 of their 188 current gold, the Americans have built a new structure that adds onto the Castle development! Real estate in Pirate CSG! XD Razz

This didn’t come about by some fluke. When exploring the Castle further in somewhat recent turns, the Americans found various maps and plans detailing possible ways to expand the Castle. They were intrigued by the possibility, and with the latest resource change, they finally have the resources to pull it off. The Spanish were aware of these old plans, which is part of the reason they wanted to retake the Castle: before the Americans could do this! The reefs provide a solid base for structural support underneath the new castle area, which has been built right near the battlefield!

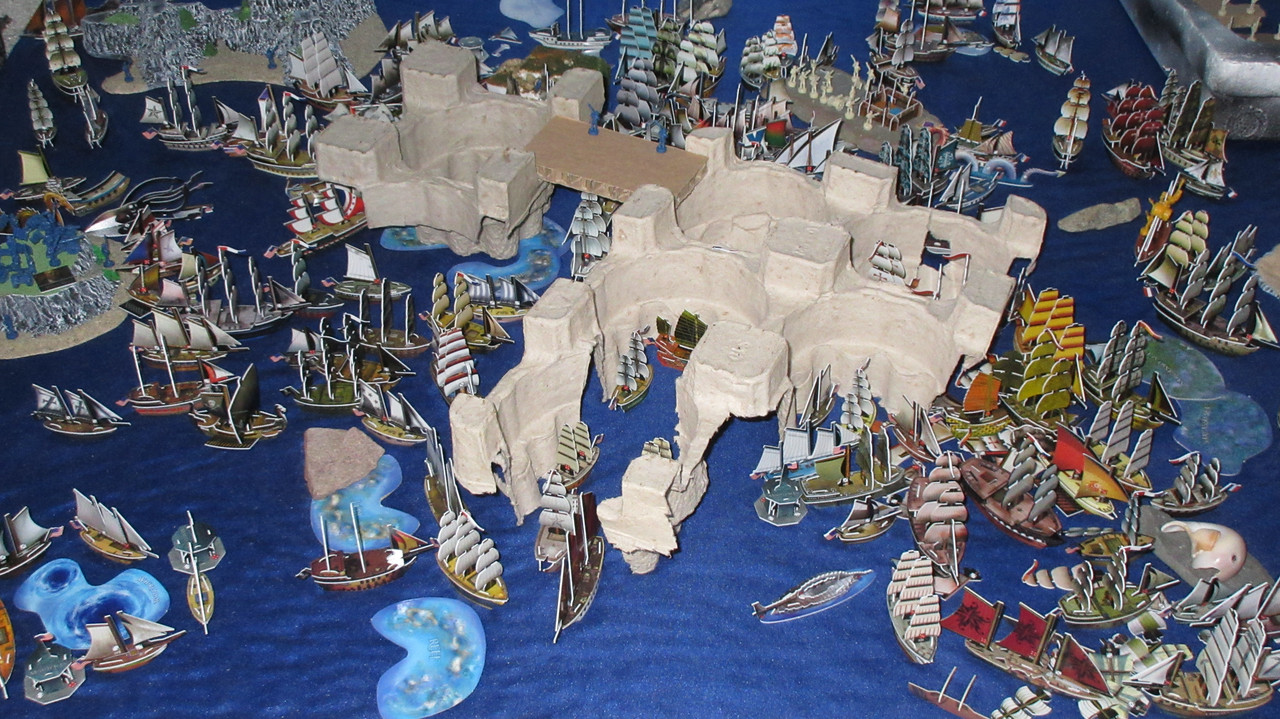
The “new” Sea of Karkuda – bet you didn’t see that coming! XD The French now have another giant obstacle (literally) in their path to reaching the American home island. It also serves to shrink the battle area back down even as the lifting fog and new combat rules were beginning to open up more space in the area.

The Turn 77 graveyard. 16 ships were sunk, obviously a high for this game by far and not a huge surprise given the two massive battles going on under the normal combat rules. The Jades and Americans suffered most heavily, but the wars are FAR from over….

More excitement and surprises to come, so stay tuned!

Command the Oceans – No More Repairs. (12/4/2017)

New rule: No repairs can be carried out.

As Turn 78 begins, the Pirates continue to explore the top of the Tunnel.
The Celtic Fury was given an explore action, and a 2L ladder and some supplies have been brought to the top.

Where could those troops be going?

These ones are certainly ready for action!


The cannon has been positioned to fire a wide arc over Pirate waters in case any invaders show up. (this is one of my favorite things about the Tunnel – this hole was already there as part of the foam piece)

The Pirates spend all of their 244 gold on 15 new gunships! To cut costs and put as many ship in play as possible, they aren’t crewed as heavily as the previous handful of launches.

As I said earlier, I wanted to do a point count of the Pirate fleet in particular since I know it’s the biggest fleet ever seen in a game. For the sake of the record books, a full ship and point count was done.

Here are the Pirate deckplate areas:


Behold: Captain Mission’s Pirate Kingdom at its true height!!

The 2L ladder is now just a convenient access point for the Pirates to use, instead of transferring everything through the Celtic Fury.

The new records, set by the Pirate fleet of Command the Oceans:

131 ships (breaking the Spanish record of 111 ships set in VASSAL Campaign Game 1)
2,347 points (breaking their own record from earlier in this game)

O_O

Picture #5000 taken with this camera.


Command the Oceans – JR and Cursed turns (12/5/2017)

This is a picture-centric report, as I try to take more closeups and my time playing this epic game slowly comes to a close. Again, enjoy it while it lasts haha.

Jade Rebellion vs. the Cursed:

The Nubian Prince manages to eliminate two masts from the Loki’s Revenge and capture the ship’s captain!

Devastation. Desperation.

THE BAOCHUAN!!

At long last, the flagship of the Jade Rebellion is here! The Jades spent all of their 108 gold on what will likely be their final three ships launched.

Almost forced to call upon Mercenary help at this point, the Forward and Revolution give them a rare chance to field regular square-rigged ships.

Ships in various states of disrepair sail out, unable to repair due to the shortage of resources, lumber, and manpower in the area.

The Baochuan has a maxed out complement of crew, while the Forward carries the first canceller the Jades have possessed in this game.

The Cursed use Tsuro to move the Black Pearl onto a reef! This is the first direct Cursed vs. Pirate conflict in this game! Perhaps a sign of things to come?

Cleanup efforts. The Cursed reiterate how dominant they’ve become in the far west around Broken Horn Island, sinking various BC and Jade ships.

A theme we’ll get used to on this turn, with damaged ships sailing out to do battle.

With the change in combat rules, the ocean is becoming less crowded and lively, with a “no man’s land” starting to develop in an area that was hotly contested not long ago.

From the last few pictures you may have noticed additional ships in play…

Yes indeed…

THE DELUSION!!

The Skin Flayer gives the Cursed a very devastating new weapon, while the Crocodile is their other last 4+ masted ship to launch.

The Guinee cancelled the Nubian Prince’s ability, and she was sunk by a trio of Cursed ships.

THE SPAWN OF SHAL-BALA!!!!!!!! ANGELICA IS HERE!!!!!!!!

After regenerating for two turns, Shal-Bala has returned to full health! The creature has mated and now has an offspring! XD Angelica will be Cursed for this game, giving them TWO sea dragons at the Roost!!!

The full Cursed launch, where they spent all of their 297 gold at once.

Did you think that was it?? Not quite!! Unable to carry out further repairs, El Fantasma gave the Divine Dragon his SAT and steered the ship towards the whirlpool created by Calypso. Using the Eye to find his way, Fantasma ended up in the Caribbean!! Words have already been exchanged, and the Cursed are recruiting the English to help fight the Pirates!!!! O_O With Davy Jones still able to copy Calypso (he did this turn but both rolls were 2’s; DJ has temporarily been transferred to the Fiddler’s Green for her reroll), you can immediately get some ideas about what could happen….

The graveyard for these two factions warring against each other on Turn 78. Many ships were sunk, mostly on the JR side.

Command the Oceans – December 6th Part 1 (12/6/2017)

The report for the action of December 6th will be split into two or three parts.

The Union Jack is back in the Sea of Allost! The English are here!

After El Fantasma told them the way, the English decided to commit ships to the cause of fighting the Pirate empire in the far east. Only 5 English gunships were able to fit at the other end of the whirlpool, but more will certainly arrive soon.

The English are ready to finally get full-scale revenge on the Pirates!

Almost the entire English fleet is now flocking to the Caribbean whirlpool:

The Spanish are doing the same thing, though for a different reason of course.

At the end of their turn, the English spent all of their 140 gold to get some of their best gunships! The Titan and Endeavour will have access to cancellers and multiple actions. Ducie Chads gives the Endeavour 1L guns against the Pirates, which of course will eliminate two masts with one hit! HMS Apollo has Pirate-hating built-in, and Christopher Myngs could give that ship up to 10 shots in a turn. The Leicester is crewed to her maximum point total and cargo restrictions, ready to dole out some serious damage.


Command the Oceans – Pictures galore (12/6/2017)

The Mercenaries have been eliminated! After sinking the Espadon, the Mercs were finished off by the French. Lucky that Nemo was even able to escape and dupe the French, the Mercenaries entered the game too late to realistically have a shot at winning. However, they made some waves by accident. XD Introducing a new custom submarine hideout that I hope to further develop after the game ends, they managed to trick the French into thinking they were still working for them. Of course, Nemo himself was duped in the end, with Eileen Brigid O’Brien taking his prized 10 master (the Celtic Fury) to the Pirates for more money and chances at glory. Shortly after this disaster the Mercs were unable to keep up the farce, and the French attacked them. The Mercs began to run out of food sourced from the nearby island pictured here, and needed to make a desperate attempt to literally stay alive. Naturally it failed against the mighty and flexible power of the French Navy, but the Mercenaries still had some impact on the game.

The Mohican is dismasted, and La Gaule emerges from the fog to go 4/5 and set the Enterprise alight!

New rule: Scuttling can occur on the same turn it is declared, and does not require a roll to be successful. Scuttling can occur even if a ship has an oarsman aboard and would not normally be considered derelict.

This is to clean up the battlefield faster, expedite things as I need to, and get useless ships out of the way so factions can fill in their holes with new ships. Since the derelicts can’t repair, ships like the Concordia and Belle of Exeter are the only dismasted ships worth keeping around.

With the new Castle expansion, the fleets have even less room to maneuver. The battle now resembles two giant floods of ships meeting and duking it out.

The Providence is dismasted:

The Constitution damaged:

Here you can start to see the problem the Americans are having. The French flood of ships is massive and has many layers. Once the Dauphin is sunk, she will be replaced by the Delacroix, Hercule, etc. As has been the case lately, the American line of defense only rests on a few ships, and once they sink, the French advance will inch closer to the American HI before another ship is put in their path.

The Paladin is sunk by the French, but this is one area where the Americans have gained the advantage now that Le Gaule is gone.

Big French gunships are literally just waiting their turn to fire broadsides into American vessels. It has been a little frustrating how crowded this area is with islands and castle structures, since there can only be so many ships involved at one time. The intense bottlenecks have moved slightly away from “the spot” and closer to the American HI.

Just hull-to-hull ships:

The giant Castle complex would be a boon for the Americans, but they do not have the naval or land power to properly support it. Most of the infantry and artillery units have been eliminated by the seemingly endless supply of fresh French firepower that is now complementing the Spanish as well.

You may have noticed the final French launch.

Nine new “gunships”, though only 2 of them could even be classified as that here. (Breton and Danae) This is just about all the French can muster, as they have nearly “completed the fleet”as I call it. This means that they have every French ship from my collection in play! (other than sunken ships and one special ship) O_O

With my collection being quite large as this point, I didn’t think that this would happen in a physical campaign game. However, the French fleet is incredibly impressive in this game and they have pulled off the near-impossible! Smile

(The Flat has run out of textiles, that is my mistake)

What’s impressive to me about this battle is that I almost cannot depict the entire scale of it in one picture. Between how far it stretches and the various islands and structures in the way, it’s tough to even show the full battle at once.

Suddenly the French round the western edge of the big wild island in the northwest corner, with Le Bonaparte sinking the Wasp!

Finally! The Enterprise is fully in action! She had a remarkable entrance to the battle, getting her EA, extinguishing her fire mast, and then going 6/6 to sink La Gaule!!

The Americans do some damage in the main battle area, especially with firepots.

The Toussaint and Auguste are sunk, leaving the Americans in solid control at this bottleneck. However, some French gunships that cannot repair are heading to plug the area back up.

The captured Charlemagne (with all masts standing, as I cannot feasibly get her masts out from underneath the carnage near The Flat) is ready to fight her old allies, setting fire to the Bonaparte!

USS Vermont is one of the little-known ships in this game, and not particularly noteworthy. However, on this turn her firepot specialist and fire shot both connected, turning the Scipion from a relatively healthy ship to a blazing inferno.

The Ghost Walker has set the Courageux aflame, and the French will scuttle her quickly next turn. Clearly the battle is being fought at extremely close quarters.

After Lenoir cancelled the captain of the Grampus, the Xiamen’s Claws set the Dauphin Royal on fire. The Providence has been scuttled, and the Gruesome sank the SCS version of the Coeur de Lion.

Looking between the two castle walls at an unprecedented sight. Ships sail over a dense layer of masts, sails, and debris. The smoke of the guns mixes with the fires that now burn aboard French ships. Hell has been found.

It is clear that whoever manages to survive this mess will be in bad shape.

The French do still have plenty of healthy ships that can eventually enter the battle, while the Americans are struggling to back up their front lines with comparable forces.

However, some American gunships are sailing out from the home island. At the right is an impressive trio that will boost American morale on the battlefield: Preble himself has gotten the President fully repaired, while the Kettering still has EA and cancelling available. The Thomas Jefferson has cancelling as well, with a superb armament to boot. At the left, the Jarvis and Full Moon head north to support the Charlemagne and make sure the French ships coming around the island cannot reach the American HI.

Various ships flock to the battle areas:

The Americans do a final launch with 163 gold. Similar to the French, they are almost out of ships to use! Here you can see the desperation, with even the Dark Fox and Annapolis serving in the line of duty.

Some of the ships were launched at the Castle:

The others at the home island, which was fortified with additional army units.

A turn after expanding the Castle, the Americans have now built a bridge to connect the two areas!!!!

O_O

The Americans spent 10 gold on the wooden bridge, as it shares the same characteristics as the docks of the French Harbor.

The Castle has become a monstrosity and has arguably eclipsed the Harbor as the most noticeable feature in the Sea of Karkuda:

American infantry have another great place from which to fire their muskets, and now the Americans can move things resources and troops from one side of the Castle to the other. (not that they have many of either)

What a scene!

When the game started 3 months ago, it was utterly unthinkable that such a situation could develop. The Castle was undiscovered, having sat uninhabited for many years after the Spanish were forced to abandon it. Now two powerful factions are fighting one of the biggest battles ever!


Someday I would love to play a game where armies battle across castle ramparts….

The Castle extension with bridge will hamper the French advance:

It was tough to get clear shots at some of these difficult angles.


Now for some neat views of Karkuda. I took a LOT of extra pictures at the end of this turn, some of which may be revealed after the game ends.


USS Appalachian:

The full breadth of the engagement, from the Bonaparte in the northwest corner to the Epee in the far south.

There are still French ships leaving the Harbor:

With no way to repair, the crippled Spanish ships simply join the French and head back to the Castle:

Wow… one of my favorite pictures so far. I didn’t even see this one when I did it since I was taking pictures so rapidly, but I love how the color came out. Not just the ships, but the water too. This would be fun to show someone who hasn’t read about this game, since it would lead to so many questions. XD I like how the lighthouse and hideout are just visible enough to be curious about them, while the true size of the Castle is somewhat hidden by the low angle of the shot.

One of my favorite pictures of The Flat, also showing the new Castle bridge and Rossinaz’s nice island in the distance.

The chaotic battle now just resembles a forest of masts, with raging smoke present at intervals.

Truly a war for the ages:

Some rare views out of the north:


The Castle obscures most of the main battle:

Tons of ships went to the depths today. The rule changes have sped the game up to a pace where I may actually be able to end it properly, with the last fleet afloat being declared the winner.

Turn 79 begins

The Pirates continue moving troops and supplies around the Tunnel!

… where could those infantry be going?

The Madagascar and Otter (members of the former whirlpool squadron) carry additional army units to the Tunnel, and artillery cannons are being hoisted to the top!

The Pirates are beginning to fortify not just the top of the Tunnel, but inside it as well….

Unfortunately for the Pirates, the Black Pearl lost two more masts coming back over the reef. They may even transfer Tia Dalma to a new ship since the BP can’t repair.

The Pirates are more than ready to defend their home waters. XD


I forgot to show this off last time.

The troops have a nice view looking southeast towards the gold island.

You can just make out the ladder leading down to the Madagascar:

A long-term plan comes to fruition! The Pirates have thought about building a fort at the edge of the kingdom island itself, and now the Devil’s Maw is constructed.

The fort serves as an ideal place to station a garrison:

If you’ve seen the kingdom at all in this game, you could easily surmise that the ledge would be a perfect fort location.

The Eagle and others sail out and prepare for battle. Fort in the foreground, lighthouse in the background:

The Jade Rebellion sails out to do battle with a faction other than the Cursed!

Incredibly, the Cursed-JR War may be nearly at an end. After 4 full-scale battles and numerous other skirmishes, the Cursed now have a larger fleet than the Jades. The lack of good Corsair gunships, devastating strikes by Namazu, and the regular combat rules leading to a lot of sinkings has combined to doom the Jade fleet for the long term. They have been whittled down for a while, and have seen a LOT of ships sunk in the past couple turns. It is sad to see their once-great fleet reduced to a far more normal level.

The Sea Duck engages the Banshee’s Wail:

The Cursed sea monsters in the north have been eliminated or badly injured. In a perfect example of this attritional struggle, just as the final Cursed defences are falling in the north, the Jades have finally run out of fresh ships to send into the area.

The greatest concentration of firepower the Jades can muster. A shell of their former selves, the Jade Rebels have finally understood why the Cursed have been trying to emphasize the Pirates for so long. If the Jades continue to fight the Cursed, they will grind themselves into oblivion. By trying to take out the best faction in play, the Jades will at least give themselves a chance in case some of their ships can survive. Jade ships are now heading for the Tunnel.

Cursed on the move! New and old Cursed ships sail forward, heading east almost universally.

Terrox surrounds the Sea Duck!

Fantasma got his SAT to come back through the whirlpool and start heading for the Pirates. The Dark Pact picks up the last gold coins from Broken Horn Island, which are the final source of money to be loaded in the game.

A handful of Corsair ships were sunk this turn, with the Cursed firing upon anything in their path.

Sailing over the wreckage of the biggest battle of the JR-Cursed War, healthy ships and derelicts alike move east.

I feel the need to explicitly state that no alliances have been made to fight the Pirates. The Cursed and the Jades are still at war. The English are not allied with either. It is simply the three of them realizing that the Pirates need to be hampered to prevent them from running away with the game.

Despite the rushed ending, I hope you’ve been enjoying the action lately! Feel free to give your thoughts on any of it, or a few questions:

-Have your winner/ranking preferences changed at all?
-Do you think the Pirates can be defeated?

Command the Oceans – Fast and Furious until the end! (12/9/2017)

The action continues

As I play the final part of the game, it is mostly just a giant deathmatch at this point. Too many ships and crew are being lost on a per-turn basis for me to have time to keep track and report on all of it. This is just a warning to expect very picture-heavy reports going forward, as strategic explanations are sadly a thing of the past for the most part. However, I am trying to take a lot of pictures to fully document the record-breaking carnage and enormity of the warfare that is currently taking place. In addition, there are some new developments in this report and there will be some in the last handful of reports as well!

More English ships arrive in the Sea of Allost!

Others will arrive soon:

In a cool irony, this shows the Sea of Allost in the distance to the right, with Broken Horn Island and a few English ships visible.

The French blast away at the Americans! The Conquerant and Superbe are back in action.

The Bonaparte and Descharges manage to sink the Charlemagne, getting some measure of vengeance after the Americans captured the French capital ship!

At the main battlefield, the French continue to push and push.

Various French ships are making their way northwest to assist in that area of the battle where the French aren’t as strong. The recently launched ships join the back of the gunship assembly line and will wait their turn to enter combat.

The Speedy Return gets smashed by cannonballs:

The French have some burning issues aboard their ships, and both of these infernos would sink on their next turn.

The Ghost Walker is dismasted, with the Grampus sunk:

The flood of healthy French ships seemingly never ends:

However, a few French ships will not be partaking in the war, at least not yet. The Belle Etoile and Dijon have gathered up some infantry that were stationed on wild islands, and will take them back to the Harbor. The Voleur will join them at home. The French want at least a few ships on guard at the Harbor just in case they have to make a last stand where the bulk of their land-based firepower is.

The situation from far above:

With Deleflote’s action, the Grand Vainqueur managed to sink the Ghost Walker and dismast the Constitution!

Featuring USS Appalachian under the bridge:

The Americans start their turn, sinking the Lepanto and dooming the Acorazado.

Just like the French but in lesser quantities, almost all American ships are headed for the battle.

The Appalachian’s fire shot backfired, but the Xiamen’s Claws set the GV aflame.

Lenoir’s flagship is in serious trouble, burning with just two masts standing:

The Conquerant is sunk and the Superbe crippled:

At the left, the Full Moon and Jarvis have teamed up to sink the Bonaparte.

I’ve been greatly enjoying these views from under the bridge, as it gives a new dynamic to the shots.

Turn 80!

The Pirates didn’t walk all the way to the western end of the Tunnel for nothing!!! They have resumed rock-blasting operations, but this time on TOP of the Tunnel! O_O

First it was to get to the top, and now…. ??

Without such an abundance of units, the Pirates wouldn’t have the manpower to pull off such an endeavor.

The Otter is underneath the long ladder leading up to the eastern edge of the Tunnel, and infantry climb to the top!

You may have noticed that the Celtic Fury turned around! The second 2L ladder is now hung from the opening in the ceiling, and stretches down to sea level!!

It’s truly impressive what the Pirates have accomplished in this game.

There are now 3 artillery units atop the Tunnel, with additional infantry arriving this very turn.

Of course, the land forces pale in comparison to the greatest fleet ever assembled…. O_O

Whom dare enter Mission’s Kingdom?!?

Anyone who tries will be met with certain death.

But not without a good fight first!! The Jade Rebellion declares war on the Pirates!!!!

The Floating Stone and Kalaallit team up to dismast the Executioner:

The Jades are sending what ships they can muster towards the small Pirate force guarding the southern barrier reef.

The other ships are still heading for the Tunnel, which is starting to look like a bottleneck that could rival the Castle in terms of sheer intensity of broadsides.

The East Wind finished off the Poor Adams, but this area looks oddly barren after so many spirited JR-Cursed battles.

The Cursed declare war on the Pirates!!!! The Soul Crusher finally gets into action after guarding the northern Cursed wild island almost exclusively.

I wanted to capture the last moment of the Bey’s Revenge, just due to the mast and tentacle lying on her deck. XD

The dragon is unleashed!! SHAL-BALA USES FLAMETHROWER!!!!

LOL!

More from the dragon’s perspective this time. Davy Jones (now aboard the Fiddler’s Green at the Roost) copied Deleflote to give Shal-Bala an extra action so it could move and then “shoot”.

This is a more realistic take on the actual attack:

The fire attack works similar to Namazu: This ability can only be used once this sea dragon completes a successful swoop attack. Give this sea dragon a shoot action. A blast of fire S wide and 2L long leaves the dragon from the direction the snout is facing. Roll a d6 for every ship in the path of the blaze. The result is the number of fire masts placed on the ship. This ability cannot be used on consecutive turns.

Devastation is unleashed!!

O_O

The Cursed rolled quite well for the attack, with 5’s on the Pandora and Fool’s Gold.

Even a 2 for the Black Heart and 3 for the Foresight has those ships crippled and possibly doomed for good:

Shal-Bala surveys the damage. This was a premeditated attack, planned from much earlier in the game after Devereaux did some research on ancient dragons summoned by Cursed hordes. Shal-Bala’s successful swoop attack on the Sea Tiger made the dragon more confident in its abilities, as well as the human flesh and blood used to mix the fiery concoction in the beast’s belly. O_O

An ominous sight: Angelica has flown out from the nest for the first time! She may be eyeing the Sea Snake for a possible swoop attack!!

Terrox sweeps tentacles across the decks of the Sea Duck, showing that JR-Cursed hostilities will continue despite the massive Pirate threat.

Actually using a kraken in a game! XD

Unlike the French in Karkuda, most of the Cursed firepower is aboard Cursed ships farther from the front lines. This initial Cursed attack against the Pirates is just the beginning!

… there we go… the Cursed are certainly not capable of defeating the Pirates in a straight fight, but between Jade intervention and the eventual arrival of the English at the battlefield, the Pirates will be hard-pressed to resist the triple threat.

Unfortunately, some of the Cursed gunships are so damaged as to be almost irrelevant to the war effort. Unrelenting tension with the Jades will not help that fact.

Without Devereaux and either dragon, the Roost is desolate compared to its normal state.

The Pirates hold a very strong position: they have defensive lines from the south of the sea to the north, and not only control the waters of the Tunnel, but the top of it as well!

Shal-Bala’s sudden strike from behind Pirate lines has given new hope to the Cursed:

An armada is coming to the Pirates, even though it may be a disjointed one….

But of course, the Pirates are ready!

One of my favorite angles so far in the game:

Just awesome! Smile

Here you can see the respective sides entering the opposite ends of the Tunnel:

The rare, occasional, and tough-to-get view from the Cursed perspective:

Three 10 masters are just visible here, with a possibly unprecedented forest of masts to the left.

Total dominance of one of my favorite custom pieces ever!

The English continue to arrive in force!

9 new ships from the Caribbean:

Not quite as many will arrive next turn, but the English have a decided role to play against the Pirates. The Jades and Cursed are severely diminished, not just in terms of their fleet sizes but also with how many of their ships are too damaged to be effective warships. The English fleet may possibly have the highest percentage of fresh ships (no masts gone) in the game as of now. They also hate the Pirates more than the Jades or Cursed do, and will soon present themselves as the Pirates’ main rival (but only after the Jades and Cursed exhaust considerable efforts against the Pirates, which could make it more of a fair fight).

The Neptune wades into the fray:

The Appalachian is doomed:

Ships burn all over the battlefield, with bodies falling off islands and decks of ships:

A unique shot showing the aggressive French flood:

The badly damaged Sioux and Julius Caesar signal the near-end of American resistance coming from between the castle areas.

The Satisfaction and Bartlett are not powerful enough to take down the Tepant and Monaque:

The Enterprise strikes again, and the Americans are beginning to win the battle around Fish Island!

Turn 81

I’ll be taking some pictures with the Tunnel removed so you can see what’s happening more easily.

The Celtic Fury is in action!

The Golden Medusa has an impressive turn, pounding the Soul Crusher. Just like that, and the old ship with some of Wraith’s captures aboard is useless and about to sink.

This area of the battle is developing slowly as Cursed ships sail into the Pirate lines.

This is not something you usually see. The Pirates don’t have just a line of defense, but a large pack of ships on both sides of the reef! In some places both lines are 5 ships deep, with reinforcements arriving in the far north every turn.

The Sea of Allost without the Tunnel:

As with the previous piratical activities in the Tunnel, I wanted to show some of the progress.

The Pirates have made it all the way through!!

The Pirates have blasted their way through the end of the Tunnel!!!!

There they are! Pirate infantry standing tall above the battle below! XD

An incredible sight!!

(I love how the wall actually looks like a sky with clouds here)

A few views from near the Roost:

The Pirates are HERE!

With their giant 10 master below them:

And so, the Pirates have completed another impressive operation at the Tunnel.

MISSION ACCOMPLISHED! XD

The eastern end of the Tunnel is well-fortified. The scale of the army units is way too small, but some of those rocks don’t look all that big…

The Pirates approach a boulder at the opportune moment…

With enough manpower…

… anything is possible! XD

The Pirates push the boulder over the edge and crashes down to the Sea Wind unknowingly waiting below!!!! O_O

The boulder smashes right through the ship’s hull and splinters her port side!!

The Jades have lost yet another ship, though this time not to cannon fire….

The Pirates on the Tunnel celebrate their nasty handiwork:

The Sea Wind was camped out by the Tunnel in an effort to surprise the Pirates on the other side of the southern reef line, but the Pirates were the ones to get the jump on her!

A Pirates’ View:

The Pirates still have both of their giant ladders set up in the Tunnel, but now concern themselves with sending as many ships to the western end as possible.

Rarely can I get such a nice shot inside the Tunnel itself:

This one is VERY weird. These shots are very difficult to get, as I almost have to maneuver the camera into the Tunnel, trying not to knock over ships at the eastern entrance in the process. Therefore I cannot aim the shot like I can with the other ones, and it’s mostly just luck on how they come out. A lot of them get deleted due to blurriness, not having the flash show in the right spot, or just poor quality in general.

I guess that’s a ladder in the foreground that looks like a spotlight shining on the Celtic Fury. XD O_O Perhaps it’s a sign of divine intervention, that O’Brien and the CF are here to bring the Pirates to the promised land of ultimate victory. XD

The cannons atop the Tunnel are ready to fire, and one finds the range on the Forward! (bad angle to show the actual firing arc) However, it missed.

The Foresight is doomed to burn, but the Black Heart has a chance to escape Shal-Bala’s fiery wrath:

From the main masts of the Neptune’s Hoard:

The Pirates still appear very strong, and even more so now that they’ve fortified the top of the Tunnel and worked their way to create a “tunnel in a Tunnel” from which they may be able to fire down upon the invaders.

Around 46 ships were sunk in the day’s action on December 8th.

Ending this report with a few shots from the infantry perspective as darkness falls on the action:

Dark times indeed….