
I played 3 long turns today, but that will probably be the most I can play in a day for quite some time now… probably!
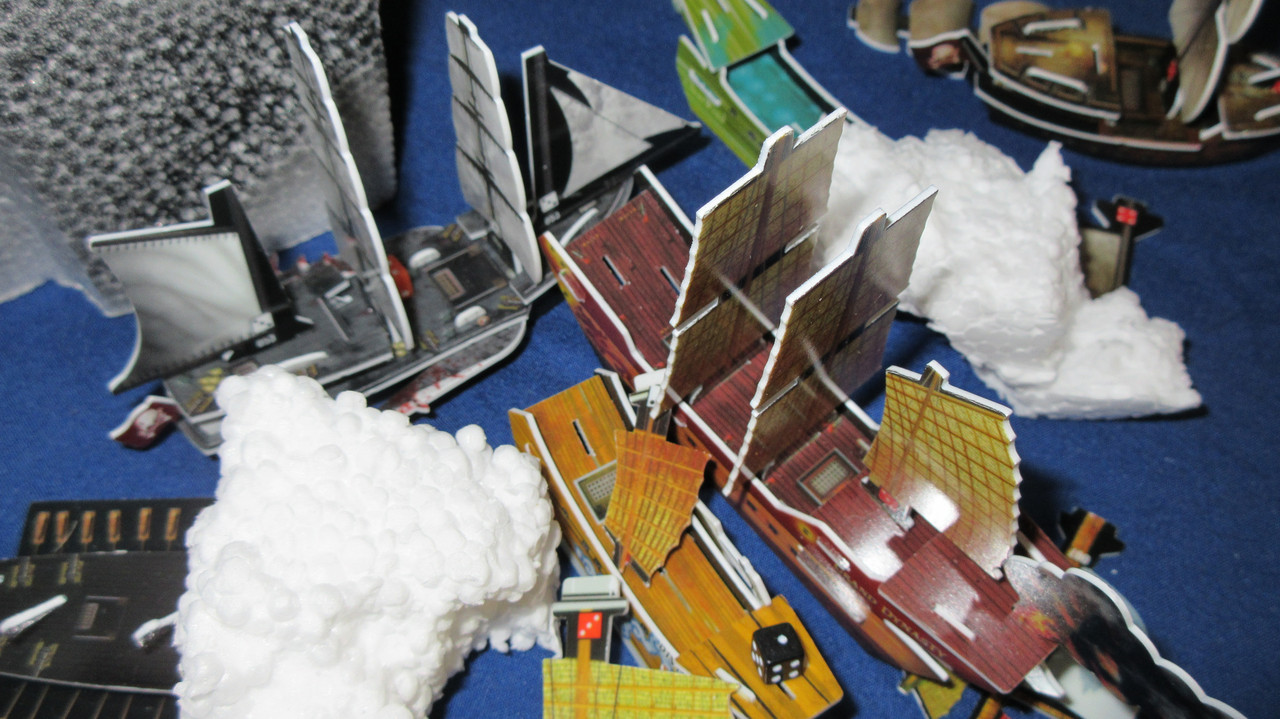
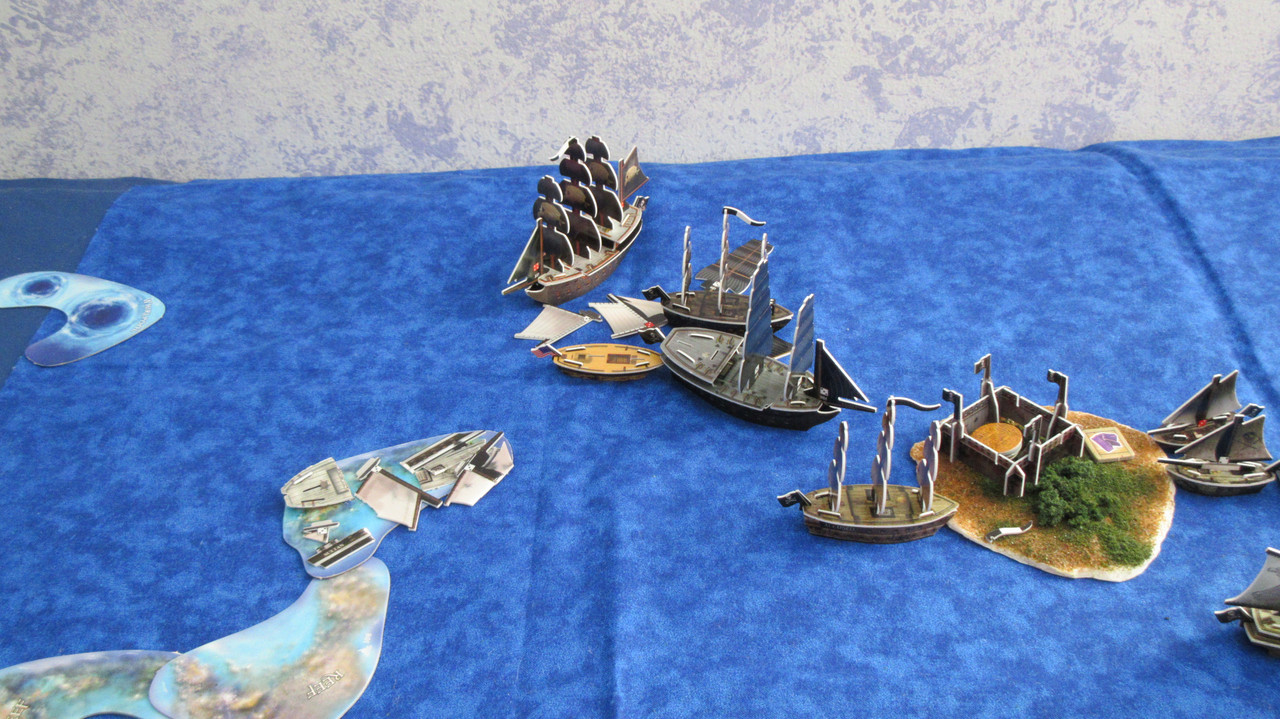
Turn 41 begins with the Pirates firing at the Americans. Ralph David’s squadron is decimated by cannonballs and fire shot, with the Concord doomed to the flames and the Freedom and Flying Fish down to one mast each.

Elsewhere in the Sea of Allost, the Jade Rebels engage in all-out war with the Cursed! The Crushed Skull is crushed, and suffers three hits while dismasted as well (3 more hits to sink due to the house rule). Jade cargo ships that have been equipped with captains for a while now (the East Wind and Virtuous Wind) shoot 3 segments off Mist Walker, who is quickly in trouble.

Just as she was in the Battle of Fog and Ice, the Monkey’s Paw is tag-teamed by a swarm of small Jade ships, but this is effective as it was before! The Monkey’s Paw loses 3 masts in short order, and will likely have to retreat again in order to stay afloat or avoid capture. In the interests of keeping things mostly consistent and not having OP abilities, I have decided that abilities that eliminate masts (such as the Scorpion keyword, or in this case the ability of the Glorious Treasure, which allows you to eliminate a mast and crew from the enemy ship after being pinned) function the same as a regular cannon hit. This means that those abilities do not automatically eliminate masts, as I had been playing it up until today. Especially with the automatic pinning, scorpions have nearly gone from overpriced to overpowered, so I’m trying to keep things fair.

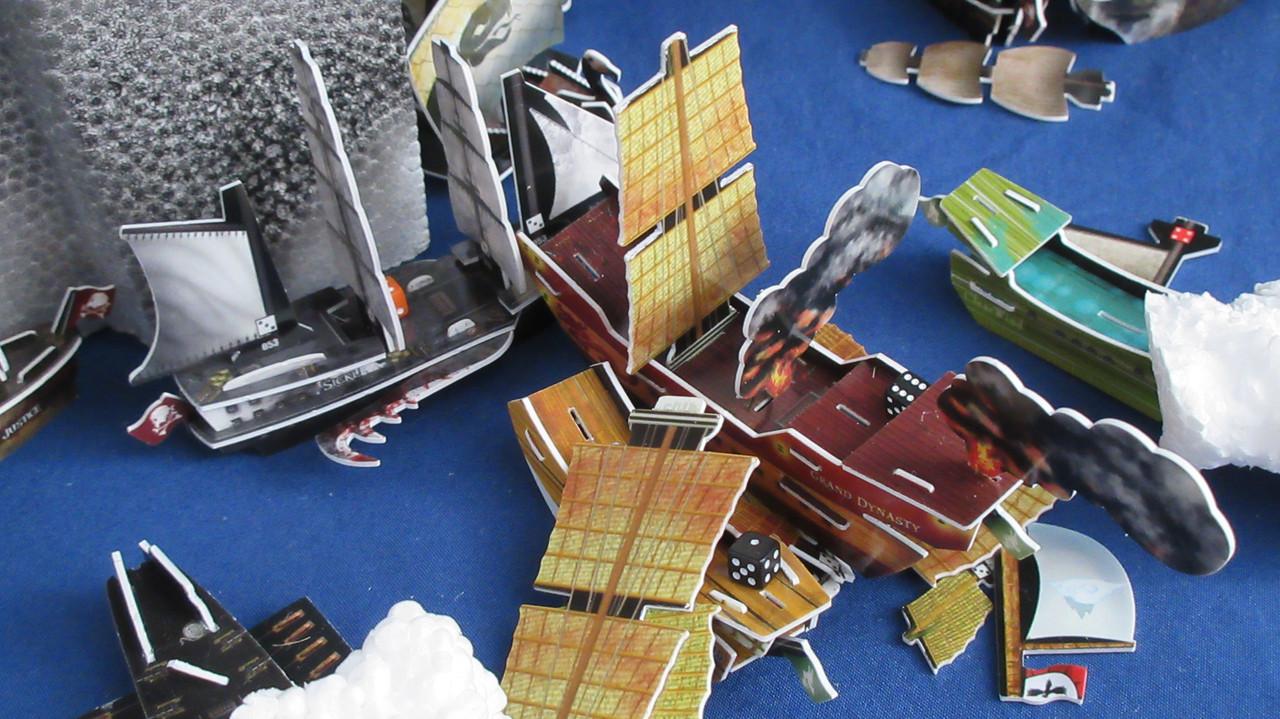
Speaking of scorpions, the Scythe is in trouble! The Grand Mountain emerges from a fog bank to connect with both fire shot and a stinkpot specialist! (the latter represented by the smoke that originated from a bombardier card)

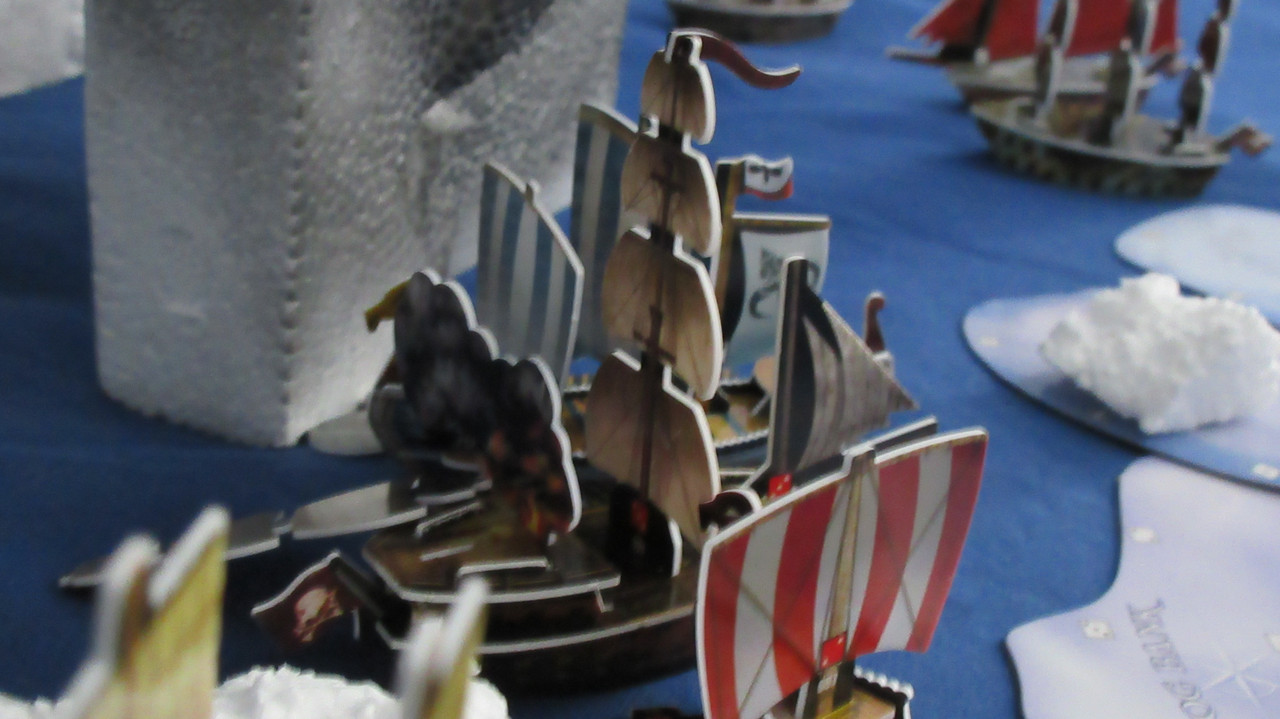
The Asgard and Hrothgar team up to put some serious hurt on the Hellfire right under the Roost!
Just to the southwest, the Grand Dynasty is struggling against the Sickle: her fire shot backfired, setting the ship alight. Making matters worse, she couldn’t even eliminate a mast from the Sickle with her other cannons! The Jades are unable to scuttle the derelict Divine Wind.

Time for the Cursed turn! The Monkey’s Paw does as expected and flees into a nearby fog bank, but not before she instills some Fearinto the nearby Jade ships! Rolling for the keyword a whopping 6 times, the MP is successful twice, shutting down abilities on the Sea Phoenix and slightly slowing the Dragon’s Talon. However, much worse for the Jades is the considerable empty spot at the top of the frame….
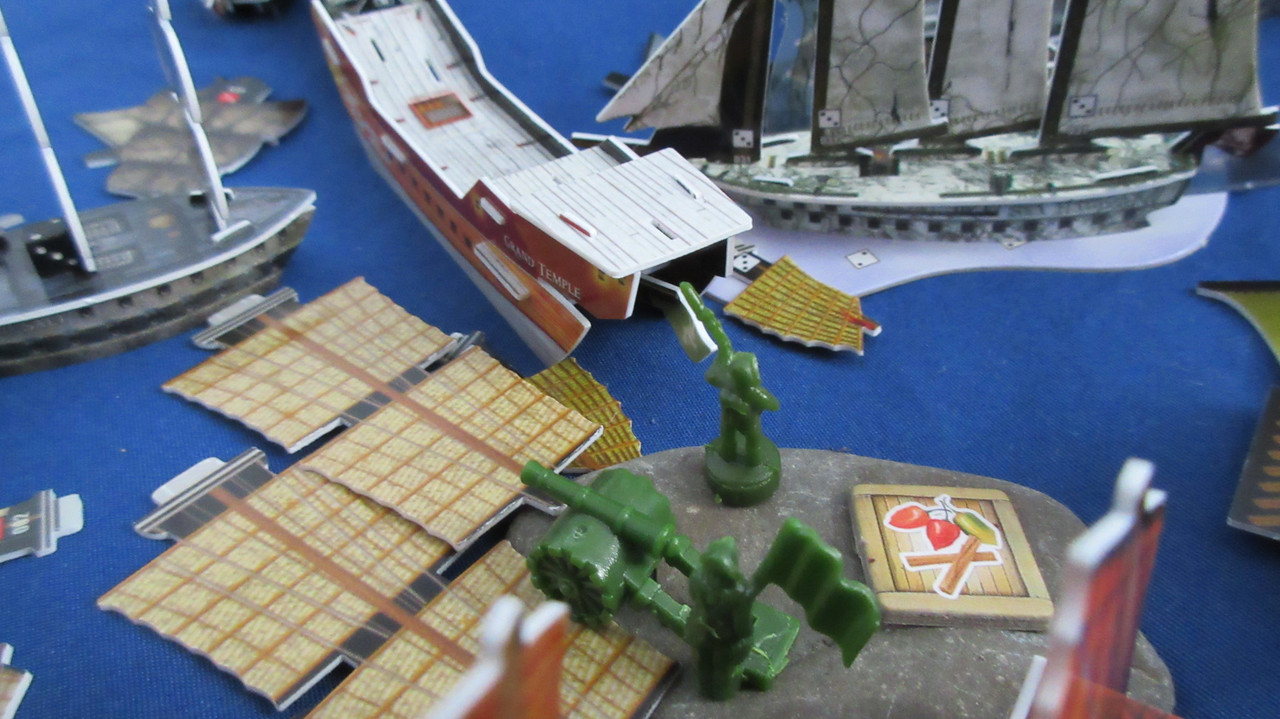
The Grand Temple is captured! With the Pestilence and Spilled Salt gaining the upper hand in the sudden Cursed attack on Turn 40, the GT was not quite strong enough to resist those Cursed attackers in addition to the Jikininki and Banshee’s Wail. Here the Wail has begun towing the giant Jade flagship, arguably their best ship in play so far and a symbol of JR pride. In addition, now that she’s a member of the Cursed fleet, it will be very difficult for the Jades to reverse this event, needing to capture the Wail or somehow hit the GT 12 times before the Cursed dock the GT back at the Roost.

However, satisfied with their work in the area and seeing too many healthy Jade ships just east of the spicy island, the Cursed turn some ships around. The Spilled Salt, Pestilence, and Monkey’s Paw are all heavily damaged, while the Banshee’s Wail and Jikininki don’t have the crew or firepower to do much damage on the way out. In addition, at the top of the frame notice that most of the Cursed fog hoppers have already retreated regardless of casualties – the Cursed consider their fog hopping squadron a major long-term asset, so they will not risk its destruction this early in the combat phase of the game.
The Crushed Skull tries to escape! Turning ghostly and using her helmsman and oarsman to great effect, the ship rows at S+S towards that fog bank with the hoppers safely inside. With only 3 hits required to permanently sink the accurate ship, the Jades are determined not to let her get away. The Cursed attack isn’t over though! The Scorpion herself comes out of a fog bank and slices at the Grand Path! However, her fire shot backfires, which is very bad news for the Cursed. An icewreck rams the Grand Path to finish the elimination of her mizzenmast.

Slightly to the north, the Scythe fares far better than her sister ship, putting out her fire and slicing the final mast off the Beowulf:

Cramped quarters can result in amusing situations! The Sickle engages her blades for the first time to send a boarding party to the Divine Wind, but the ones on the starboard side get stuck in an icewreck’s berg! She does manage to shoot a mast off the Grand Mountain, using her ability to great effect as she rolled a bunch of 3’s today which would not have hit healthy ships.

The Hellfire puts out her fire and stands her ground (water?), blasting off the Asgard’s last mast.

Some Cursed cargo ships returning home with gold! If only the Jades knew what immense riches were contained in the hold of the Maman Brigitte, they might send the Hrothgar to intercept. However, with the cancelling Guinee right there, and the MB nearly home, it would be a futile attempt in the first place.

Cursed cargo ships in the far west of Allost make trips to and from Broken Horn Island, which has produced luxuries all game. Behemoth hasn’t lost a segment yet but is eager to avoid any damage in order for the fog hopping squadron to flourish.

Finally, the long-awaited English attempt to hoist a cannon all the way up to the summit of Diamond Rock! Getting the cable from the Malton in position takes an entire turn, but the English have been patient for a while now and will continue to exhibit that necessary quality here.
With various ships in some states of disrepair, the English fleet is slightly in disarray. They have used a bit of chain towing to get the San Estaban behind the Metal Dragon, who will tow the prize home. Various other ships are going home for repairs, mingling with the resource runners on their way by.
I didn’t need another picture of the familiar Spanish fleet here, but it’s worth noting that the Rafael has picked up a few UT’s from Paradise Island left there by the Gold ship. She may also be the first ship in the game to carry both gold and resources at the same time, though I think I’m mistaken.

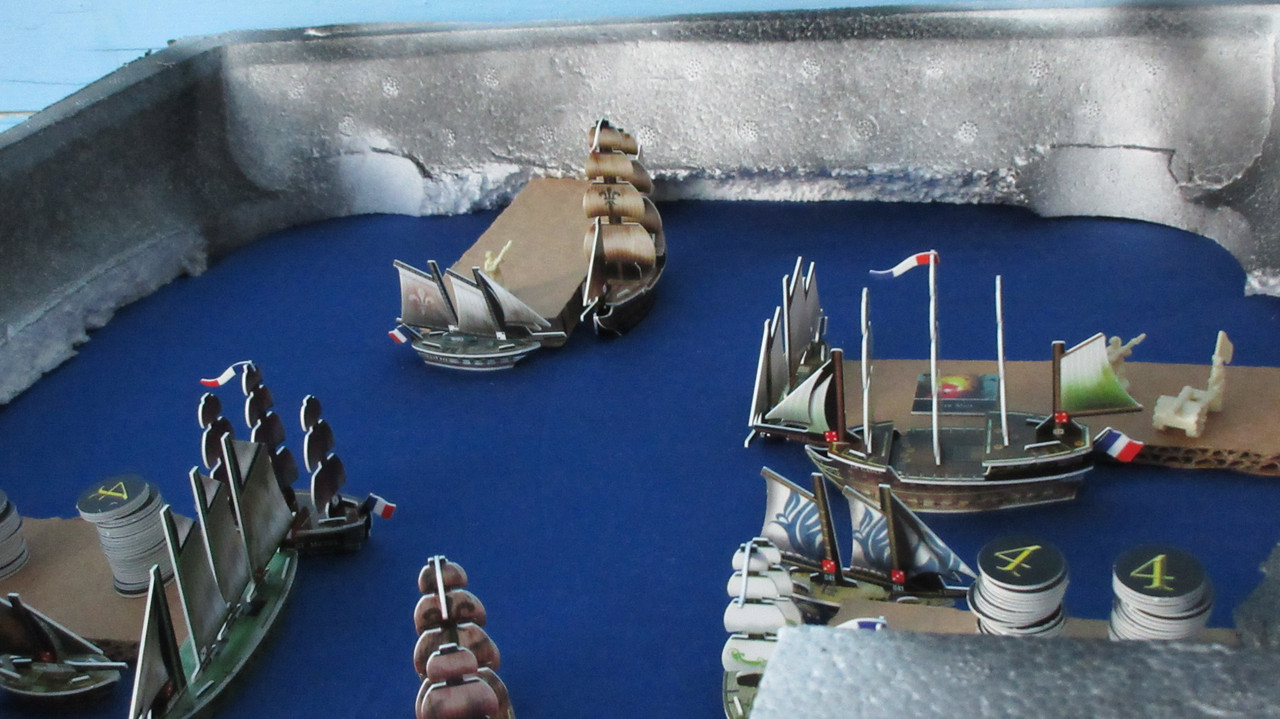
The French take in 78 gold from valuable textiles found on The Flat, spending it all on 4 ships! The Gaule is tasked with general island defense, and is equipped with shot to help her in that role. La Possession has a completely new job: whirlpool diplomacy! Guy LaPlante has been chosen by Admiral Gaston as France’s first “diplomat” in the game. The Possession is tasked with going through whirlpools and investigating what she finds, and here she’s crewed with a full complement to emphasize that mission. The shipwright can repair lost masts, while the oarsman helps to protect all 4 vital crew. The French are brave to send the ship off alone into the unknown, but she is one of France’s oldest ships (not just by chronological set order, but also in regards to my personal collection) and LaPlante is eager to see what lies in other areas! The Felicite essentially has 2L guns, which are great for equipment. The face down chip actually represents exploding shot, which I have temporarily run out of. The Petit Dauphin is the fourth ship – her deckplate is not visible, but she will simply be another resource runner for the French.

Using their first two docks, the French launch 4 new ships. Also note the large quantities of fish on their outer docks.
Nemo informs Gaston of the island east of the Harbor, and the French admiral immediately signals for ships to be sent there.

Noticeably quieter since encountering the French and the Pirates (though he didn’t speak to Havana Black aboard the Deliverance), Commodore Preble sets all sail for the American home island. He passes the gunships patrolling the area and gives them new orders.

The Fool’s Hope loses another mast to Ralph David’s squadron, but the Americans are finished.
-Turn 42-
There it is! After saving up gold for a considerable number of turns now, the Pirates have finally spent all of it! With a whopping 250 gold, the Pirates purchase the first fort upgrade of the game! This is represented by a block token, which must be loaded aboard a ship and unloaded at a fort to upgrade it. Once upgraded, a faction can then launch ships and crew from that fort using gold from their home island!! I hope this is a fair cost for the fort upgrade. Cheaper would probably be too easy to exploit, but more than 250 gold starts to become ludicrous even by campaign game standards. Furthermore, when you consider that the Pirates could have outfitted around 10 or a full dozen large warships with great crew complements for that same 250 gold, it really does seem like a huge expense. The Eagle has loaded the upgrade token and will sail straight back to Dead Man’s Point.

If an upgraded fort is destroyed, the token simply disappears, since I do not really want a coin worth 250 gold floating around lol. (although it would be interesting to watch haha)
The Pirates were at 246 gold when they took in 36 from textiles being cashed in. The extra 32 gold got them 5 shipwrights and a couple new ships. Here the shipwrights are gathered on the ledge of the kingdom – better hope they don’t jump! XD

The new Pirate ships are the Neptune’s Hoard (RV version, I can’t stand the OE version especially after using it in Economy Edition lol) and the Shamrock, an underrated ship from Mysterious Islands.

Victory! The Pirates finish off Ralph David’s squadron. The Concord burned, and the Freedom is doing the same here after David once again refused to surrender to Pirate scum. The Flying Fish was dismasted by the Lady’s Scorn and Recreant, with the Pirates embarrassingly having to use Jean Laffite’s AA (Admiral’s Action) on the Recreant after the Scorn only hit like 1/5 lol. The Accused has already gone to the fort to repair, while Mission is telling the Pirates on the island to begin preparations and expect big things soon!

Back to the war! It’s not very practical to actually do, but here I wanted to show the shot from an artillery piece with one of the L range straws. However, the shot missed.

A moral dilemma! Knowing the GT is unlikely to be recaptured, the infantry on the island must decide whether or not to fire on their old comrades. Tsai, Katsura-chan, and the helmsman all scream to be killed outright, fearing that the Cursed will torture them for information or just for fun. Briefly hesitating, the infantry shoot their muskets, but miss the captured crew!
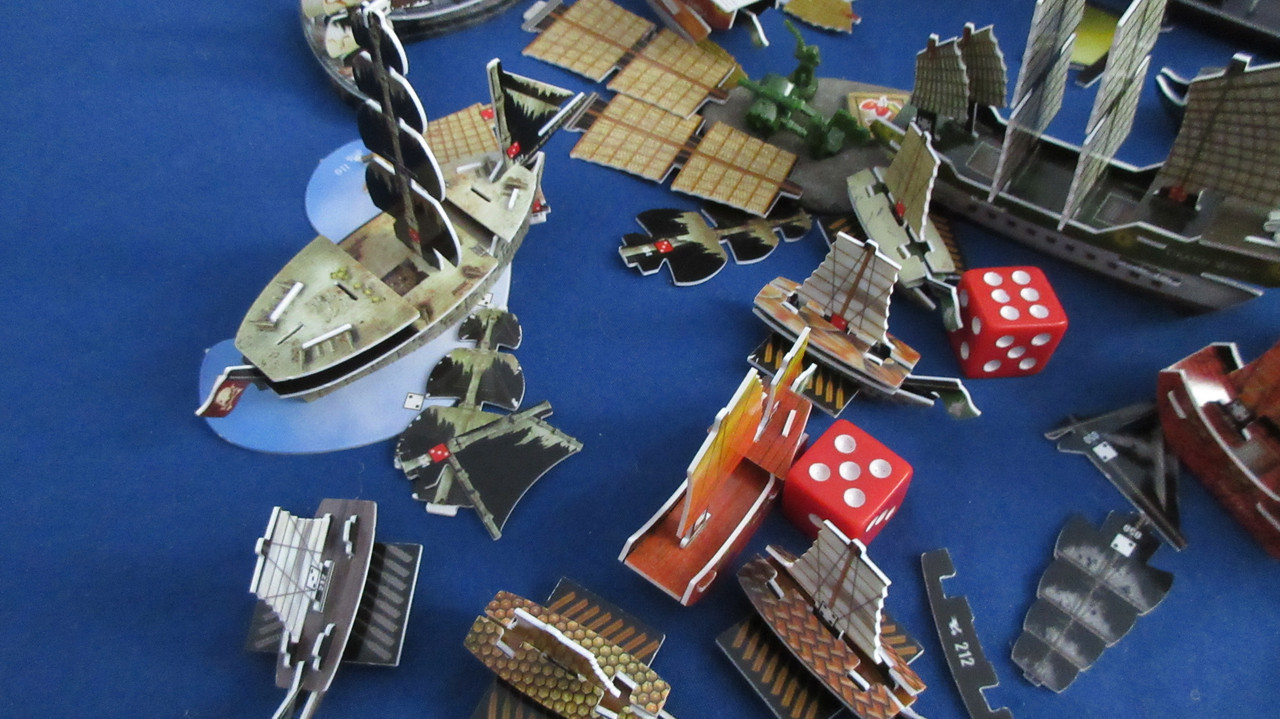
The Jade Rebels pull off a coup! (COO!! XD) Sinking the Crushed Skull (!) to make space, a group of Jade ships shoots the Scorpion until she is ready for capture. Then the Proud Tortoise maneuvers beautifully to tow the ship! It may seem like a waste since the ship is about to burn to the waterline, but the ship has the Eternal keyword and will soon reappear at the Jade home island! The Jades gained a needed morale victory with this development, especially after losing the GT.

If the Monkey’s Paw weren’t in the fog, this would be the view from her mainmast. The Glorious Treasure eliminates a mast from the Spilled Salt amid dense wreckage, mostly from the Grand Temple’s huge sails.
More cannon shots boom out! This time they are from a longship but aimed at one of the icewrecks! I have made a new house rule, where shipwrecks can be separated from their icebergs and sink if they are hit as many times as they originally had masts. In this case, the icewreck was hit 3 times, meaning the wreck would slip into the depths forever, leaving a regular (non-possessed) iceberg behind! The Jades quickly discovered this and were determined to rid the seas of the menace.

More Jade success! The Grand Mountain continues to be a thorn against the Cursed, dooming the Scythe with fire!

Grateful to be released from Behemoth’s grasp, the Polaris darts into a fog bank. The Asgard and Hrothgar wisely do the same, living to fight another day and avoiding capture right at the Cursed HI of the Roost.

Oh jeez. In an utterly pathetic day at the guns, the crew of the Grand Dynasty miss all 4 times against the Sickle, but also roll a 1 with Double Shot to shoot themselves in the mast!! XD
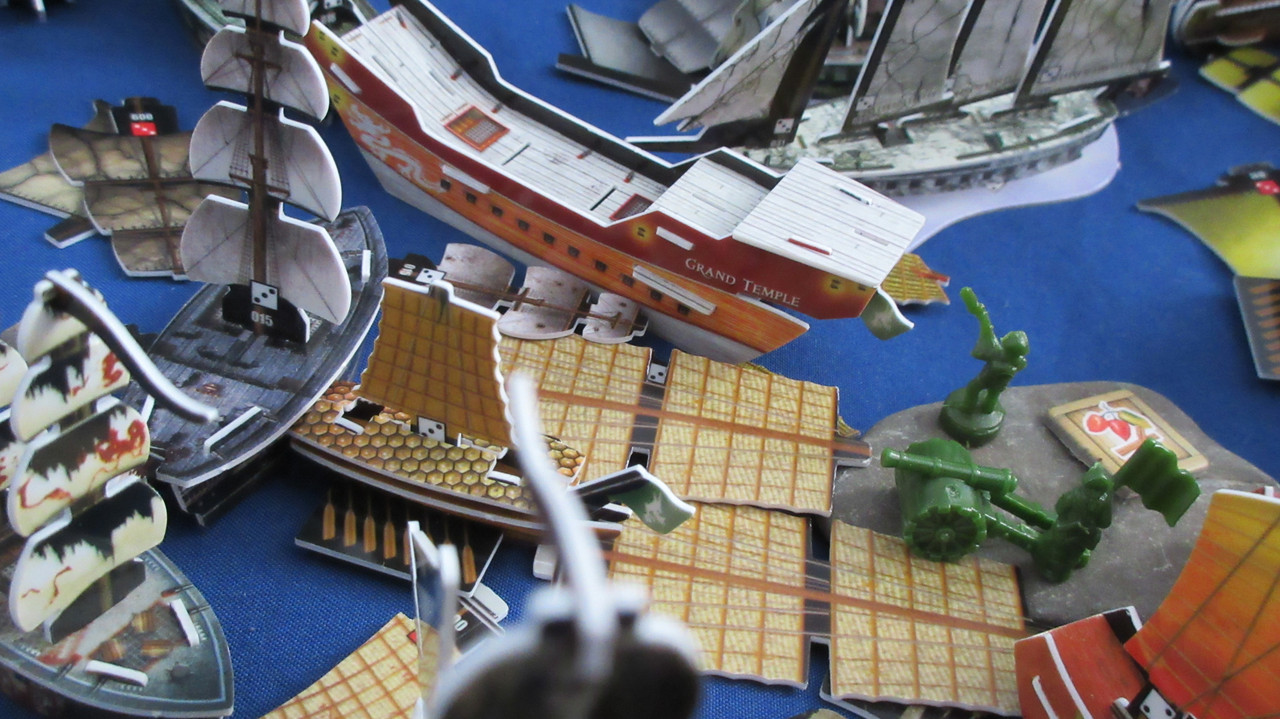
A view of nearly the entire battlefield after the Cursed take their turn. Notice they are retreating just as they did at the conclusion of the Battle of Fog and Ice! The Cursed have lots of ships in need of repairs, and would like to lock up the Grand Temple as their grand prize.

In addition, notice that the Maman Brigitte has docked home her coins, which is another reason for the Cursed retreat…. The Sickle is putting some hurt on the Grand Dynasty, who is likely doomed due to pinning and the horrific failures of her own crew.

Holy Maman indeed!! The MB brought back the best coins I currently have in play, with the 100 coin, the 60 coin, a shiny silver 6 (worth 18 gold), and a shiny silver 5 (worth 15). This means the ship had just unloaded 193 gold at once! The Cursed go crazy, combining it with some saved up gold and spending 211 gold at the end of their turn!

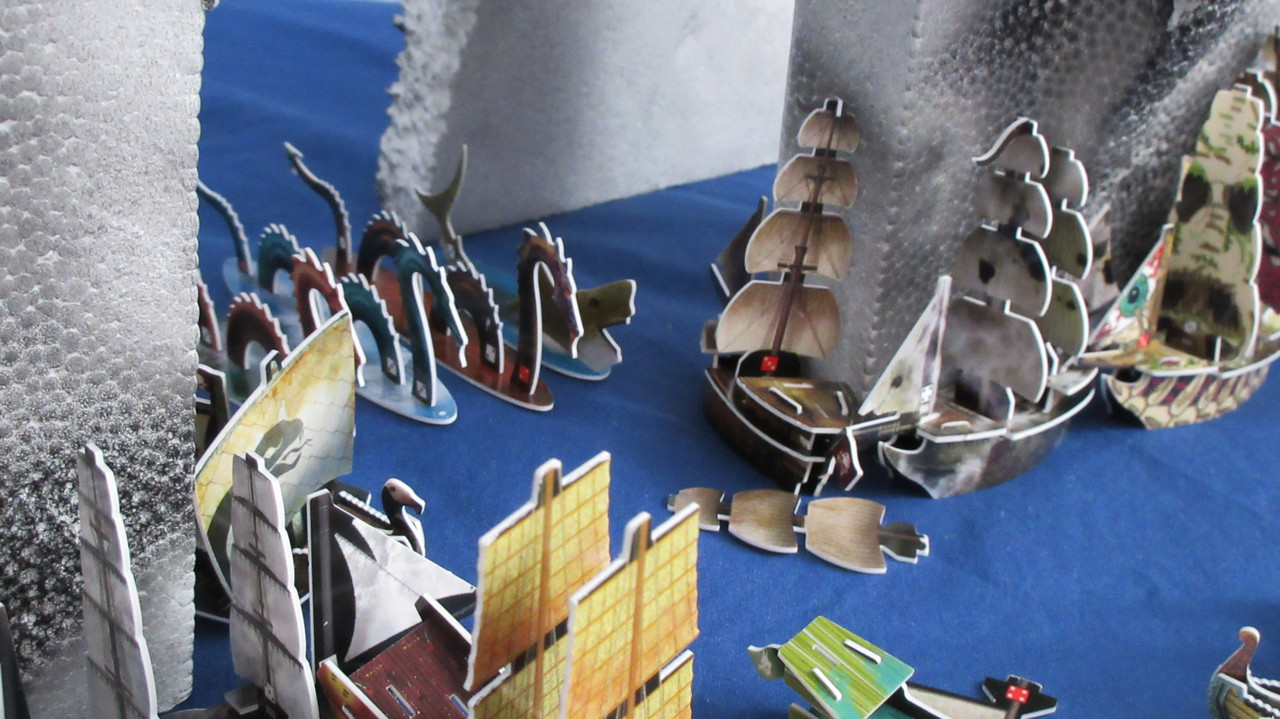
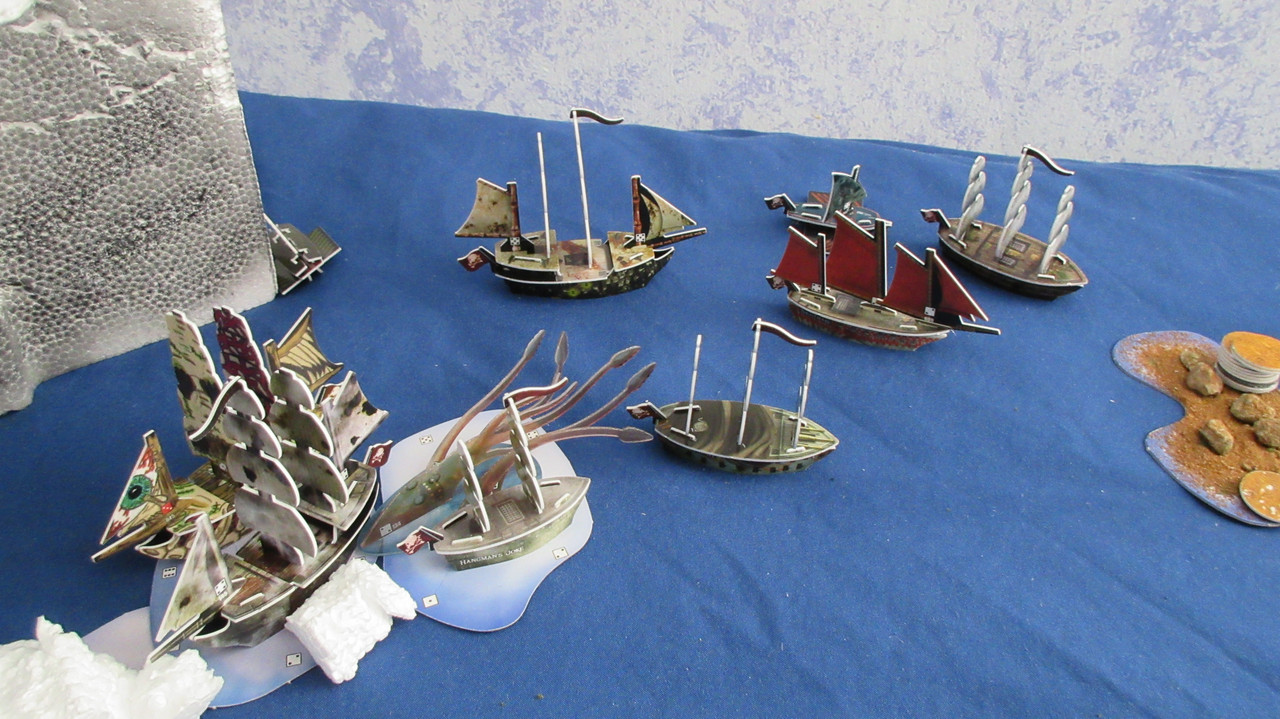
Purchasing a sea monster squadron, the Cursed get the Serpent’s Fang (who is an L booster for sea monsters), Tsuro, Tiamat, Maxehebel, and Squalo! At the right, the Nightmare and Abomination are also launched, both with full crew/equipment arrangements.
With a very rare shot looking west at the Roost, the new Celestine is docked next to the Maman Brigitte. However, I don’t like trade currents and won’t be using them in this game – her ability now gives her +S to her base move on a roll of 3-6, with no effect on a 1-2. Still a very good gold runner for the Cursed.

In the Halls of the Dragon King!! O_O Your first look at the interior of the Roost shows more new ships, with the Fallen Angel (towing the Death’s Anchor flotilla), Madness, and Lilu (towing the relaunched Silver Coffin).

Back in the Caribbean…
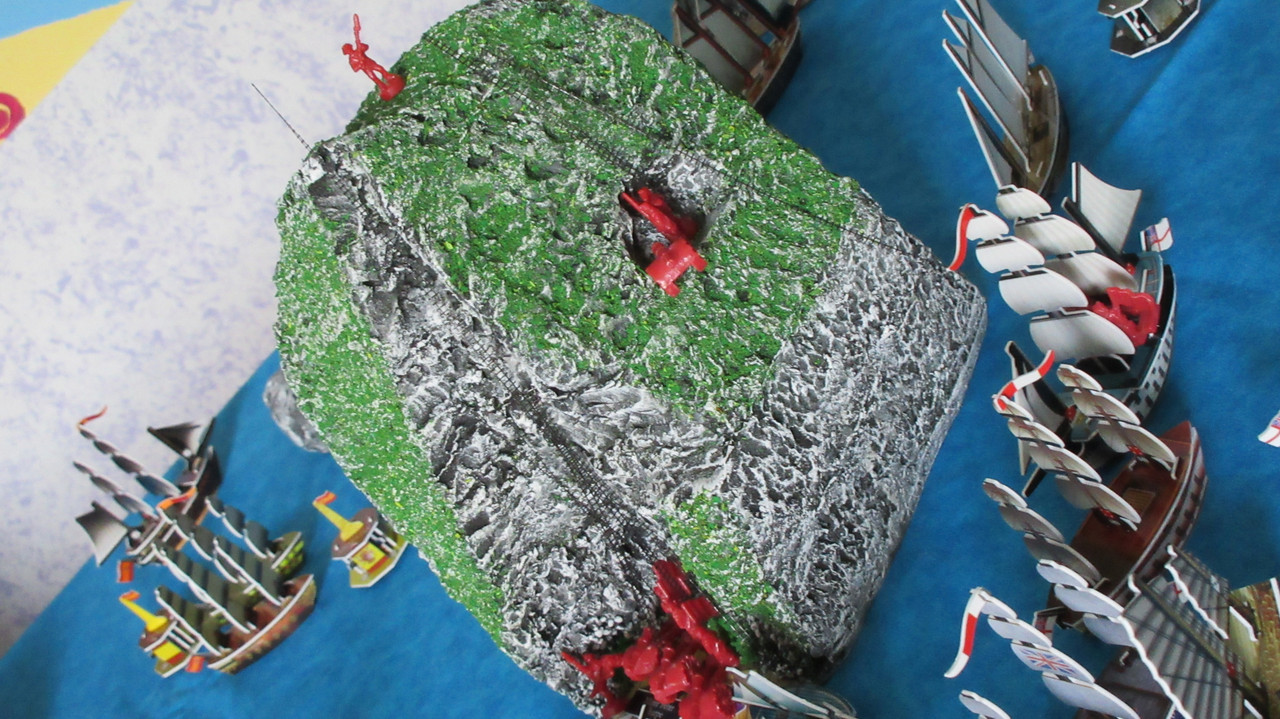
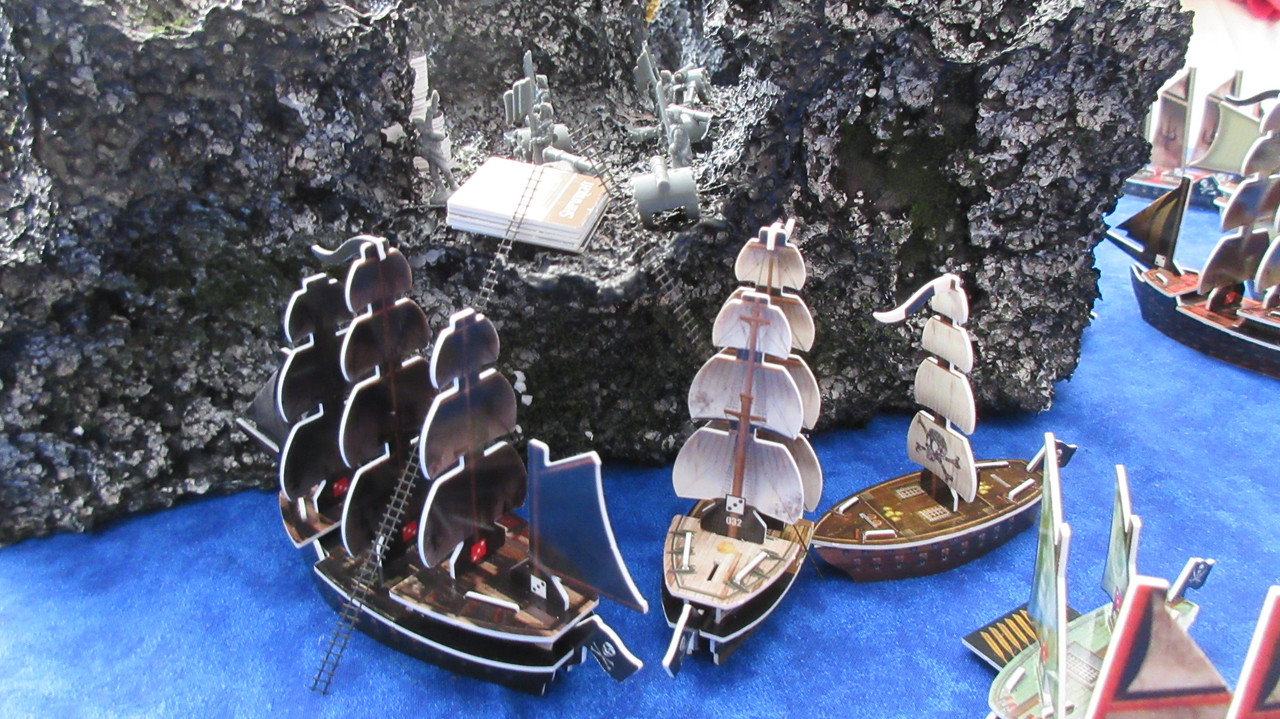
The English have gotten their cable affixed to the summit of Diamond Rock! The Malton is ready to hoist the artillery unit up!

This time the operation is successful! The English have done it! They now have an artillery unit on the summit of Diamond Rock!O_O

It took a long time and many many actions, but the English finally have cannons in all three viable areas of Diamond Rock.

On the other hand, the Galapagos finally succumbs to the flames, ironically pictured here in the shadow of the volcano:


Gaston and Lenoir meet aboard their flagships, with many things to discuss. They talk about meeting the Americans and the Pirates, as well as their plans to utilize The Flat and the newly discovered island east of the Harbor.

The Americans cash in and combine that gold with some old coins to go on a spending spree! They spend 127 gold, and for good reasons. Notice Ralph David on their HI! I have made a new ruling for Eternal for this game: if a crew has Eternal, they can only use it on a ship one time, but if that ship sinks again, the Eternal crew alone is returned to the HI. The Freedom had used RD’s keyword once, but her second sinking at the hands of pirates would be her final moment in the game. This is my attempt to curb Eternal shenanigans, although I’m not 100% sure yet what I’ll do with ships that have the keyword. However, David somehow made it home alive, and immediately told everyone around how powerful and rich the Pirates looked (using hyperbole in abundance… ).
David’s second tale, even more impressive (and embellished) than the first, inspired William Eaton to commission another anti-Pirate squadron. However, the Americans at home also had recent orders from Commodore Preble (the American admiral as of now) to launch warships and send them east through the opening in the reefs. Juggling multiple priorities, David was promised a full squadron in time, but for now he would have to wait for more gold to flow in to have a ship for himself. The Georgetown, Gold Eagle, and Paladin (mistakenly not pictured here) were launched to combat the Pirates. The James Madison would assist the Colonial Trader in getting metals from Ruby Island. Finally, the Albany and Seattle were launched to satisfy Preble’s demand for more ships to head east. In total, six ships along with a couple more infantry units.

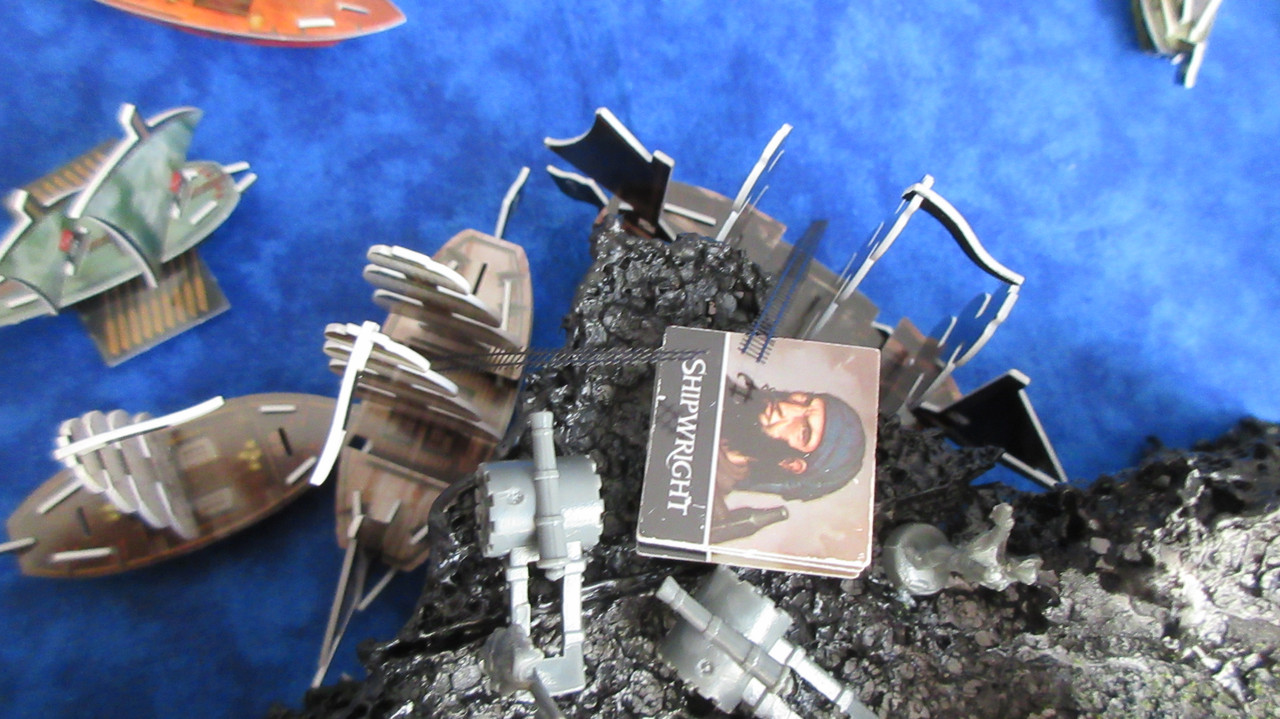
Another usage of ladders! Now it’s clear why some Pirate ships were gathering under the ledge of the kingdom – the shipwrights will descend from above so the ships don’t create a logjam by entering the kingdom! This was a brilliant move by the Pirates, who were able to keep their resource and gold system running on all sails but still getting shipwrights to the whirlpool squadron. That’s right, each ship of the Pirate whirlpool squadron will be getting a shipwright. That way they can repair outside the kingdom (not needing to spend time inside and create logistical headaches on their way in and out), and also repair after whirlpool travel when they go off on another mission!

The Deliverance and Feathered Hat get shipwrights first. The Madagascar will get one from the Hat while the Sunrise Fire and Otter wait their turn.
Can’t get enough of this ladder idea with the kingdom! XD The climb down is somewhat dangerous, but the Pirates have the equipment and knowledgeable people around to make sure things go smoothly.
The all-important Eagle emerges from the kingdom with the fort upgrade aboard! The Fool’s Gold temporarily goes the wrong way to make room for the ship.

The Pirates are anticipating the arrival of their considerable investment, and have sent ships along the route to guard against any danger. The Cassandra and Grand Barnacle are simply heading home with textiles, but the Queen of Cups, Golden Medusa, and Crusher have all altered course in order to protect the Eagle as she sails out to Dead Man’s Point.

The Pirates complete their victory in the (First?) Battle of Dead Man’s Point, capturing the Flying Fish with the Fool’s Hope. The Lady’s Scorn is the only ship not damaged by the Americans in the battle, but it was still a lopsided victory for the Pirates.
The Scorpion sinks but goes to the Jade home island via Eternal! The Jade Rebels now have a scorpion ship of their own to unleash upon the Cursed. The Floating Stone, Muninn, and Grand Wind are all home for repairs, with the Grand Wind also docking home some spices. Warlord Cavendish is shaken by his close encounter with the Cursed (Mist Walker and the Sea Hag), and sees them as a huge threat to the Jade Rebellion’s survival.

The Sea Phoenix lands a shot on the captured Grand Temple, but the Jades give up the chase, knowing they won’t be able to recapture or sink the former JR flagship. After their first taste of direct combat, the JR cargo ships are back to running spices.

With the GT gone, defense of that wild island is now up to the smaller Jade ships that were undamaged from the battle.
Save the icebreakers! Knowing they’ll need them to combat the icewreck menace, the Jades use chain towing to get the Beowulf out of harm’s way.

The Hrothgar and Asgard get lucky rolls coming out of the fog (both rolled to face in the general direction of home), with the Hrothgar blasting away at an icewreck on the way by.

Predictable at this point, but still pathetic. The Grand Dynasty’s fire spreads as she continues to miss the Sickle.
The Cursed begin their turn, and the Sickle finishes off the Grand Dynasty. The GD has a disappointing run in this game, and is likely finished for the rest of it (unless I need to let weaker factions relaunch ships).

In other news, the Serpent’s Fang has given all four creatures +L on their first move of the game, and they depart the gates of the Roost! No wonder they’ve been called the “gates of hell”! ![]()
![]()

An impressive cohort of Cursed cargo ships head back to their gold island. The Nightmare and Abomination go to a fog bank, with not much other room available.
Between this picture and the next, notice the fog hopping squadron hiding out for the time being.
The first major Cursed logjam of the game! The GT is a big prize ship in the way, with the Pestilence repairing to port of the Banshee’s Wail. The Loa’s Justice is another new Cursed ship, and one of their best cargo carriers. New ships depart while old ones come back for repairs:

I wanted to take a few wider shots from the Jade HI to show the scale of the JR/Cursed war and their operations:

(In the bottom foreground, notice the infantry unit tipping over to the right – perhaps a little too much rum after the battle ended? ![]()
![]() )
)
A much higher view of the similar location: not as impressive, but there’s obviously a lot of points out there, with various debris from the battle still floating around.

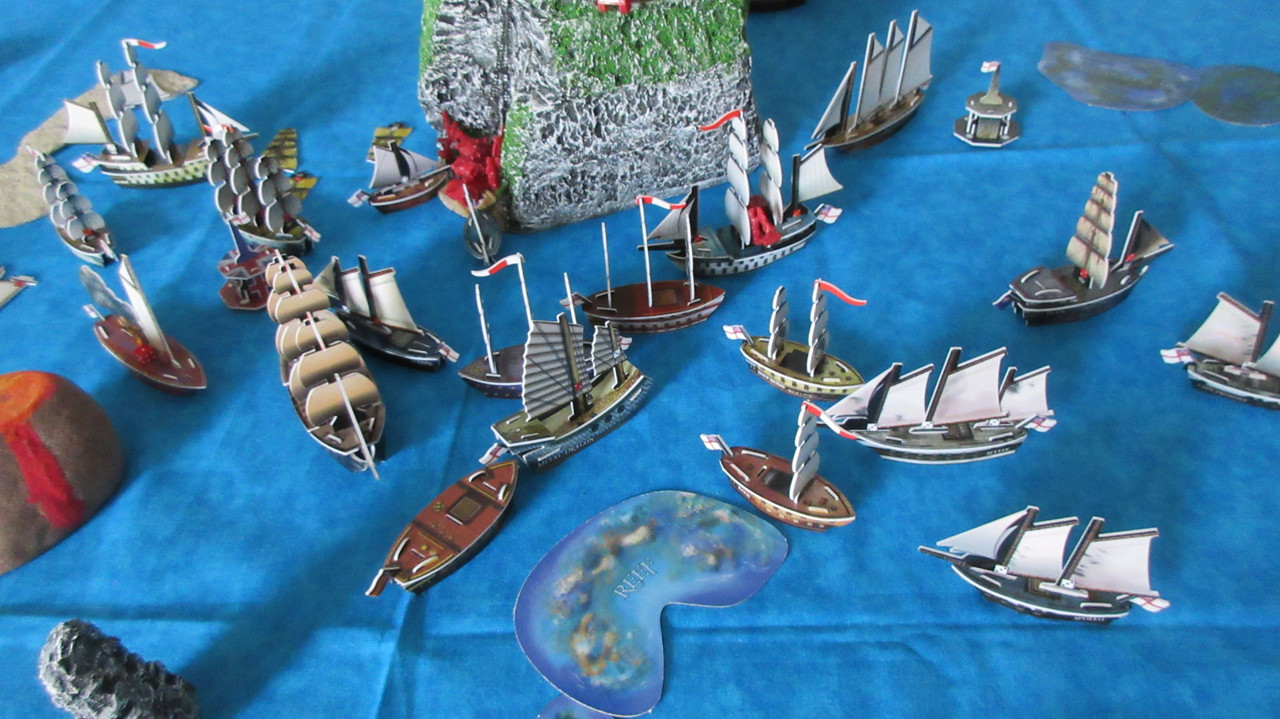
The general English area of the Caribbean, with a stalemate just off the northwest side of Diamond Rock. At the lower right, the San Estaban has been docked at her new home, but has not repaired yet. This is because I am forcing derelicts to wait a turn to start repairing even though they normally could, since I like the time delay and it feels more realistic. In addition, it only takes one turn to repair a mast even though two hits are required to eliminate a mast. (very unlikely to change, but important to remember)

Many French ships sail out of the Harbor, with the Soleil Royal and Dauphin Royal continuing to sail slowly east, Gaston and Lenoir still engaged in deep conversation….

ATTACK!!!! In one of the shortest-lived alliances in history, the Americans break trust with the French and surprise them! The Concord dismasts the Bon Marin and continues to the Vengeance!

With a VERY timely AA from Commodore Preble, the Concord shoots at the Vengeance with her second action, freezing the ship for her next turn with a chainshot specialist hit! (represented by the orange die in the water so I remember haha) The Congress comes around the west side of The Flat to capture the Bon Marin, while the Minuteman sails around from the north to finish knocking a mast off the Vengeance!!
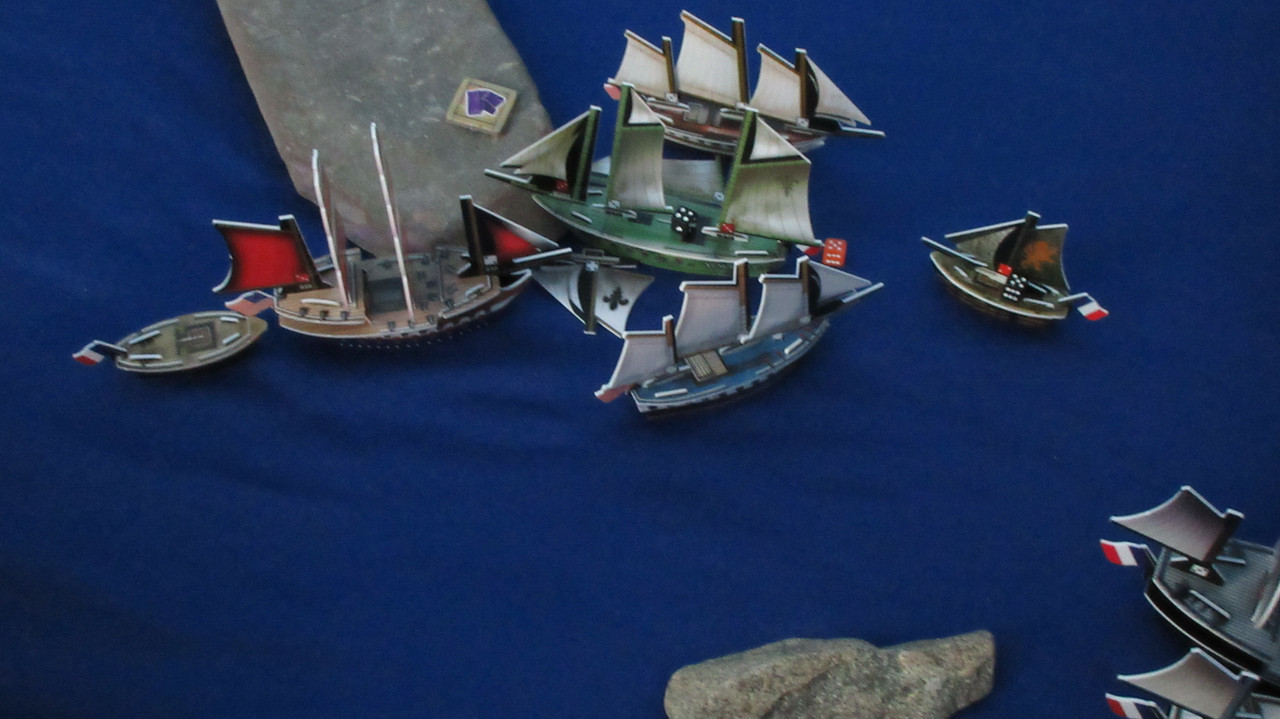
An American assault! The Coeur du Lion is also hit, and the Americans have not held up their end of the alliance, to say the least!

There is URGENCY in the American fleet today!! Preble is getting everyone ready for action, in multiple areas of the sea(s), and in multiple ways. Cargo ships depart the home island, with the Albany and Seattle also setting sail for the first time.

The American area, with David’s future anti-Pirate squadron currently in reserve (guarding against intrusion from the whirlpool) until the Americans can find a suitable ship for RD himself and possibly even more ships for the expedition as well.

Preble is determined as of late! He sees a great future of American dominance, with a great resource system expanding by the day and various warships launched by night! Here he makes all sail for the American HI, where he can better control launching operations to further his ambitions. In fact, the President nearly collided with the Providence on her way back, narrowly finding the gap between the ship on her port side and a dangerous reef to starboard.

There have been a few hints recently as to Preble’s disposition, and today things have become clear. Under his guidance, the Americans have big plans. They believe they can take on the French, and would love to control The Flat. They anticipate more fortunate resource changes in the near future, at which point their vast quantities of saved up food, spices, and luxuries make them incredibly rich. Finally, they are urgently carrying out operations and giving everything they’ve got to every task of every day!!
With that, Turn 43 comes to a close. I enjoy opening a day of play and battle report with a resource change, since it is rather fitting, but here I decided to change things up and roll the dice at the end of the day’s session!
UGH!!! Oh no! To my great frustration ANOTHER THREE was rolled, meaning that textiles were still worth 6 and metals were still worth 1. This would be the 4th time in 7 rolls that I rolled a 3 for value! I haven’t even rolled a 1, 2, or 6 for value yet. Even more unbelievable, I rolled a 5 for duration again, meaning that this resource change was exactly the same as the last one. (meaning that nothing changed, and the value roll of 3 is essentially being held for 10 turns)

There are various ways to change up the resource system a bit, which I look forward to unveiling when the time is right! For now this is the action. Unfortunately a heat wave will prevent me from playing as much as I’d like to over the next week. However, I’ll try to do at least 2 turns Friday and Saturday, and one turn per day from Sunday-Wednesday. Turns are really taking a long time, and I’ll do another point count soon as the game has definitely exceeded 2,000 total points by now.
Question: Who do you consider the victor of this latest Cursed vs. JR battle? (both sides heavily damaged, Cursed capture GT but retreat, Jades capture Scorpion but have now lost the Grand Mountain due to fire)